
The Basics: Milk Bread
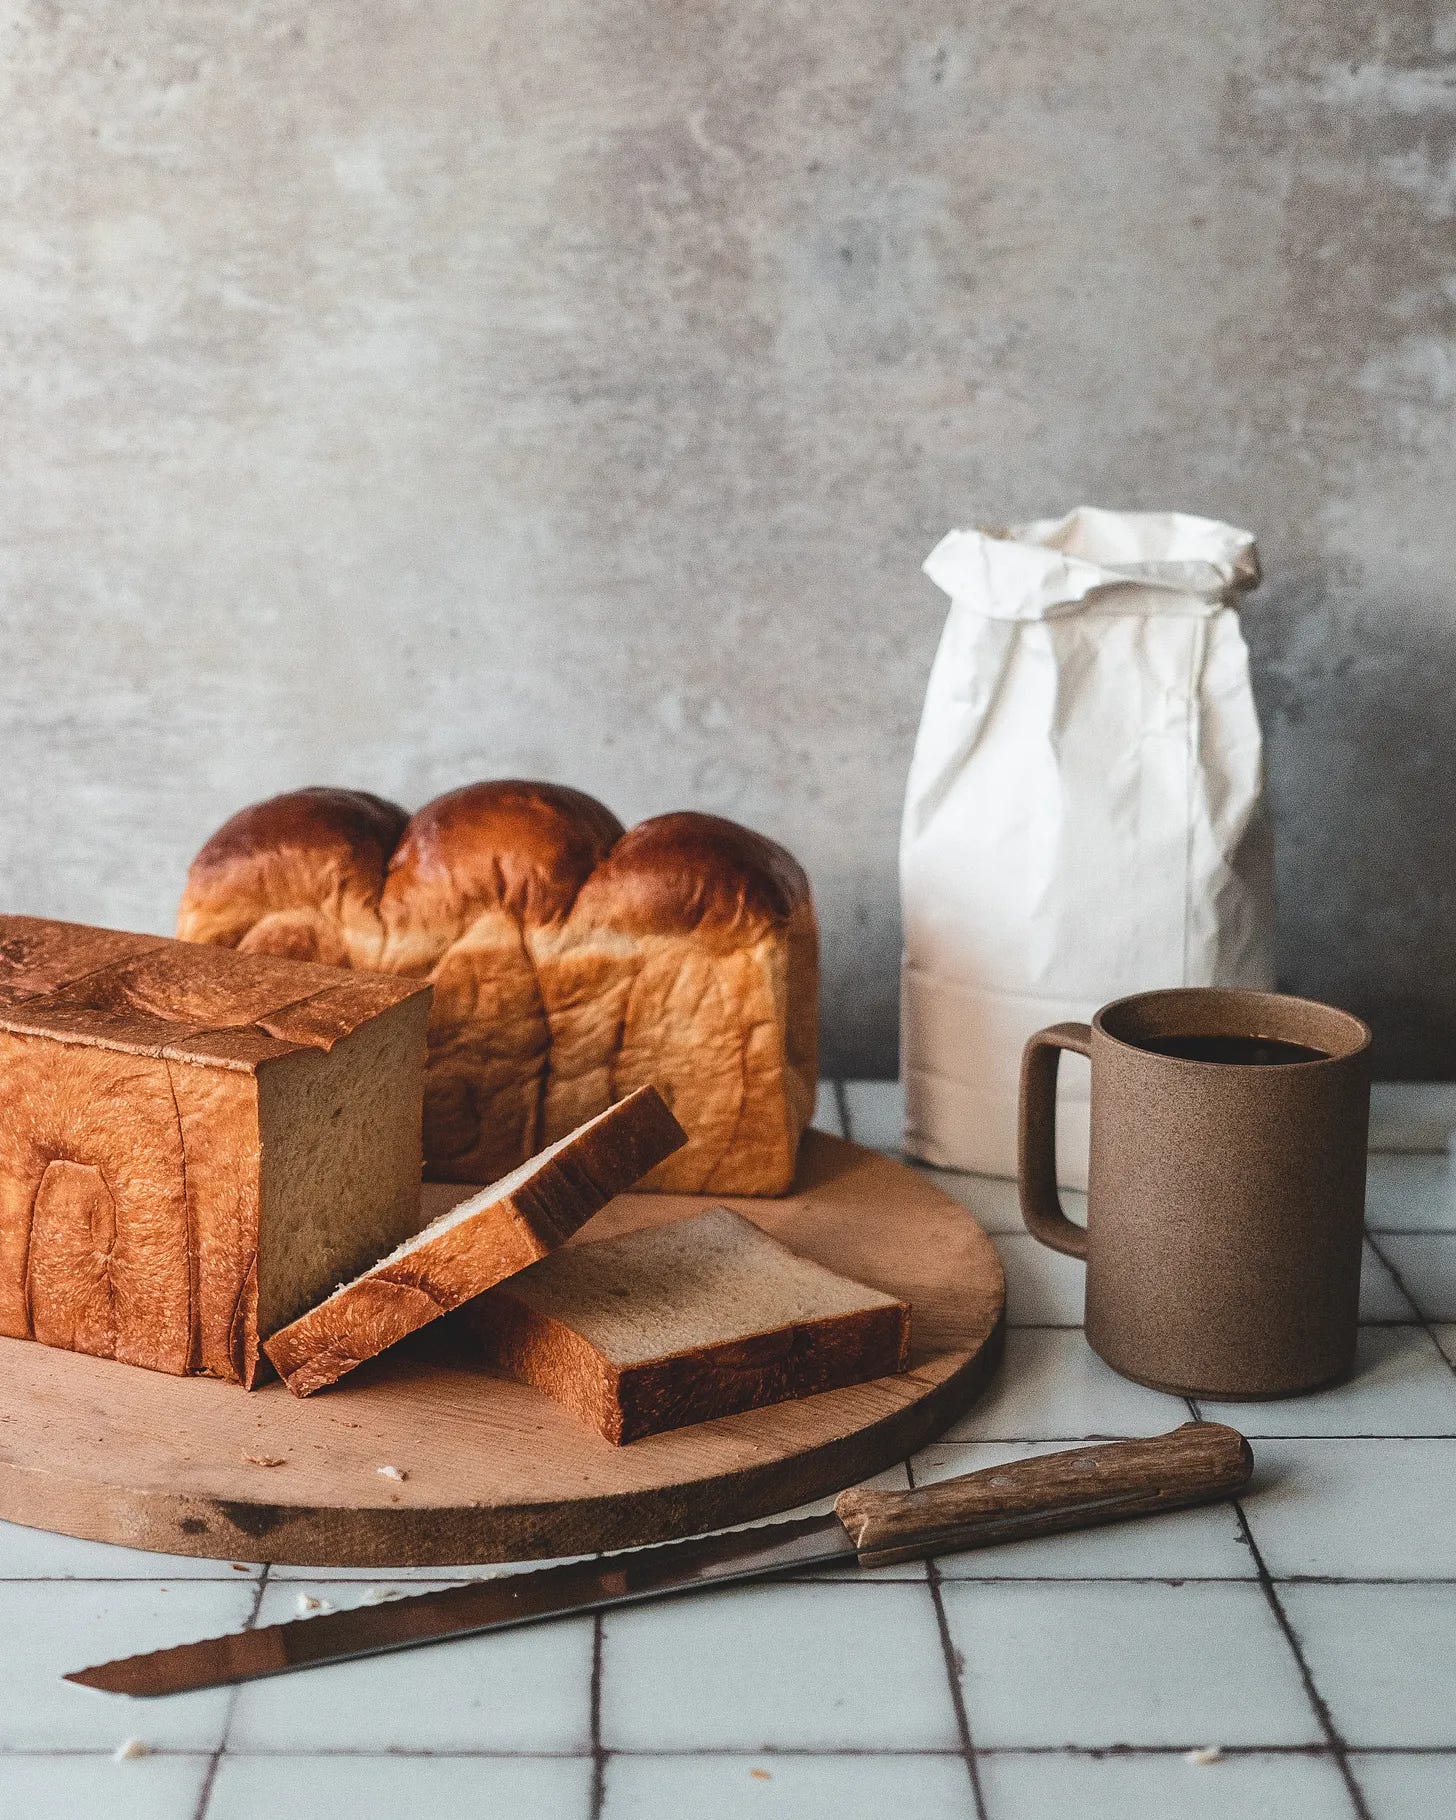
A really good loaf of white bread

🎉 Welcome to my newsletter, The Boy Who Bakes, a subscriber-supported newsletter dedicated to all things baked. For weekly bonus posts, filled with exclusive recipes just like this one, you can become a paid subscriber for the weekly newsletter, Second Helpings. It costs just £5 a month and, in addition to the weekly recipes, unlocks access to the full archive of past recipes. To subscribe to either the paid or free newsletter, click the link below.🎉
This is ‘The Basics’, a new series where I show you the basics of baking, giving you all the info, tips, and tricks to build a great foundation in baking. This will always be a free recipe so everyone can get a great base recipe. And then in ‘Beyond The Basics’, a companion series for paid subscribers, I will expand and riff on this base recipe to create something extra special, something that utilises all of those techniques and that base recipe. Today we’re starting out simply with a really good loaf of white bread.
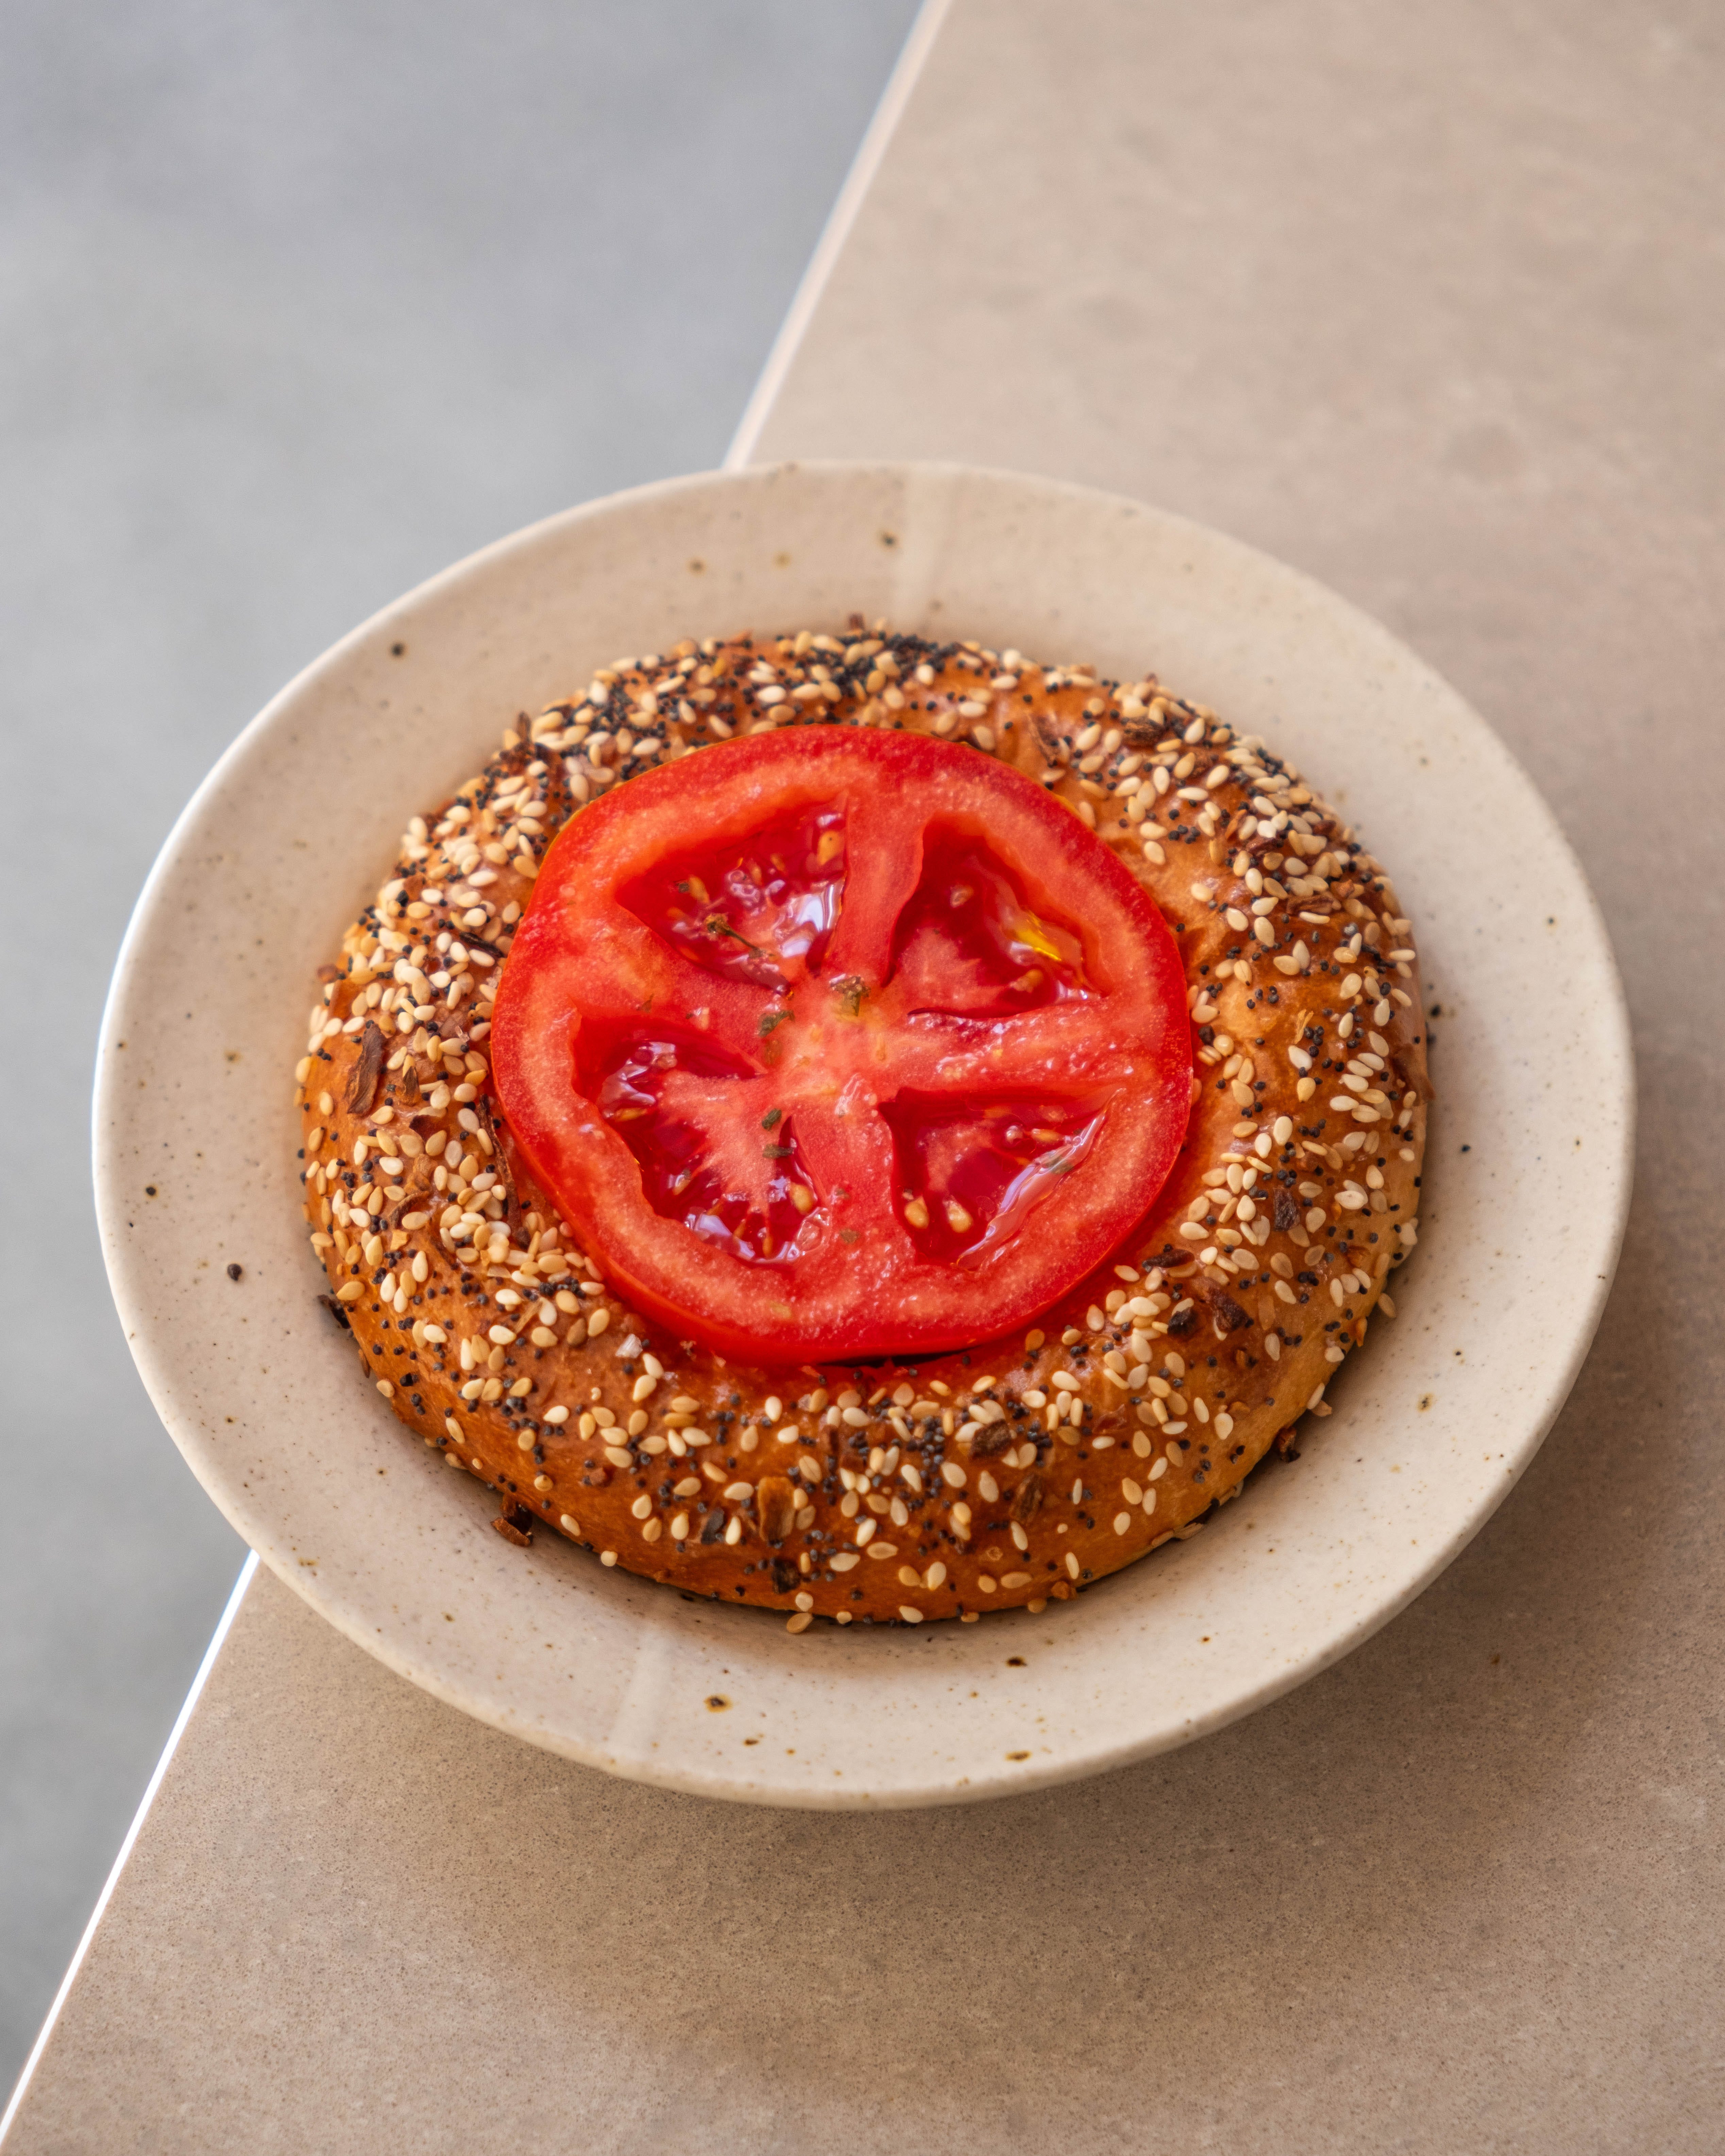
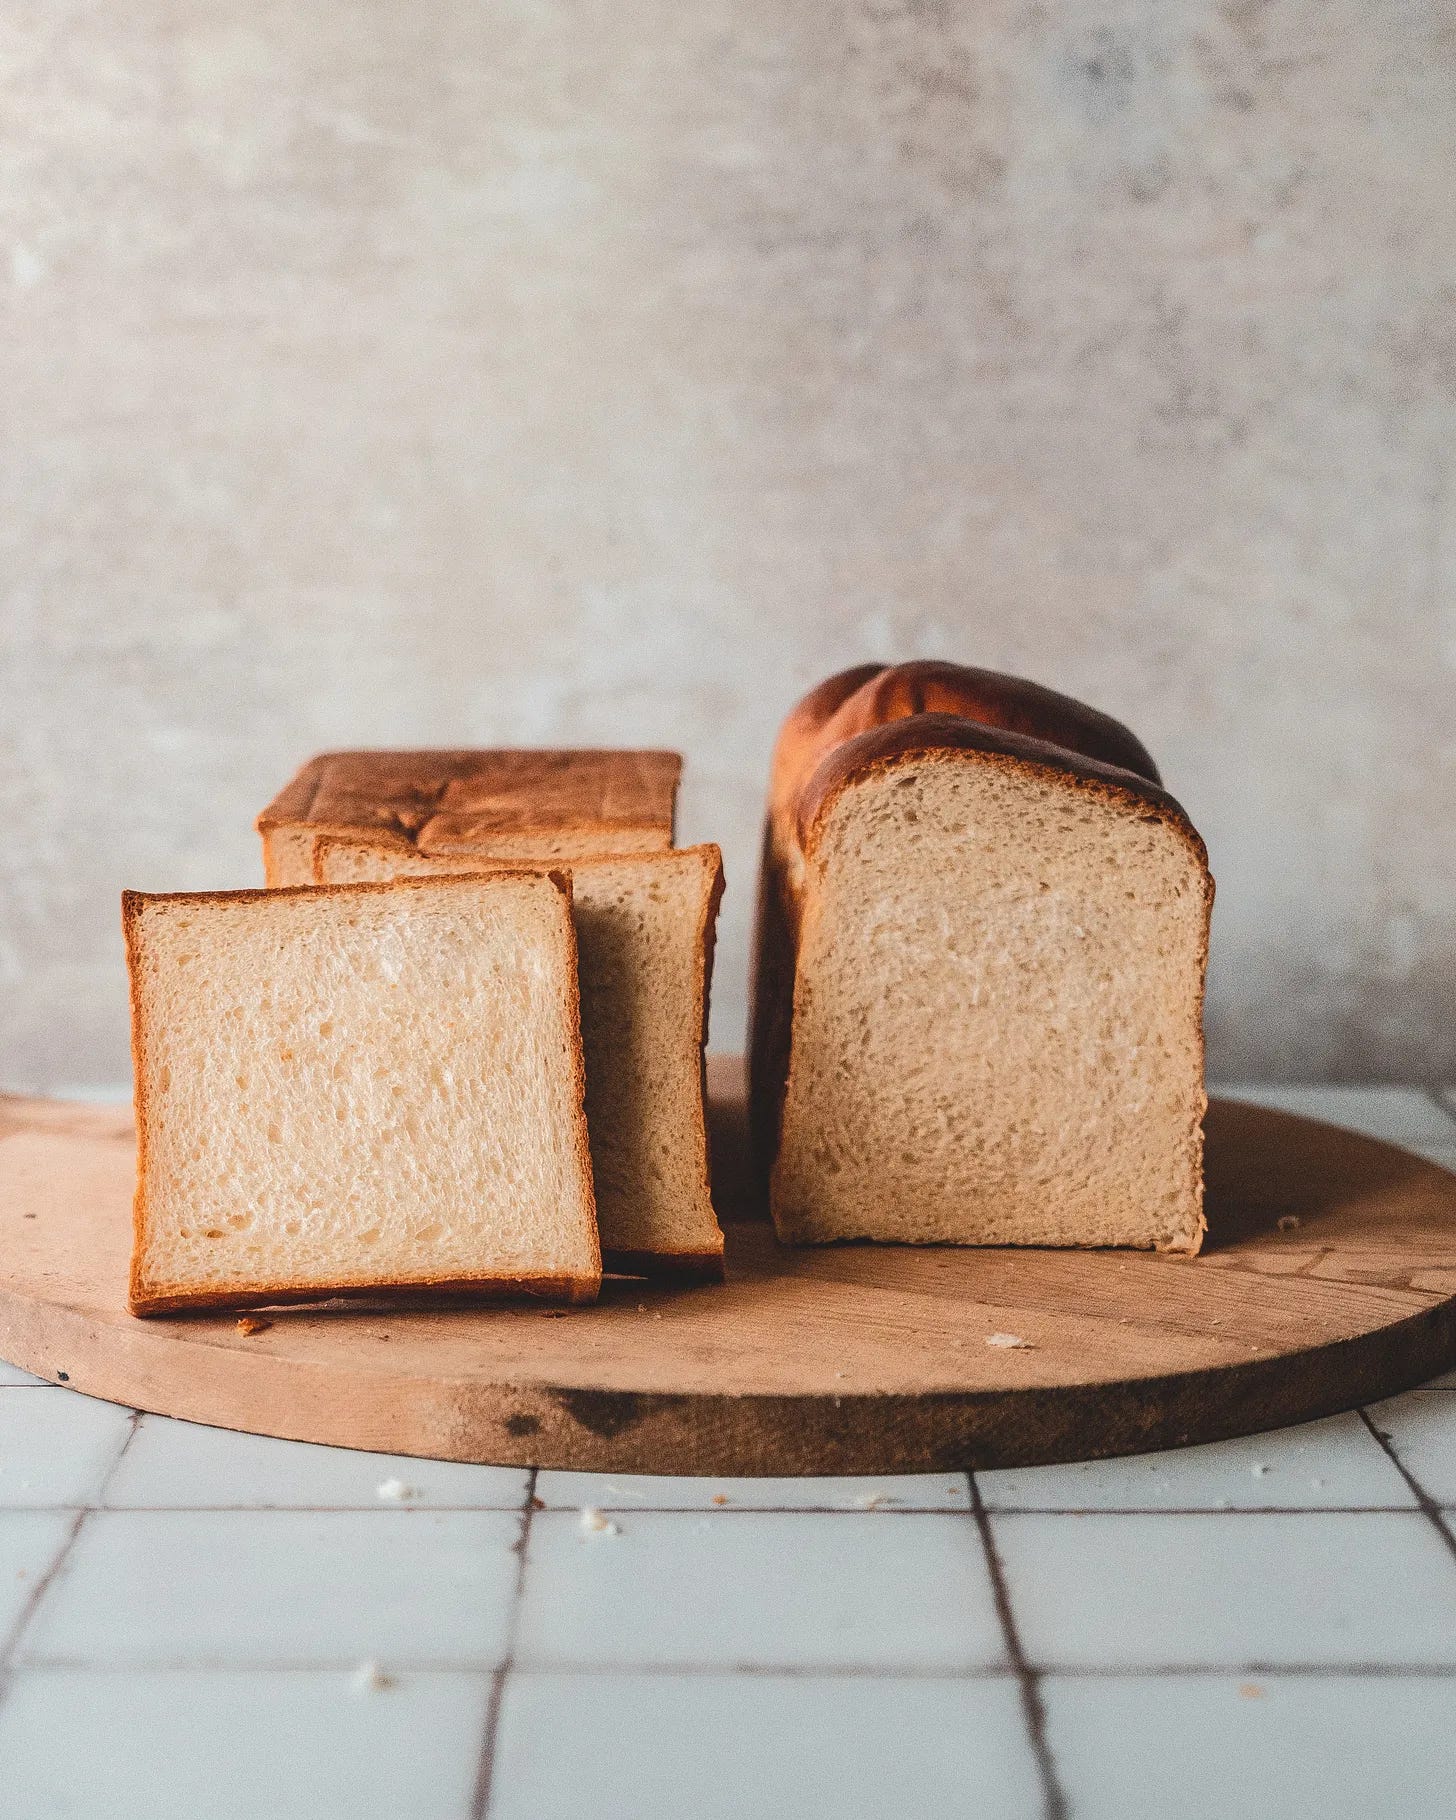
This isn’t quite a classic white bread; this is milk bread. This is one of my favourite doughs to make as it is incredibly adaptable. It makes picture-perfect loaves for all of your sliced white bread cravings, perfect for sandwiches. But the dough can also be used to make all manner of buns, perfect for all of your summer BBQ needs. Once you have this recipe in your arsenal, you’ll have a great bread to turn to time and time again.
What makes this basic so special? Firstly, it makes a beautifully soft, fluffy loaf that replaces the sliced white loaf you would buy in supermarkets. It has so much more flavour, a hugely improved texture, and is made from real ingredients. It also utilises a couple of different techniques that will teach you some very useful skills. The dough is made using a technique known as tangzhong, a roux of flour and milk that, when used, makes a dough that is particularly soft, has a longer shelf life, and crucially is also easier to handle.
Ingredients
The key ingredient in this bread recipe is, unsurprisingly, the flour. To make a bread dough that rises well and has the right texture, you want a flour with a high protein content. Protein content is the building block of gluten and an indicator of how much gluten can be developed in any given dough. Low-protein flours are not good at this, so they are reserved for recipes where tenderness is desired, e.g., cakes. High-protein flour is used when you want chew, in recipes where yeast will be used.
Flour contains various proteins, but two are particularly important: gliadin and glutenin. The latter contributes to elasticity, and the former to extensibility, i.e., the dough's stretch. Wheat flour has a well-balanced mixture of these proteins, making it particularly good for making bread. When you mix flour and water, even if you do not knead the dough, it kick-starts the development of gluten (this is how no-knead breads work). But when you start kneading, you develop the gluten more quickly and efficiently. When you make no-knead bread, you need more time because the gluten develops more slowly when agitation is not part of the process. As you knead the dough, the gluten network strengthens, and it is in this mesh of gluten that air is trapped. When dough is well kneaded, it can hold a large amount of air, resulting in lighter breads with a greater rise. This is why sometimes, when you’re starting out, your breads may be a little dense; the dough wasn’t kneaded enough, meaning the dough couldn’t hold as much air, and so the baked bread has a denser texture.
For this recipe, I use a bread flour with around 13% protein, which equates to a pretty standard bread flour. If you are in the US, it is worth noting that the flours available to you are, frankly, a little confusing. Protein content varies significantly across categories; cake flour, all-purpose, etc.- so you can find flours that are sold as ‘all-purpose’ that have a protein content that stretches anywhere from 10% to 13%. For example, King Arthur All Purpose (a lovely flour) is almost 12% protein, and that would be categorised as a bread flour here in the UK. This means it is always worth looking at the protein content rather than going by the category. Also, and this is a little nerdy and technical, so I can go into it in the comments if you like, but in the US it is best to check what the brand says the protein content is rather than looking at the nutritional information, as this is oddly not always accurate.
When it comes to yeast, I have chosen to use the most readily available in the supermarket: fast-acting dried yeast. Also known as instant yeast. This form of dried yeast can be mixed straight into the dry goods and doesn’t need activating in water first. If ‘active dry’ is all you have on hand, you can also use it without issue, but generally, when using the same amount, it will take a little longer for these doughs to proof, so just bear that in mind.
Yeast Myth
Most recipes developed for active dry yeast call for mixing the yeast with water before adding it to the other ingredients. This watery mixture is then left for 10-15 minutes to activate; it should be bubbly to prove the yeast is alive and active. But is this step actually required? Is this a bit of a baking myth? The answer is simple: this step isn’t actually required, at least not anymore. According to King Arthur Baking, this is a hangover from a different time, and recipe writing just hasn’t really caught up with modern yeast production. Active dried yeast used to be produced by drying yeast cells quickly at high temperature. The outside of the yeast died, and the inner 30% remained active. Mixing the yeast with water and leaving it for 15 minutes dissolved this dead yeast coating and brought the active yeast into play. Modern yeast production means the dormant outer shell is now much thinner, and overall the yeast is much more active than it once was. This means you now can simply mix the active dry yeast into the flour as you do with instant yeast. It does still take a little longer to proof the dough, but you can skip the water step. So, no, it’s not exactly a myth, but it’s an old rule that is no longer relevant.
When it comes to using these two types of yeast interchangeably, many online outlets suggest needing to use more active dry if the recipe calls for instant, as much as 25% more. I find the two yeasts can actually be used interchangeably on a 1:1 ratio. The active dry will take a little longer to rise, but it keeps things nice and simple. The advice given to use more when using active dry is also likely a hangover when this style of yeast was less effective per gram.
Tangzhong
Tangzhong is a technique by which a roux, made with water and flour, or in this case milk and flour, is added to the base dough. When you make bread, you’ll know that the more water you add, the stickier and harder to handle the bread dough can become. If you use some of the liquid and flour to make a roux, you can actually up the hydration without making the dough any stickier or harder to handle. As the roux is cooked, the starch in the flour gelatinises and absorbs the water, and this prevents the dough from becoming stickier or harder to handle. This recipe, for example, has a hydration level of 76%, but when it's kneaded and you’re handling it, you’d never know; it feels like a dough with a significantly lower hydration level, making it much easier to work with.
But more importantly, using this method results in bread that is incredibly soft and stays fresh for longer. This is why I love this technique: it makes the absolute softest bread, which is especially good for making into burger buns.
Tangzhong is not the only form of this method. Tangzhong is the Mandarin name for this method, and Yudane is the Japanese name. After the method was popularised by the Taiwanese author Yvonne Chen in her 2007 book ‘65C Tangzhong Bread’, the Mandarin term has become the dominant English term for it. Whilst the names are often used interchangeably, there is actually a difference in the two methods. In the tangzhong method, flour and liquid are mixed together in a saucepan and cooked to form a paste. Yudane is made simply by pouring very hot liquid over the flour and mixing together to create a paste. Personally, I have always used the tangzhong method, but both achieve a similar end result in the bread.
The Loaf Pan
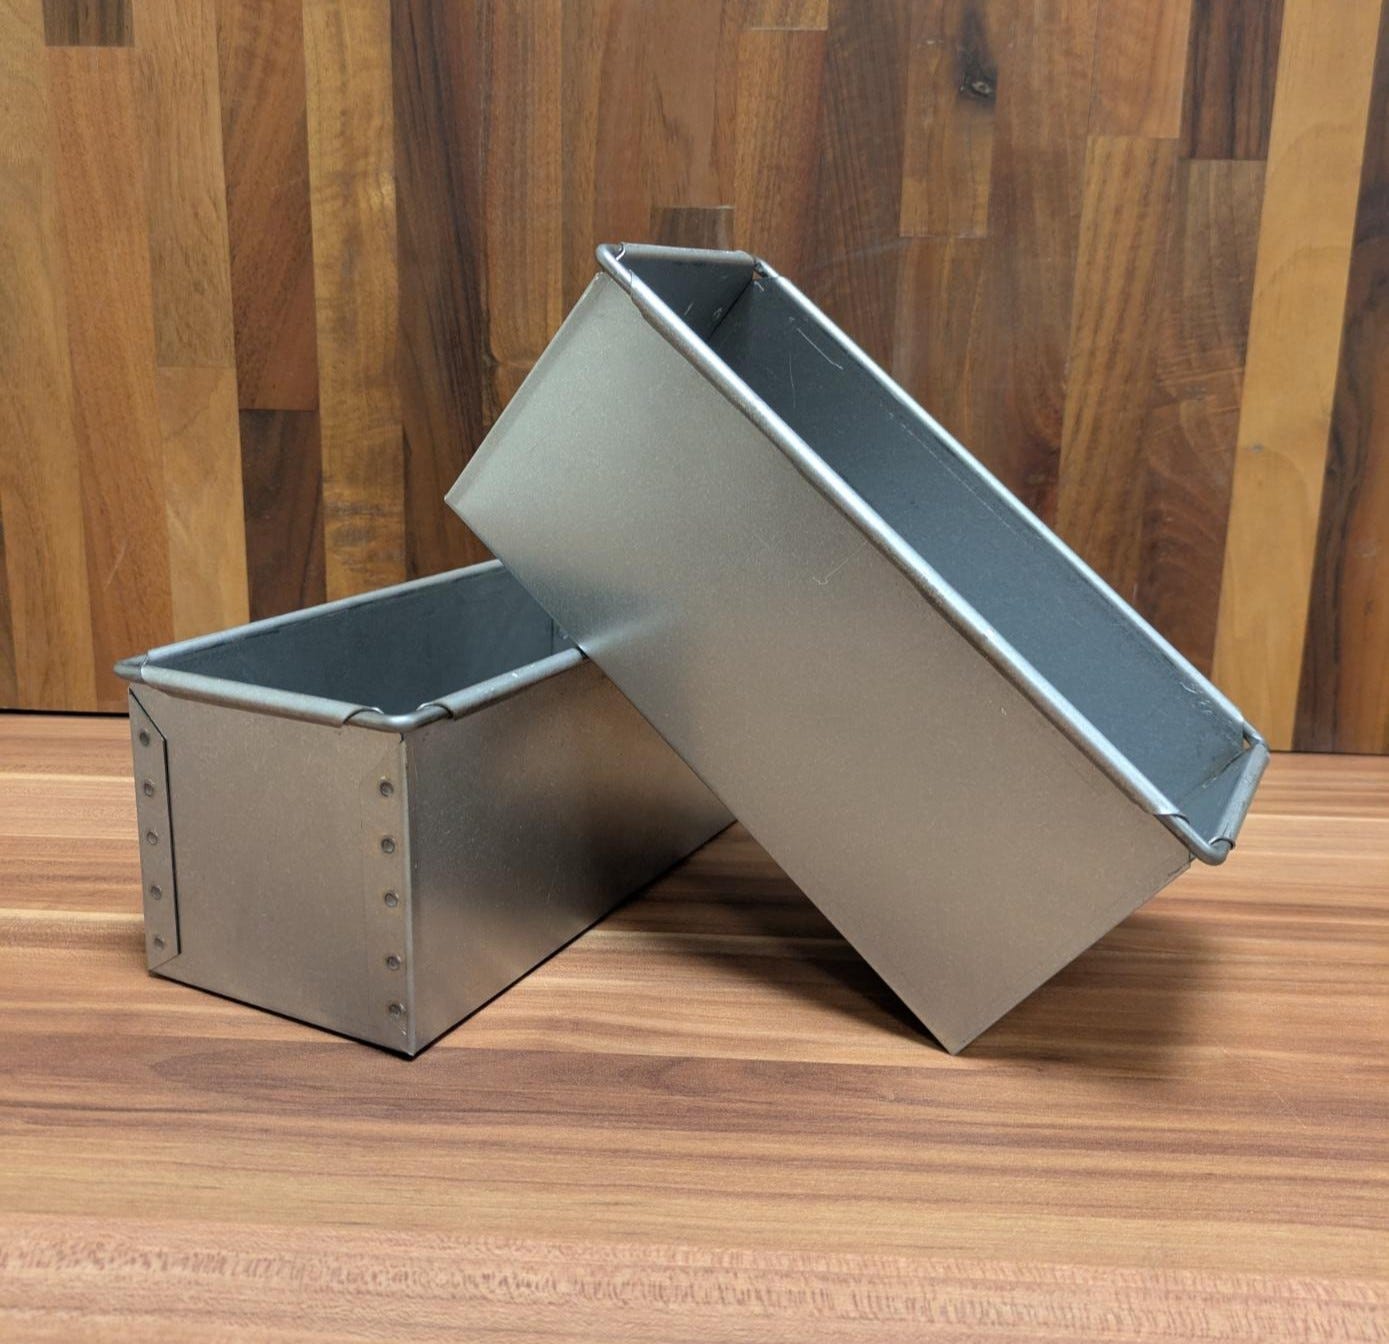
To make the recipe below, you’ll need one or two Pullman pans that measure 9x4x4 inches. This will create a lovely square loaf, perfect for sandwiches. If you’re in the UK, the brilliant Rackmaster (a metal fabricator that supplies commercial bakeries all over the country) sells a brilliant set of two for around £20 (FYI, you order the pan and lids separately). This pan size is smaller than a traditional loaf of Japanese milk bread, but it is the most common Pullman pan size available outside of Japan. USA Pan also makes pans in this style and size, but they’re more expensive.
A Really Good Loaf Of Bread
Makes 2 Loaves
700g strong white bread flour (around 13% protein)
535ml whole milk, chilled
14g fine salt
10g fast-action dried yeast
2 tbsp honey
100g unsalted butter, room temperature
To make the tangzhong/roux, add 50g of the total flour and 125ml of the total milk to a small saucepan and place over medium heat. Cook, whilst stirring constantly, until the mixture thickens to a paste-like consistency. To ensure the flour is gelatinised, it should reach 65ºC, but you don’t need a thermometer. If the paste has a thick, almost wallpaper paste consistency, it will have reached the desired temperature.
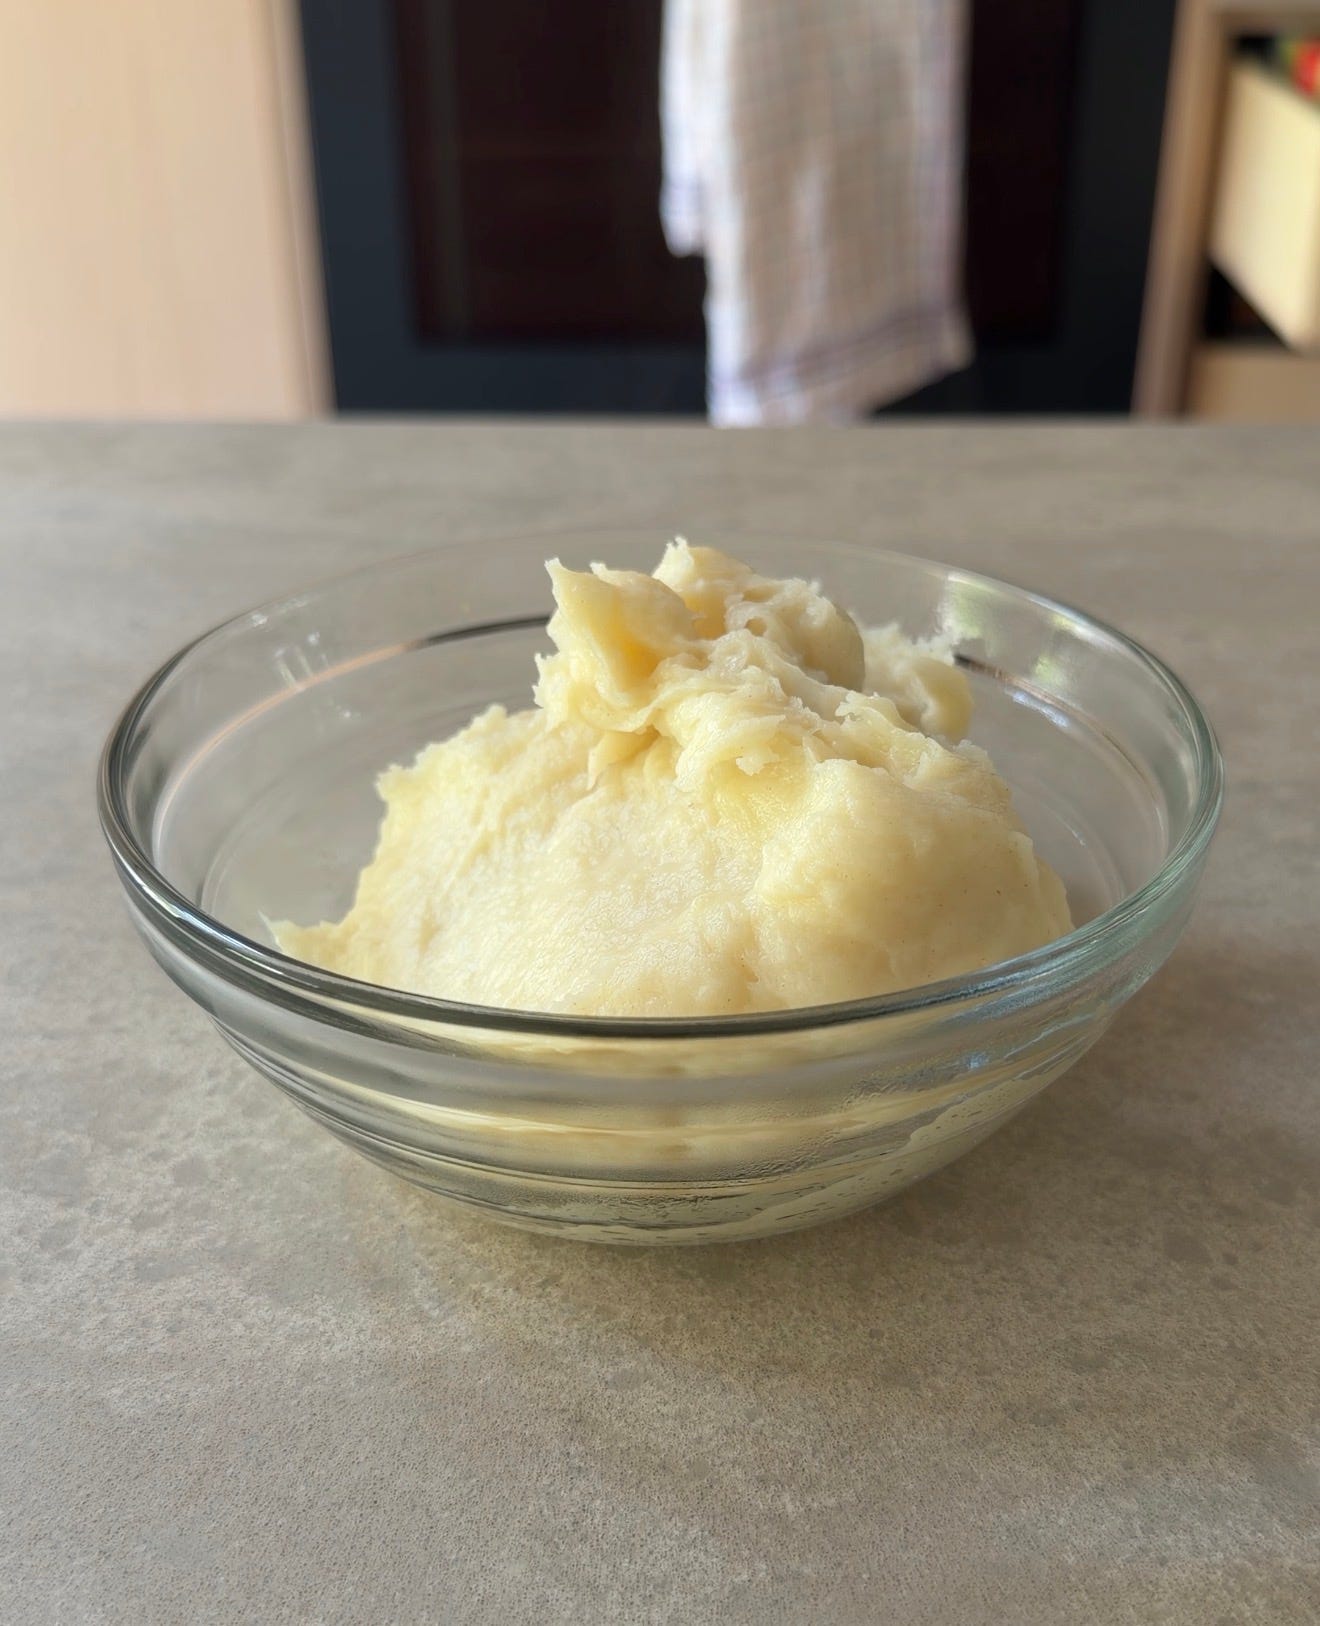
We need this paste to cool before it can be used; scrape the paste into a small bowl and cover with clingfilm (pressing onto the paste to prevent a skin from forming) and set aside for 30 minutes.
Add the remaining flour, salt, and yeast to the bowl of your stand mixer and briefly mix to combine. Pour the milk, tangzhong paste, and honey into the flour mixture and, using the dough hook, mix until a shaggy dough forms. On low/medium speed, knead the dough for about 8-10 minutes or until smooth and elastic. The dough is ready when it has a smooth, supple-looking skin and forms a ball that no longer sticks to the bottom or the sides of the bowl.
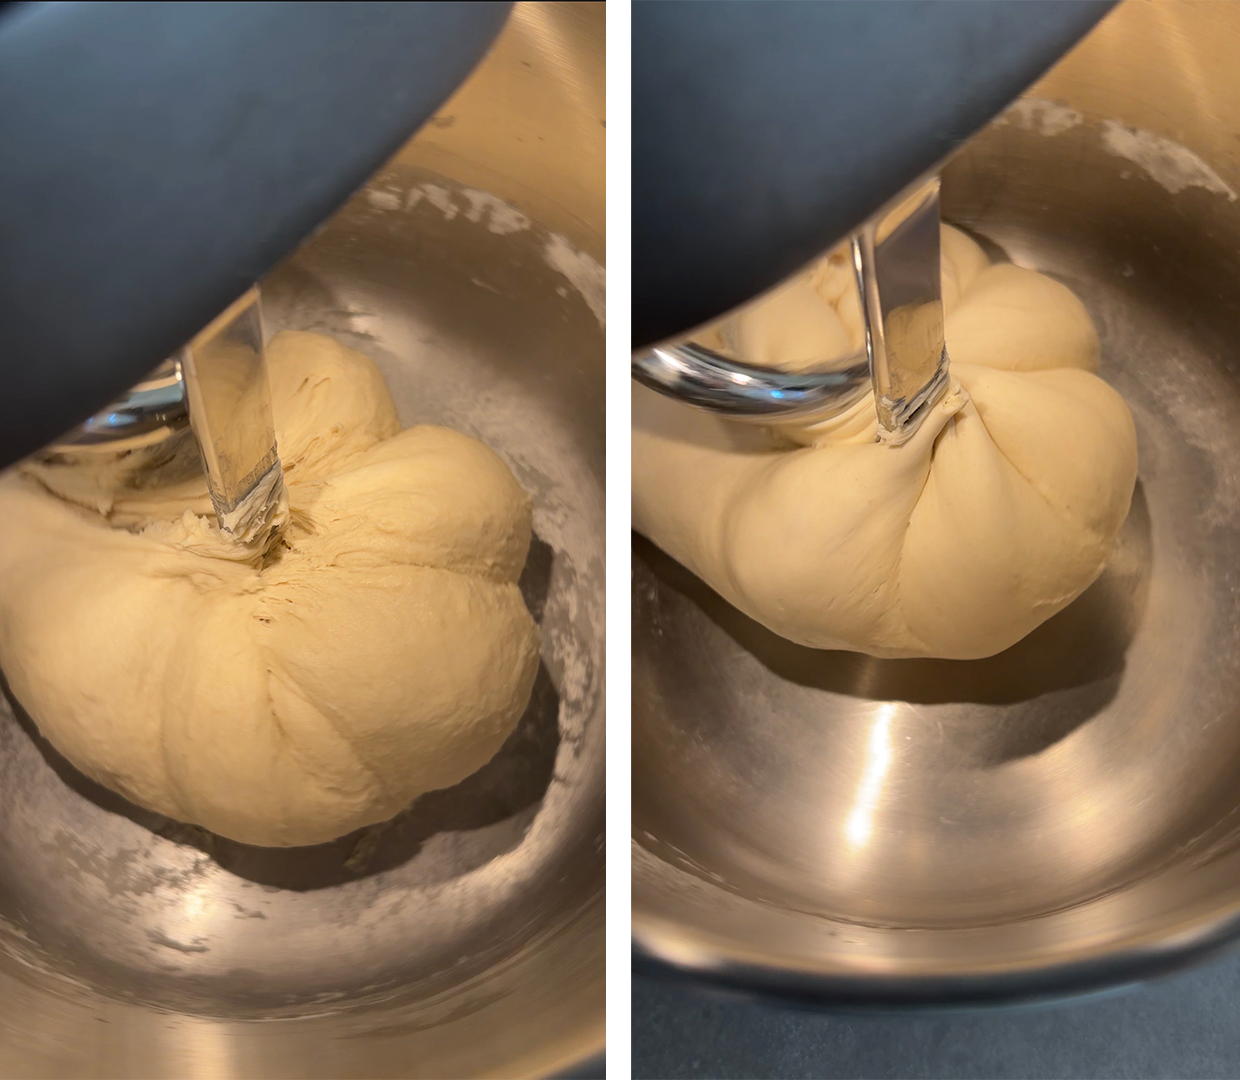
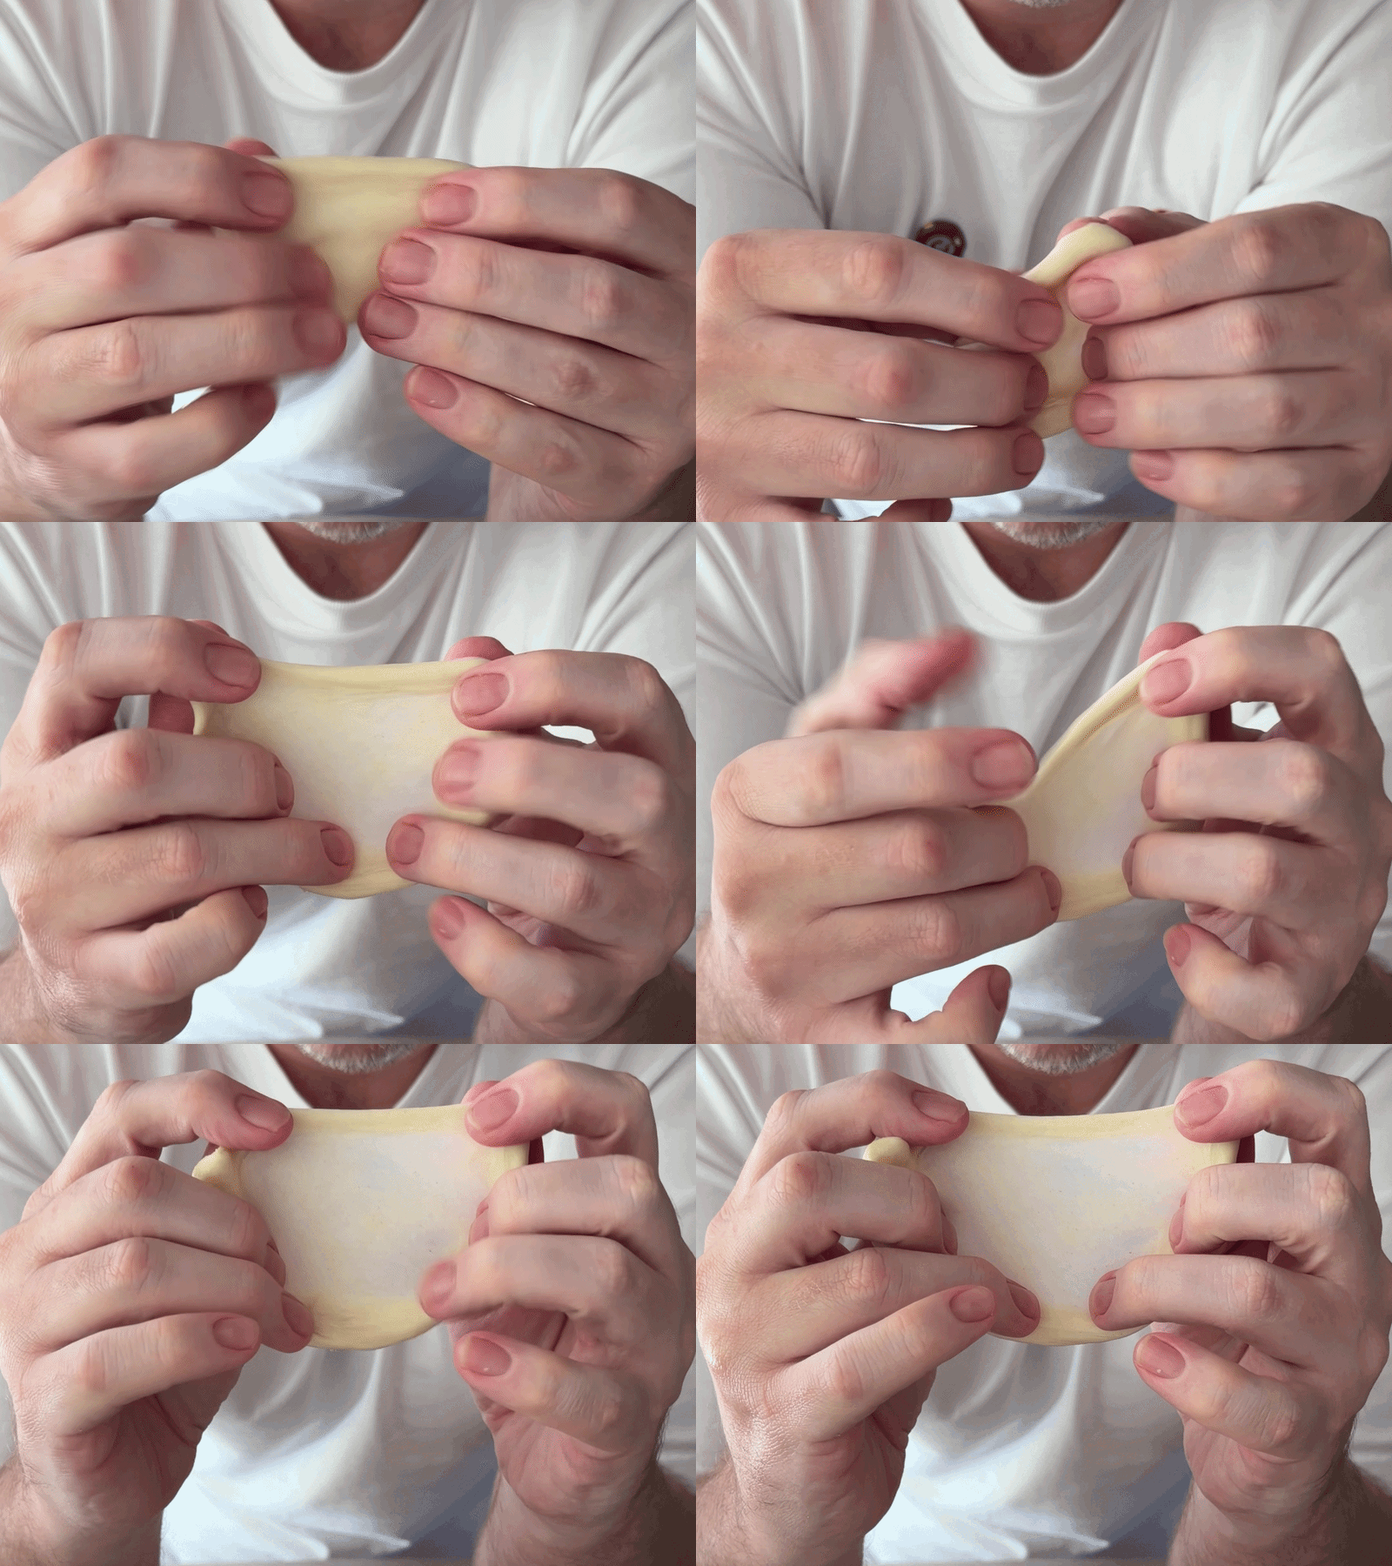
With the mixer still running, add the butter a couple of pieces at a time and knead until the butter is fully incorporated and the dough is smooth and elastic again; this can take up to a total of 10 minutes. The finished dough should look as it did before, with a smooth, supple skin, and should cling to the dough hook rather than stick to the sides or bottom of the bowl. A good way to test whether the dough is ready is to do the windowpane test. This test allows us to judge how well the gluten network is developed. Take a small piece of the dough in your hands and gently stretch it out. If the dough tears, it is underdeveloped and weak. If the dough can be stretched to form a thin membrane you can almost see through, it has passed the test and is well developed and strong.
Tip the dough out onto the work surface and form into a ball. To do so, fold the edges of the dough over itself into the middle, creating a taught skin. Flip the dough over so the seam is resting on the work surface and the smooth skin of the dough is facing up. Cup your hands around the dough and gently drag it towards you, tightening it slightly. Do this a couple of times until the skin of the dough is nice and taught. Place the dough into a lightly greased container seam-side down, cover, and set aside until the dough has doubled in size. Depending on the room temperature, this should take 60-90 minutes.
Remove the risen dough and knock back to deflate. Divide into two equal pieces, preferably by weight, and then each piece into three. Form each piece of dough into a round, as before, and cover with a kitchen towel, setting aside for 15-20 minutes to relax the dough.
To prepare the Pullman pans, we need to lightly grease them. You can do this with softened butter or, as I prefer, use a cake release spray to ensure the entire pan and lid are evenly coated.
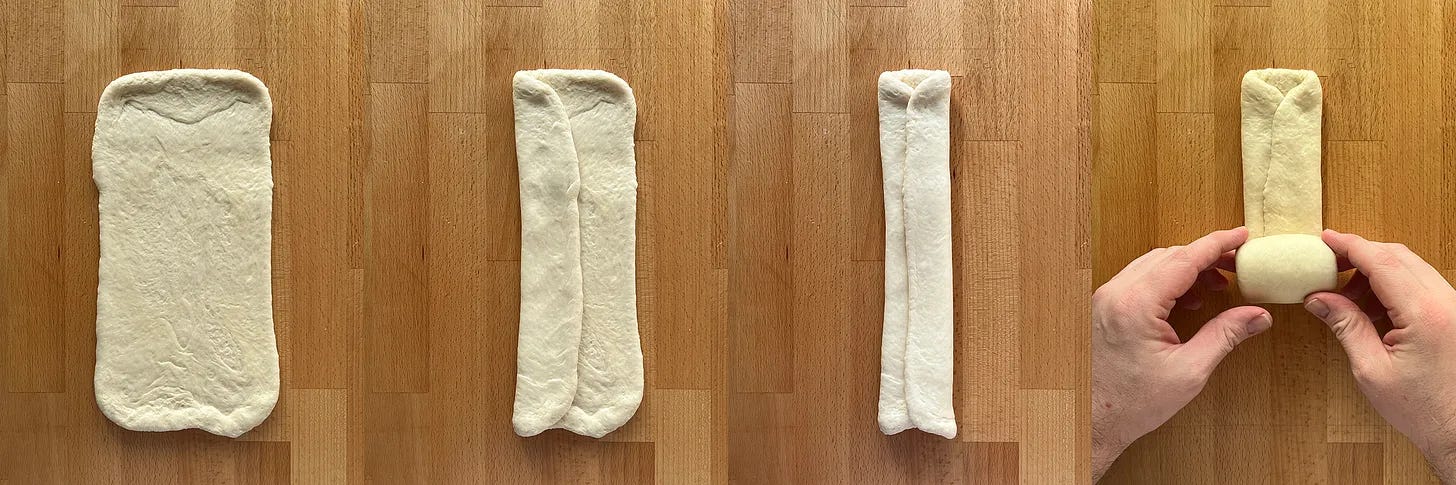
Working with one piece of dough at a time, roll out into a rectangle that is roughly 15x25cm. Fold the dough into thirds, then roll up like a Swiss roll. Place the rolls, with the end facing down, into the prepared pans, three rolls per pan. This rolling stage may seem unnecessary, but it adds extra structure to the dough, helping the bread hold its shape as it bakes.
If you are making a square loaf, slide on the lid; if making a rounded-top loaf, just cover the pan with clingfilm. Set aside for 60-90 minutes, or until the dough is about 1-2cm from the top of the pan. With the rounded-top loaf, you can push the second rise a little further, but with the square loaf, you need to be careful: if you proof it any further, it could get stuck in the pan's lid as it bakes.
Whilst the bread is proofing, preheat the oven to 220ºC (200ºC Fan).
Just before baking, brush the rounded top loaf with egg wash to give a pleasing shiny finish. Bake the rounded top loaf for 25 minutes and the square loaf for 30 minutes. The colour of the baked rounded loaf will be a deep golden brown, like a good French brioche.
When you remove the loaves from the oven, give them a firm couple of taps on the work surface, then turn them out onto a wire rack to cool completely. This tapping helps loosen the loaves from the pan and also prevents shrinking. For the square loaf, do the same tapping motion before you slide off the lid. Shrinking can also be caused by slight underbaking or over proofing of the dough. When underbaked, the loaf has more moisture left, which causes shrinkage; when overproofed, the dough starts to lose its strength, so it can collapse a little as the bread cools.
Allow to fully cool before slicing. Store the cooled loaves in sealed bread bags (beeswax-coated bags are my favourite for this), or slice and freeze for use at a later date.
Tip: if making a square loaf, utilising the lid of the Pullman pan, and you end up with a loaf with a teensy muffin top where it has pushed up into the lid, this is generally a sign that you took the second proof of the loaf a little too far, and you need to bake the loaf a little earlier next time.
Buns
To make this dough into burger buns, divide the proofed dough into sixteen 85g portions and form into neat balls. Divide the buns, seam side down, between two large parchment-lined baking trays. Lightly cover with clingfilm or damp kitchen towels and set aside until doubled in size. Brush the proofed buns with beaten egg, then bake for about 13-15 minutes, until golden brown.
Love milk bread. I have a particular fondness as it's the last thing I baked for my dad on my last visit before he died. For clarification, the milk bread didn't kill him. Anyway, Pullman tins ordered. I shall be making your recipe with very sweet memories of my dear Pub. X
I figured out the active dry yeast tip when I was writing my book in 2021 - it felt like I was swimming up stream a bit but after enough testing and research I knew it was true! Love reading about it here. And am now excited to pull out my underused Pullman loaf pan. Thank you!!