SPECIAL OFFER FOR NEW PAID SUBSCRIBERS
To celebrate a year on substack, and almost 20,000 free subscribers (still blows my mind) I wanted to give a 20% discount to new paid subsribers or those free subsribers who want to upgrade their subsription to a paid one. As normal you can subscribe for as long or as short as you’d like but if you subscribe by the end of the month you’ll get 20% your subription for up a year.
This week marks my 1 year anniversary on Substack, I cant believe a full 12 months and countless recipes are already in the rear mirror. It has been such a brilliant year, moving to Substack has been the best decision! I have loved writing on this platform, it has given me the freedom to write recipes that I love, without having to consider what the algorithm gods want and without the need to keep the recipes short and sweet so they fit into a print publication. I can unleash my full baking nerd and give you deep dives on recipes and do what I love which is spread the good word about butter, sugar eggs and flour. In just one year this newsletter has gone from zero subscribers to just shy of 20,000 free subscribers, it has grown so quickly I can only assume you all love baking just as much as I do. I thought, since I am in the celebratory mood, I should do something a bit special. Firstly, todays post, a paid subscriber post on homemade baguettes, has been made public for everyone to enjoy, and secondly I am launching a really fun range of merch! To celebrate the anniversary and the launch of the merch shall we do a giveaway? Yes, I think we should.
Introducing ‘Butter’
You might be wondering why butter? Why not The Boy Who Bakes. Well the simple answer is I was never sure about doing The Boy Who Bakes merch, I couldn’t quite visualise what that would look like, but when I thought about what I would want to do I kept coming back to same idea. Butter. Butter is at the heart of absolutely everything I do and of course it makes everything taste so much better, so why wouldn’t you want to wear it proudly on your chest. Butter, simple but delicious and more than worthy of merch. The design is inspired by the packaging of American sticks of butter, a really simple and graphic design that I really love.
The design is available in four different products, a cap, a hoodie, a sweatshirt and a t-shirt and each product is available in blue black or white, all coming with yellow wording. The design is stitched rather than printed which gives it a really high quality feel and look. I have been wearing my own personal cap and hoodie almost daily for the past couple months, whilst desperately trying to keep the design a secret until it was 100% locked in, and they are so comfortable and the design is just brilliant, I have had so many compliments from people who’ve spotted me wearing it. The merch was created through a partnership with the wonderful folk at Novel Mart which means the range is available WORLDWIDE, this is because they use a print on demand model, with multiple production facilities based around the world, to reduce over production and to reduce waste.
The range is available for all of you from TODAY!
To win a merch item of your choice, some Nordicware bakeware and a copy of my book Small Batch Bakes all you have to do is leave a comment down below or on todays instagram post announcing the competition. A winner will be picked at random Monday morning and announced on this post and on the instagram post. You can enter once per platform, so if you are a subscriber to this newsletter and seeing this post you can double your odds if you enter on this post here and on instagram.
But now to baguettes!
No Knead Baguettes
Makes 3
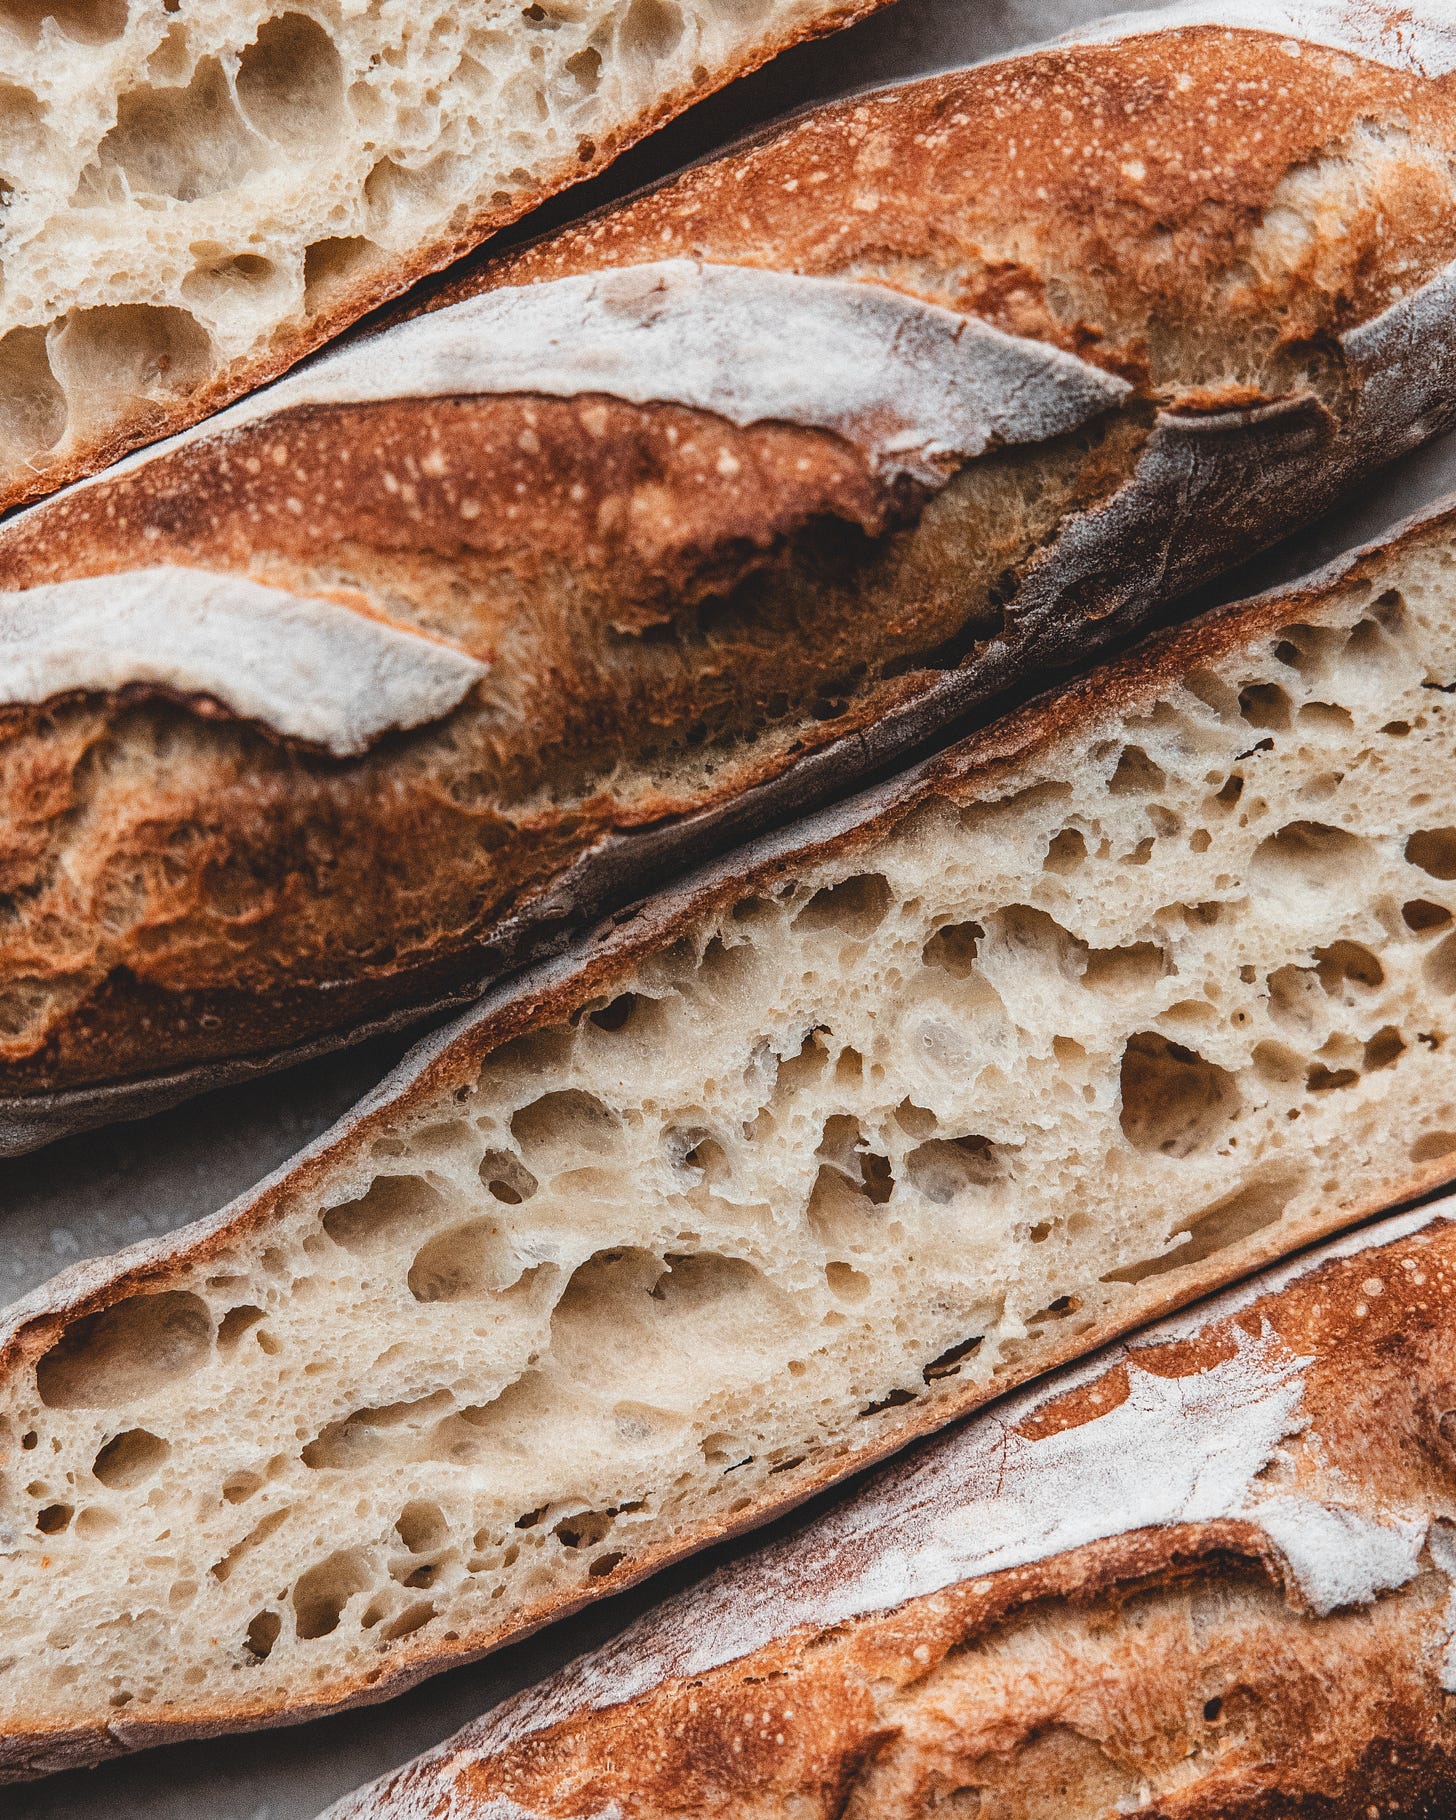
I fear I may have a new obsession, making the perfect baguette. Making picture perfect baguettes is far from easy, in fact I’ve heard multiple bakers claim them to be one of the hardest breads to make. This level of difficulty is not because the dough is harder to make, the difficulty comes from all of the nuances in making the baguettes, shaping the dough, scoring the baguettes, ensuring the correct proof, they’re easy to make but hard to perfect. Because the dough is relatively high in hydration, it can be a tricky affair making perfectly elongated loaves but don’t let this put you off though, a dodgy looking baguette can still be a fabulous tasting baguette.
For the flour, baguettes are traditionally made with a French flour known as T55. This is a white flour (although with a little more bran than British white flours), with a medium protein content of around 10-11%. To make something similar you could track down a bag of T55 (the brilliant Bakery Bits always have a great selection of continental flours) or you could make a make-do blend of plain and bread flour, which is what I have done here.
The recipe is made in a similar manner to many no-knead breads which means it uses a very small amount of yeast. I have given the weight for this but regular baking scales are not accurate enough to weigh such small amounts, so I use a cheap set of jewellers scales I bought online. I have also included teaspoon measures to make things easier. The recipe also uses the poolish method, a great way to amplify the flavour of the bread without having to use a sourdough starter, a method which you might remember from the ciabatta recipe.
350g white bread flour
150g white plain flour
1.5g fast action dried yeast
10g fine sea salt
350ml water (22ºC)
Poolish
To make the poolish, pour 165ml of the water and 0.5g (1/8tsp) of the yeast into to a bowl and whisk to combine. Mix together the two flours and add 165g of this mixture to the bowl with the water and mix to form a batter like dough. Cover, and set aside for about 6 hours or until the mixture has tripled in size, is domed on top and is full of bubbles. To measure the rise of the poolish I like to make this is a plastic quart container which is tall and relatively narrow, it is much easier to judge rise in this, compared with a bowl. Once filled with the poolish I attach a strip of tape to the outside of the container and mark the level of the poolish with a marker.
Main Dough
In a large bowl pour in the remaining water and yeast (1/4 tsp) and give a brief mix to dissolve the yeast. Scrape in the poolish and use your hand to combine a little. Pour in the remaining flour and the salt and mix to form a shaggy dough. This dough isn’t kneaded but we do want to build up strength, so once a dough is formed we will preform a bunch of stretch and folds for two minutes. If you’ve made any no-knead or sourdough breads you’ll recognise this technique (check out this post for a guide to stretch and folding dough). Cover the bowl and set aside for an hour to bulk ferment. Every 20 minutes do 1 set of stretch and folds to build up the strength in the dough. After the last stretch and fold, transfer the dough to a lightly greased rectangular container (I use a 16X23 2.5ltr Tupperware container). As the dough rises it will form to the shape of the container and this rectangular shape will make the shaping process a little easier further down the road.
Once the hour is up let the dough rest for a further 30 minutes before transferring the dough to the fridge for 12-24 hours. It is likely you could leave the dough up to 48 hours but as yet 24 hours is the longest I have left the dough.
Tip the dough out onto a lightly floured worksurface. Use a dough scraper to cut the dough into three equal sized pieces. At this point we want to give them a simple preshape which will help us when it comes to elongating the dough into our baguette shape. To do this I like to fold two of the sides into the middle and then gently roll the dough up like a Swiss roll (see video below for help with this). Once shaped the pieces of dough need to relax, if you try to roll them out now the dough will fight you, so cover them with a kitchen towel and leave for 30 minutes.
Just before you start the final shaping you need to start preheating your oven and, if you have one, a baking stone. Set the oven to 250ºC (230ºC Fan) and place a baking stone in the middle of the oven, with a roasting tray set on the rack below. If you don’t have a baking stone, or steel, place two stacked baking trays onto the middle rack.
To give our baguettes their final shaping, work with one piece of dough at a time, place the dough seam side up in front of you fold the top edge one third down (almost like folding a business letter). Flip the dough 180º and then fold over the new top edge in the same manner, slightly overlapping the first fold. For the final part of this process fold the top edge over to meet the bottom edge, pressing this join firmly to seal.
To elongate this into a baguette we want to roll it out into a roughly 35-40cmcm baguette (traditional baguettes are longer of course but we are limited by the size of home ovens). Start the rolling with one hand in the centre of the baguette and once you’ve thinned out the centre a little use two hands working your way out from the centre, elongating the dough to a 35-40cm baguette. As your hands get to the end of the baguette, you can use a little extra pressure to add thin tapered ends. To do this successfully you want to add as little flour as you can. If the surface has too much flour it becomes impossible to roll the dough, it will just slip and slide.
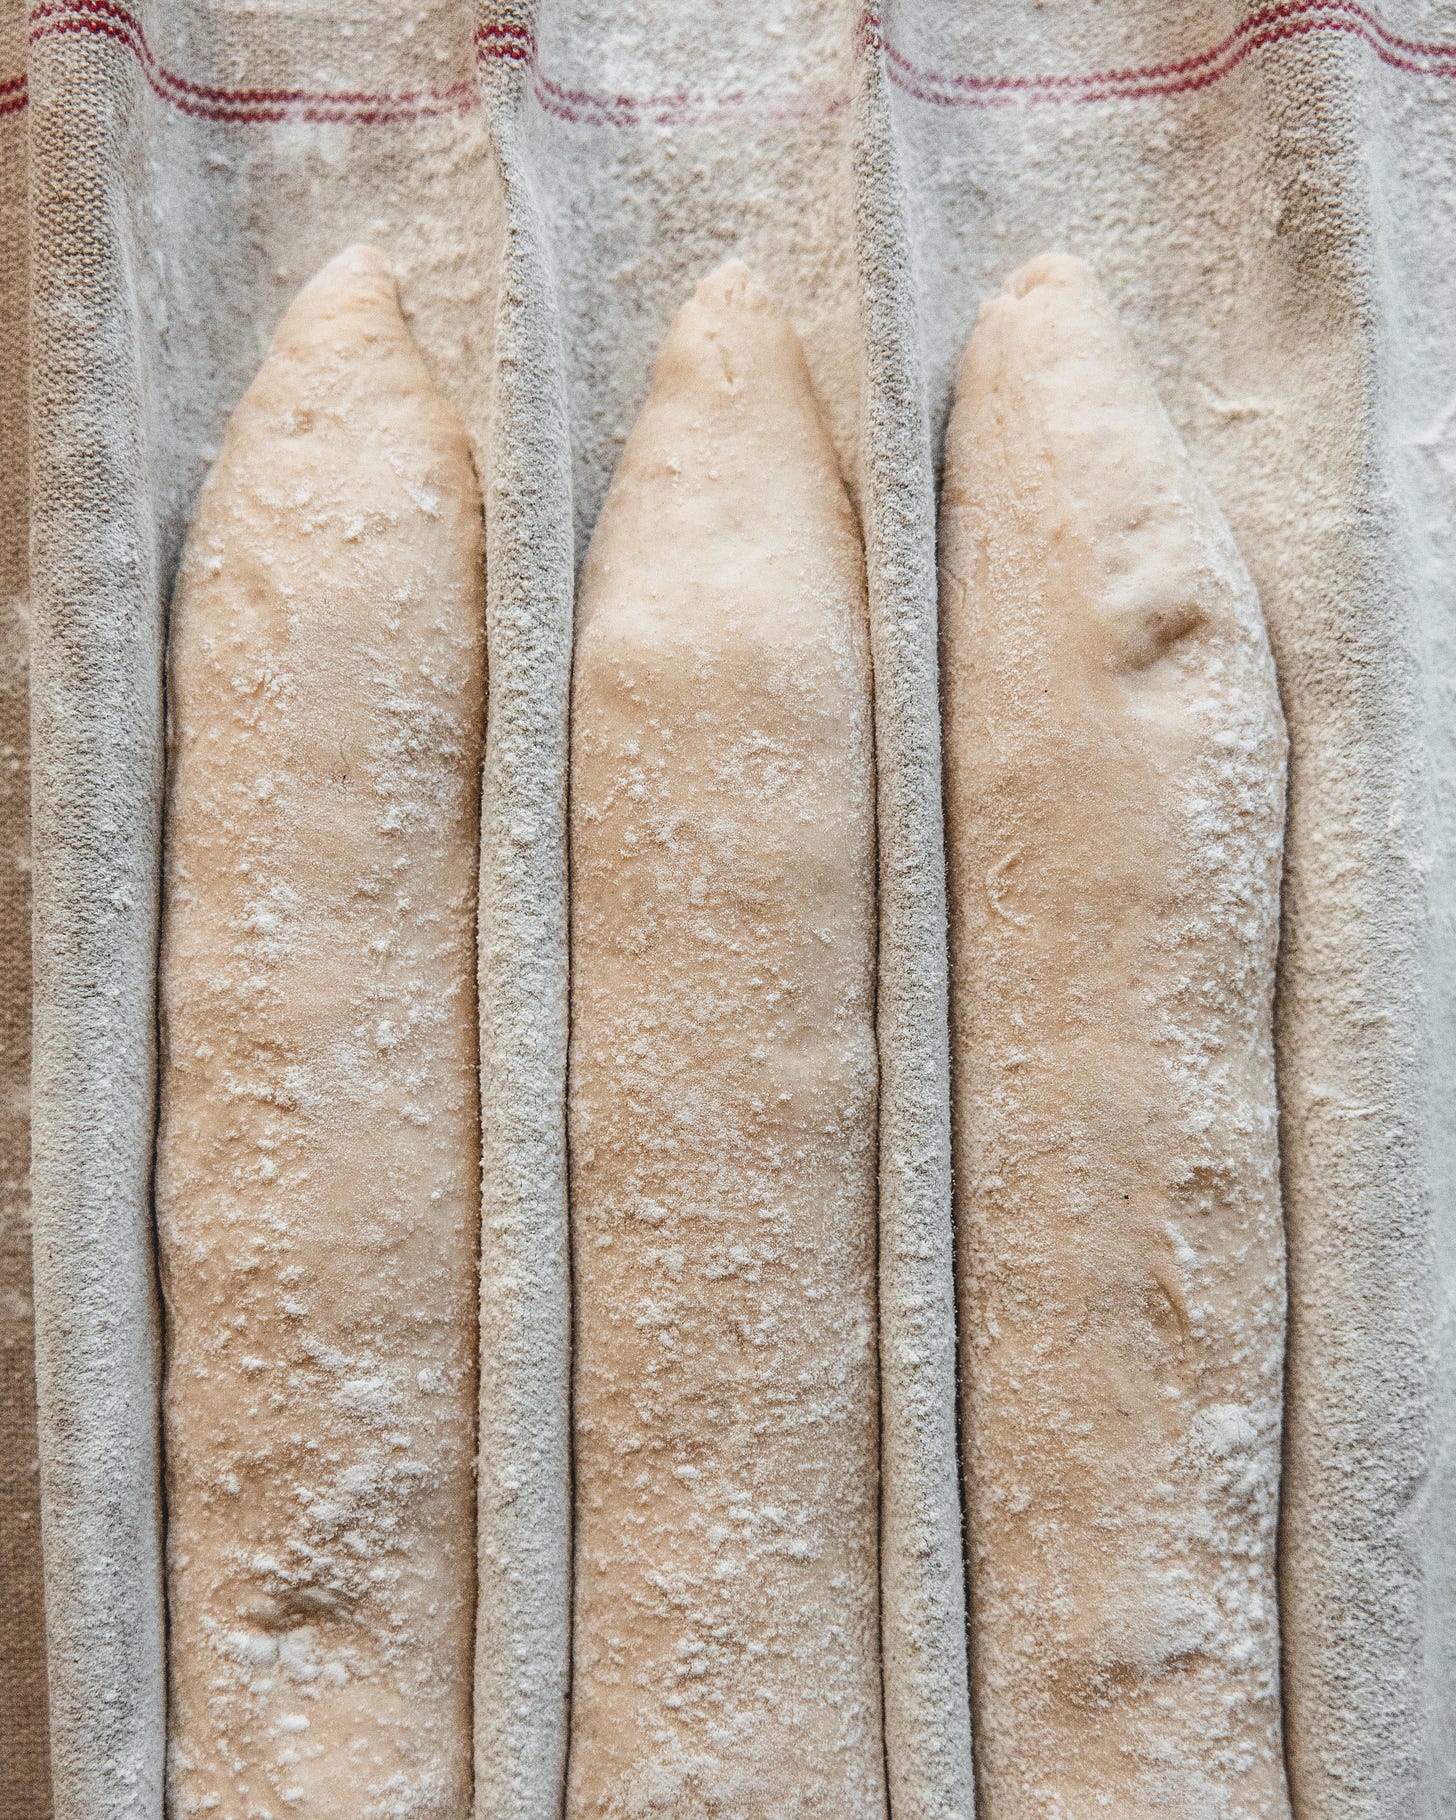
Once you have rolled out the baguettes you want to transfer them to be proofed. Traditionally you would use a large piece of thick linen called a couche. If you don’t have one (why would you) you can use a thick cotton kitchen towel. Dust the couche or kitchen towel with a little flour and then lay the baguette, seam side up, onto the couche. Create a crease on both sides of the baguette, to hold it in place, and then repeat with the remaining pieces of dough. Once all of the baguettes have been shaped, either fold over the excess couche material or cover the baguettes with a second kitchen towel. Leave the baguettes to prove, this will take 45-60 minutes. The baguettes are proofed when they pass the finger test. If you press your finger gently into the dough it should slowly spring back and fill back in about half way. If the dough springs back quickly and fills in completely, the dough is underproofed and needs a little longer, If the dough doesn’t spring back at all and holds the indentation, it is over proofed and needs to be baked immediately.
When ready to bake you will need to transfer the baguettes to some form of baking peel, such as a pizza peel. It is unlikely you’ll have a peel or if you do it is likely made for pizza and may be too small (you need something to hold the full length of the baguettes). Instead you can use a flat baking tray lined with parchment paper, the type known as a cookie sheet works well as it has no rim. I don’t own cookie sheets so instead I simply use a thin wooden chopping board which happens to be the same width as the baguettes. To transfer the baguettes to your peel, you need to be as careful as possible because the baguettes are full of air and are now very delicate. To do this, you would traditionally use a narrow wooden paddle known as a planchette. Now, again, it is unlikely you have one of these but you will likely have something you can use in its place. The planchette very closely resembles a short length of floorboard, so if you have any offcuts lying around from your latest diy project, that would be perfect. If not, you can use a second cookie sheet or you can use a piece of very stiff cardboard as I do.
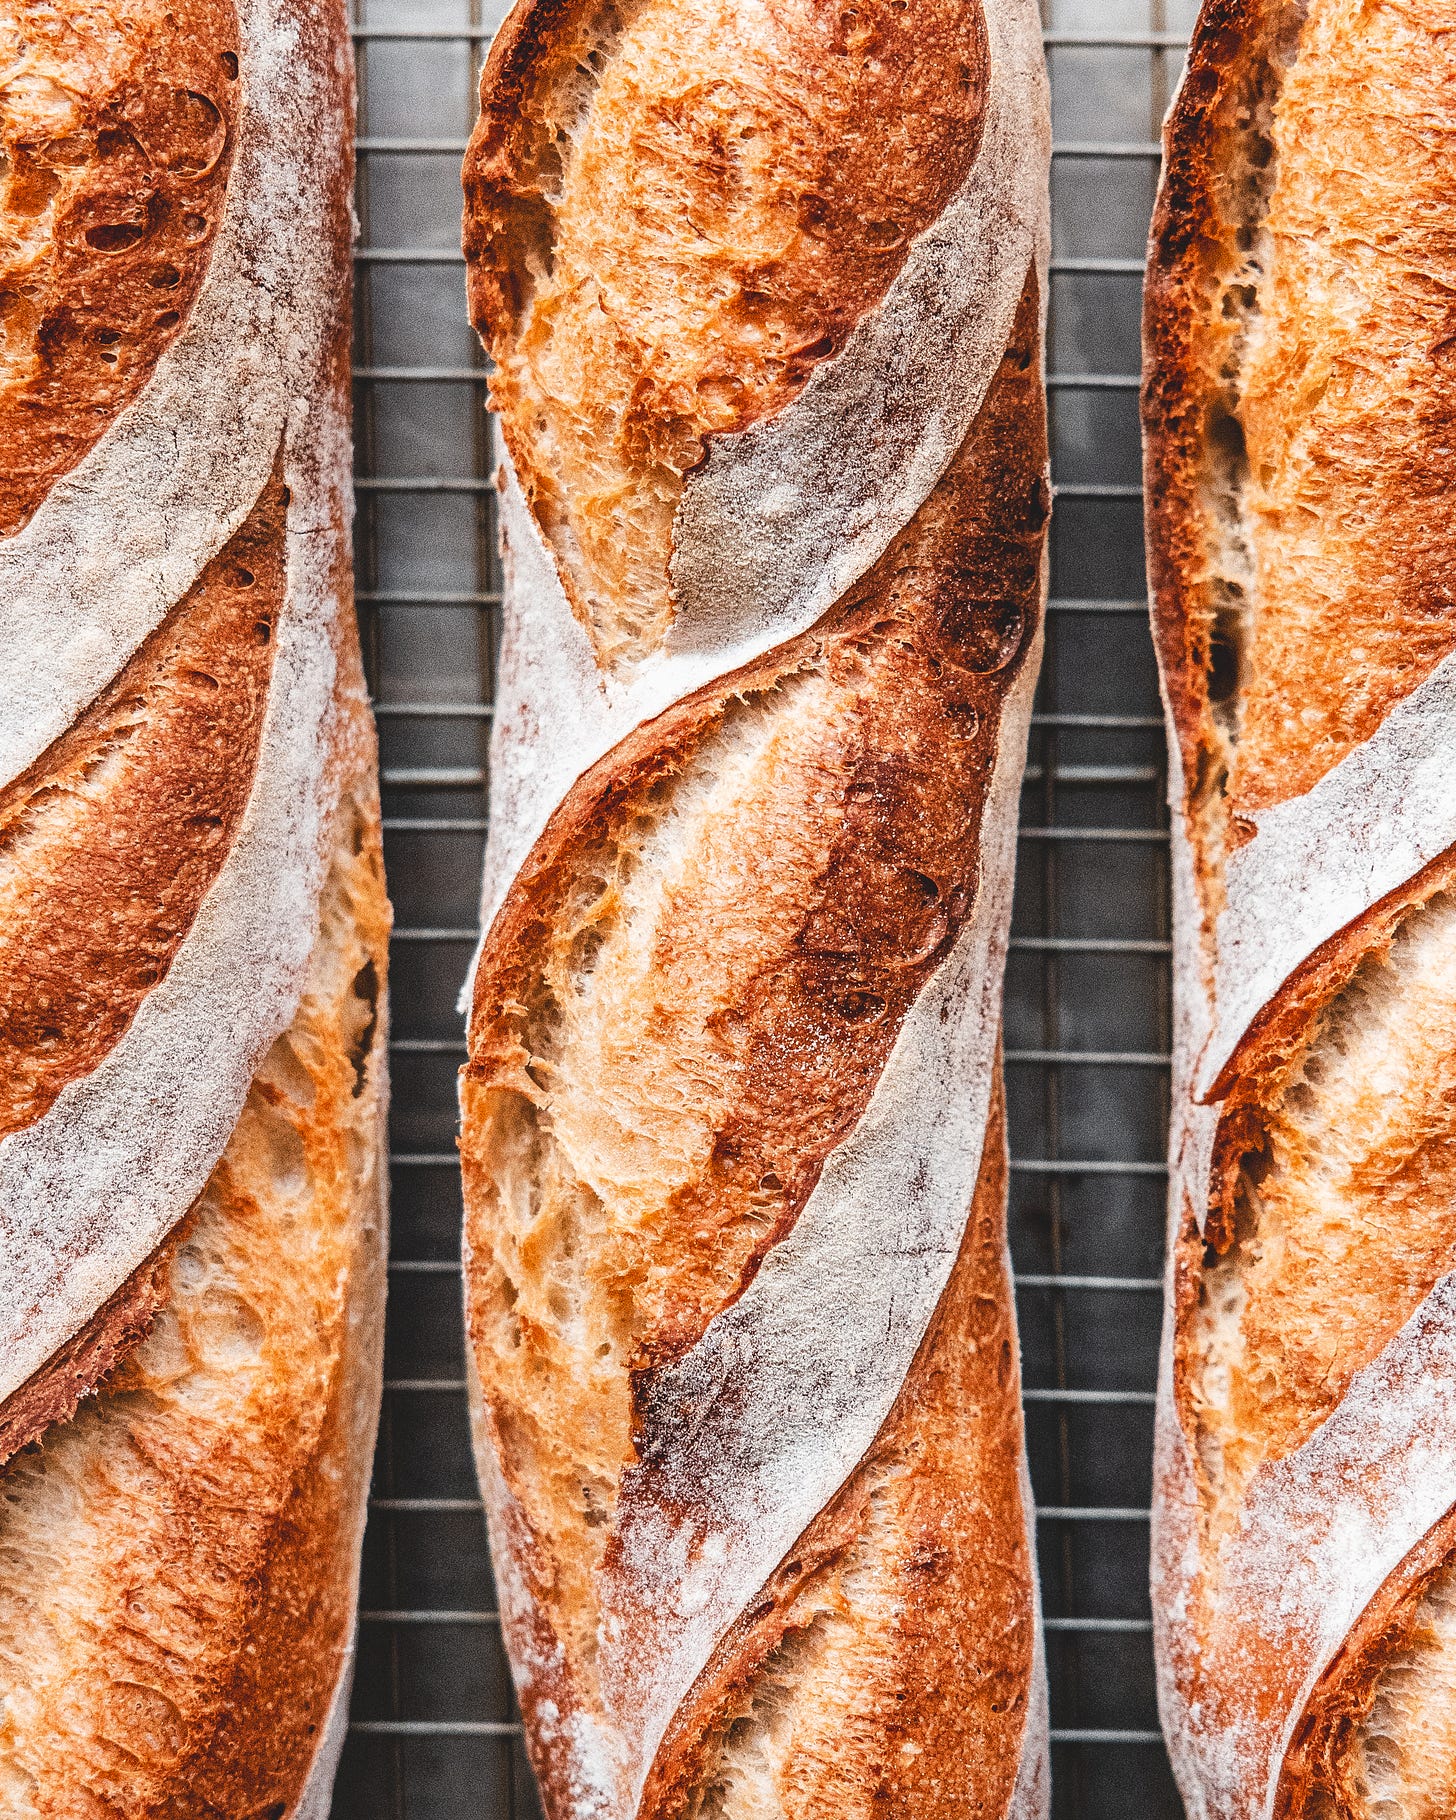
To transfer the baguette gently pull the kitchen towel or couche to undo the pleats and to separate the baguettes from one another. Hold your homemade planchette alongside the baguette on the left side. Use the kitchen towel to flip the baguette onto the planchette so it sits on the planchette seam side down. Slide the baguette onto the parchement lined peel. Use a lame/razor blade/very sharp serrated knife to cut three slashes down the length of each baguette. To get the classic look of a French baguette these cuts need to be almost parallel with the length of the baguette, each cut slightly overlapping with the next.
Carefully transfer the baguettes to the oven, sitting them atop the baking stone. Add about 150ml of boiling water to the roasting tray. Bake the baguettes for about 22-25 minutes, removing the roasting tray about halfway through, until the baguettes are a deep golden brown, a little darker if you prefer them bien cuit (well browned).
Baguettes are at their best as close to baking as possible. Because of their shape and size they tend to dry out quickly so enjoying them on the day they are baked is the ideal situation.


Baquettes, Butter and a Boy Who Bakes newsletter Birthday??!! An abundance of bodaciously beautiful baking news.
Congrats on the newsletter. You always post GREAT receipts.
Here's to another year of happy baking,
Annie
WONDERFUL!
I walk around at home with a baguette over my shoulder and pretend that I am on Rue Monge and have just walked out of Eric Kayser's place.
The pretense doesn't last long as my baguettes are quite short and I just look silly.