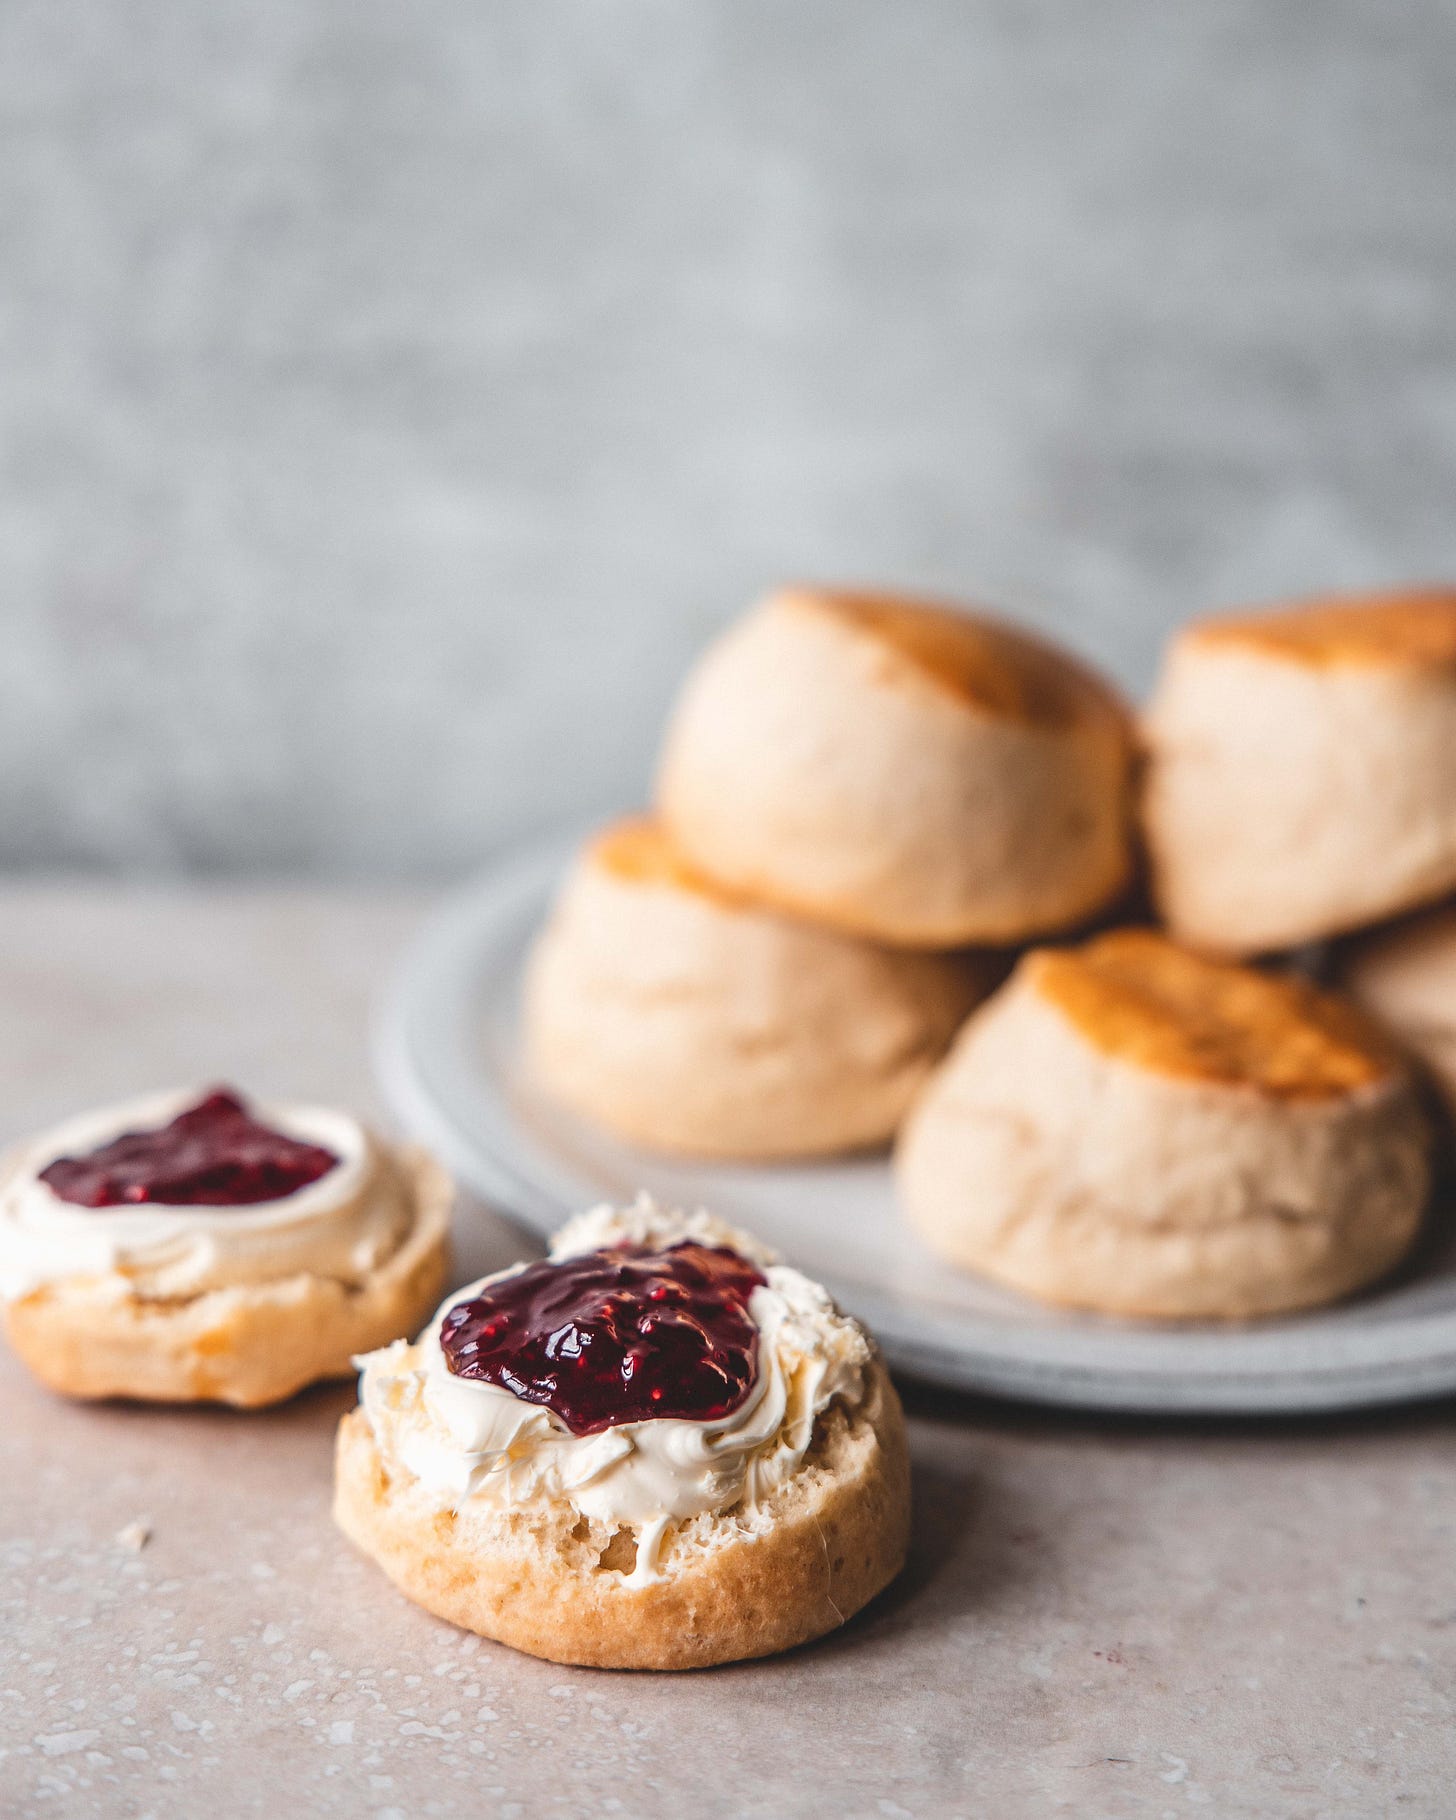
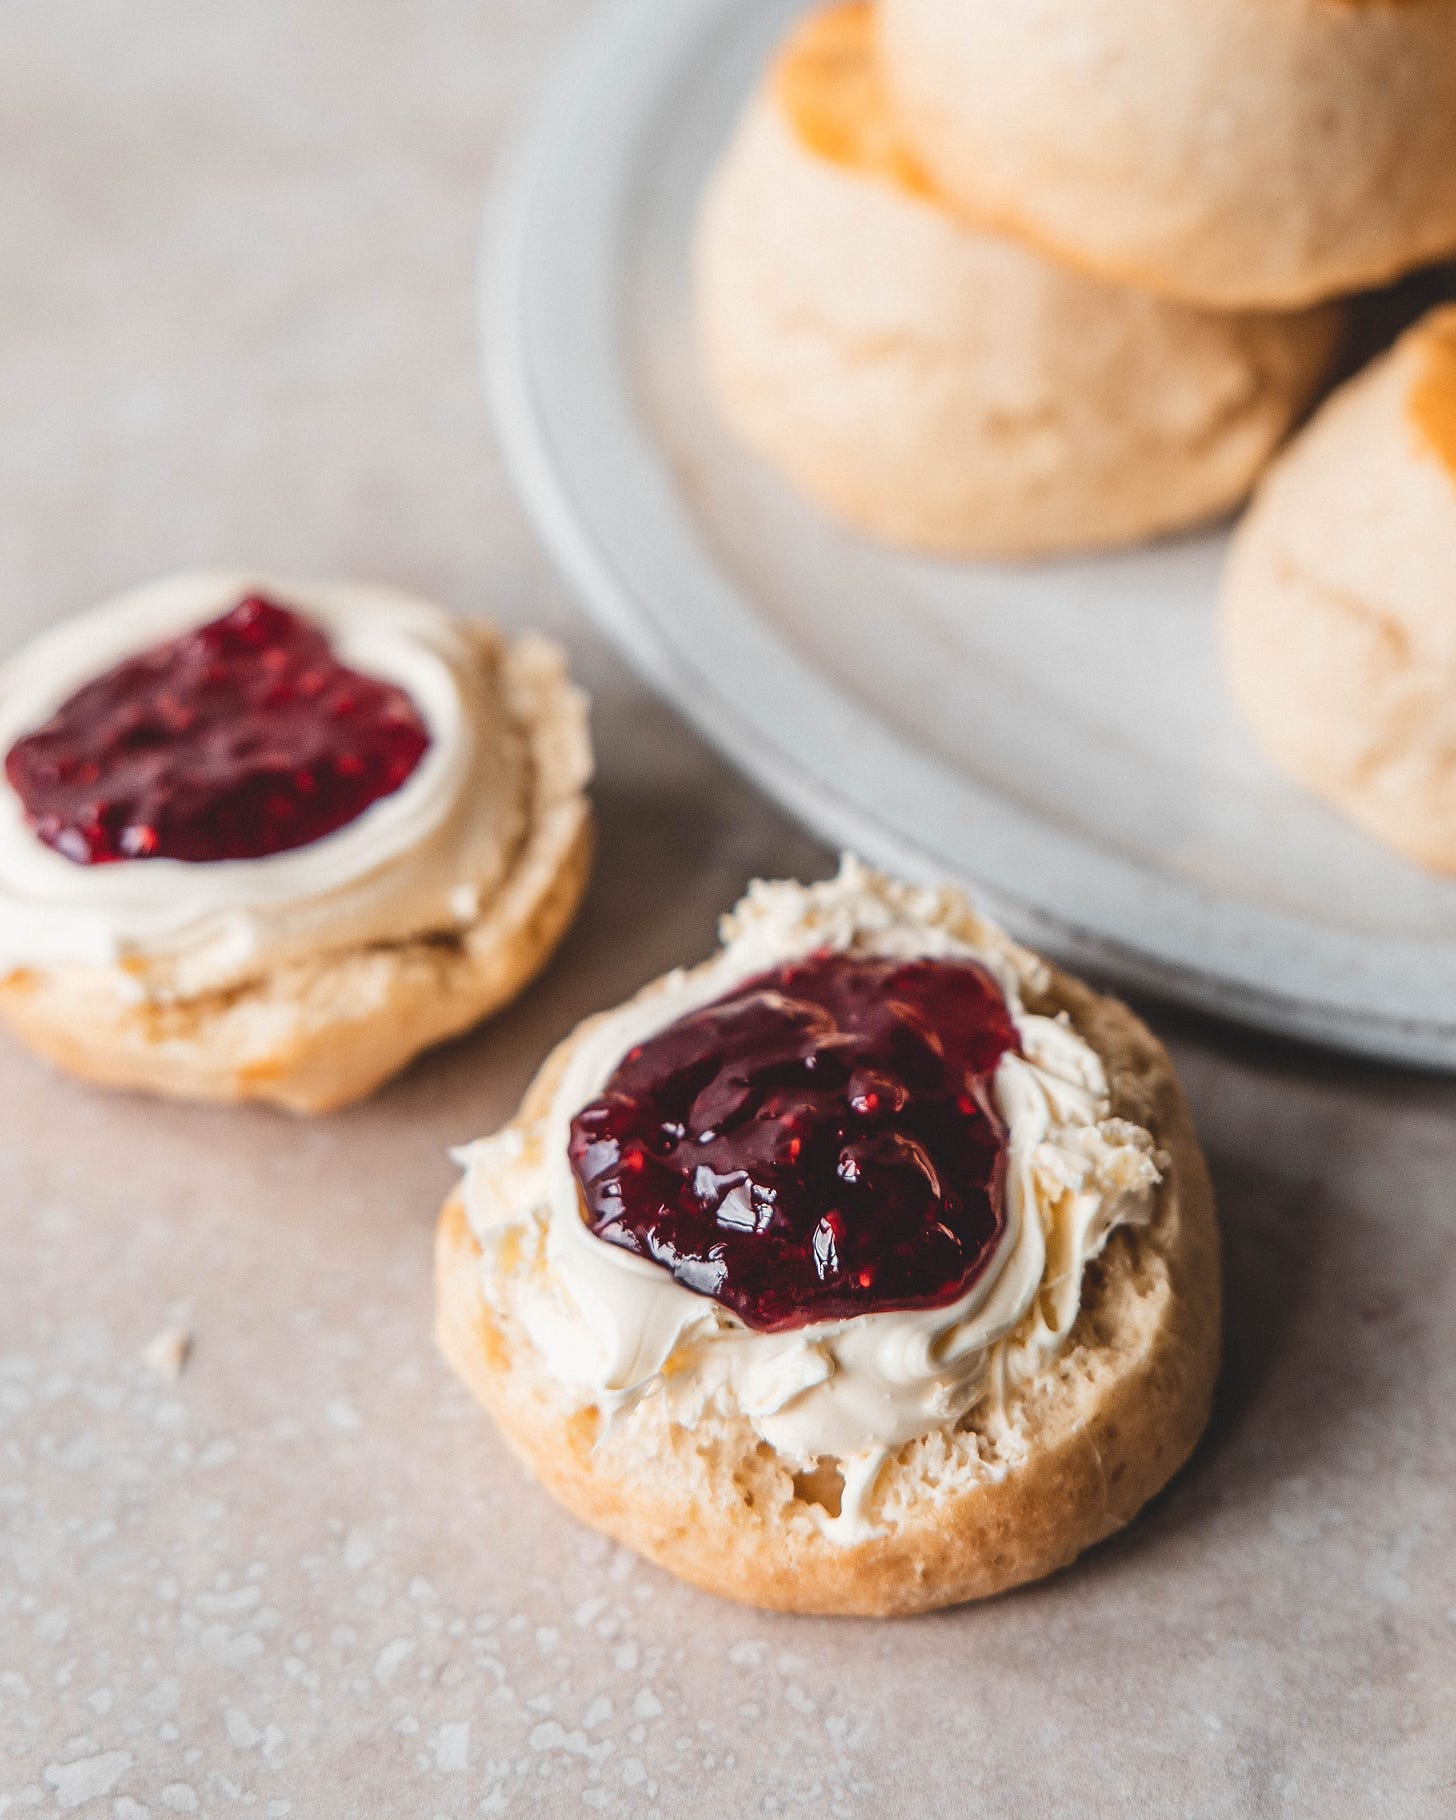
Firstly, apologies for the clickbait title but secondly, it is kind of true. The way you were likely taught to make scones is wrong. Okay okay, not wrong exactly, but there is another way. Another way to make incredibly light and tender scones that also look the part, scones that would be at home served at any high-end afternoon tea at even the fanciest of hotels. Scones that break all the rules.
When I was little, the rules I remember being taught about scones were basically two-fold;
1 - never use a mixer
2 - handle the dough as little as possible
Both of these ideas can be whittled down to - don’t develop the gluten. And this makes sense, right? Scones are soft and tender, not chewy like a good loaf of sourdough. So handling the dough as little as possible makes them melt in the mouth and perfectly tender, right? So why are both of these rules not actually that hard and fast? Why does breaking these rules make even better scones?
Many years ago, I staged at Le Manoir with Chef Raymond Blanc and I spent most of my time on the afternoon tea and bread section, and this is where I learnt the following method. Instead of the above rules, this method has two central points.
1 - lightly knead the dough (yes, really!)
2 - rest the dough before baking
Using a mixer is fine, but only for the early stages of the recipe, rubbing in the chilled butter and mixing in the eggs and buttermilk, after that, we want to use our hands to do the unthinkable, knead the scone dough. The idea of kneading the dough is, very lightly develop the dough, using more of a folding motion rather than a true kneading motion. You want to work the dough just enough to add some structure, until the dough is smooth and supple, which does two things. Firstly it develops the gluten allowing everything to hold together, preventing crumbly scones. Secondly, once the gluten is developed, this allows the scones to capture the air created by the baking powder as the scones bake. The resting of the dough helps to relax the dough so everything remains tender, if you kneaded the dough and baked the scones immediately the insides would be great but the outsides would be tough and chewy. Resting the dough also allows the flour to hydrate, making the dough a little less sticky, and making it easier to neatly cut out the scones.
Using this method results in scones that are incredibly light and tender and look picture-perfect.
Classic English Scones
Makes 15
500g plain flour
100g caster sugar
25g baking powder
1/2 tsp fine sea salt
120g unsalted butter, diced and chilled
185ml buttermilk
2 large eggs
Egg Wash
1 large egg yolk
Splash of milk or cream
Pinch of fine sea salt
To make the scone dough place the flour, sugar, baking powder and salt into the bowl of a stand mixer and mix together until combined. Add the chilled butter and mix on low speed (with the flat beater) until the butter is rubbed in and the mixture resembles breadcrumbs. In a small bowl whisk together the buttermilk and eggs. Pour this mixture into the mixer and on low-speed mix together, just until a uniform dough is formed. Tip the scones dough out onto a lightly floured work surface and dust the top of the dough too.
To knead the dough very lightly fold and press the dough, repeating until the dough is smooth and supple. Form the dough into a ball and cover with clingfilm and rest for 30-60 minutes. This rest period relaxes the dough so that when you roll and cut out the scones the mixture doesn’t spring back.
To roll out the scones remove the clingfilm and turn the dough over so the smoothest side is face down. Roll out until the dough is 2cm thick. To cut out the scones use a 5cm round cookie cutter, dipped in flour between cuts to prevent sticking, and a firm straight down push. You want to avoid twisting until the cutter reaches the work surface, if you twist as you cut it can lock up the sides and prevent the scones from rising evenly. Place the scones, smooth side up onto a parchment-lined baking tray. Cover the scones with clingfilm and rest for an hour before baking. This second rest period also relaxes the dough, making sure the outside of the scones doesn’t end up crusty, but nice and tender.
Near the end of the hour preheat the oven to 190ºC (170ºC Fan). For the egg wash beat together the egg yolk, splash of cream and a pinch of salt. Brush the tops of the scones with the egg wash, being careful to prevent the egg wash dripping down the sides. We want to avoid this because the egg wash sets quickly, once in the oven, and it can prevents the dough from rising properly, it can make for very lopsided scones. Bake the scones for about 15 minutes or until the tops of the scones are golden. Remove and set aside to cool.
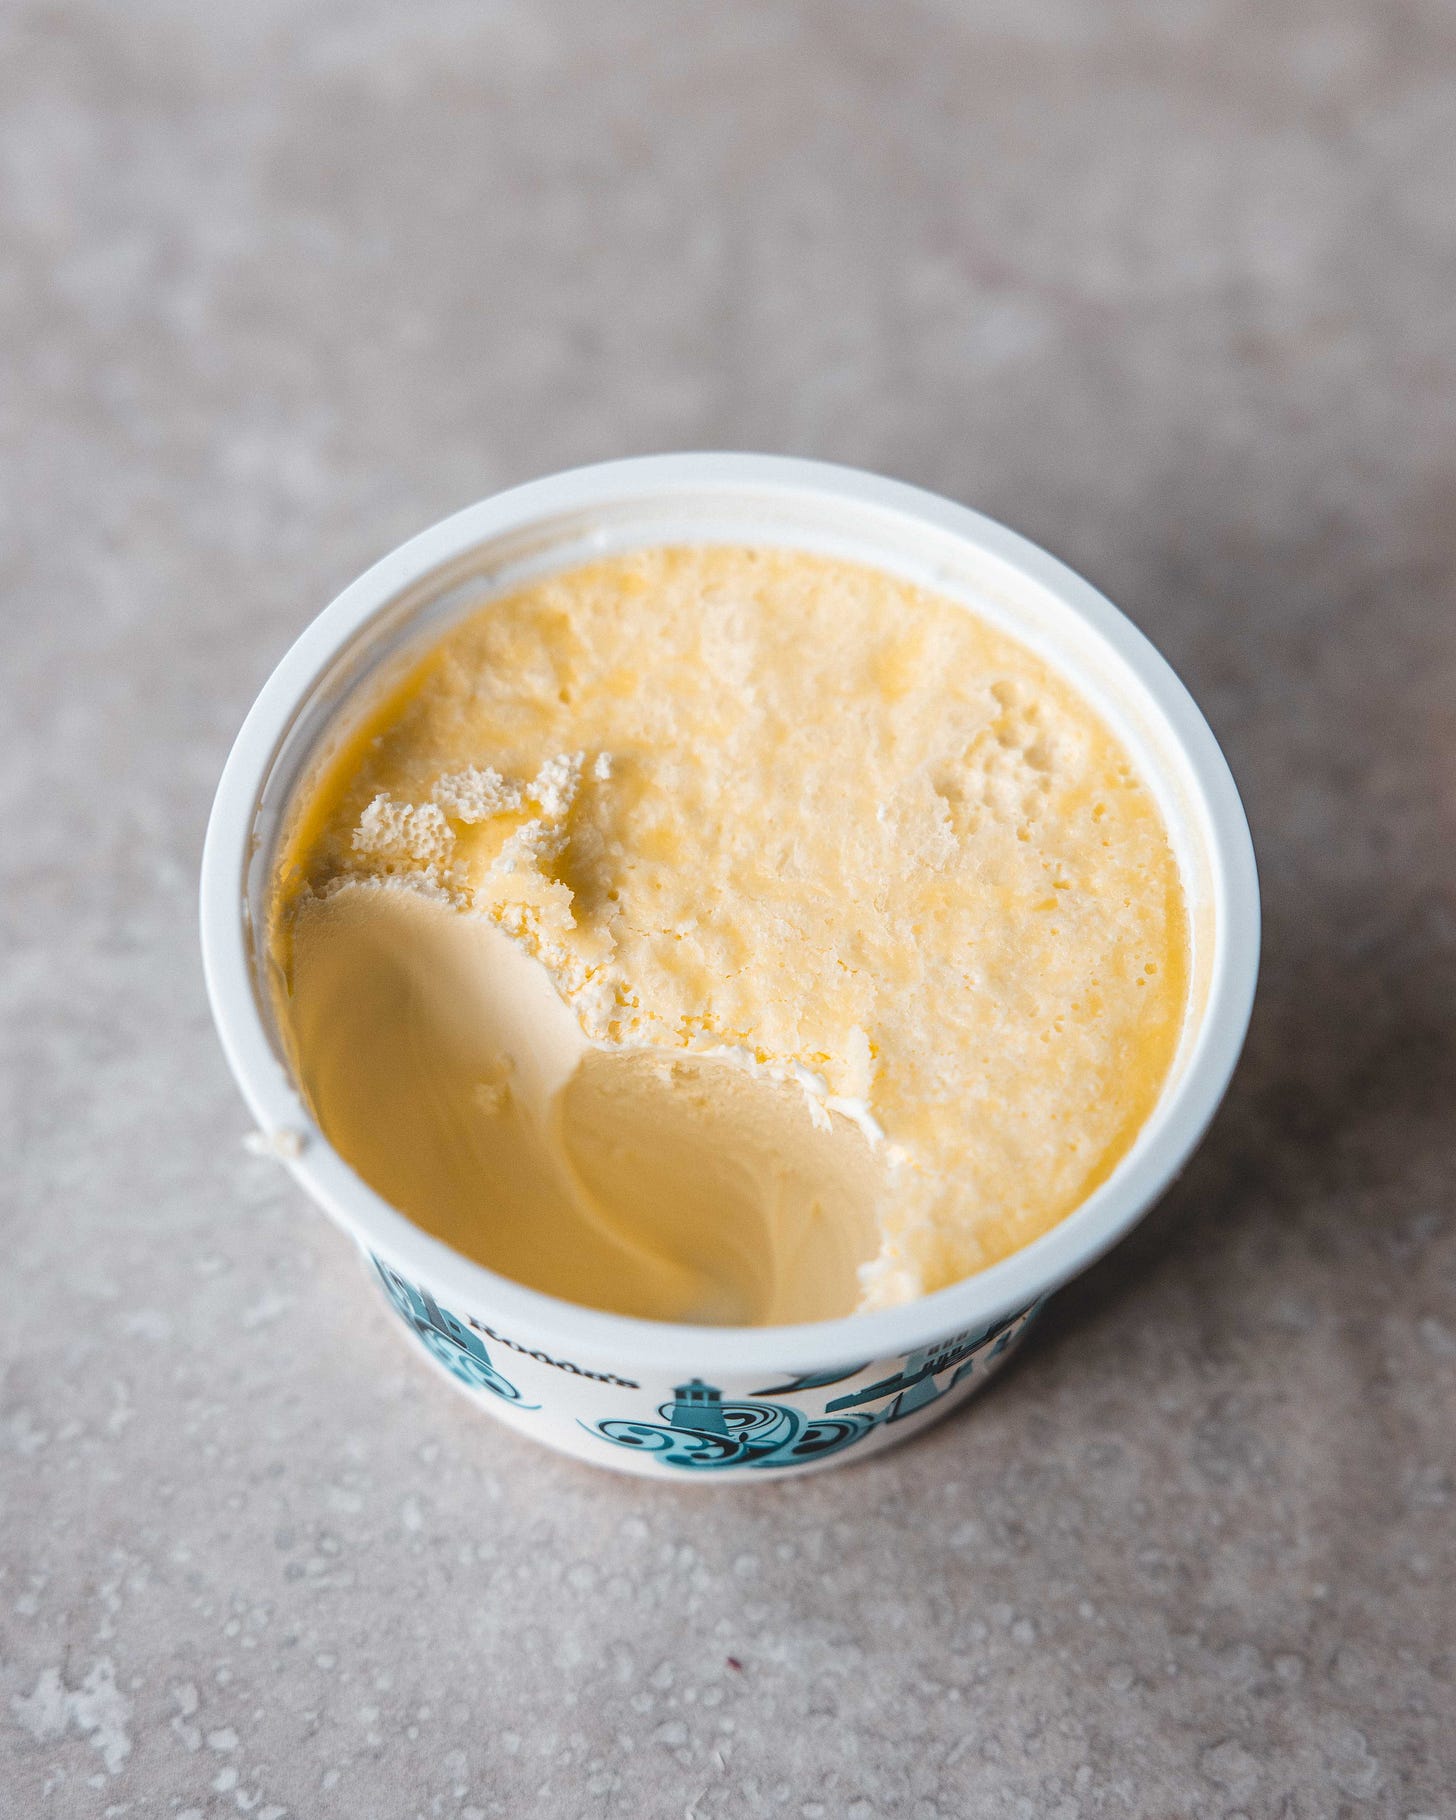
Scones are best served fresh from the oven, just a touch warm, but these also last quite well, they’ll be soft for 2-3 days after baking. Just make sure they’re stored in an airtight container. To serve you just need two things clotted cream and jam.


Hi! When you say rest, do you mean at room temp or in the fridge?
THANK YOU for a non-self raising flour recipe!