


Vanilla and Caramel Choux Buns
A simple-ish weekend treat

🎉 Welcome to my newsletter, The Boy Who Bakes, a subscriber-supported newsletter, dedicated to all things baked. This is a post for paid subscribers, who receive exclusive weekly recipes. You can become a paid subscriber to get access to this recipe and every recipe moving forward plus you’ll also get access to the archive including every recipe posted on the newsletter. It normally costs just £5 a month and that helps me continue writing this newsletter. To subscribe, to either the paid or free newsletter, click the link below. 🎉
SPRING SPECIAL
Get 20% off, for up to 12 months, if you subscribe before the end of April, that’s just £4 a month!
Hello, Happy Friday!
Today’s recipe was meant to be simple, and I promise it is ‘relatively’ simple, but I ended up making something with a few slightly involved techniques. Thankfully, all of the techniques are simple, and they can all be prepared in advance, with the work split over multiple days, should you wish. It is also one of those recipes that is just such a crowd-pleaser; make these for friends or family this weekend and everyone will love you!
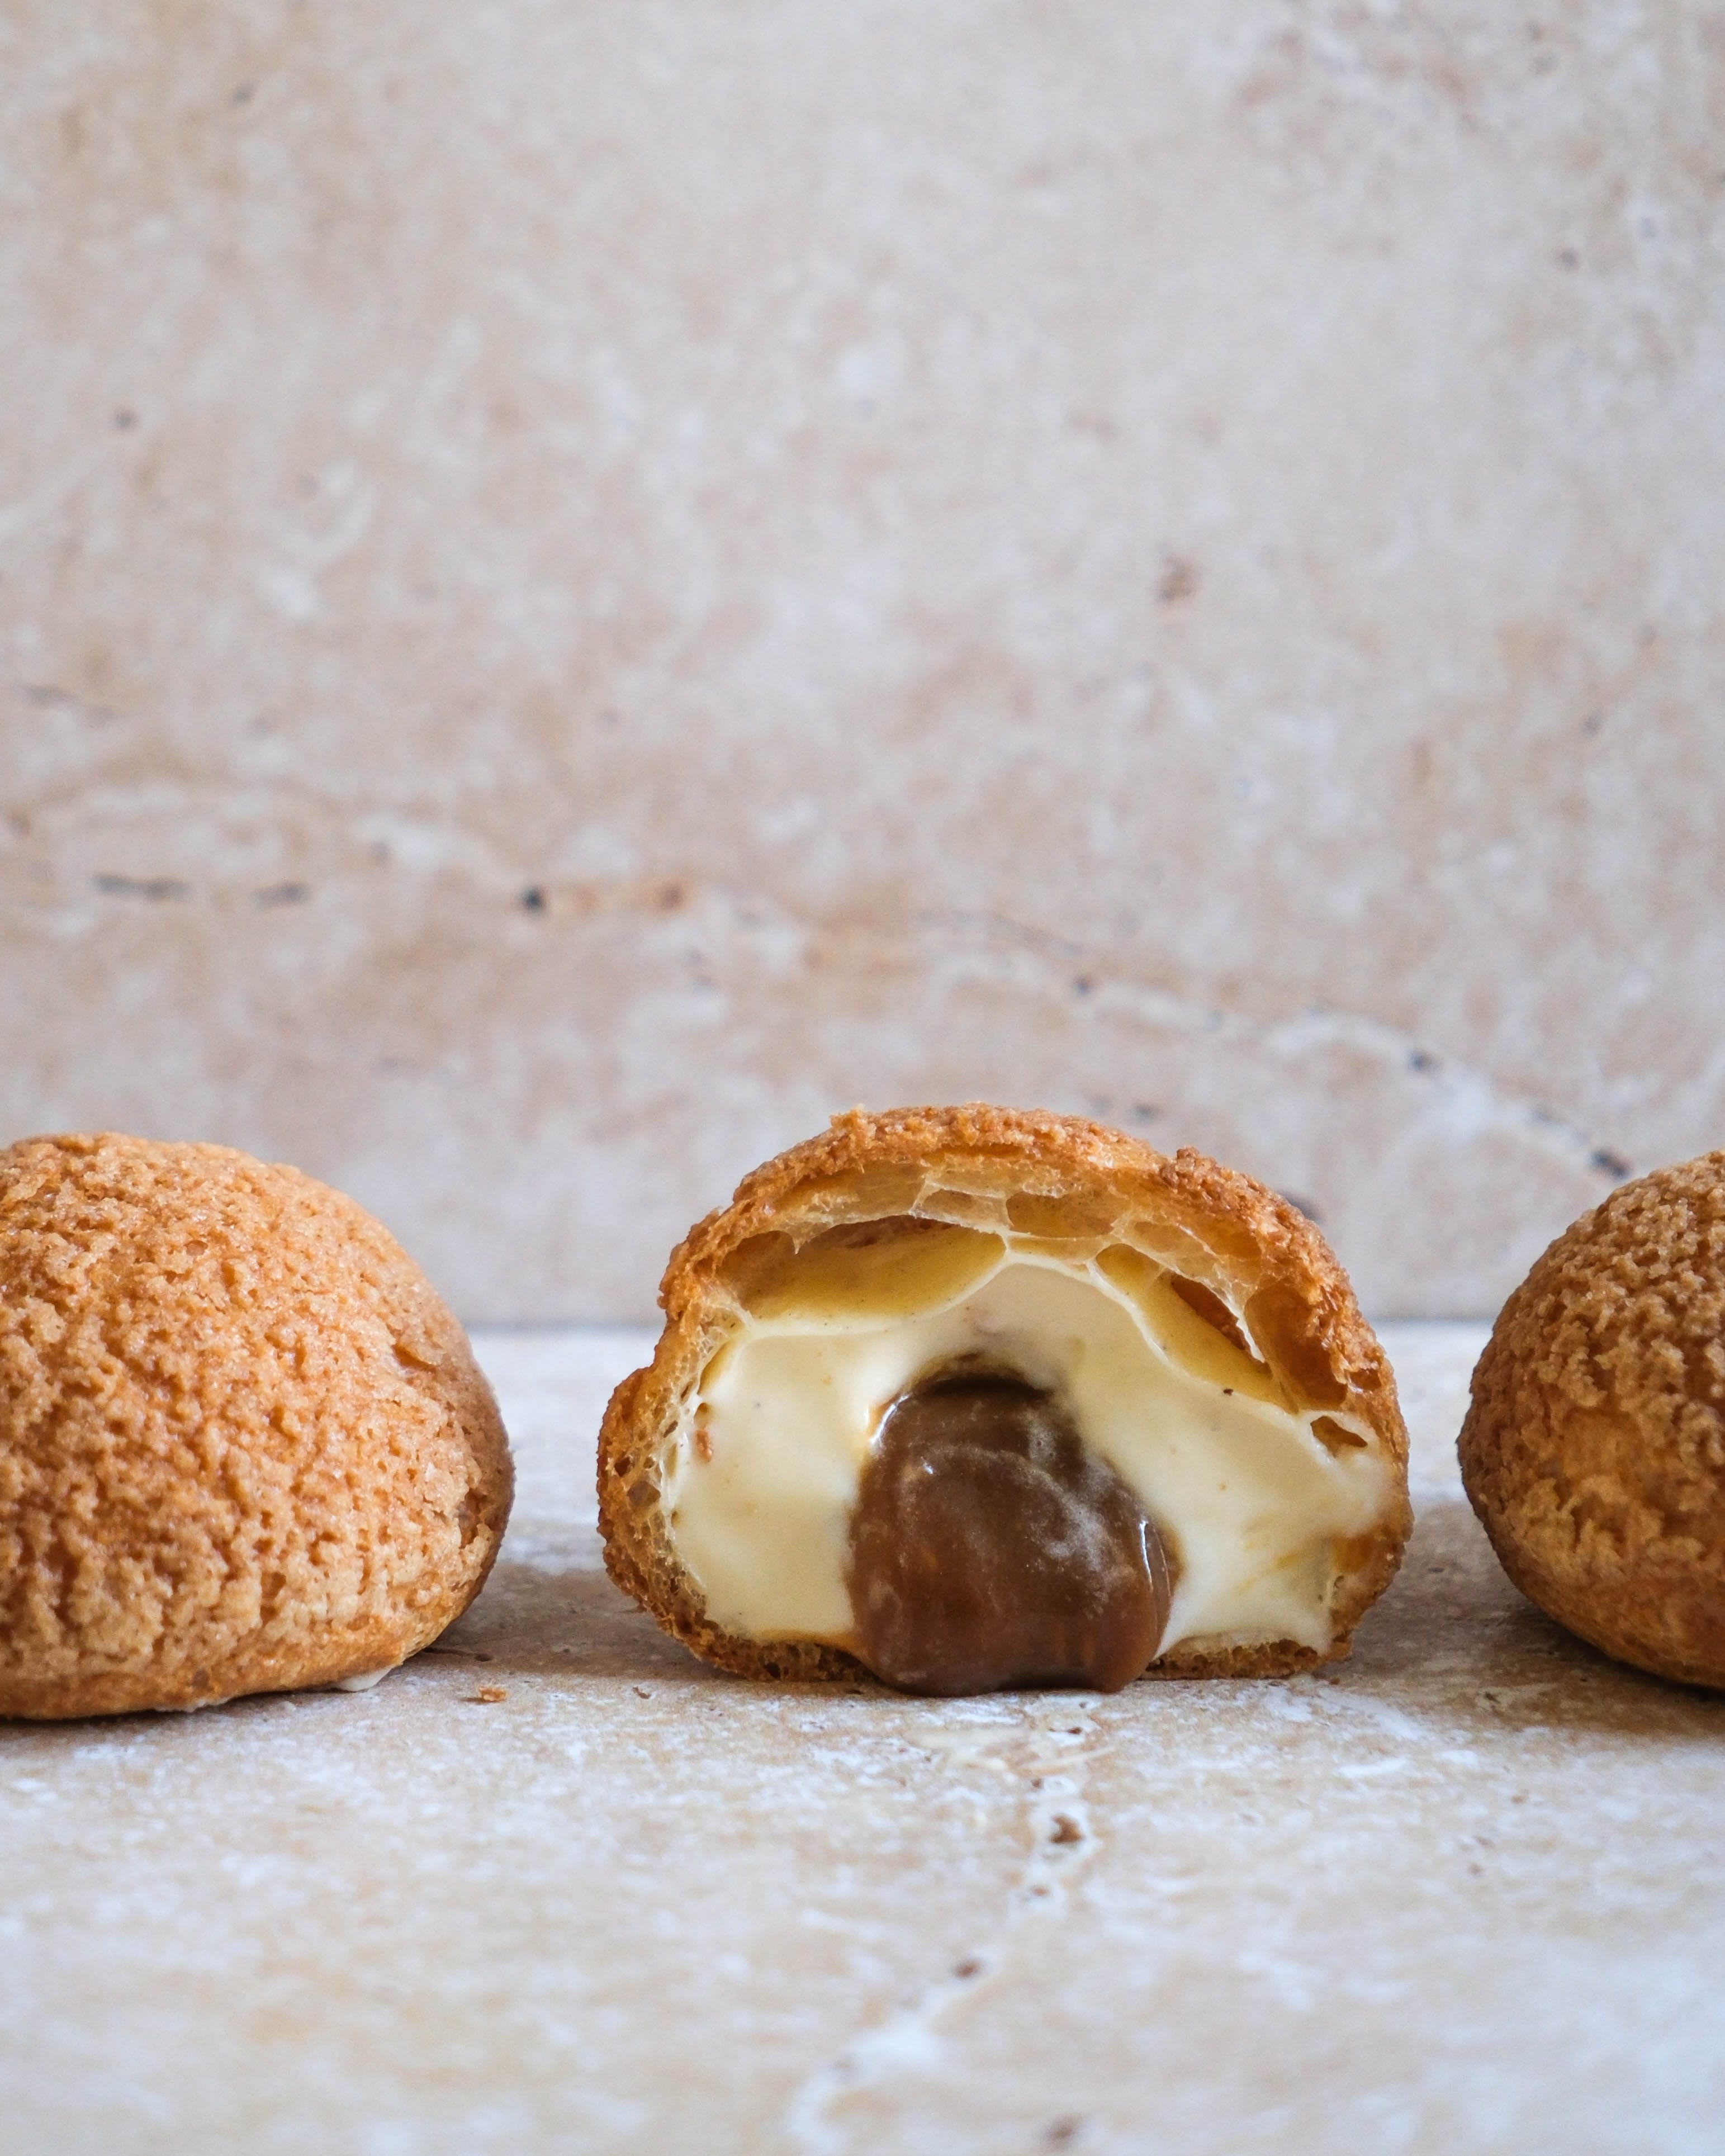
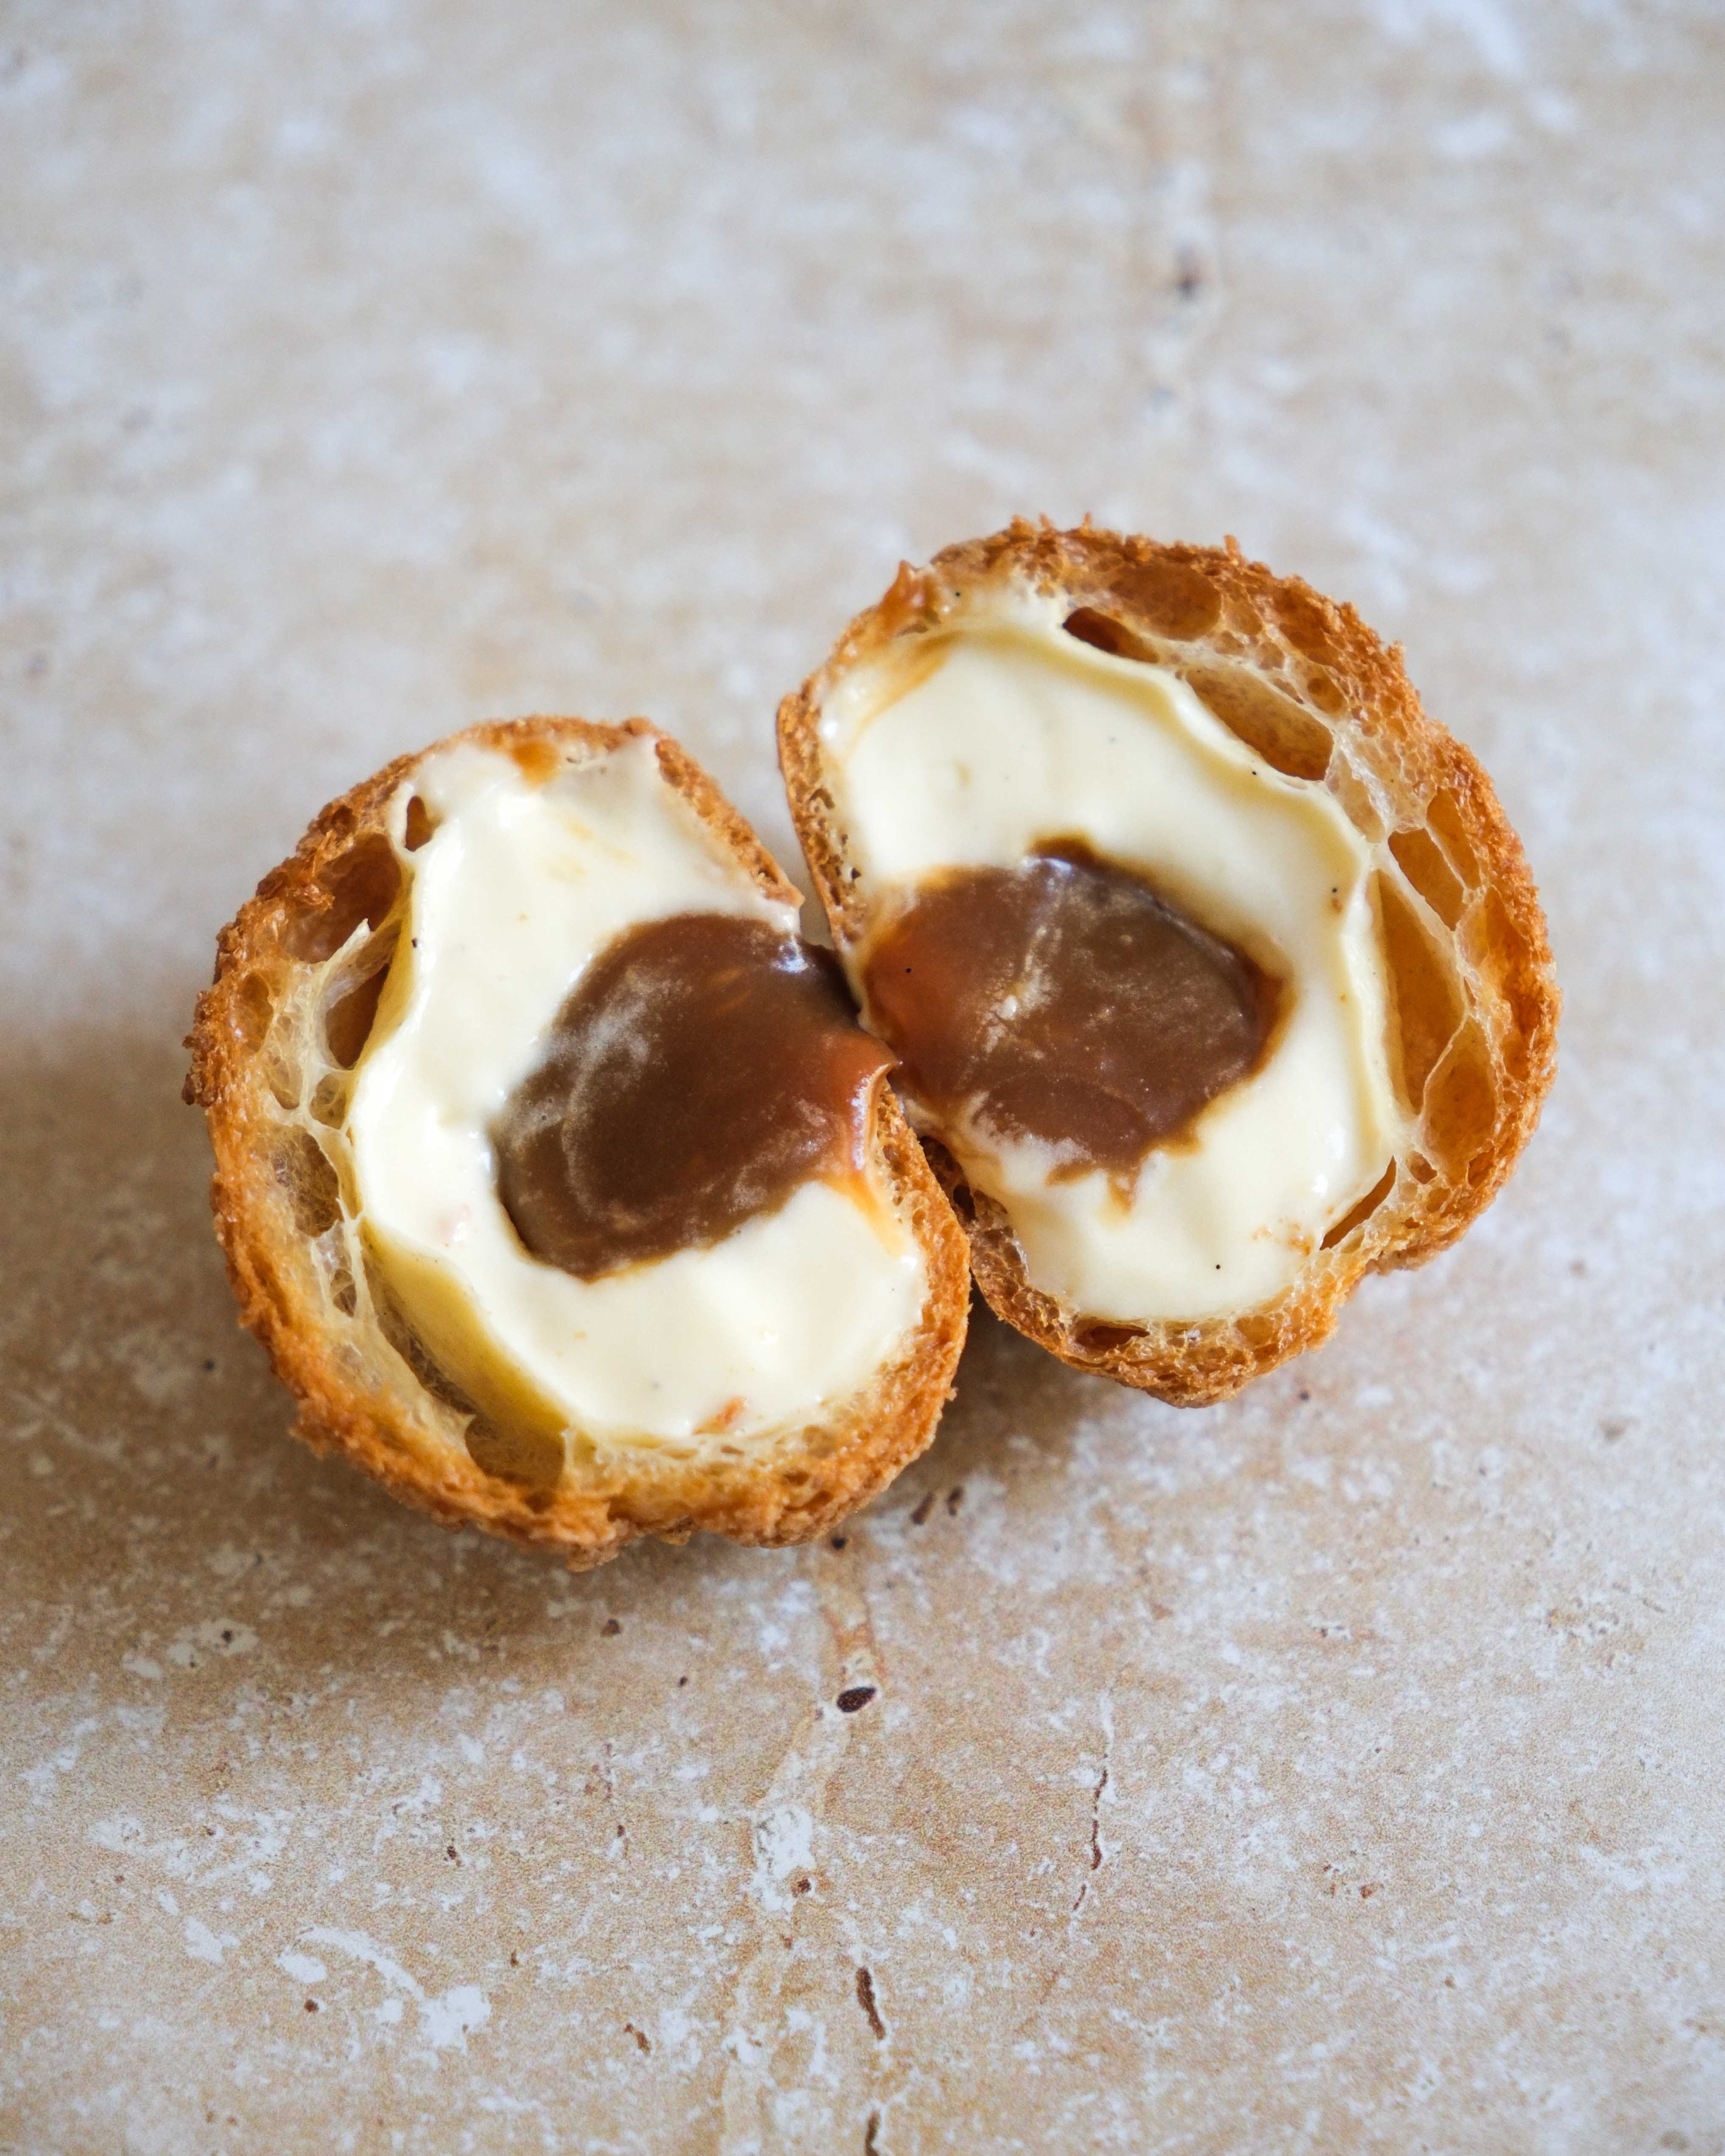
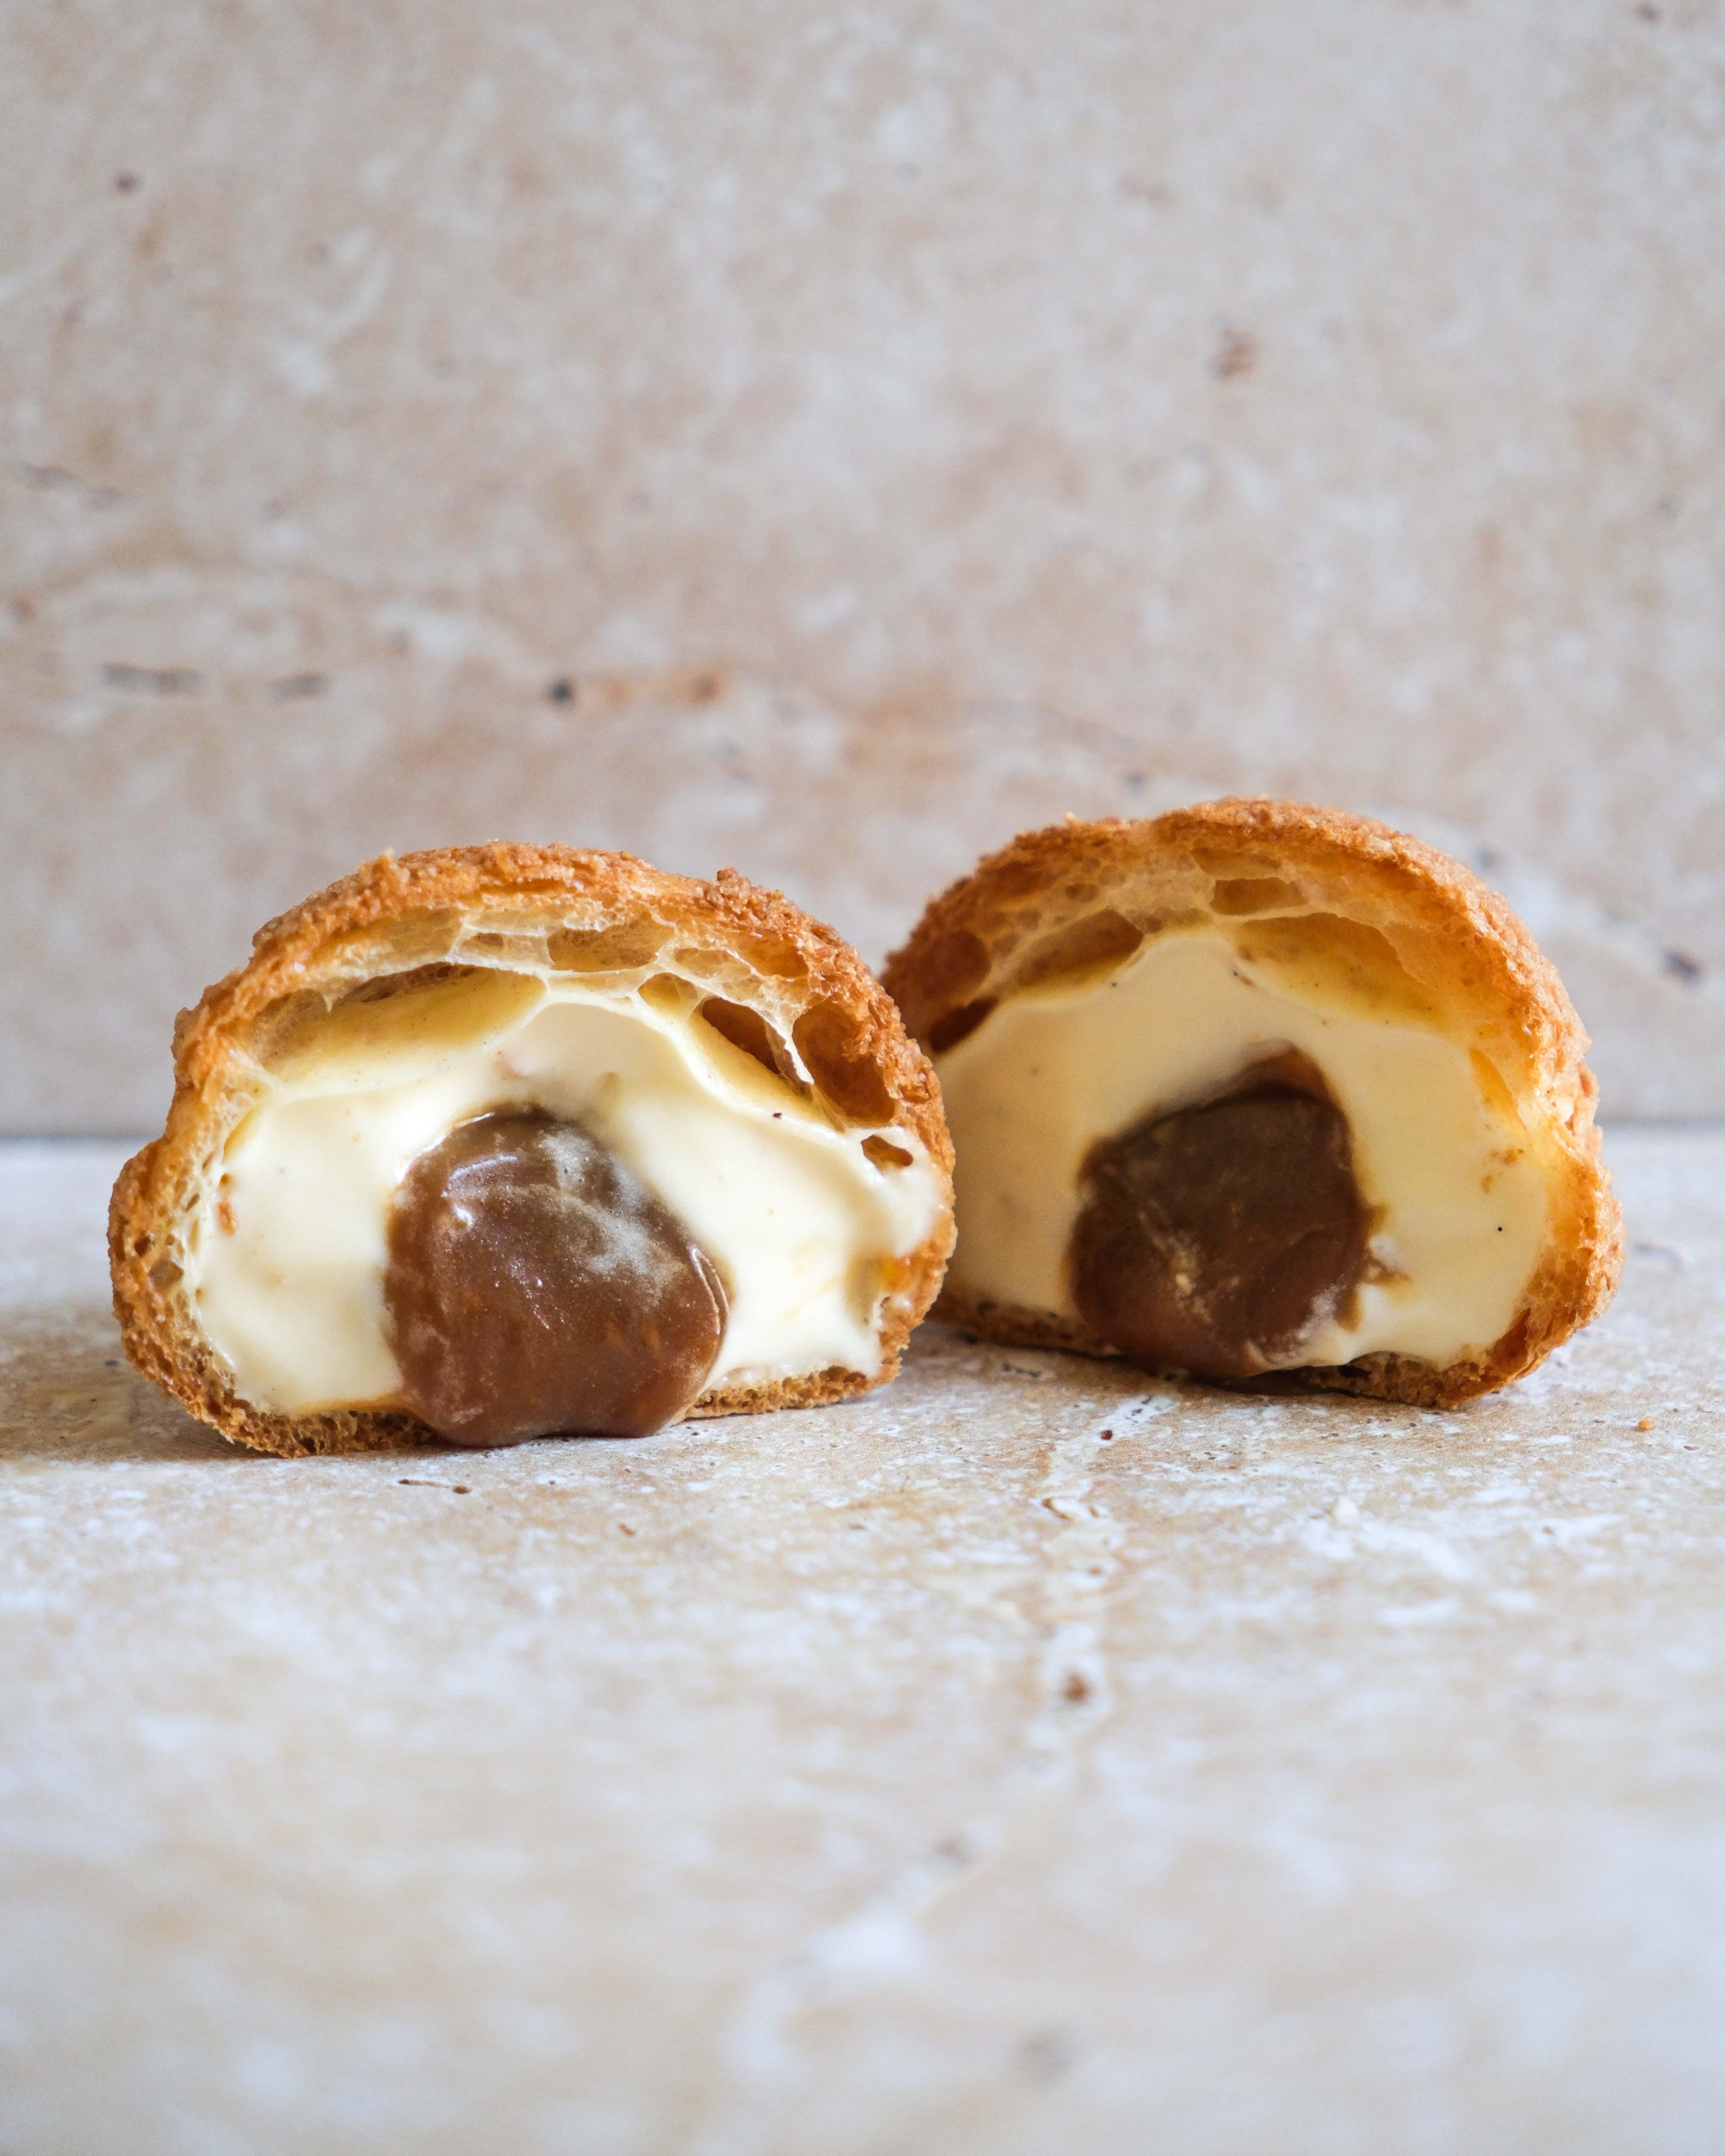
The recipe is for a whole bunch of choux buns topped with a crisp layer of craquelin and filled with a vanilla crème diplomate and a classic buttery salted caramel. If you can’t tell from this description, these are incredibly delicious morsels and one hell of a treat. The recipe makes about 25 small choux buns, so they’re perfect for feeding a crowd or one particularly gluttonous family. You can also make these slightly larger, making them a bit more substantial, more of a full dessert compared to a deliciously sweet snack.
Because all of the elements in this recipe are things I turn to often and techniques that are brilliant building blocks for your own recipes, I thought I would do a bit of a deep dive into each.
Choux Pastry
Choux pastry is the only double-baked pastry, and whilst some people believe it to be difficult, I actually find it one of the easiest pastries to make. I will admit that it does involve one technique that many people struggle with, piping!
To make choux pastry, you add milk or water, or a combination of the two, to a pan and cook together with butter, sugar and salt. When only water is used, the pastry can end up crisper and pale. Milk is added to add tenderness and to help with browning, the proteins in milk contributing significantly to the colour of the finished buns. In the first stage of cooking, you heat the mixture over low heat just until the butter has melted, then increase the heat and bring the mixture to a rolling boil. The flour is added, and you mix to form a dough. To prevent the dough from being lumpy, I like to sieve the flour prior to adding it to the dough.
For the flour, you again have two choices: plain or bread flour. Plain flour, with its lower protein, results in a more tender choux, and bread flour makes for a crisper, sometimes slightly chewier pastry. Sometimes I use a mix of plain and bread flour, but most of the time I stick with all plain flour.
This pan and the dough are then placed back on the heat and cooked until the heat is raised to between 74-79ºC, this is the temperature at which the flour will be gelatinised. This process allows the dough to absorb enough egg, which allows the pastry to rise to its full potential in the oven. Whilst that is the temperature the dough needs to reach, you don’t really need to measure it to ensure the dough gets into that range; so long as you bring the liquid to a full rolling boil and cook the dough, called a panade at this stage, for a couple of minutes after the flour has been added, the dough will easily reach this temperature.
The dough is then added to a bowl and allowed to cool slightly. Eggs will start to coagulate at 63ºC so we want the dough to be below this before the eggs are added. Some people like to leave the dough to cool down naturally, but I prefer to beat the dough for a few minutes, allowing the steam to escape and cooling the dough down a little faster. Again, so long as you follow the recipe and allow the dough to cool, either by leaving it alone or by mixing it for a couple of minutes, the dough will easily have reduced in temperature when you add the eggs. Just don't add the eggs immediately after the dough has finished cooking in the pan.
When making choux, you should always treat the amount of egg listed as a guide. It is like adding water to your pie dough; you want to add just enough to make a useable dough that has the ideal texture once baked. The finished dough should be glossy, not wet, and when lifted from the bowl, it should fall from the spatula, forming a v-shaped ribbon. Once you have the desired texture, you can either use the dough immediately or refrigerate it for up to 2 days (just make sure it is covered well with cling film; otherwise it will oxidise and form a skin). If you find piping choux pastry tricky, refrigerating the dough can actually be quite helpful because as the butter cools down, the pastry thickens slightly, making it a little stiffer and easier to pipe.
Piping Tips
If you detest piping anything, I have a couple of simple tips that will help. Firstly, use an appropriately sized piping tip. In this recipe I call for a piping tip roughly 1cm wide. This is a relatively small hole, but it means the dough is a little more controllable; you’ll need to add light pressure for the pastry to flow. If you used a larger piping tip, the dough would flow much more freely with a lot less pressure required. This makes the dough much harder to control and can lead to it flowing from the bag when you didn’t want it to. Secondly, keep the piping bag taut. When you’ve filled the piping bag, you twist the opening closed so that bag tightens up almost like an inflated balloon. This gives you much greater control when piping because the pressure needed to control the pastry is minimal. When the bag feels slack, you end up needing to squeeze the bag much more, and it leads to a dough that is hard to control. To keep this tension, you’ll need to tighten the bag every now and then as you use the dough; simply twist the opening a little more until the filled portion of the piping bag feels taut once again.
When it comes to the actual piping, keep things still and steady. When I used to teach macaron classes, people would always try and pipe their macarons using a circular motion, but because it's hard to pipe a perfect circle like this, they’d generally make very misshaped macarons. The piping tip you are using is already round, so let it do all of the work for you. Hold the bag so that the piping tip is pointing straight down and positioned just above the surface of the parchment paper. If you pipe the pastry here, holding the bag steady, the pastry naturally conforms to the shape of the piping tip, forming a nice neat round shape. The benefit of choux pastry is that if you screw up, you can simply start again; scrape the pastry bag into the bag, get a new piece of parchment paper and have another go.
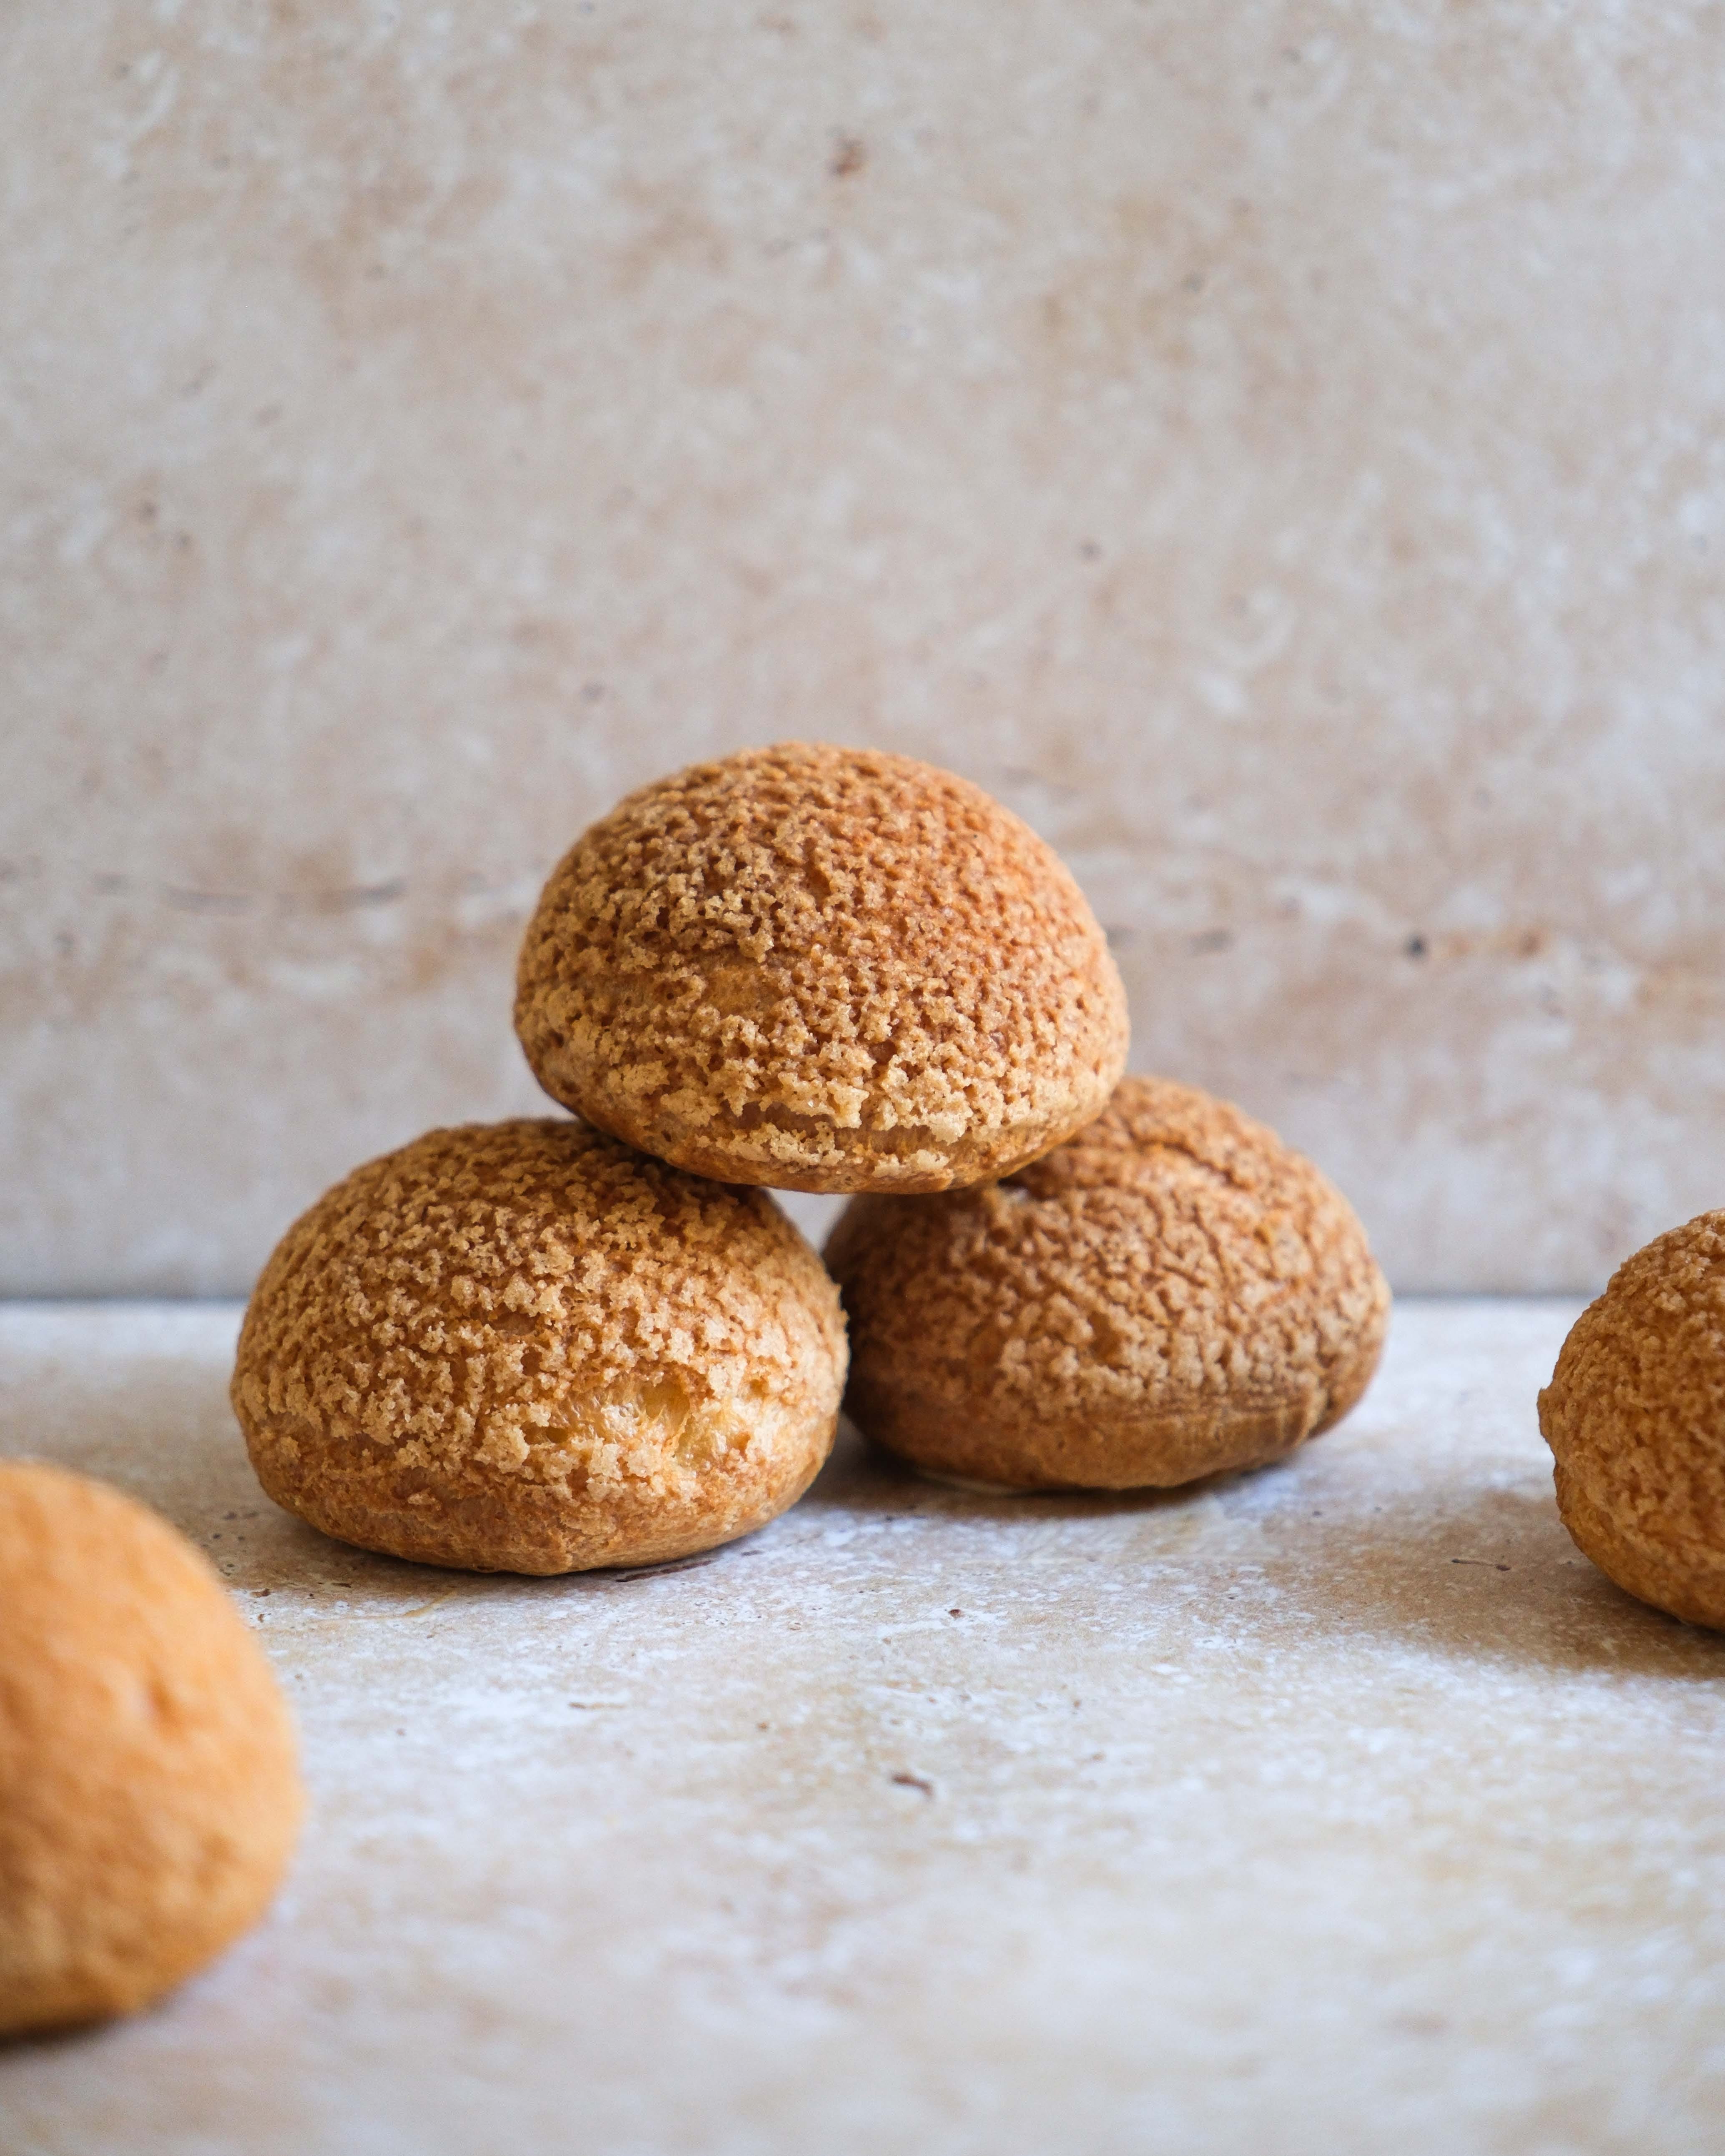
Craquelin
To make perfectly round choux buns which are completely hollow inside, with a light crisp outer shell, my favourite technique is to add a layer of craquelin. This simple technique can really elevate the look of your choux, and it also hides any sub-par piping. You basically combine an equal amount of butter, sugar and flour, rubbing the three together to form a dough. It is important that the dough has no lumps of butter, so make sure to work it until everything is uniformly mixed. Once you have the dough, it needs to be rolled relatively thinly, about 2mm thick. The easiest way to do this is to place the dough between two sheets of parchment paper and roll nice and thin. You can then simply slide the dough onto a baking tray and freeze it until needed. This can also be done a couple of days in advance.
The version of the dough used in today's recipe is the most basic form, but you can play around with it to make something different. The easiest thing you can do is add a little food colouring to the dough to make a coloured craquelin. You can also make the dough with browned butter or use a little cocoa for a chocolate version.
When the dough is frozen, you simply cut out rounds the same size as your piped choux pastry and place them on top. As the pastry bakes, the craquelin melts. This coating slows down the rate at which the choux pastry can form a crust so it expands to its full potential, and it forms perfectly round buns. Whilst you can do this with any form of choux pastry, it is especially handy when making éclairs. This form of choux pastry is arguably the hardest to pipe, and any little flaw in your piping shows up in the baked éclairs. Adding craquelin will give you a beautiful-looking éclair.

Salted Caramel
I obviously prefer to make things from scratch, but when something is good, I'm not opposed to buying something off the shelf. I would say 75% of the time I am going to choose a shop-bought puff pastry, for example. But I am yet to find a good commercially made caramel (dulce de leche is the outlier here; you can buy some excellent versions), so I will always make this from scratch. Homemade caramel is always better, and it's also really easy to make.
You can make caramel with one of two basic techniques, wet or dry caramel. For a wet caramel, sugar and water are combined in a saucepan and cooked to form a deep dark caramel. For a dry caramel the water is simply omitted. Everyone has their favourite technique, but I almost always use a dry caramel simply because it is MUCH less prone to crystallisation. You will surely have heard that you should NEVER EVER stir a caramel, and this is true but only when making a wet caramel. Sugar crystallises very easily when combined with water and then agitated. If you stir a dry caramel, the sugar might clump, but these little chunks of sugar will cook out as the sugar caramelises. If you’ve ever been frustrated when making a wet caramel, then give dry caramel a go; you’ll find it much easier to make.
The biggest tip I can give you for making caramel is that when cream is added, you should always preheat the cream before using it. If you add cold or even room temperature cream to a scaldingly hot caramel, it will form a huge lump of sugar that can be a pain to remove. If the cream was brought to a simmer before the caramel was made, you'll end up with a perfectly smooth caramel.
Crème Diplomat
This is an all-time favourite technique and recipe. It is a simple modification of a classic pastry cream. The finished pastry cream is beaten until smooth and then lightened by folding in some whipped cream. The finished product is a luscious and incredibly light custard that has an almost ice cream flavour. It is wonderful used as a filling for all sorts of baking, but remember, it is very soft; it’s nowhere near as stable as a buttercream, but it does work wonderfully as the filling for doughnuts or choux buns, even as the filling for a millefeuille.
Keep reading with a 7-day free trial
Subscribe to The Boy Who Bakes to keep reading this post and get 7 days of free access to the full post archives.