This post is sponsored by Wilfa
For many years my New Year’s resolution was to finally get the hang of sourdough, to take some time to really learn and understand as much as I could and start turning out wonderful loaves of homemade bread. I was determined because I had failed at it so many times in the past, never having enough time to really dedicate to the subject. Now, I don’t really do resolutions anymore (why set yourself up for failure) but thankfully over the years I did managed to pick up a thing or two on sourdough and, whilst I would never ever claim to be an expert, I can happily turn out some pretty special breads at home. If you’ve ever made the decision to learn sourdough, one of the things that can get in your way is a busy life and a struggle to find the time. Thankfully, I’ve been making bread with an incredibly hands off approach for a while now which, takes sourdough from being a thing that needs constant watching, gentle caressing, to a something I knock up in ten minutes and literally forget about for the rest of the day. It’s what I like to call The Busy Bakers Sourdough.
The most popular style of sourdough bread recipes all follow a familiar path
Make a levain
Autolyse your dough
Initial mix
15 minute wait period
Mix in salt
Stretch and fold over the span of a couple hours
Bulk fermentation
Shaping
Overnight proof
Bake
What if I could tell you this hands off approach cuts that list from 10 steps down to just 5 and you can make the dough in just 10 minutes, before you rush out the door to go to work or for a day of doing anything other than watching your dough??
Mix the dough
Bulk fermentation
Shape
Cold proof
Bake
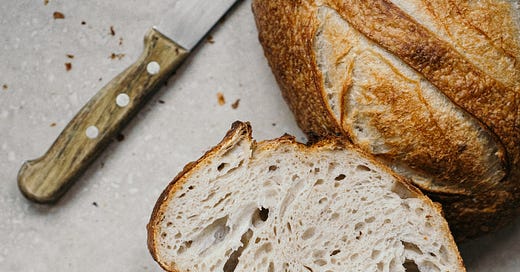
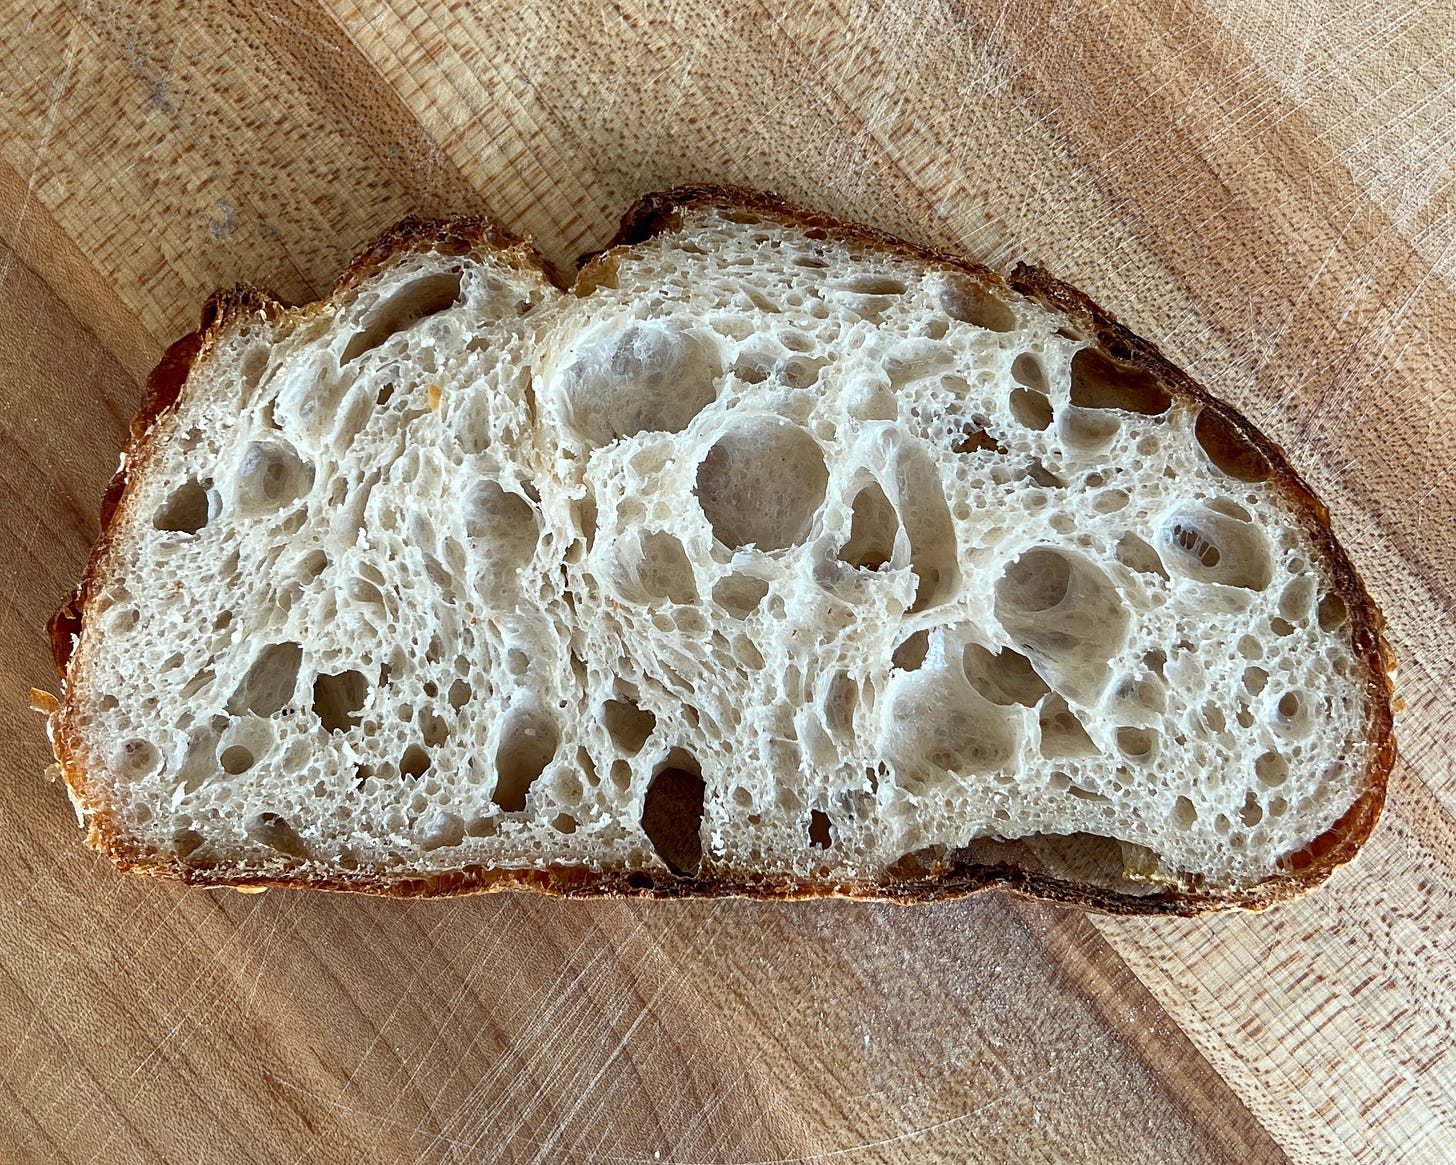
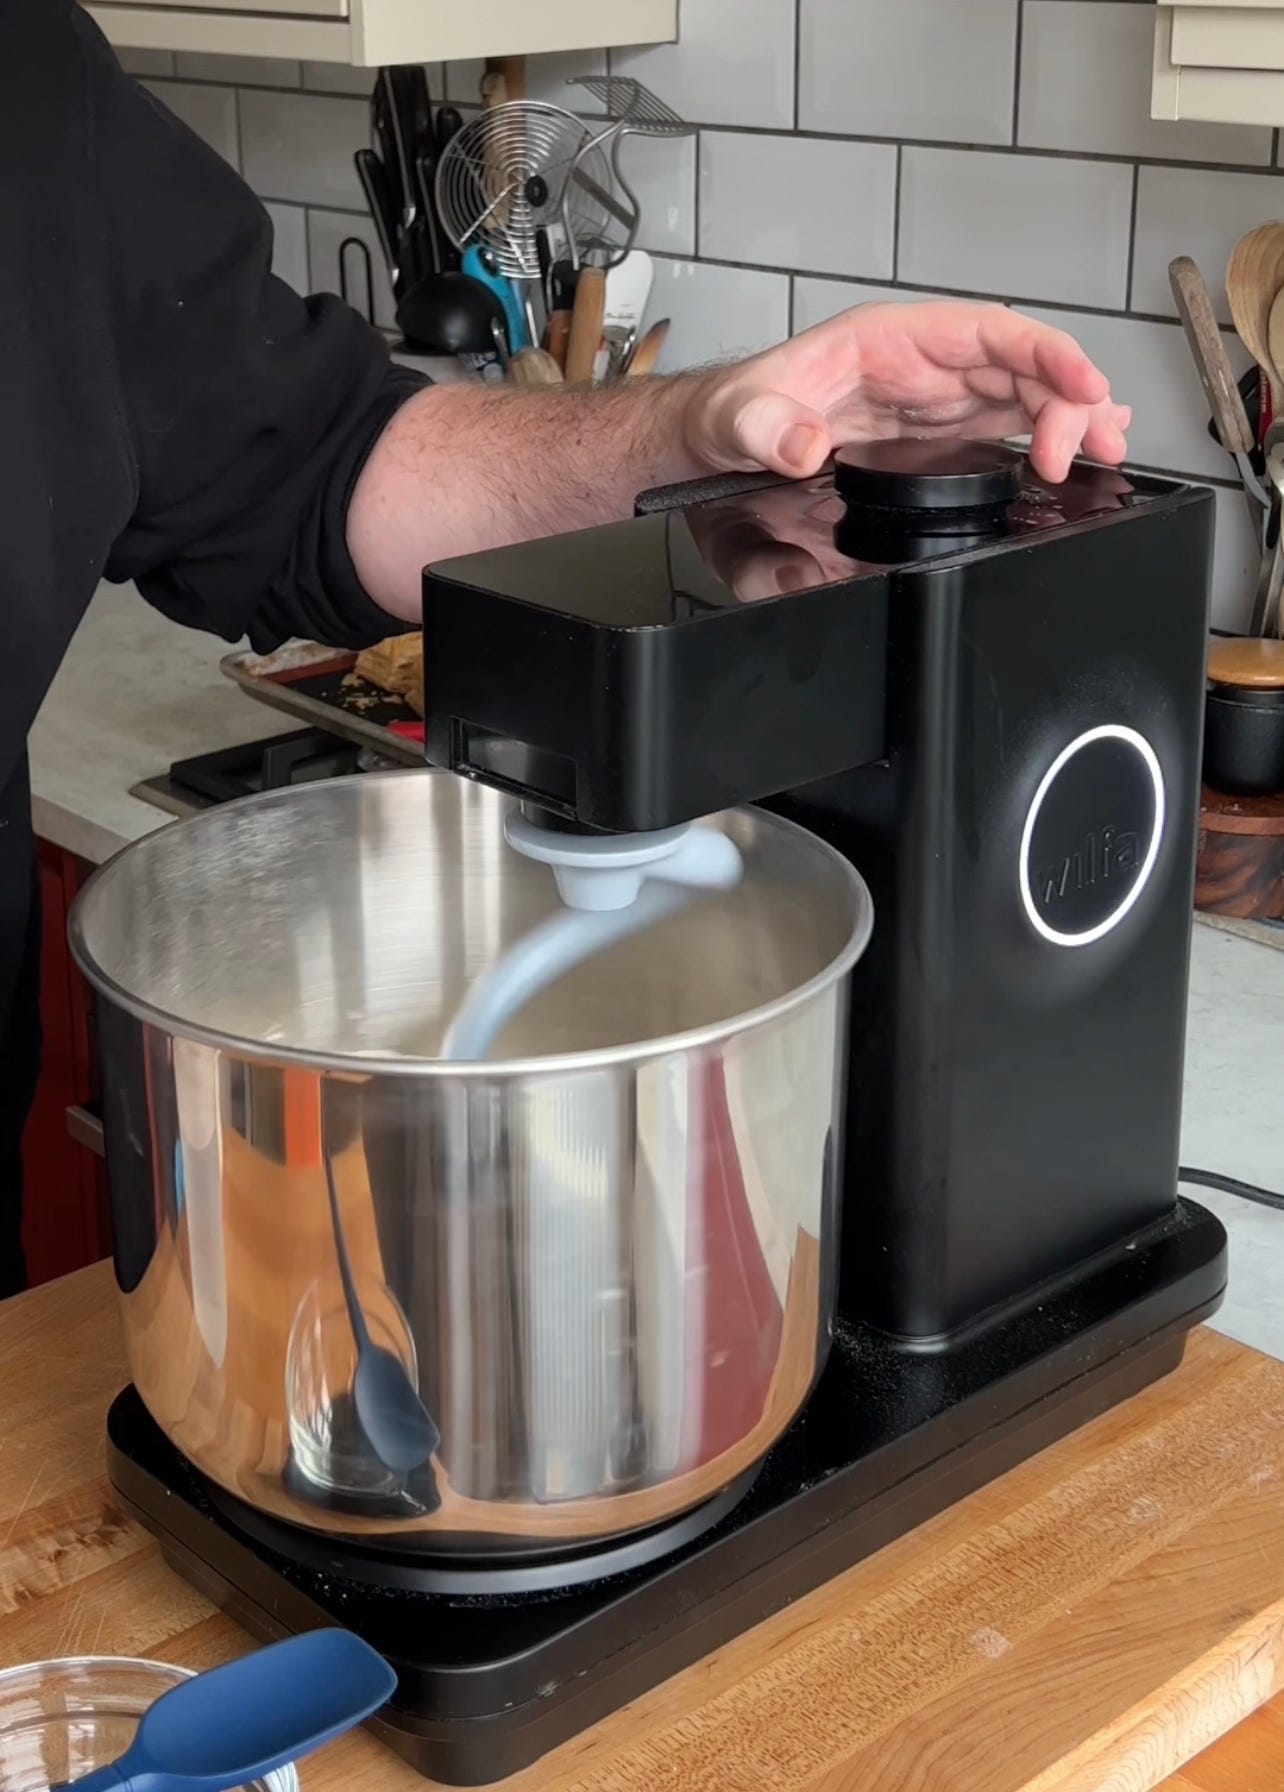
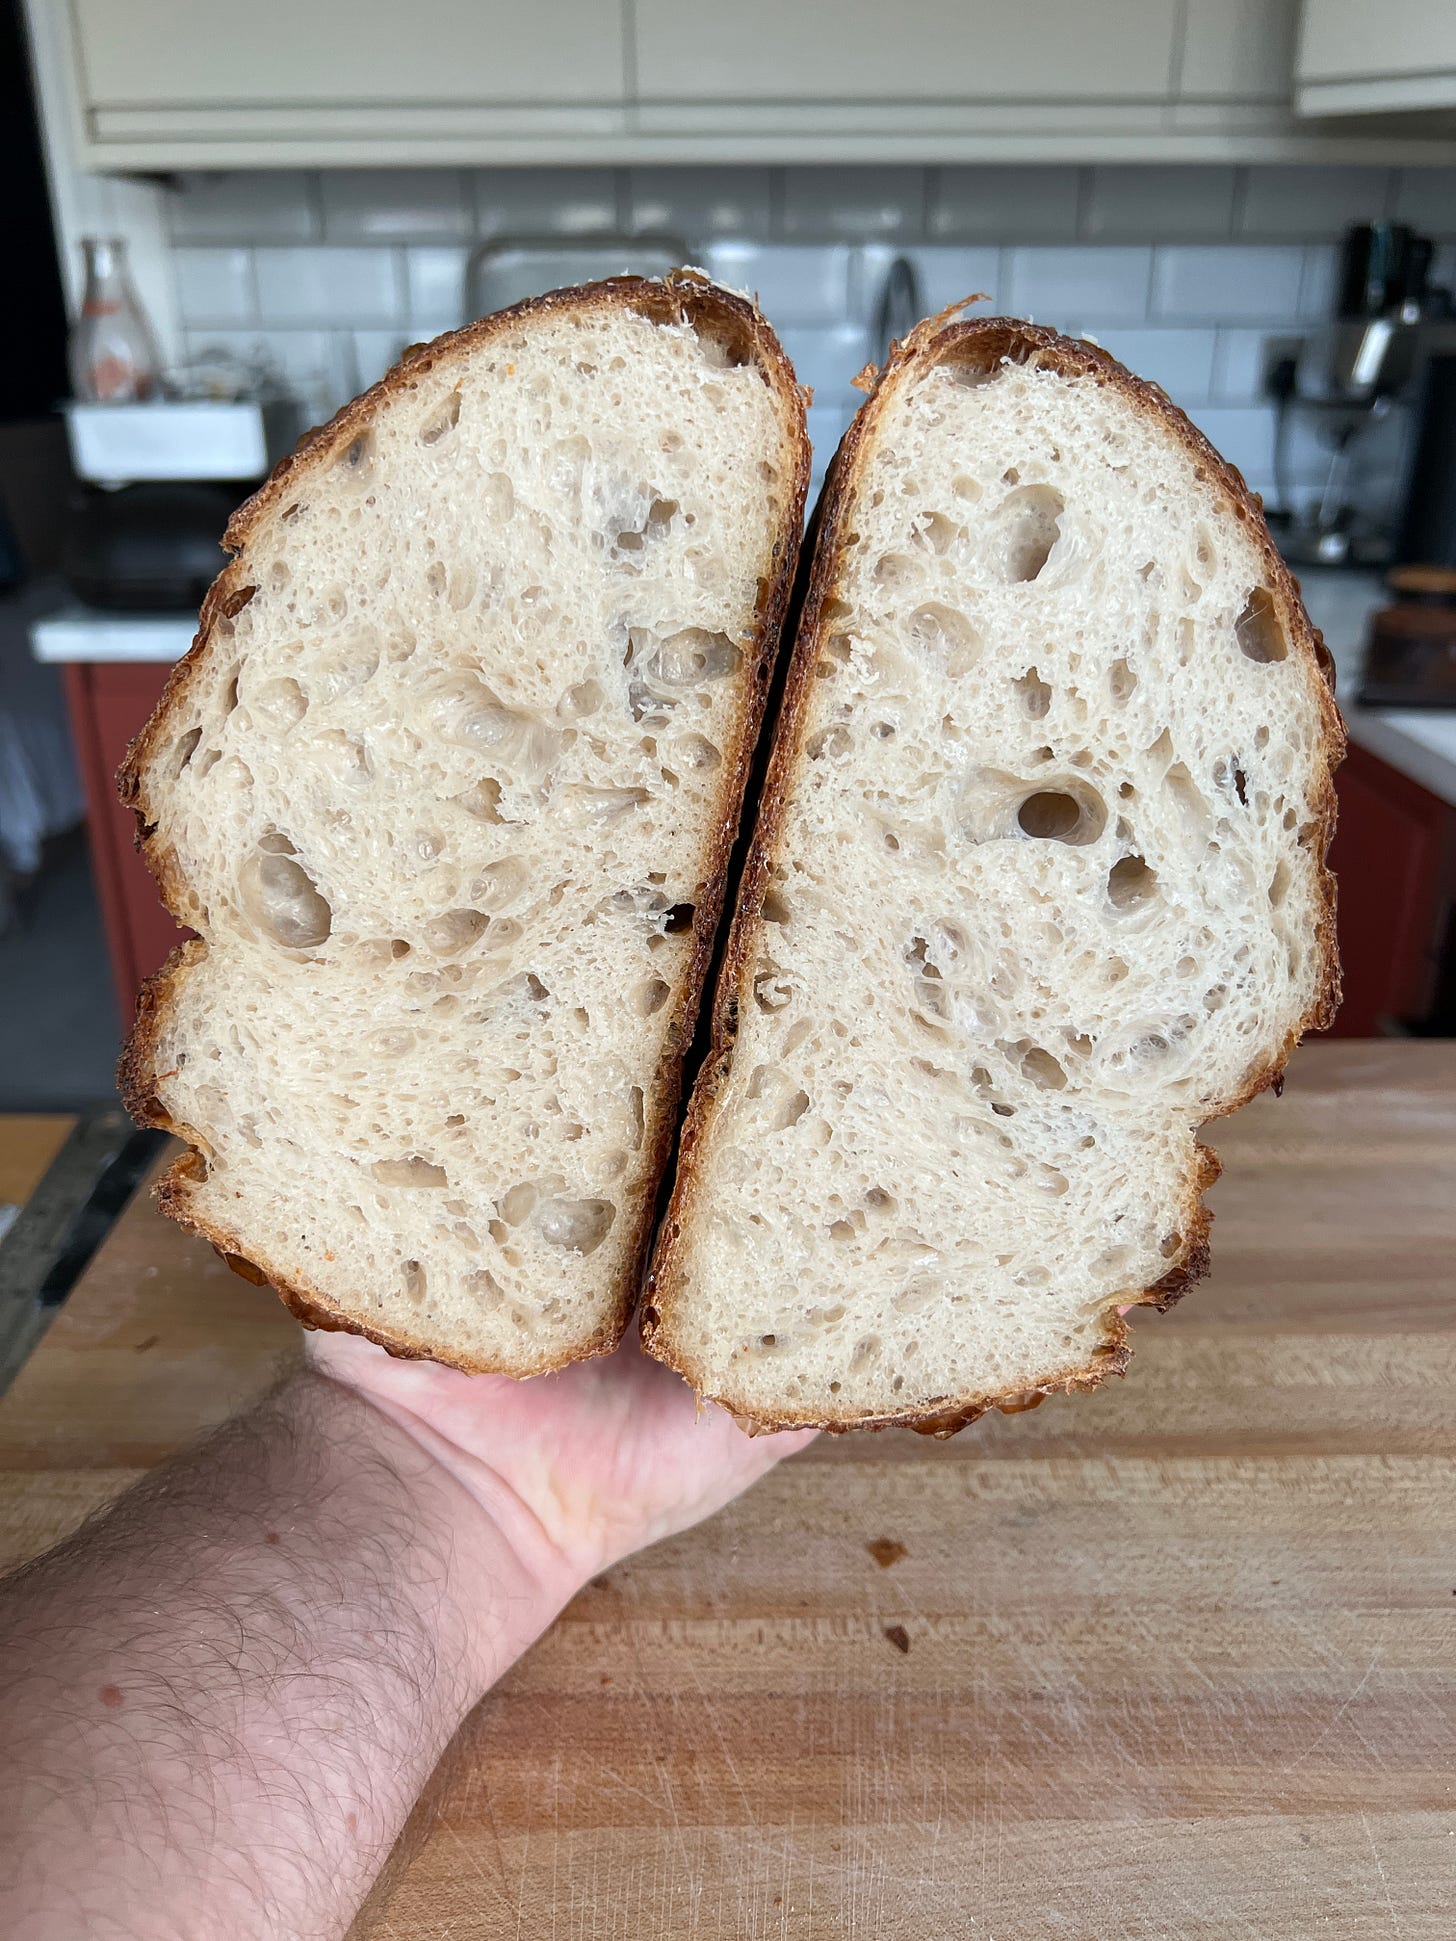
This is not to say the first method is bad, it’s not at all, in fact it has always been my go-to, it’s even the guide I use to teach beginners sourdough. This method is so hands off, so laid back, that I cant help but love how it slots into my life. I can wake up, knead the dough in my Wilfa ProBaker, make a mug of coffee whilst the mixer does all of the work and thats basically it. After that 10 minutes of work, where I basically did nothing, the dough then takes about 12 hours to bulk ferment, so I can be out of the house or busy with other things for the entire day. In the evening I simply dump out the proofed dough shape it and place it into a proofing basket and refrigerate it overnight. That dough can then either be baked the morning after or if I’m busy that morning I can bake it in the evening or even the following day (more on that later). It’s the sourdough method that works around your schedule. And don’t think this method makes inferior bread, using this method and a strong healthy starter these loaves have been some of the best breads I have ever made.
If you are entirely new to making sourdough check out my full step by step guide on my website. Even if this is the method you plan on making its worth reading each part of the guide so you can get a good overview of sourdough making.
Why does this work?
The success of this recipes comes down to two things.
Sourdough starter percentage
Mechanical mixing
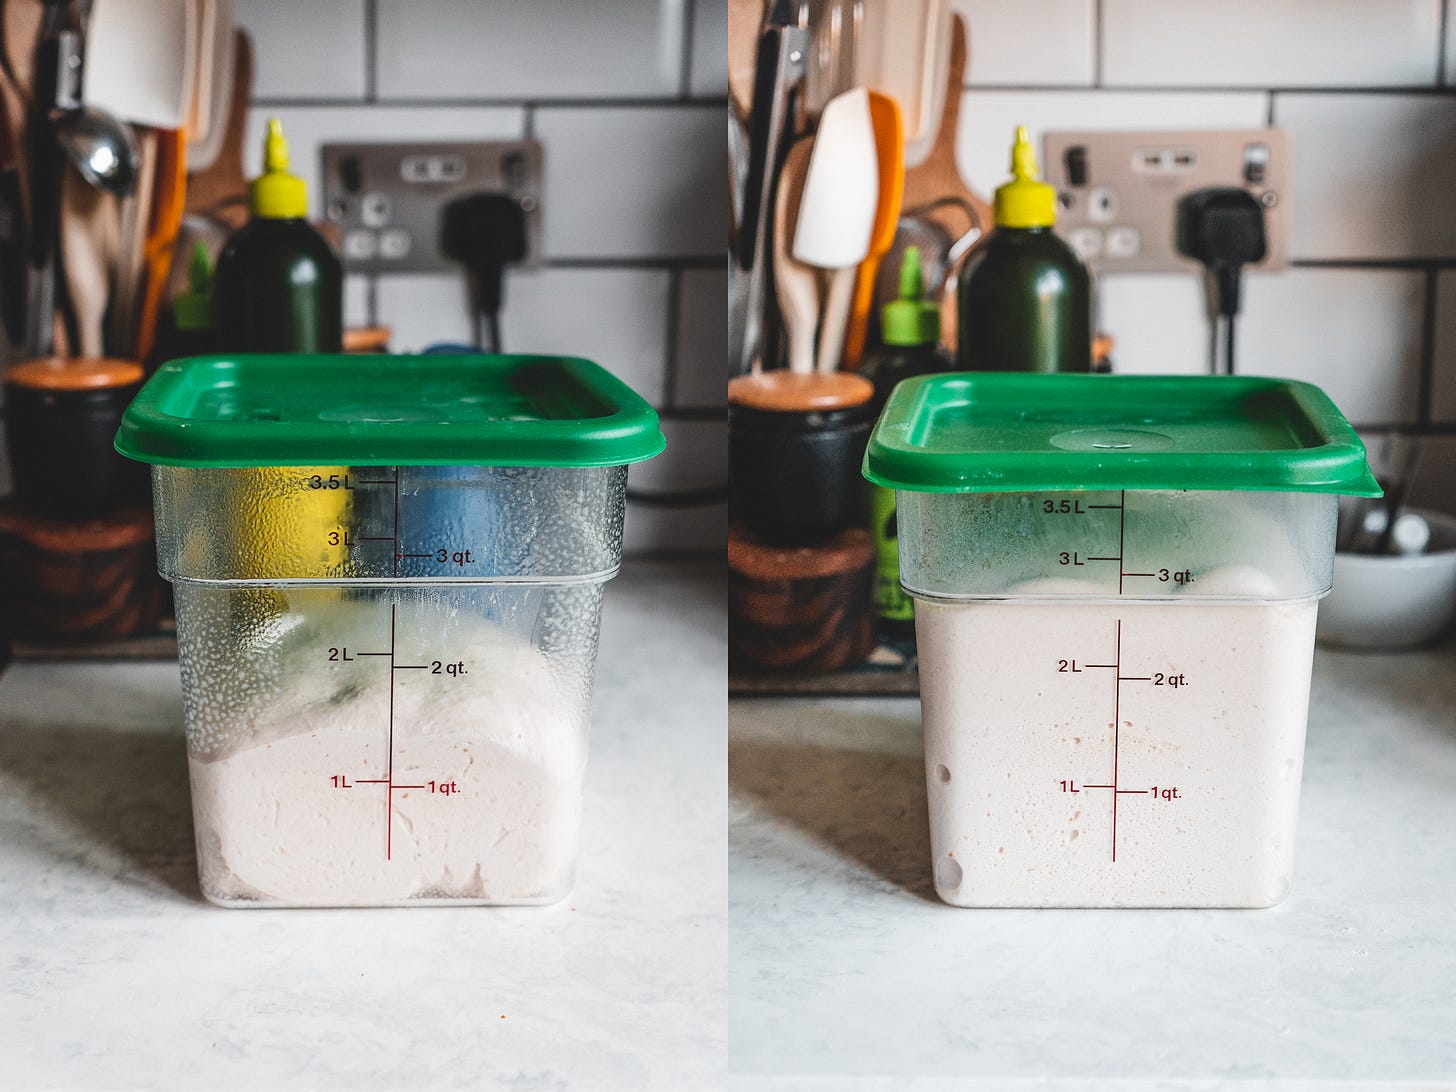
The first is responsible for extending the length of the bulk fermentation. If you do a review of the most popular sourdough recipes online you’ll find that the most common percentage of sourdough starter used is 20% (relative to the flour) and this generally means the bread will take about 6 hours to finish bulk fermentation. A simple change of reducing this to 10% extends the bulk fermentation to about 12 hours. But even with a 12 hour bulk fermentation how do you make a dough that doesn’t need stretching and folding multiple times? Simply by fully kneading it at start of the process. First thing in the morning I throw everything for the recipe into my Wilfa ProBaker and let it knead for about 10 minutes until the dough is smooth and elastic and passes the windowpane test. Getting the strength into the dough at the start, combined with a long bulk fermentation, means that when it comes time to shape the dough we still have a strong dough with plenty of gluten development. I have made this recipe with a variety of bread flours but my favourite to use is something particular high in gluten like the Canadian Bread Flour from Matthews Cotswold flour because, as is typical of Canadian flour, it has a high protein content, 14% in this case, which means it makes for particular strong doughs and is perfect for a recipe that uses a particularly long bulk fermentation.
The reason I love making this recipe in my Wilfa ProBaker is that a) it kneads bread doughs brilliantly, like no domestic mixer I have used before and b) I can quite literally set it and forget it. The mixer is so incredibly stable that I can start the dough mixing and get on with other things rather than stand over it. If I have to be out of the door quickly I can use those 10 minutes to get ready, or if I am just settling in for a day of work it’s 10 minutes I can use to make coffee, make my list for the day or even just take 10 minutes to listen to a podcast or play with the dog. The mixer is so stable that you can literally rest a glass of water atop it, it wont move an inch!
You can get a 20% discount off Wilfa products using my code THEBOYWHOBAKES
The Busy Bakers Sourdough
Makes 1 loaf
500g strong white bread flour
5g salt
350ml lukewarm water
50g ripe sourdough starter, at its peak
To make the dough place all of the ingredients into the bowl of your stand mixer, I use my Wilfa ProBaker which is the best mixer I have ever used for bread, and using the dough hook knead for about 10 minutes or until the dough is smooth and elastic and no longer sticking to the sides of the bowl. At this stage the dough should be able to pass the windowpane test. Shape the dough into a ball and place into a lightly greased bowl or dough container. Cover and set aside until about doubled in size. To keep the fermentation to 12 hours I find I don’t need to leave the dough somewhere warm, like an airing cupboard or a makeshift proofing cabinet, it will ferment nicely at about 18-20ºC which is generally the temperature my kitchen currently has during the day. It is worth noting that during warmer months your dough will ferment quicker so you if the 12 hours is important, because you’ll be out of the house all day, you can experiment with lowering the amount of starter even further to slow down the fermentation of the dough. You could also lower the temperature of the water used to make the dough to similarly slow down fermentation.
Once the dough has almost doubled in size, tip it out onto a lightly floured worksurface and shape into a rough ball. Place seam side down and cover with a kitchen towel and leave for 20-30 minutes to relax before doing your final shaping. Place the shaped loaf into a proofing basket, seam side up, and cover. I like to use shower caps for this as they are reusable and have an elastic edge so they work on baskets really well. Place the loaf into the fridge and leave overnight before baking. At this stage you can leave the loaf for up to two days before baking which makes it an incredibly flexible way to make bread.
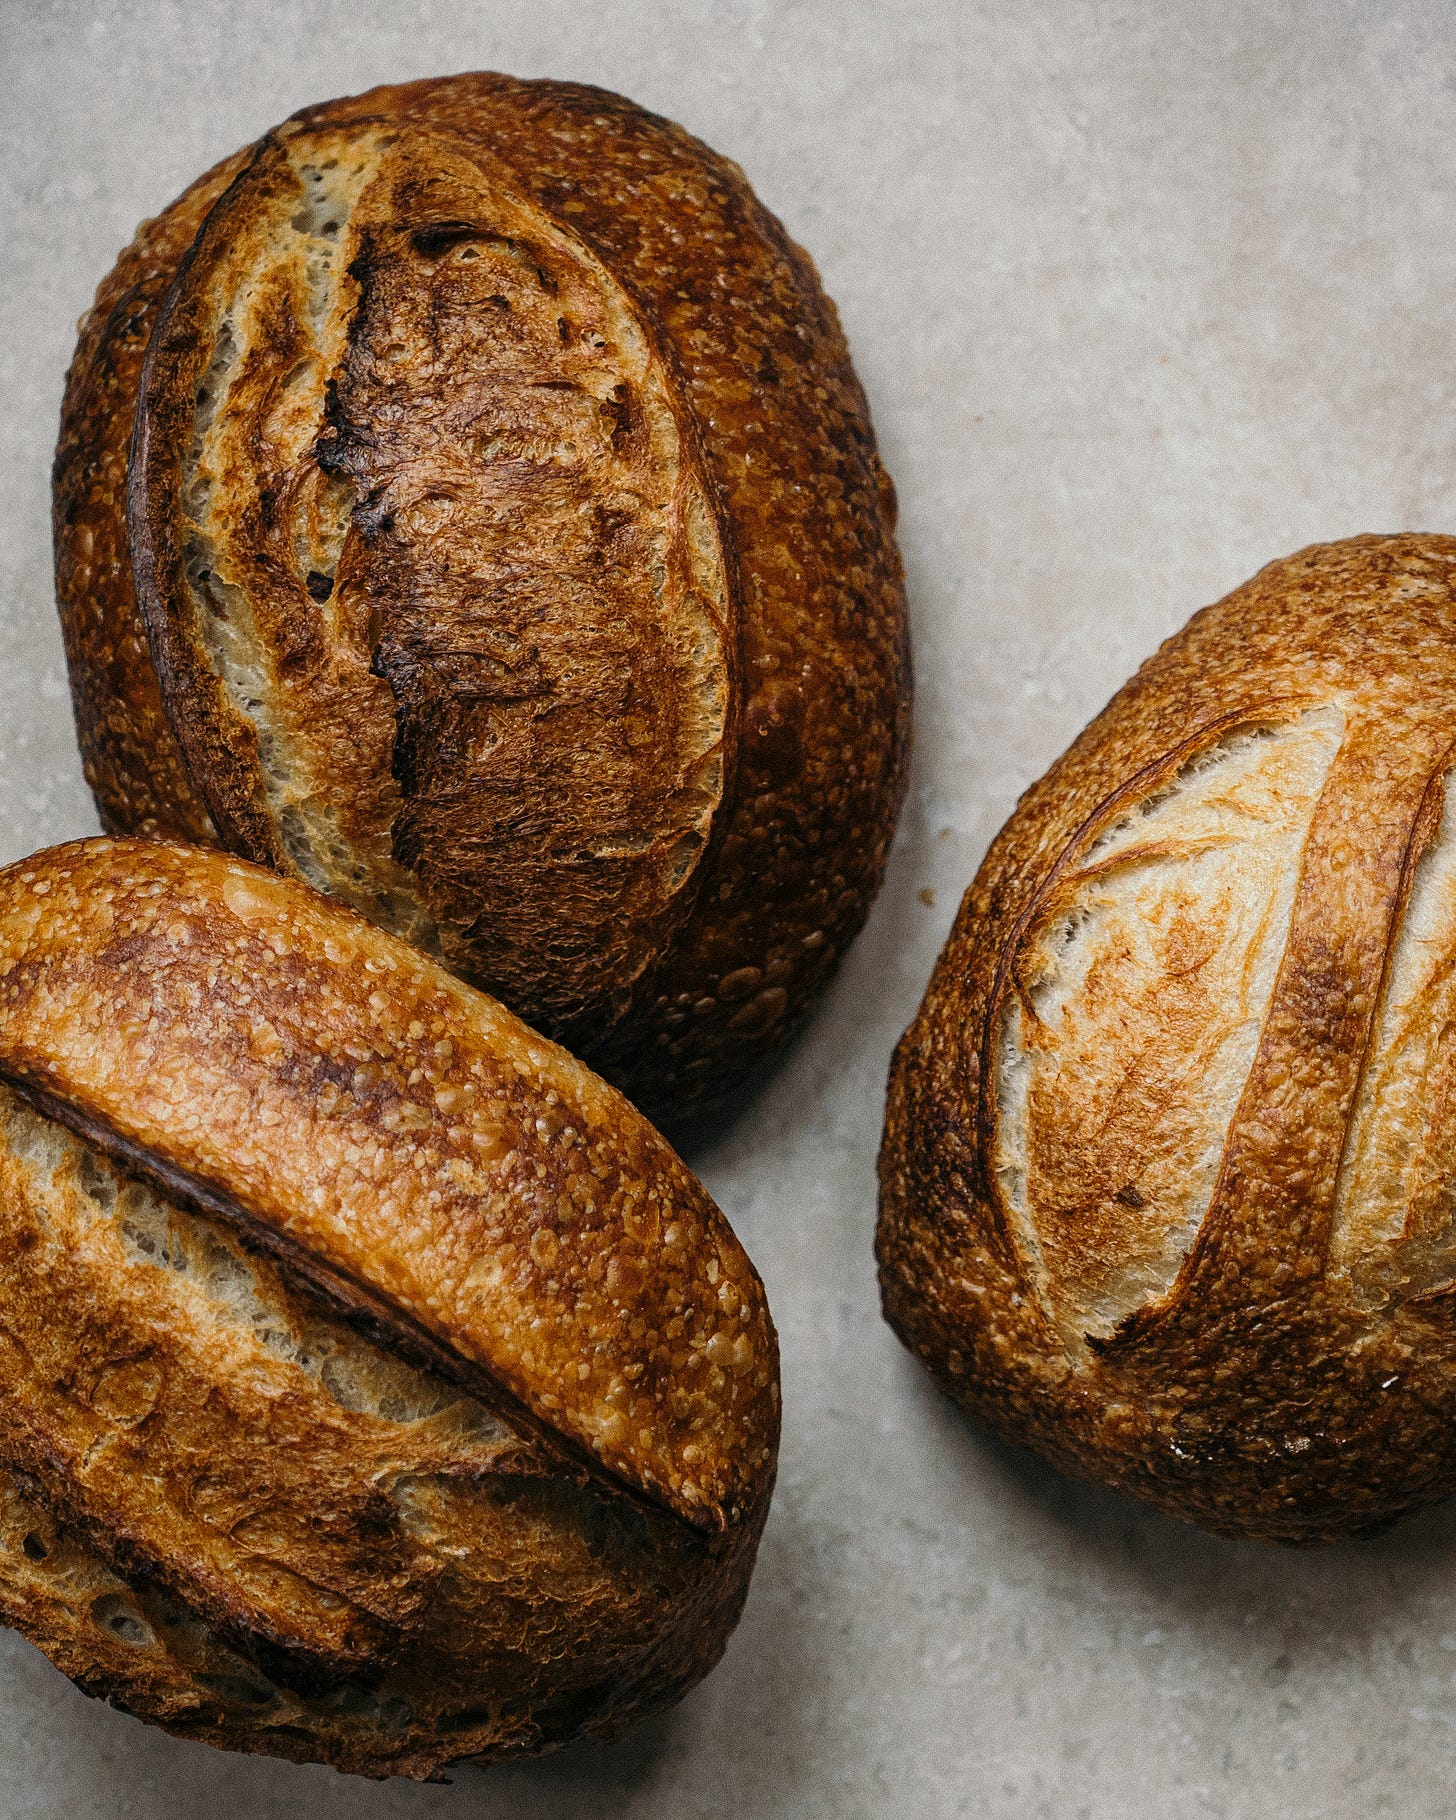
To bake the bread, preheat the oven to 250ºC (230ºC Fan) with a cast iron pot in the oven to heat up as well. The general advice is to do this for an hour before baking but these days, to limit the time my oven is on for, I generally just do 30 minutes. Once preheated, turn out the loaf onto a piece of parchment paper and use a sharp razor or knife to score the loaf (you can use whatever style of scoring you like but I keep things simple and do a single line down the middle of the loaf), before using the parchment to carefully transfer the loaf to your preheated cast iron pot. I like to add a couple ice cubes to the pot to add extra steam to the initial stage of the baking which helps with oven spring and formation of the crust. Bake for 25 minutes before reducing the temperature to 230ºC (210ºC Fan) and removing the lid from the pot and baking for a further 25 minutes or until the loaf is a deep mahogany brown. Remove the loaf from the pot and allow to cool fully before slicing.
Doubling Up
If you have watched the video of this recipe, on TikTok or Instagram, you’ll see that I make two loaves (simply doubling the ingredients and dividing the dough in half once the bulk fermentation has finished). I do this because making two loaves is exactly the same as making one and therefore I can stock up with no extra work. I bake one loaf for immediate use and the second loaf is sliced and frozen so I always have bread on hand when needed.





Do you let dough warm to room temp before baking or just turn out from fridge onto baking pan and the into oven?
My husband bought me a Le Creuset Dutch oven for Christmas as I want to bake more bread at home. Would love any other tips you have for using it for the first time! Thanks!