


Summer Sweets - Sweet and Salty Coffee Caramel Ice Cream Cake
When its too hot for anything other than ice cream

🎉 Welcome to my newsletter, The Boy Who Bakes, a subscriber-supported newsletter, dedicated to all things baked. For more bonus posts, filled with exclusive recipes just like this one, you can become a paid subscriber for the weekly newsletter, Second Helpings. It costs just £5 a month and, as well as the weekly recipes, that also unlocks access to the full archive of past recipes. To subscribe, to either the paid or free newsletter, click the link below.🎉
Hello, Happy Friday!
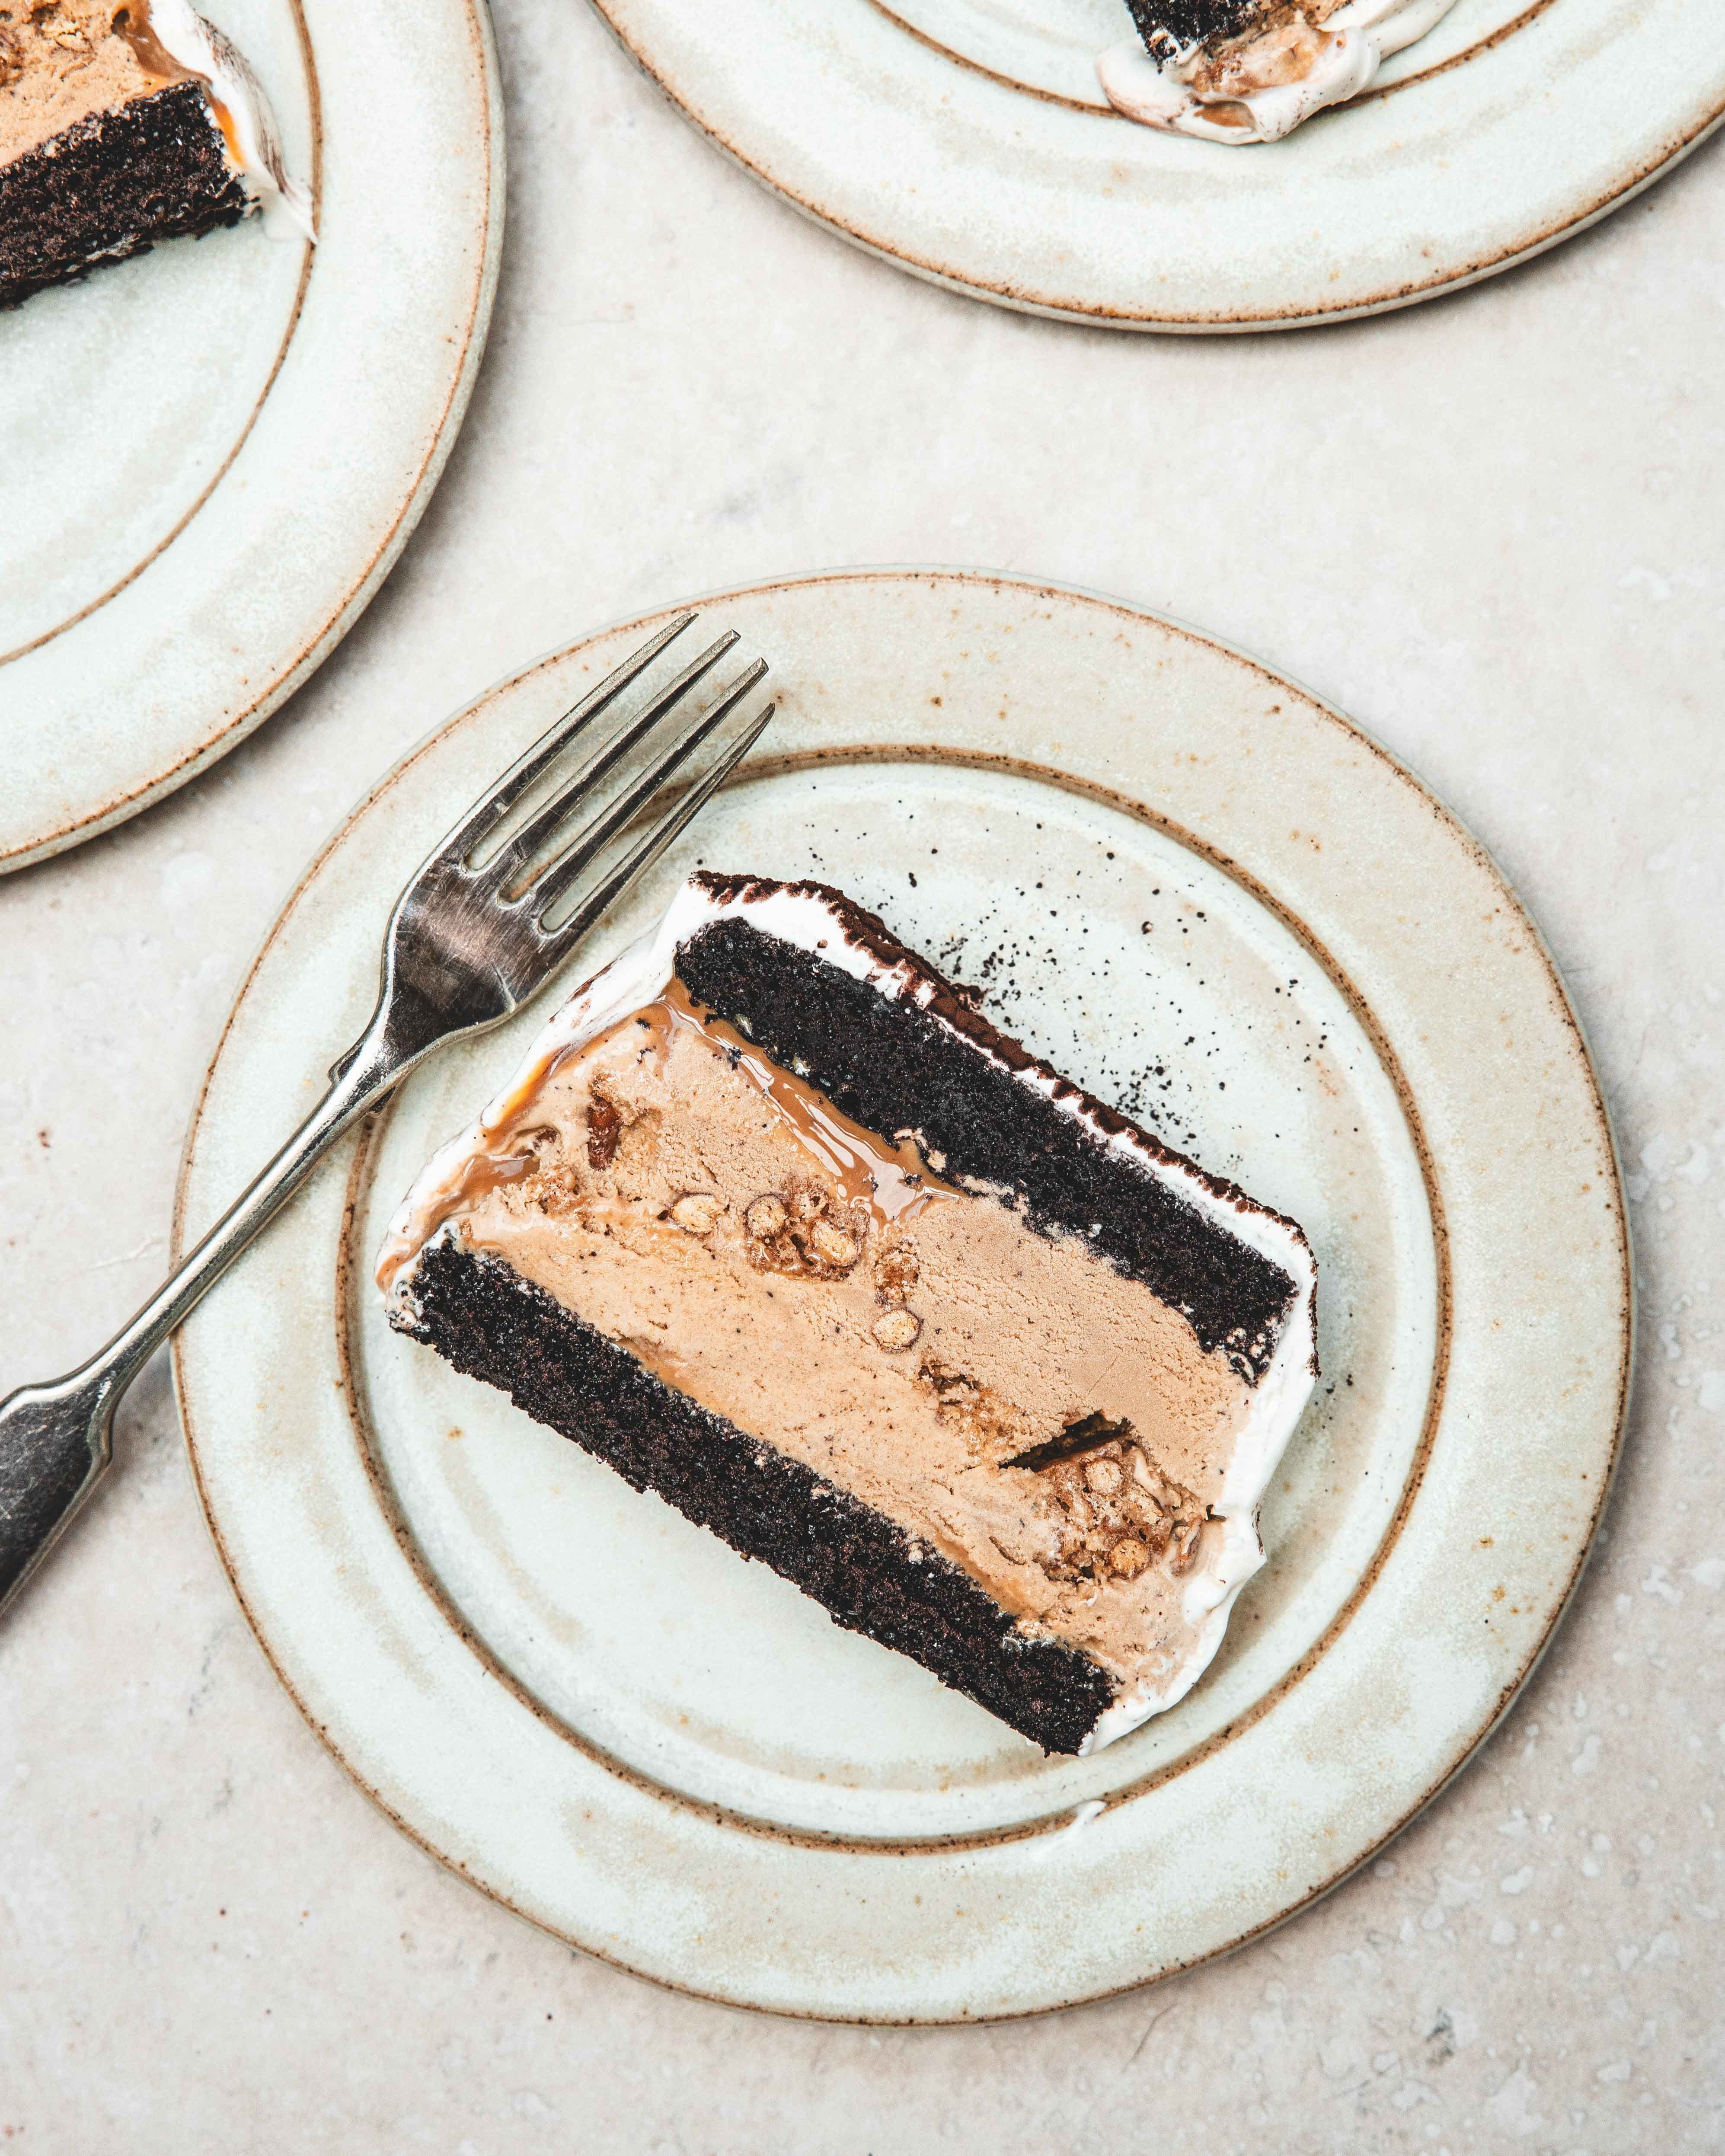
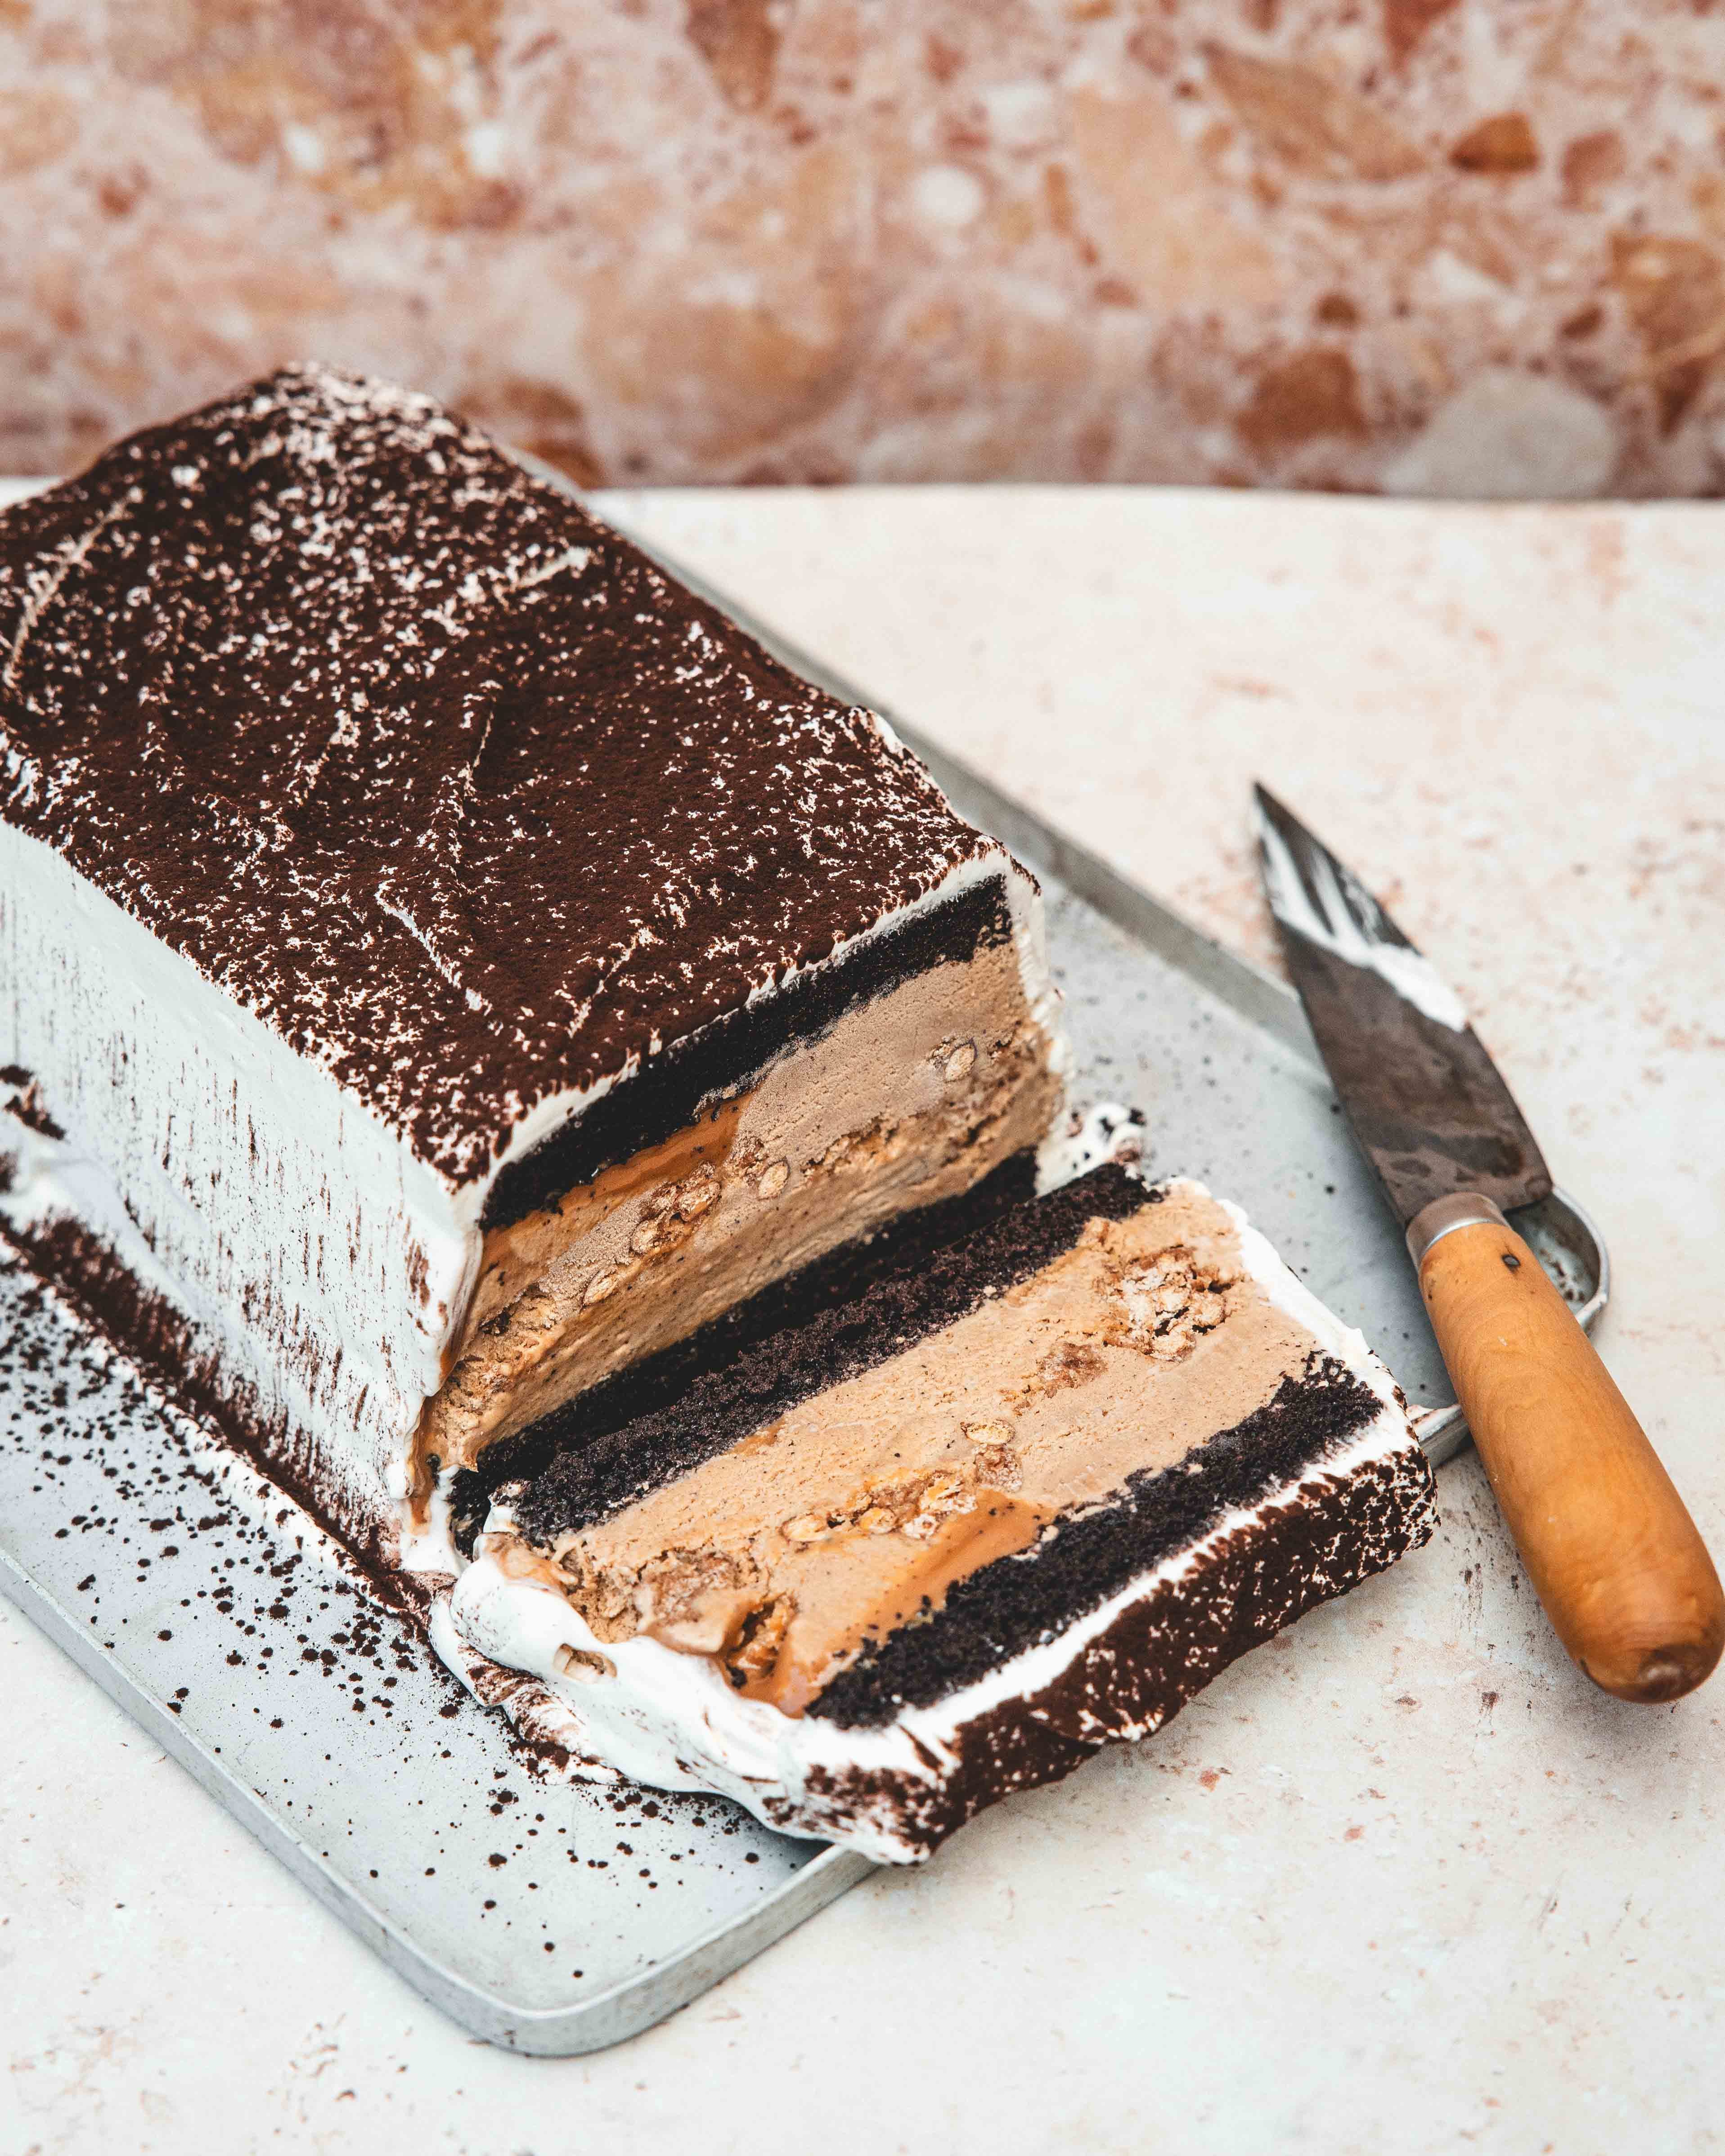
To those of you across the pond, I am sure ice cream cakes seem quite retro, a thing from your childhood maybe, but to me, a brit, they’re more of an oddity. The Carvels and Dairy Queens of the US don’t really exist in the UK, you can probably get an ice cream cake from Ben and Jerries but I don’t know anyone who has ever had one, as far as my memory goes the only popular form of ice cream cake, in the UK, was the classic Vienetta (and what an amazing thing that cake is) and that doesn’t actually contain any cake, its more like a loaf of ice cream layered with thin sheets of chocolate giving a brilliant playful texture. So, making this wasn't an experiment in recreating anything I had tried before, it was more imagining what I would want in my perfect ice cream cake.
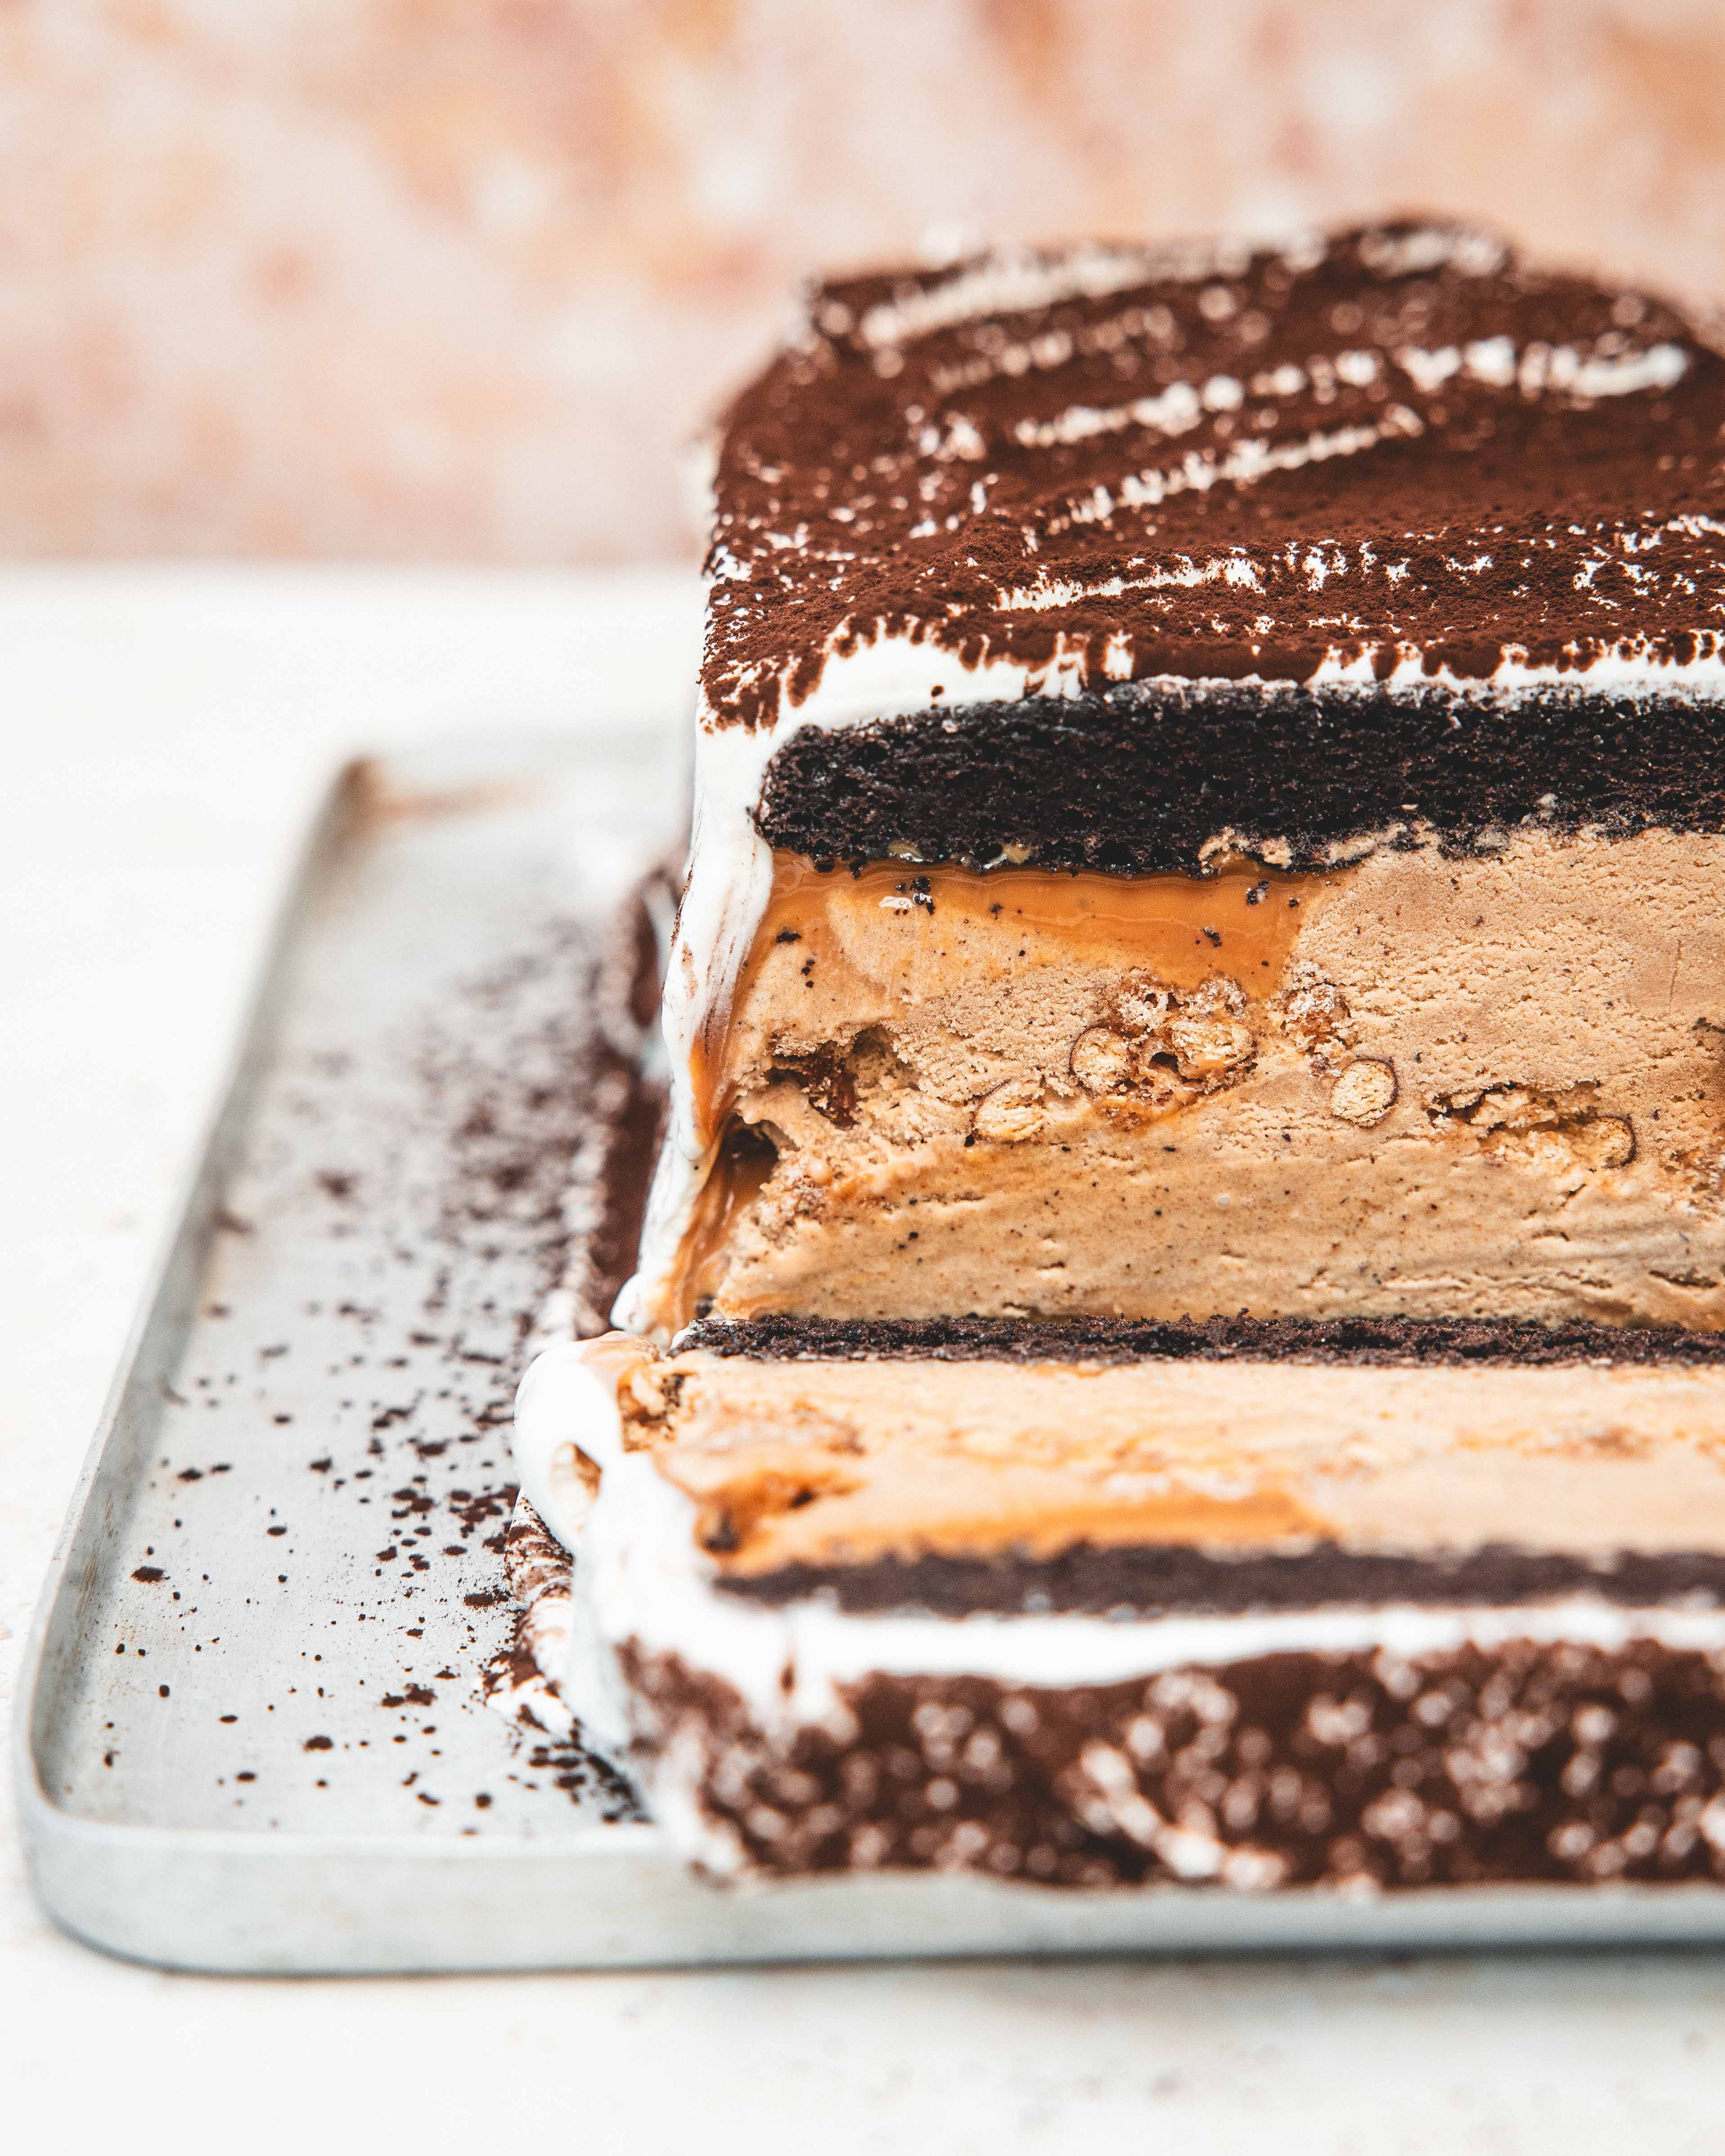
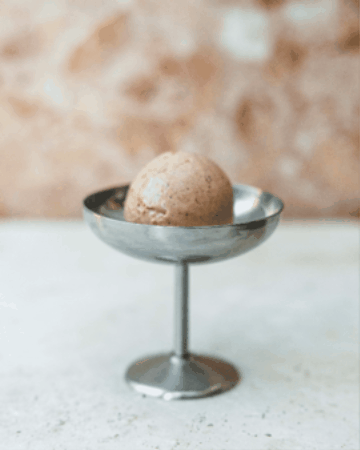
The whole thing started because I wanted to make a really good coffee ice cream. Not an ice cream that tasted like bad instant coffee, but one that had real coffee infused into it, giving it an amazing depth of flavour. After the ice cream was made (recipe below) I knew immediately that it would make an amazing centre piece for the cake, but what else to add? It seemed obvious to use a chocolate cake as the foundation and then a little caramel would clearly be welcome but I also knew I wanted texture. Because I am a sucker for anything sweet and salty I thought I could add texture using pretzels but instead of just breaking them up and mixing them into the ice cream, I turned them into an addictive pretzel streusel, a dangerous invention I could happily eat straight from the oven. Together, it made for a truly delicious cake, perfect for the summer and quite possibly the ultimate BBQ dessert.
To make the ice cream I started with a pretty classic base, milk and cream into which I infused freshly ground coffee. I brought the mixture to a simmer then covered it and set it aside for a few hours so that the dairy could really take on the coffee flavour. The ice cream recipe is a custard base so it was finished with egg yolks and sugar and cooked to form, what is basically, a creme anglaise. But, before we churn the ice cream there was one extra addition that makes all the difference. Toasted milk powder.
Toasted milk powder is a pastry chefs secret weapon, adding a real depth of flavour to many a recipe. Think of it almost as a dried form of brown butter. When you brown butter, it is the milk solids that turn a wonderful nutty brown and you can achieve a similar flavour profile by toasting milk powder. You can do this by either baking the powder until browned or toasting it directly in a pan, stirring constantly until a warm golden brown. Either way, the finished product is a toasty golden powder that can be added to all manner of recipes, from cakes to cookies and yes to ice cream. In ice cream the powder does more than just add flavour, it has a very special function, one that helps make an even better ice cream.
The enemy of good ice cream is large ice crystals, they makes for an unpleasant eating experience, because we all know the smoother the ice cream the better. Large ice crystals form when there is too much ‘free water’ in the recipe. Water comes form both the milk and the cream used to make the custard and, if you balance the recipe correctly, you can trap that free water making for a smooth ice cream. Milk has more water content than cream so using cream helps to reduce the water content, but using too much cream leads to an ice cream that can be a little oily or greasy so it’s a tricky balancing act. Sugar is hydroscopic and helps trap that free water, to ensure a smooth ice cream. Egg yolks also contain lethicin which is a natural emulsifier, which helps give ice cream is smooth and creamy texture. Skimmed milk powder is another great way to reduce the ‘free water’ and do so without adding any additional fat. In this recipe the milk powder is toasted and also adds additional flavours to our base, a roundness, a warmth, that works really well with the coffee.
Coffee Ice Cream
450ml double cream
300ml whole milk
1 tsp vanilla bean paste
50g coffee beans, coarsely ground
125g caster sugar
6 large egg yolks
Pinch of fine sea salt
2 tbsp coffee liqueur
To make the ice cream add the cream, milk, vanilla, coffee and milk powder to a saucepan and whisk to combine. Add half of the sugar and whisk to combine. Place the pan over medium heat and bring to a simmer. Remove the pan from the heat, add a lid, and set aside for a couple hours to infuse.
Place the pan back over the heat and bring back to a simmer. Meanwhile add the remaining sugar, egg yolks and the salt to a large bowl and whisk to combine. Pour the reheated cream mixture over the egg yolks, whisking as you pour to prevent the yolks from scrambling. Pour the custard mixture back into the pan.
Place the pan over a low heat and cook, stirring constantly with a rubber spatula or wooden spoon, until the custard reaches between 75-80ºC and thickens enough to coat the back of a spoon. Pour the custard into a large jug, passing it through a fine mesh sieve to remove all of the coffee solids. To ensure all of the cream mixture is extract make sure to press on the back of the coffee grounds. Cover the jug and refrigerate the custard base for at least 4 hours or until thoroughly chilled.
Once the custard is thoroughly chilled, pour in the coffee liquer and stir to combine. Then, using your ice cream machine, according to the manufactures instructions, churn the ice cream. Scoop the churned ice cream into a sealable container and freeze for about 4 hours until firm.
Home-made ice cream is made without commercial stabilisers so doesn’t last as long as the shop bought stuff, try to consume it within two weeks.
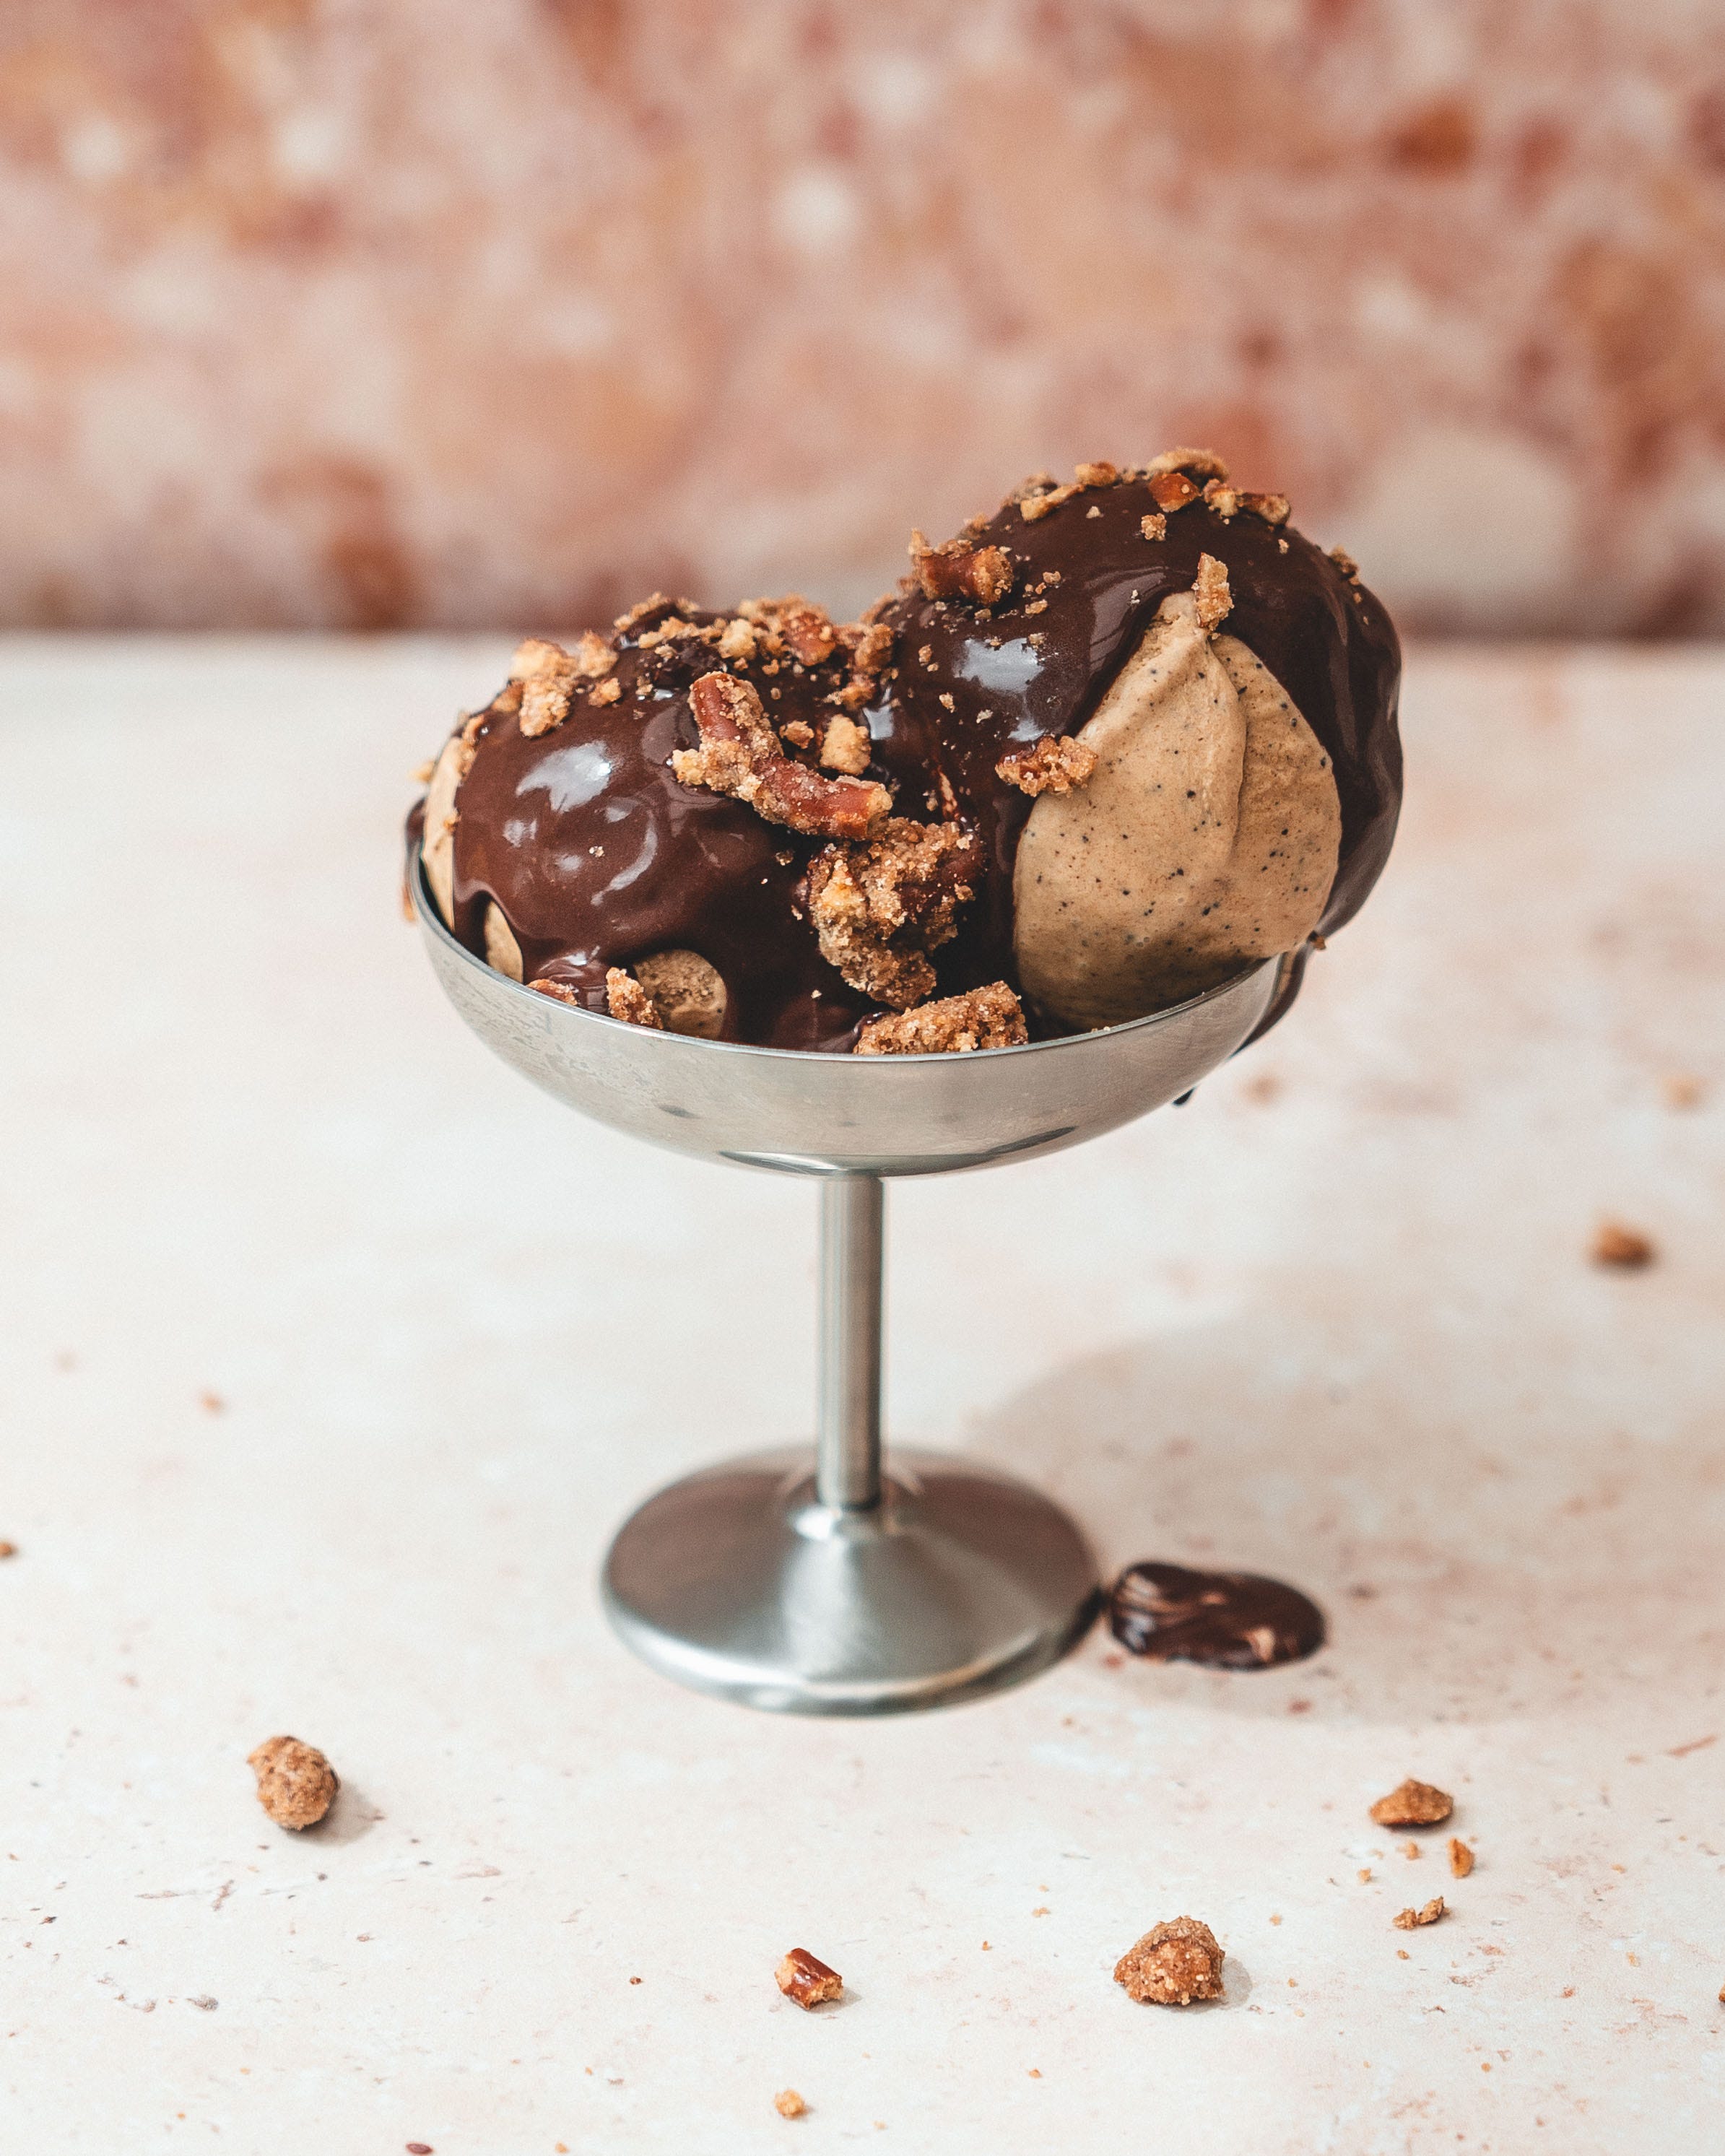
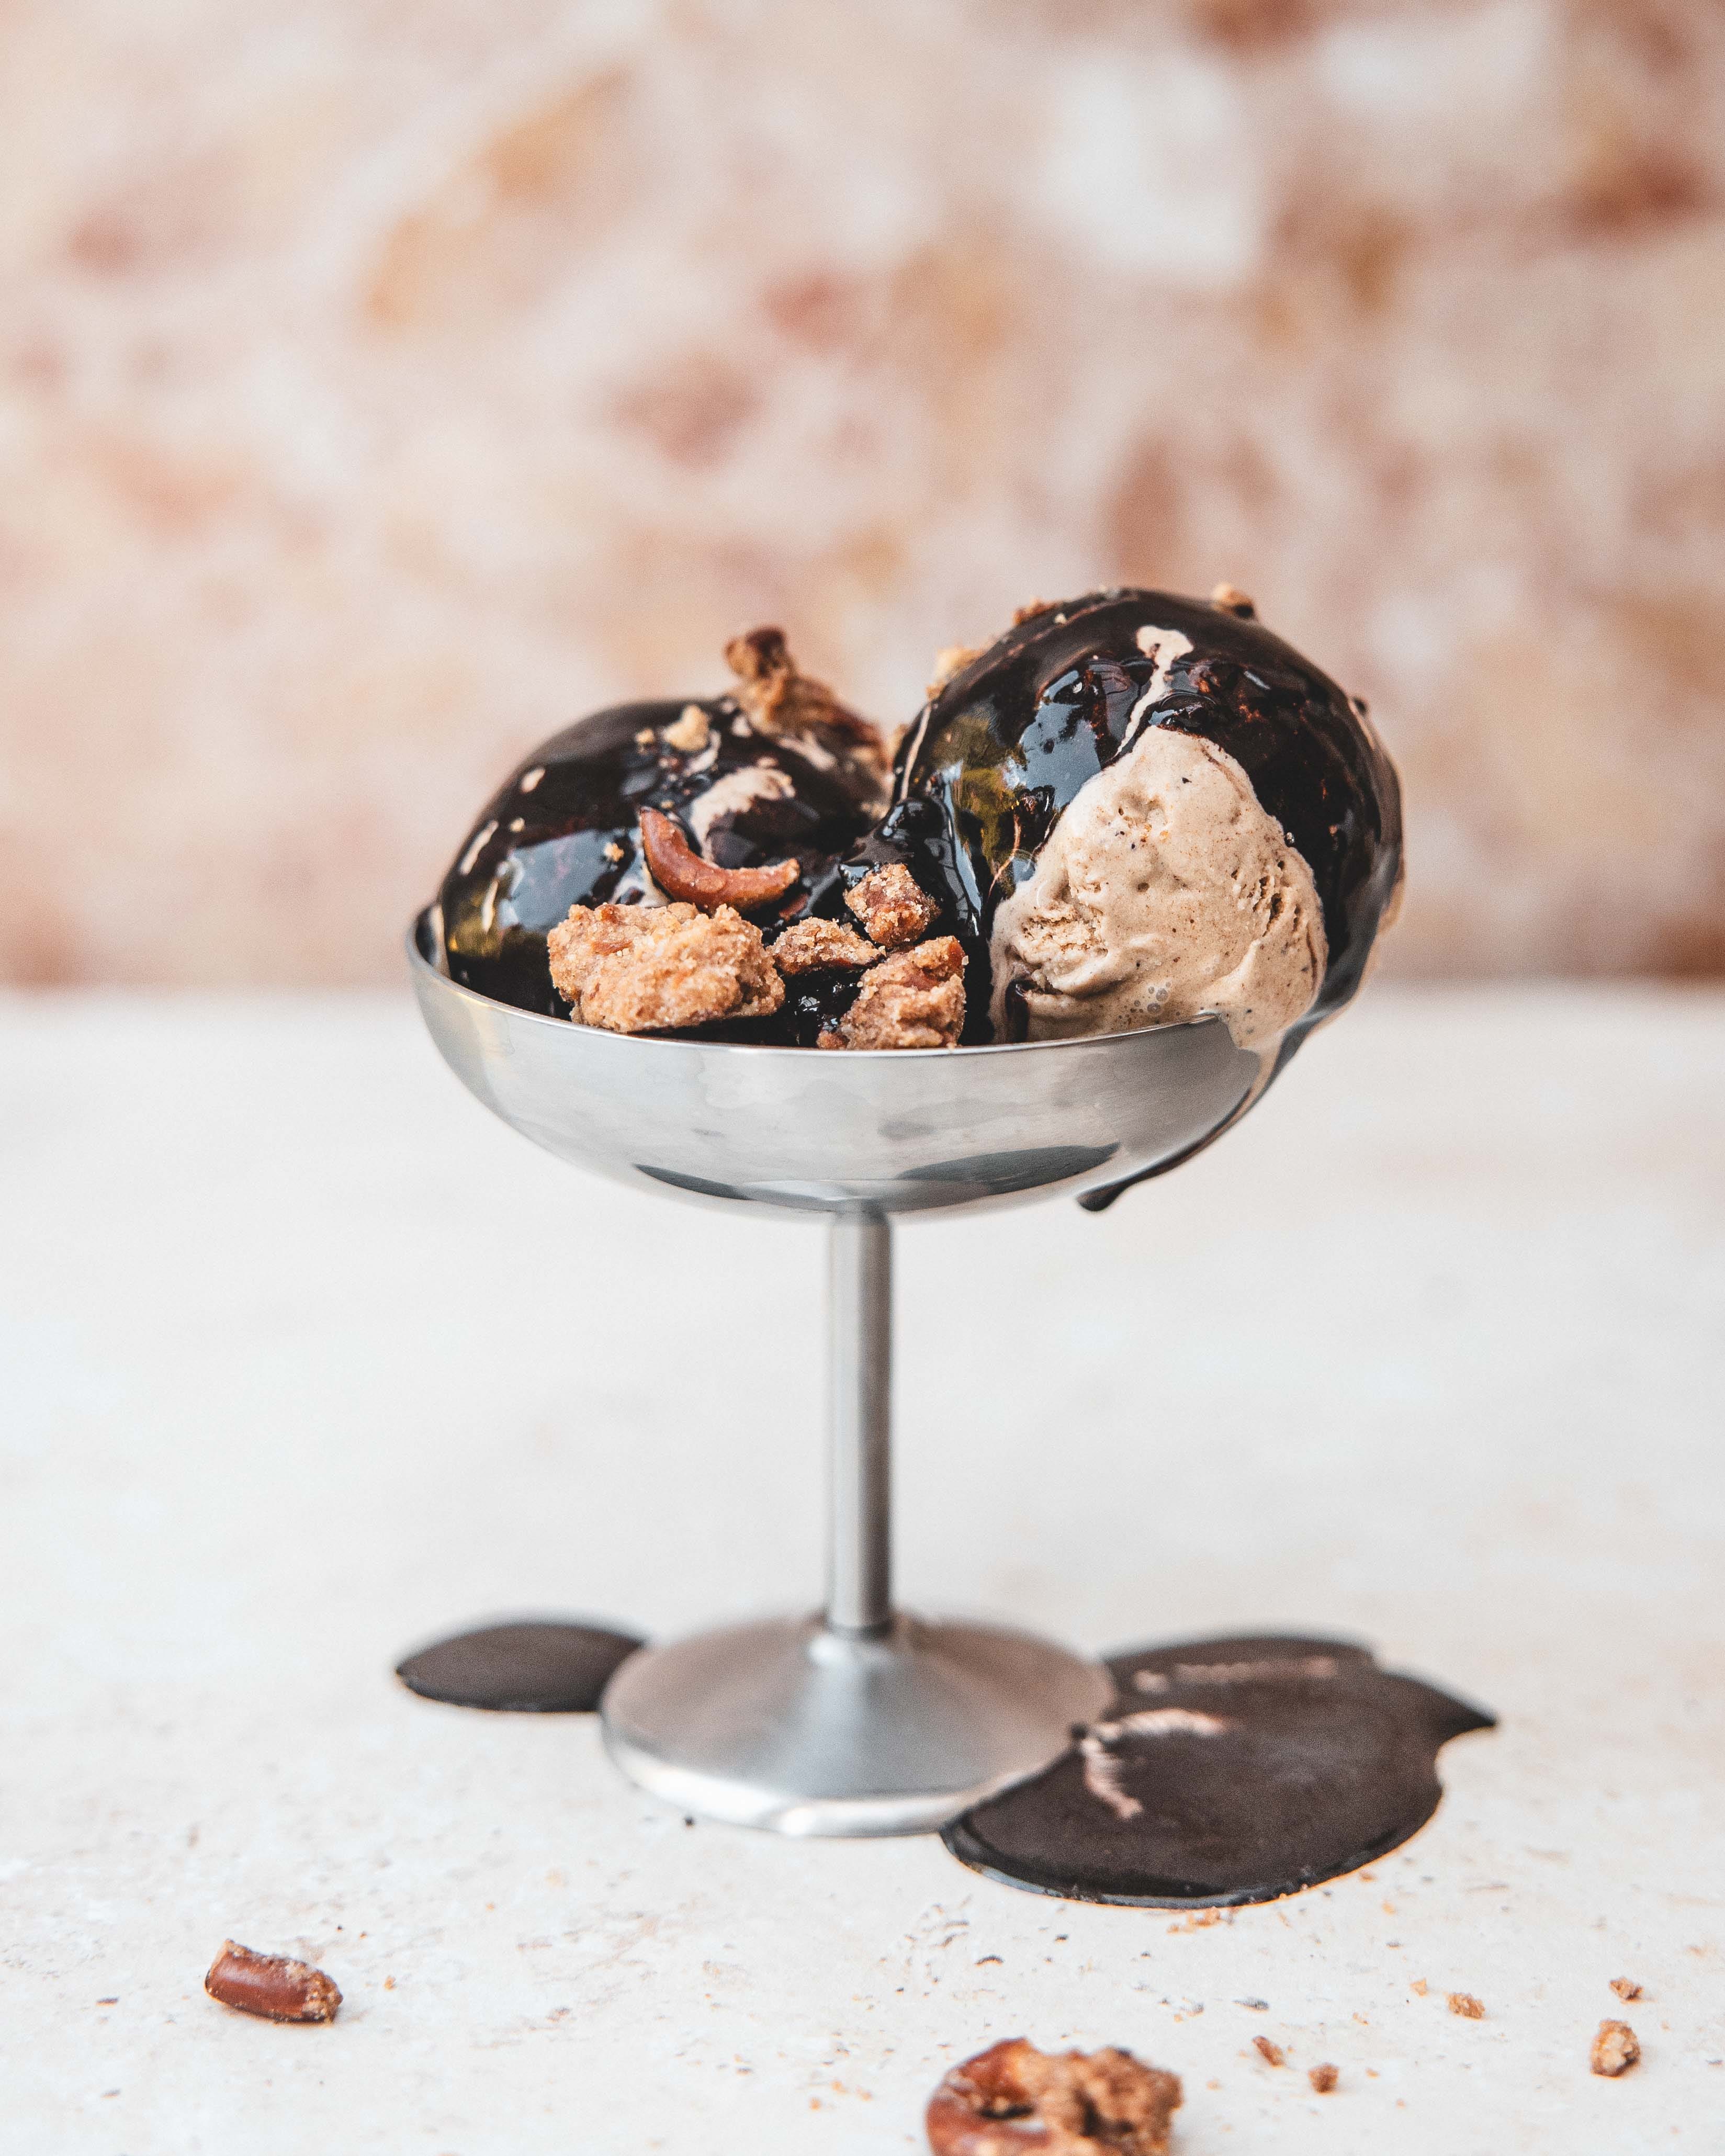
Quick Chocolate Sauce
20g cocoa powder
30g light brown sugar
75ml water
Pinch salt
25g dark chocolate, finely chopped
To make the sauce add the cocoa powder, sugar, water and salt to a small saucepan and place over medium heat and cook, just until the mixture starts to simmer. Remove from the heat and add the chocolate, stirring until fully melted and you are left with a pourable sauce. You can serve at any temperature you like but personally I like it at room temp. Leftovers can be refrigerated but the mixture will thicken and will need reheating to loosen back into a sauce-like consistency
.
To get access to the ice cream cake recipe, upgrade to a paid subscription. Members get a weekly bonus recipe and access to the ever growing archive.
Keep reading with a 7-day free trial
Subscribe to The Boy Who Bakes to keep reading this post and get 7 days of free access to the full post archives.