This issue of the newsletter is sponsored by Wilfa
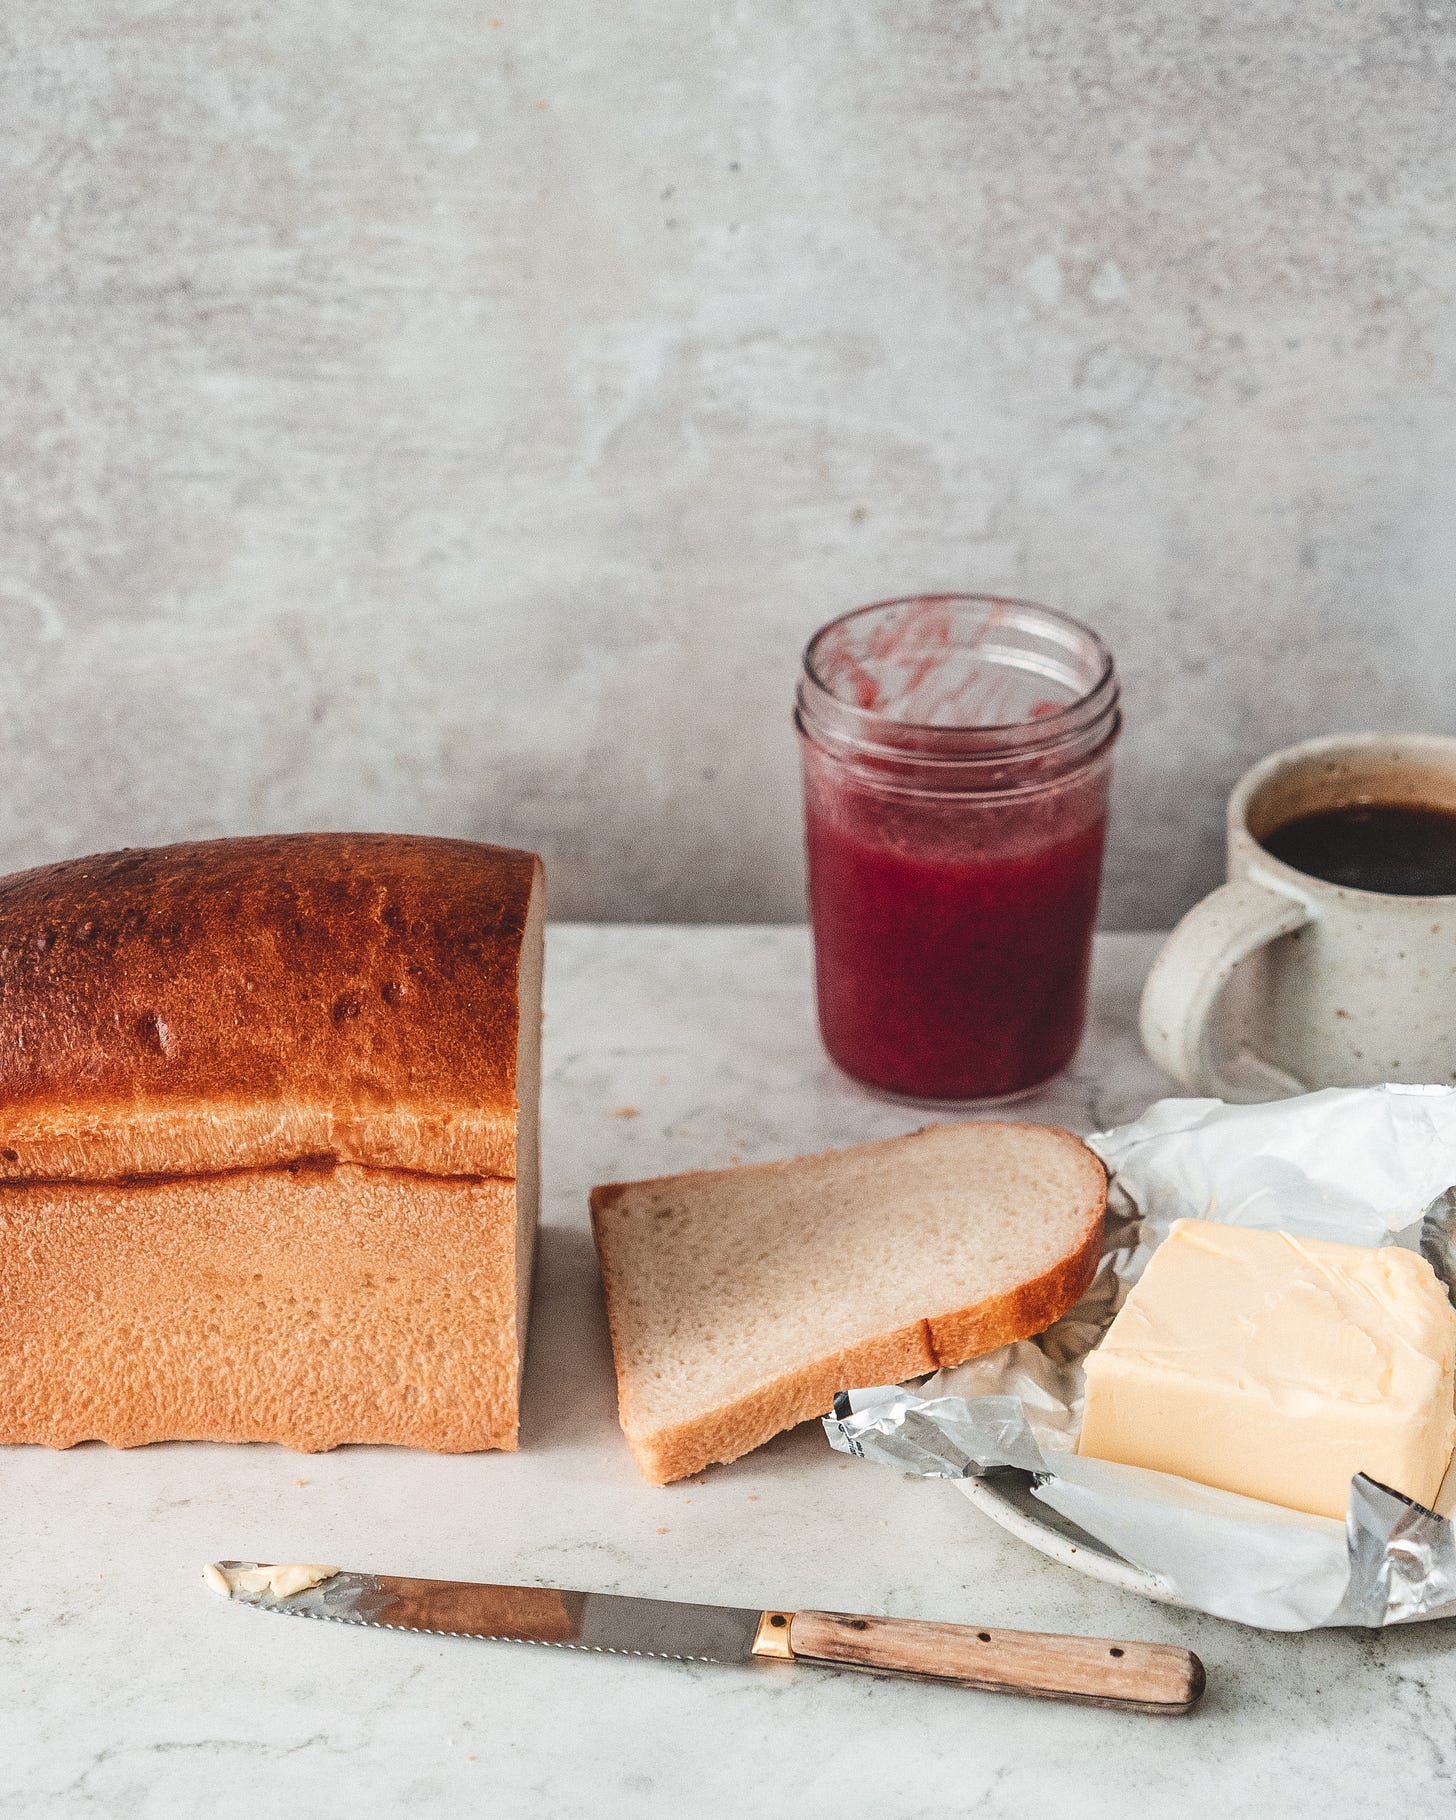
Every time I post a loaf of sourdough I am always surprised by the comments I will inevitably receive from people saying they hate sourdough because it’s too crunchy, too crisp and that it hurts to eat (this is the one that always surprises me the most). This recipe is for those people, also for those occasions where you just want a soft sandwich loaf, a loaf perfect for toast.
Today also marks the end of #realbreadweek a campaign run by the Real Bread Campaign, a week that encourages people to support their local bakeries and to bake their own bread at home. It’s about enjoying bread that is free of commercial additives and made by hand, not some massive industrial process.
To make this loaf you will follow some very similar processes to my Busy Bakers Sourdough but as the ingredients are different the resulting bread has a completely different texture.
Starter
To make this a one day process I feed my starter the night before using a 1:4:4 ratio (20g starter, 80ml water, 80g flour) which means my starter will be ready to use first thing the following morning. Using these amounts you are left with 180g of starter. The recipe uses 125g meaning you are left with enough starter to feed and use again for your next recipe.
Mixing
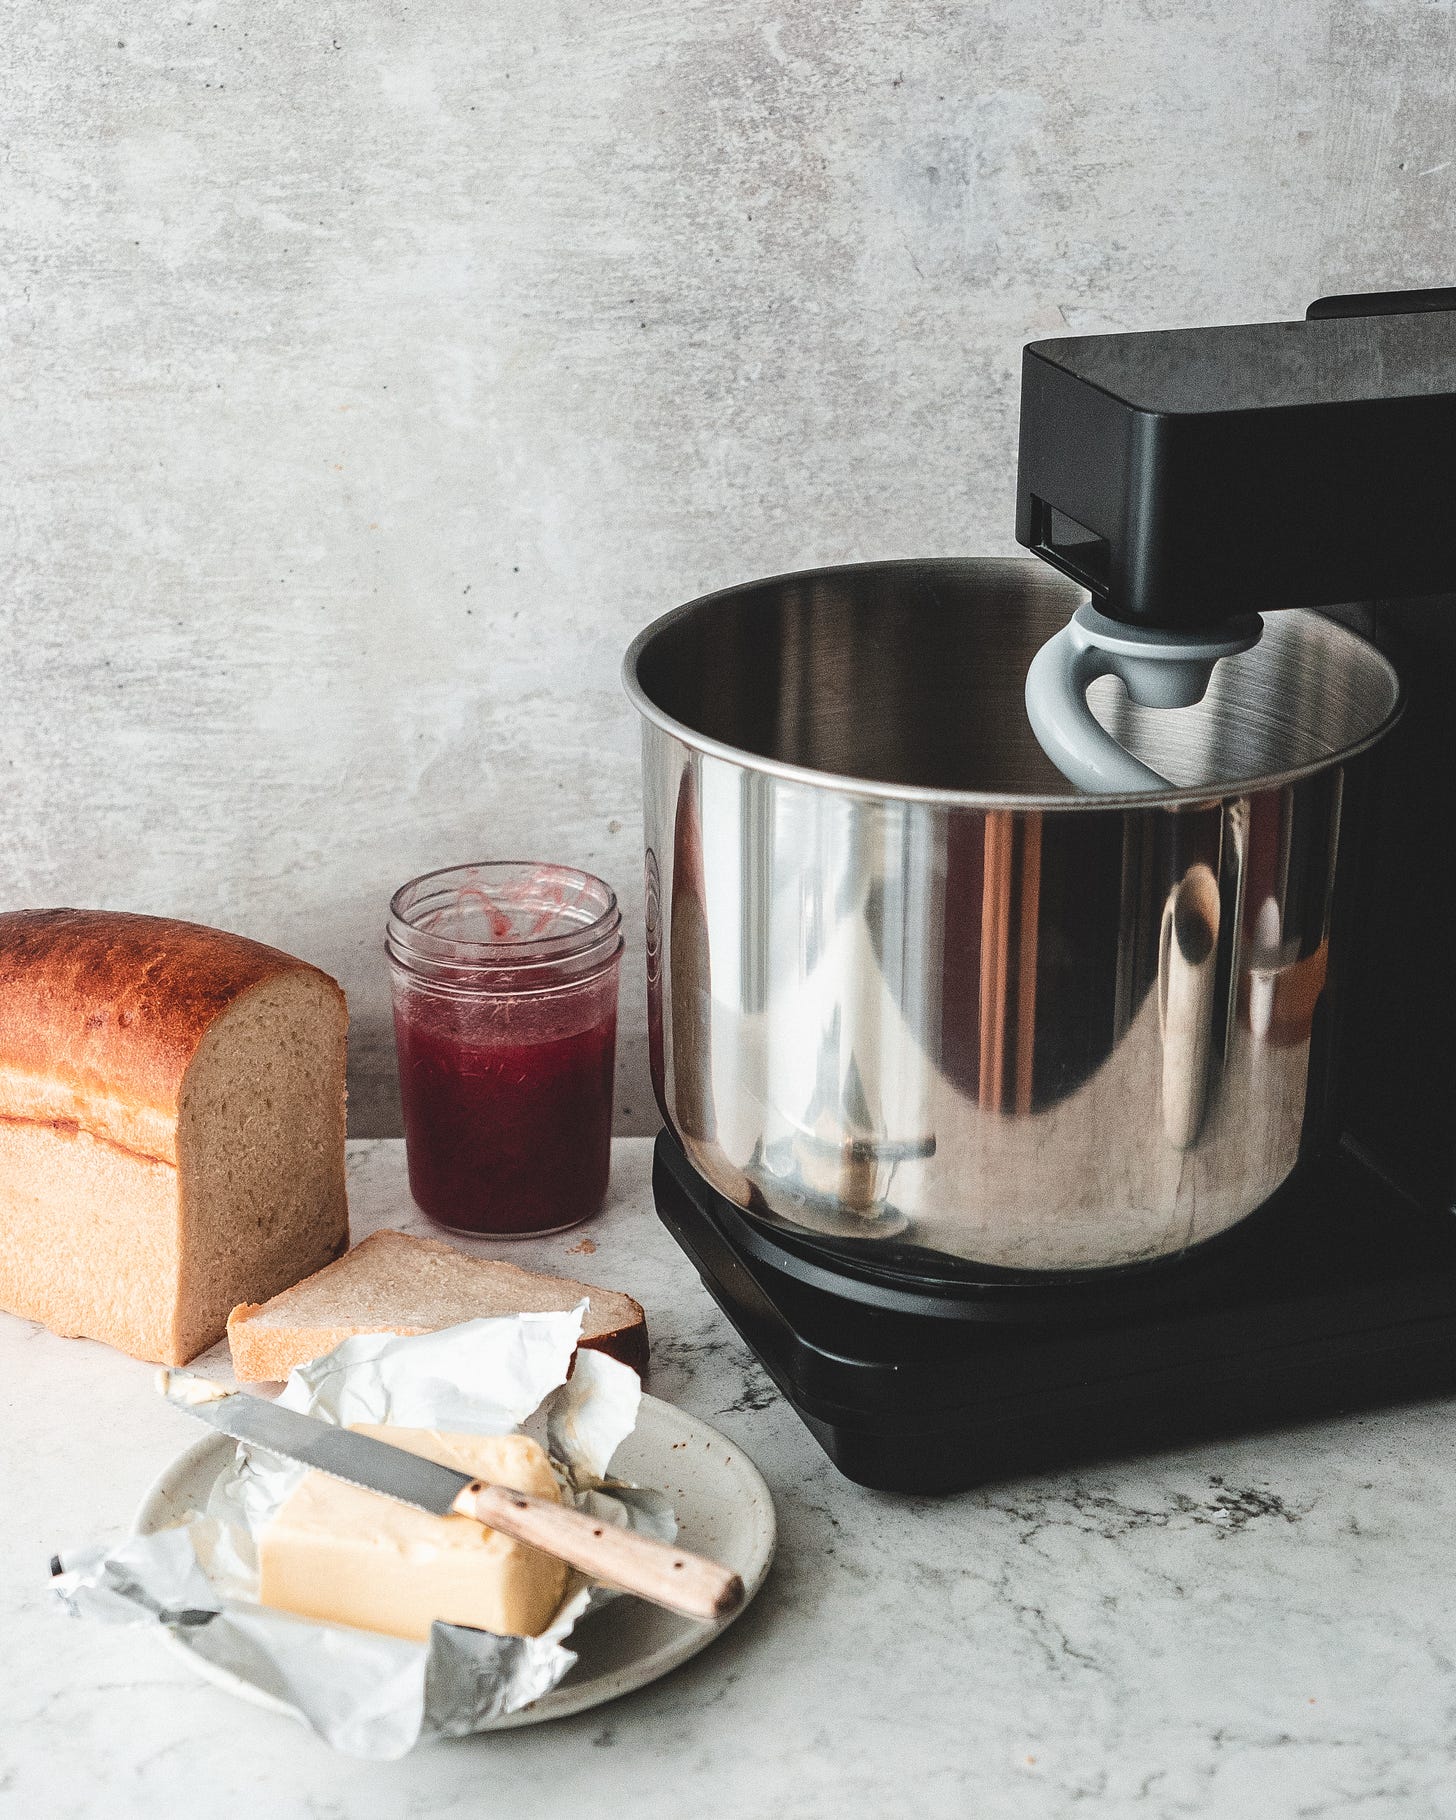
To keep things simple I mix everything together, skipping the autolyse often found in sourdough recipes. Again, this is simply for ease and simplicity. Because I want the bread to be as hands off as possible I also like to fully mix the dough using my Wilfa Probaker, instead of the commonly used stretch and fold method. The reasons for this are two-fold. Firstly the Wilfa Probaker is truly excellent at kneading dough, I’ve never used a domestic mixer that kneads bread doughs better. I can thrown everything into the mixer and leave it for 10 minutes and get on with something else (this normally just means making my morning coffee and watching tiktoks). Secondly, kneading the dough fully at the start of the process means I can leave it alone for the entirety of the bulk fermentation stage skipping any stretching and folding process because the dough is already nice and strong. Whilst the recipe I provide below makes one loaf I am very much of the belief that making one loaf is no different than making two, so feel free to double the ingredients and make a second. I often bake one to enjoy now and slice the second loaf and freeze the slices for future bread needs.
Proofing and Baking
This loaf is baked in a tin meaning it also does the second proof in the tin as well. For this recipe I am using a 9x4x4 pullman loaf pan, a loaf pan with perfectly straight sides for a classic bread loaf shape. If using the same tin you want to proof the loaf until it almost reaches the top of the tin, and no less than 2cm from the top. To keep the loaf soft I like to brush the top with egg wash before baking but if you prefer you can leave it bare which will give you a loaf with a crisp crust on top. The loaf pan I use is from Rackmaster and can be bought with a lid so you can make perfectly square loaves like in my milk bread recipe.
Sourdough Sandwich Bread
Makes 1 loaf
500g strong white bread flour
10g fine sea salt
325ml water (28-30ºC)
30g honey
50ml olive oil
125g sourdough starter (recently peaked)
Add the flour and salt to the bowl of the Wilfa Probaker, fitted with the dough hook attachment. Mix together briefly to combine. Add the honey and oil to the water and whisk briefly to dissolve the honey into the water. Add the starter to the water (a good indicator it is ready for baking is that it floats in the water). Pour the liquid goods into the bowl of the mixer. Turn the mixer to medium speed and mix for about 10-12 minutes or until the dough is smooth and elastic. The dough should be forming a ball that clings to the dough hook, leaving the bottom and sides of the bowl clean of any dough.
Scrape the dough out onto a lightly floured worksurface and form into a ball. Transfer to a greased bowl and cover, setting aside somewhere warm (preferably somewhere around 24-26ºC) and leave to bulk ferment for about 4-5 hours or until risen by about 40-50% and showing signs of fermentation. The dough should have bubbles on the surface and have a gentle wobble. When you turn the dough out it should also feel like it is light and full of air.
Turn the dough out onto a lightly floured worksurface and form into a ball. Turn seam side down and cover with a kitchen towel and leave for 25-30 minutes to allow the dough to relax. Flip the dough smooth side down and press out gently into a rectangle. Fold over the two sides of the dough so they meet in the middle, then roll up like a big Swiss roll. Place the dough, seam side down, into a lightly greased 9x4x4 pullman loaf pan. Cover the pan and set aside somewhere warm (again preferably somewhere around 24-26ºC) and leave for 3-4 hours until the dough has finished proofing. When the dough is almost ready to bake, preheat the oven to 220ºC (200ºC Fan). To test this the dough should be no less than 2cm from the top of the pan and it should also pass the finger poke test. To do this gently press a floured finger into the dough. If the depression springs back slowly and not completely the dough is ready to bake. If the depression springs back quickly and completely it needs a little longer, if the depression holds its shape and feels like it might collapse its likely the dough is close to being overproofed.
Brush the top of the loaf with an egg wash (i mix an egg yolk with a splash of milk) and then bake in the oven for 15 minutes then turn down the temperature to 210ºC (190ºC Fan) and bake for a further 25 minutes until the dough is a deep golden brown. Immediately turn the loaf out onto a wire rack and allow to cool fully before slicing into the loaf.


This is the second time I’ve made this bread and like others it has required extra flour. Otherwise it’s wonderful.
Do you bake in a sandwich loaf tin with the lid on or off?