


Salted Peanut Caramel Brownies
A delicious weekend sweet treat!

🎉 Welcome to my newsletter, The Boy Who Bakes, a subscriber-supported newsletter, dedicated to all things baked. For more bonus posts, filled with exclusive recipes, you can become a paid subscriber for the weekly newsletter, Second Helpings. It costs just £5 a month and, as well as the weekly recipes, also unlocks access to the full archive of past recipes. To subscribe, to either the paid or free newsletter, click the link below.🎉
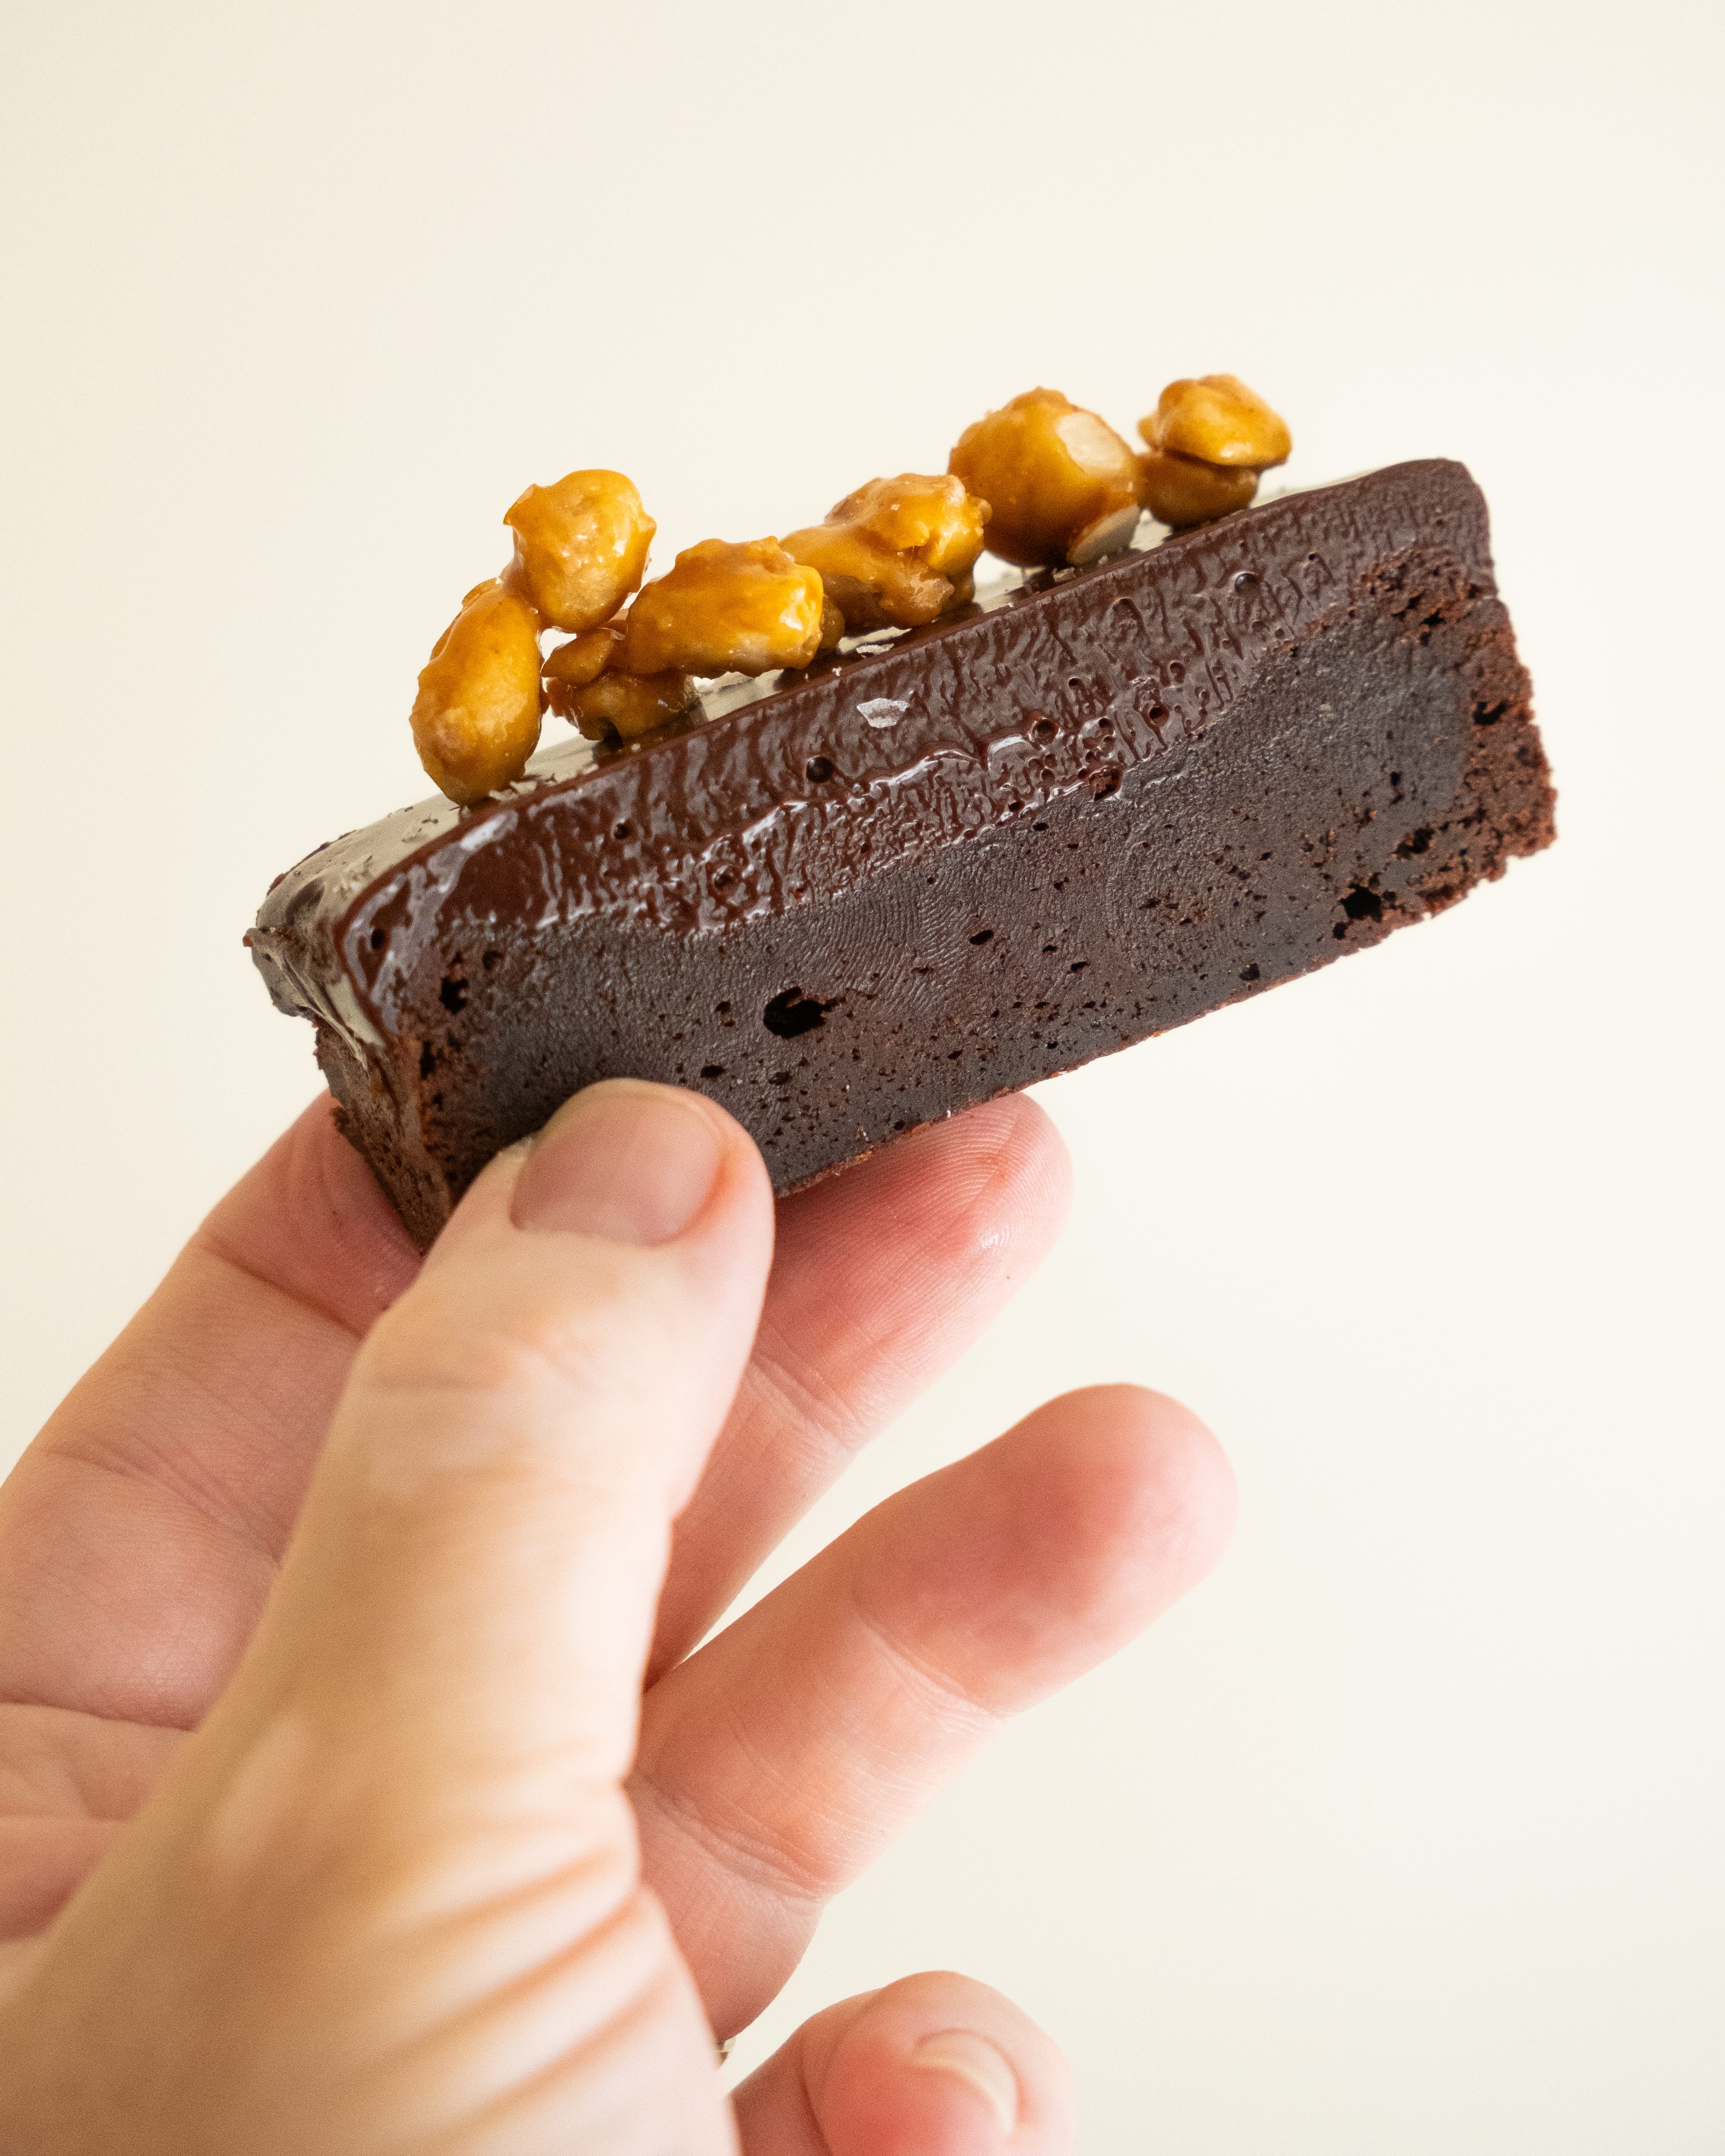
Are there things you almost never order from a bakery because you love the version you make yourself so much that you don’t think it’s worth buying? For me, that item is brownies. Partly because, yes, I do make an excellent brownie, but also because I am picky about the texture I want in my brownie. I want an intensely chocolatey brownie that is super dense and fudgy; no cakey brownies for me, thank you very much.
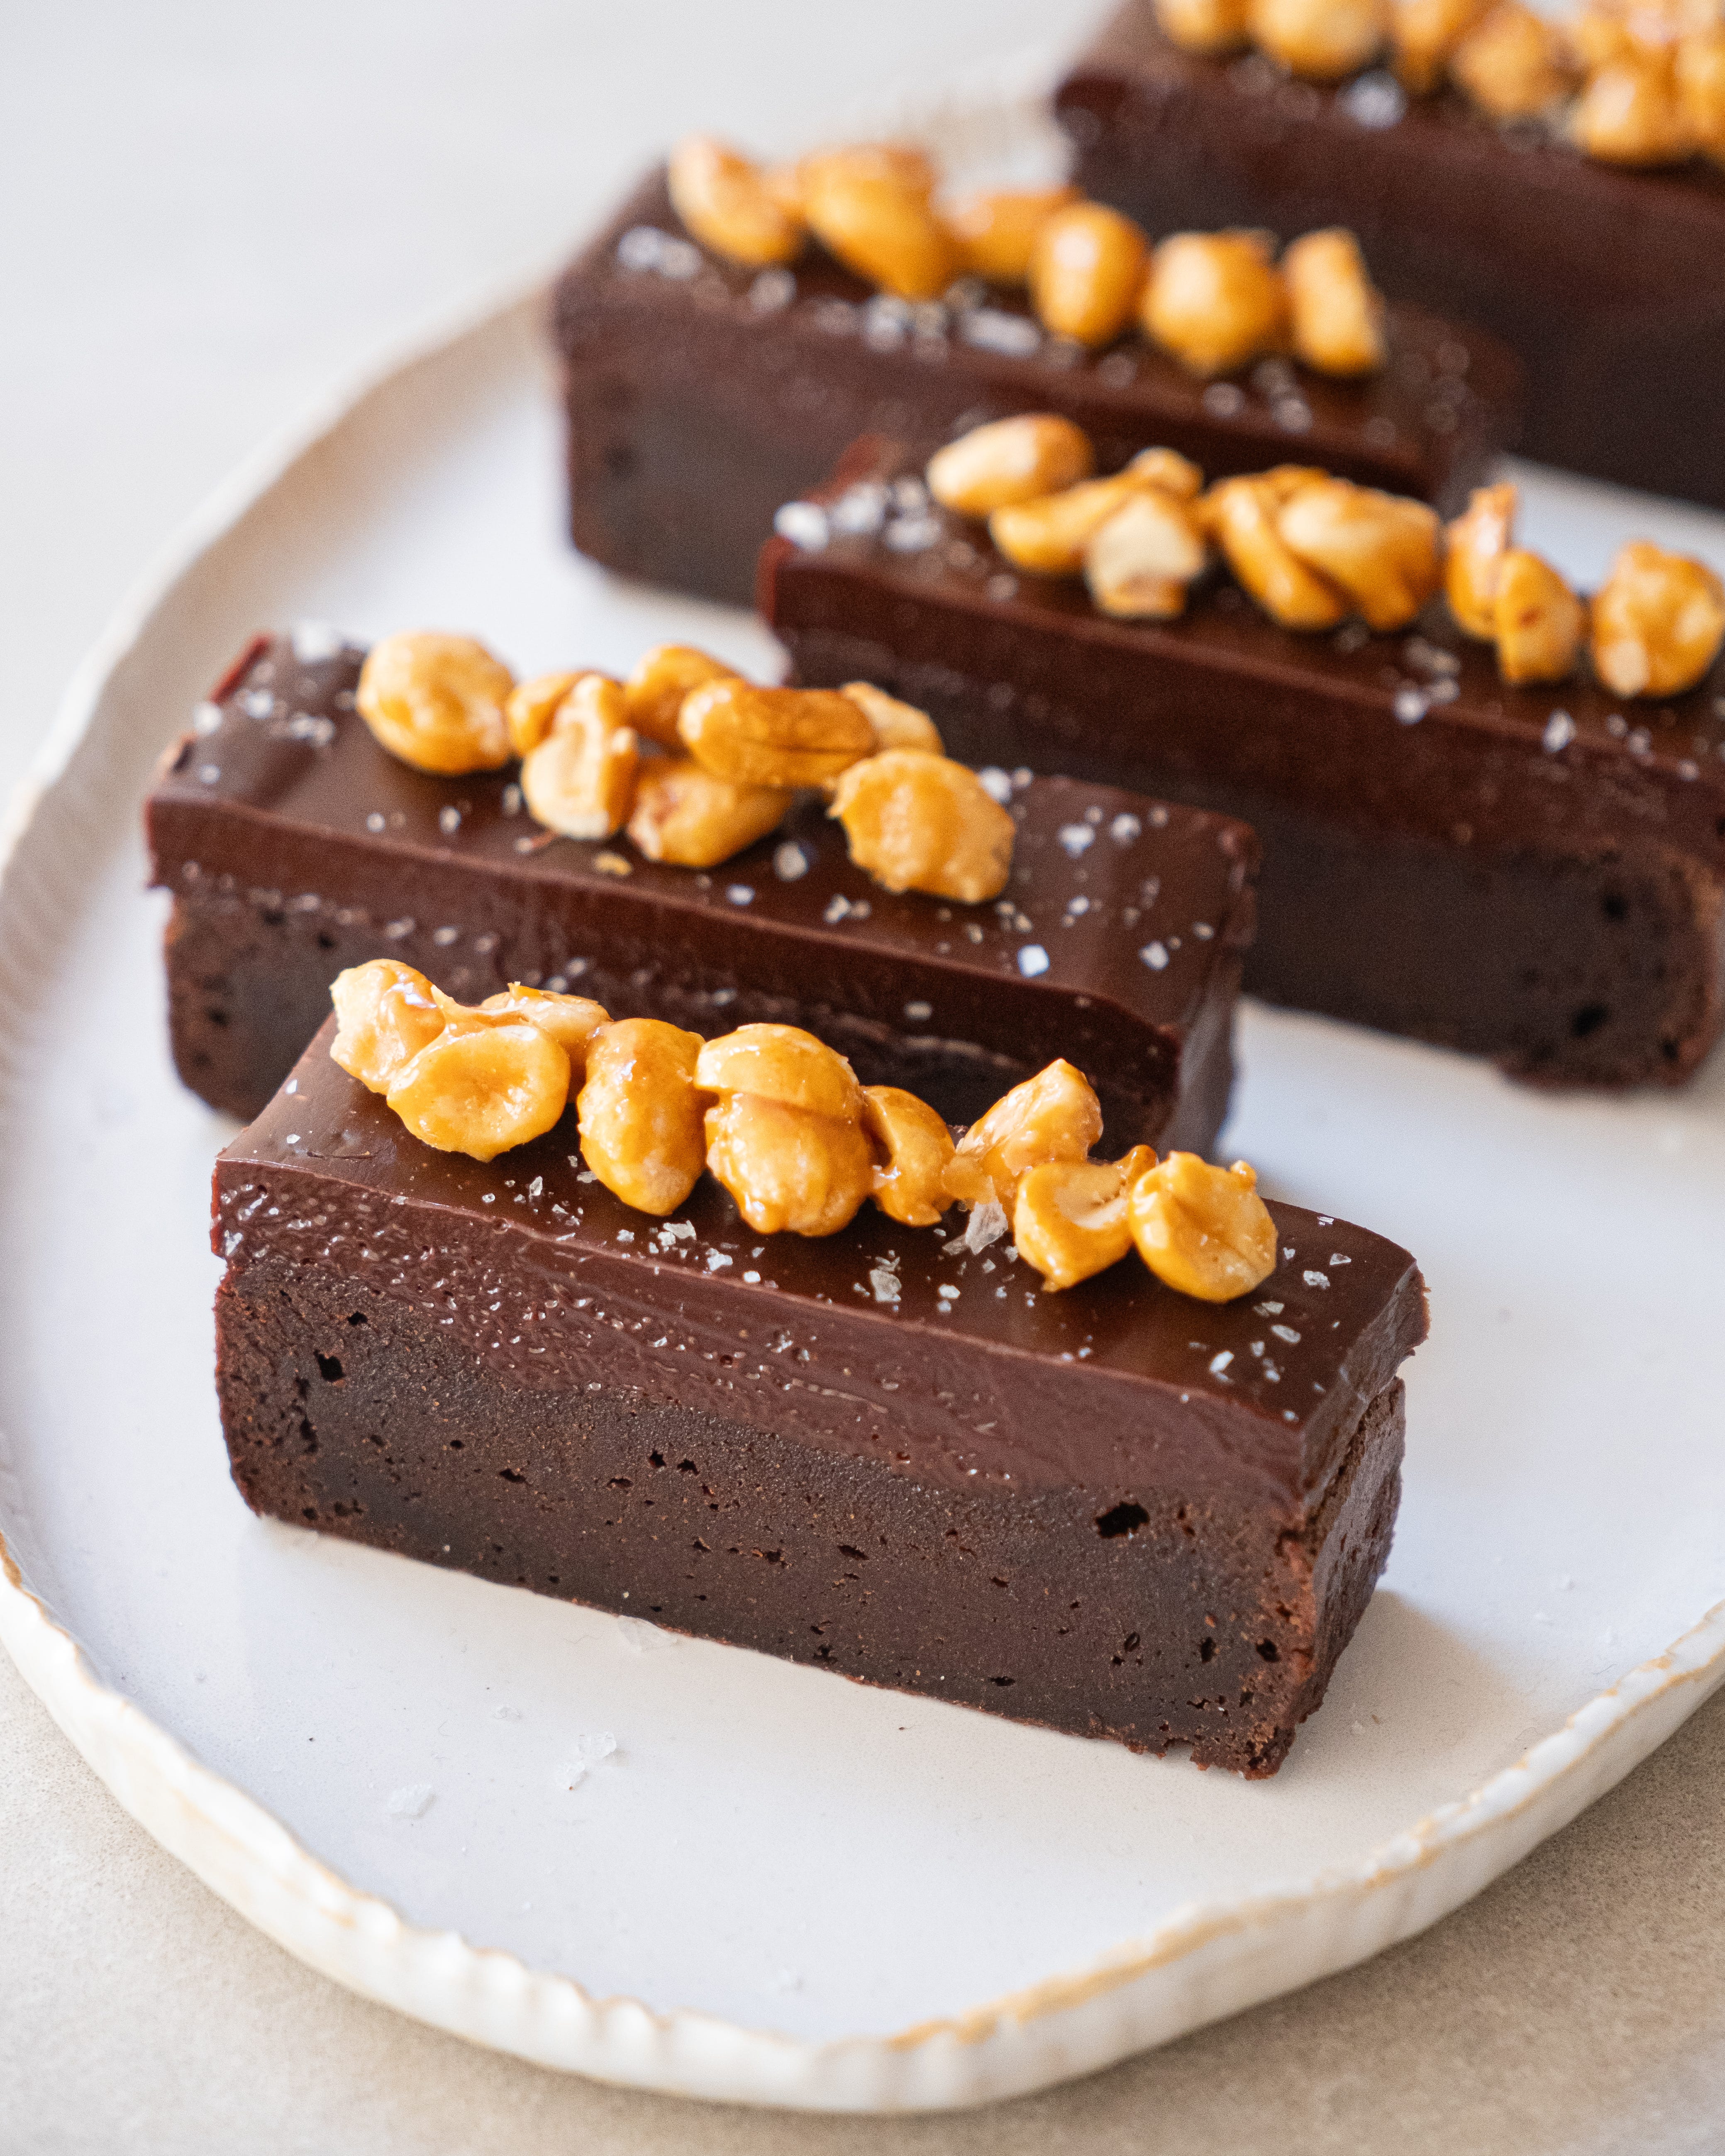
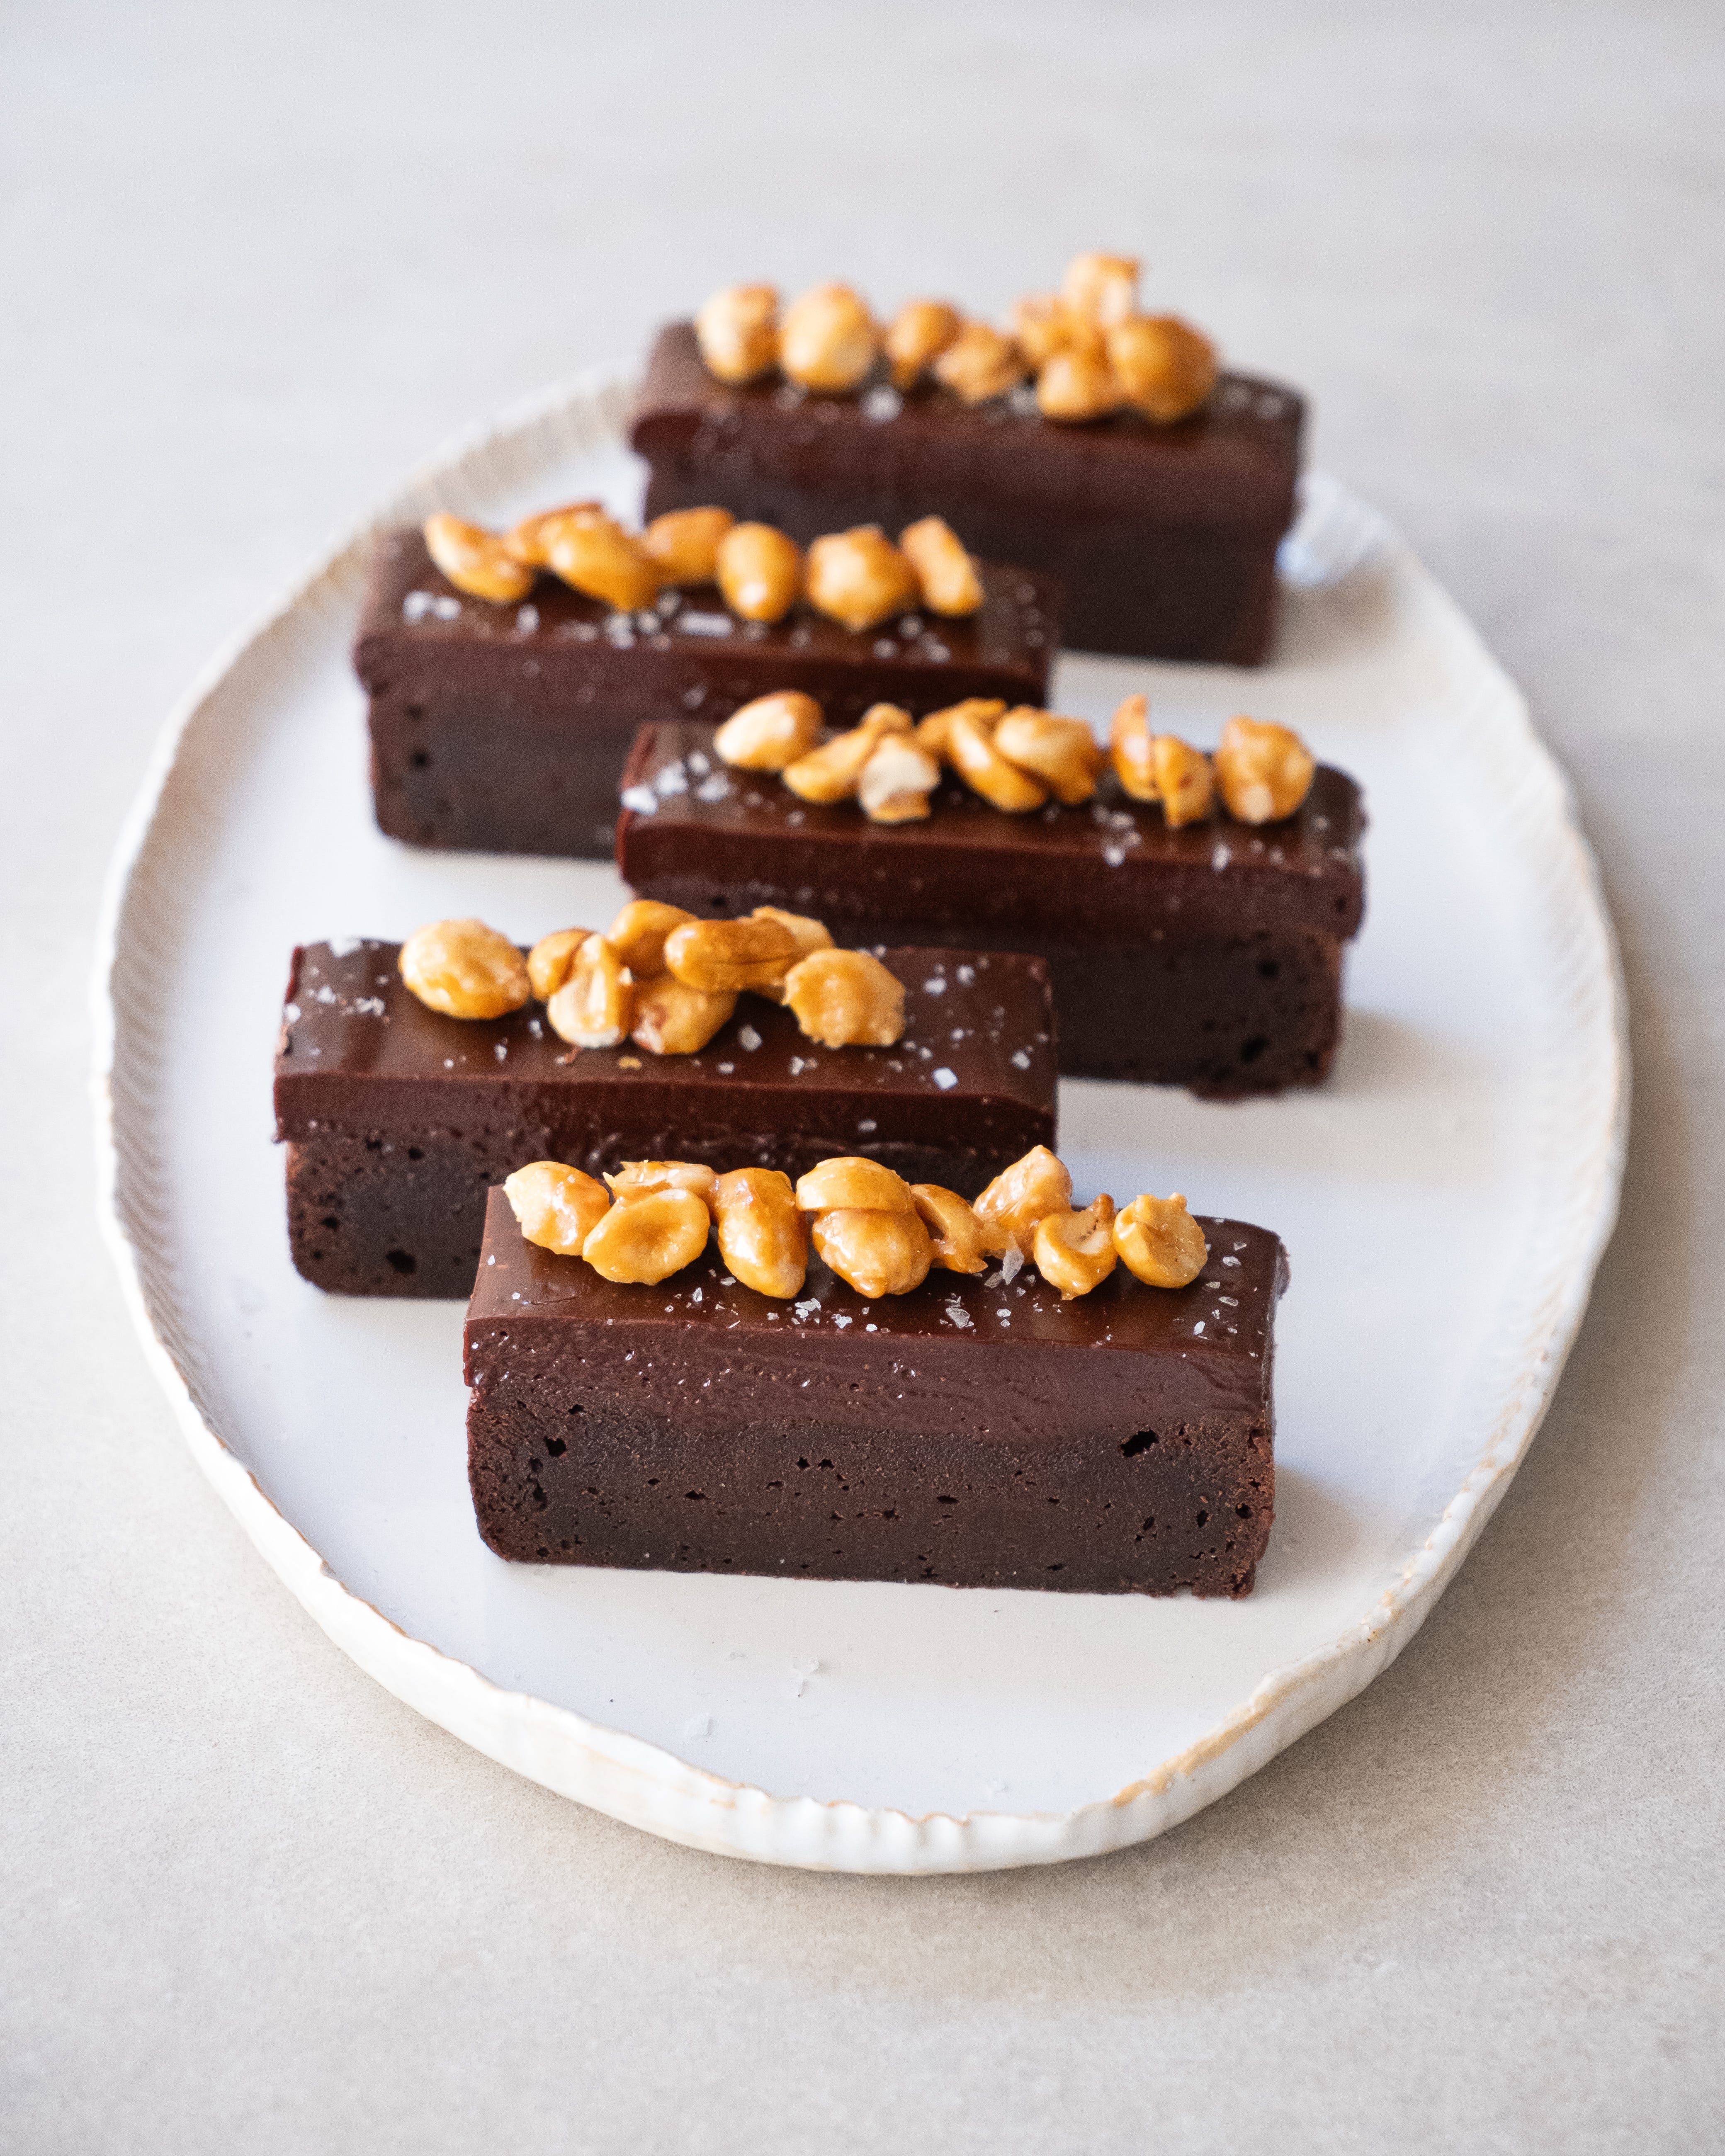
This version of my brownie recipe doubles down on the intense chocolate flavour. Not only is the brownie dense and intense, but it is also topped with a layer of salted caramel ganache and then, to add texture, is finished with a layer of caramelised salted peanuts. Not to be a complete contradiction, but I also generally dislike nuts in brownies. A walnut brownie? Get it out of my sight! So, it really makes no real sense at all, but I do really love the peanuts in this recipe; the texture and flavour really make the brownies what they are.
The brownie recipe is based on a small-batch recipe I developed a while back. A small recipe that served four people and was made in a loaf pan. Because this version has the two added elements that make them incredibly rich, I actually prefer to cut these into thin slices, and that way I get eight brownies out of each batch. To get the pleasingly straight sides, I used a 9x4x4 loaf pan with straight sides (this one from USA Pan).
Top Brownie Tips
When it comes to making brownies, there are a few key things to bear in mind when making what I consider my perfect brownie texture and flavour.
Use good chocolate and good cocoa. This sounds obvious, but there is a lot of rubbish on sale in the supermarket (especially true for cocoa powder), but using a chocolate that you love will translate to a brownie that you also love. When it comes to cocoa powder, I do actually think it is worth splurging a little bit to get something of excellent quality. To be honest, it isn’t even about cost; it’s just that you might need to buy it in bulk. Some favourites are Rich Terracotta from DeZaan, Cocoa Rouge from Guittard, and Valrhona Cocoa Powder. All of these are ‘dutched’ which is the variety of cocoa powder I use almost every time I bake. I have found a lot of supermarket cocoa powders to be really lacking in flavour and sometimes even in fat. A good cocoa powder should be around 20-25% fat, but if you’re using something a lot lower, it can result in drier bakes.
Whisk the eggs and sugar really well. To get my ideal texture, you need to get whisking. The eggs and sugar should be whisked, preferably with an electric mixer, until thick and pale. This helps to give the brownie a beautiful fudgy texture and also gives the brownies the shiny, crackly top.
Don't overmix. When mixing brownies, we are not trying to develop gluten, so mixing just until the flour is combined really helps. If the batter is beaten too much after the flour is added, the batter can become stiff and the baked brownies too tough and chewy.
Slightly underbake. To get a brownie that is dense, fudgy, and, most importantly, still moist, it is imperative to err on the side of caution and underbake the brownies. An overbaked brownie can quickly become too dry. To ensure the best result, take the brownies out of the oven when a toothpick or skewer, inserted into the middle of the brownies, comes out moist but not wet. If the batter seems completely raw, it needs a little longer; if you can see the formation of crumbs but the batter is still smearing on the toothpick a little bit, perfect!
Chill them. Once the brownies are baked, I let them cool to room temperature and then refrigerate them for a few hours, if not overnight. This sets up the brownies so that they have the dense texture I prefer.
Toppings
To take this brownie to the next level of deliciousness, I have added two caramelised toppings. First up is an old favourite, salted caramel ganache. I have been making versions of this for over a decade, and it never ceases to be excellent. I first learnt to make a version of this around almost 15 years ago when I made petit fours for a big charity dinner in aid of the New Zealand earthquake. I worked with the chef Luke Mackay, and his contribution to our course was a dulce de leche truffle, and it was from there that I started making versions of this ganache. The key to getting the best flavour for this layer is to caramelise the sugar to a deep brown colour, like an old copper penny. Too light, and the caramel element will taste too sweet, and the ganache won't have a caramel flavour, just an overly sweet flavour. Caramelise it properly, and the ganache will have a wonderful bittersweet caramel undertone, and it will also have a slight caramel chew, adding to the overall texture.
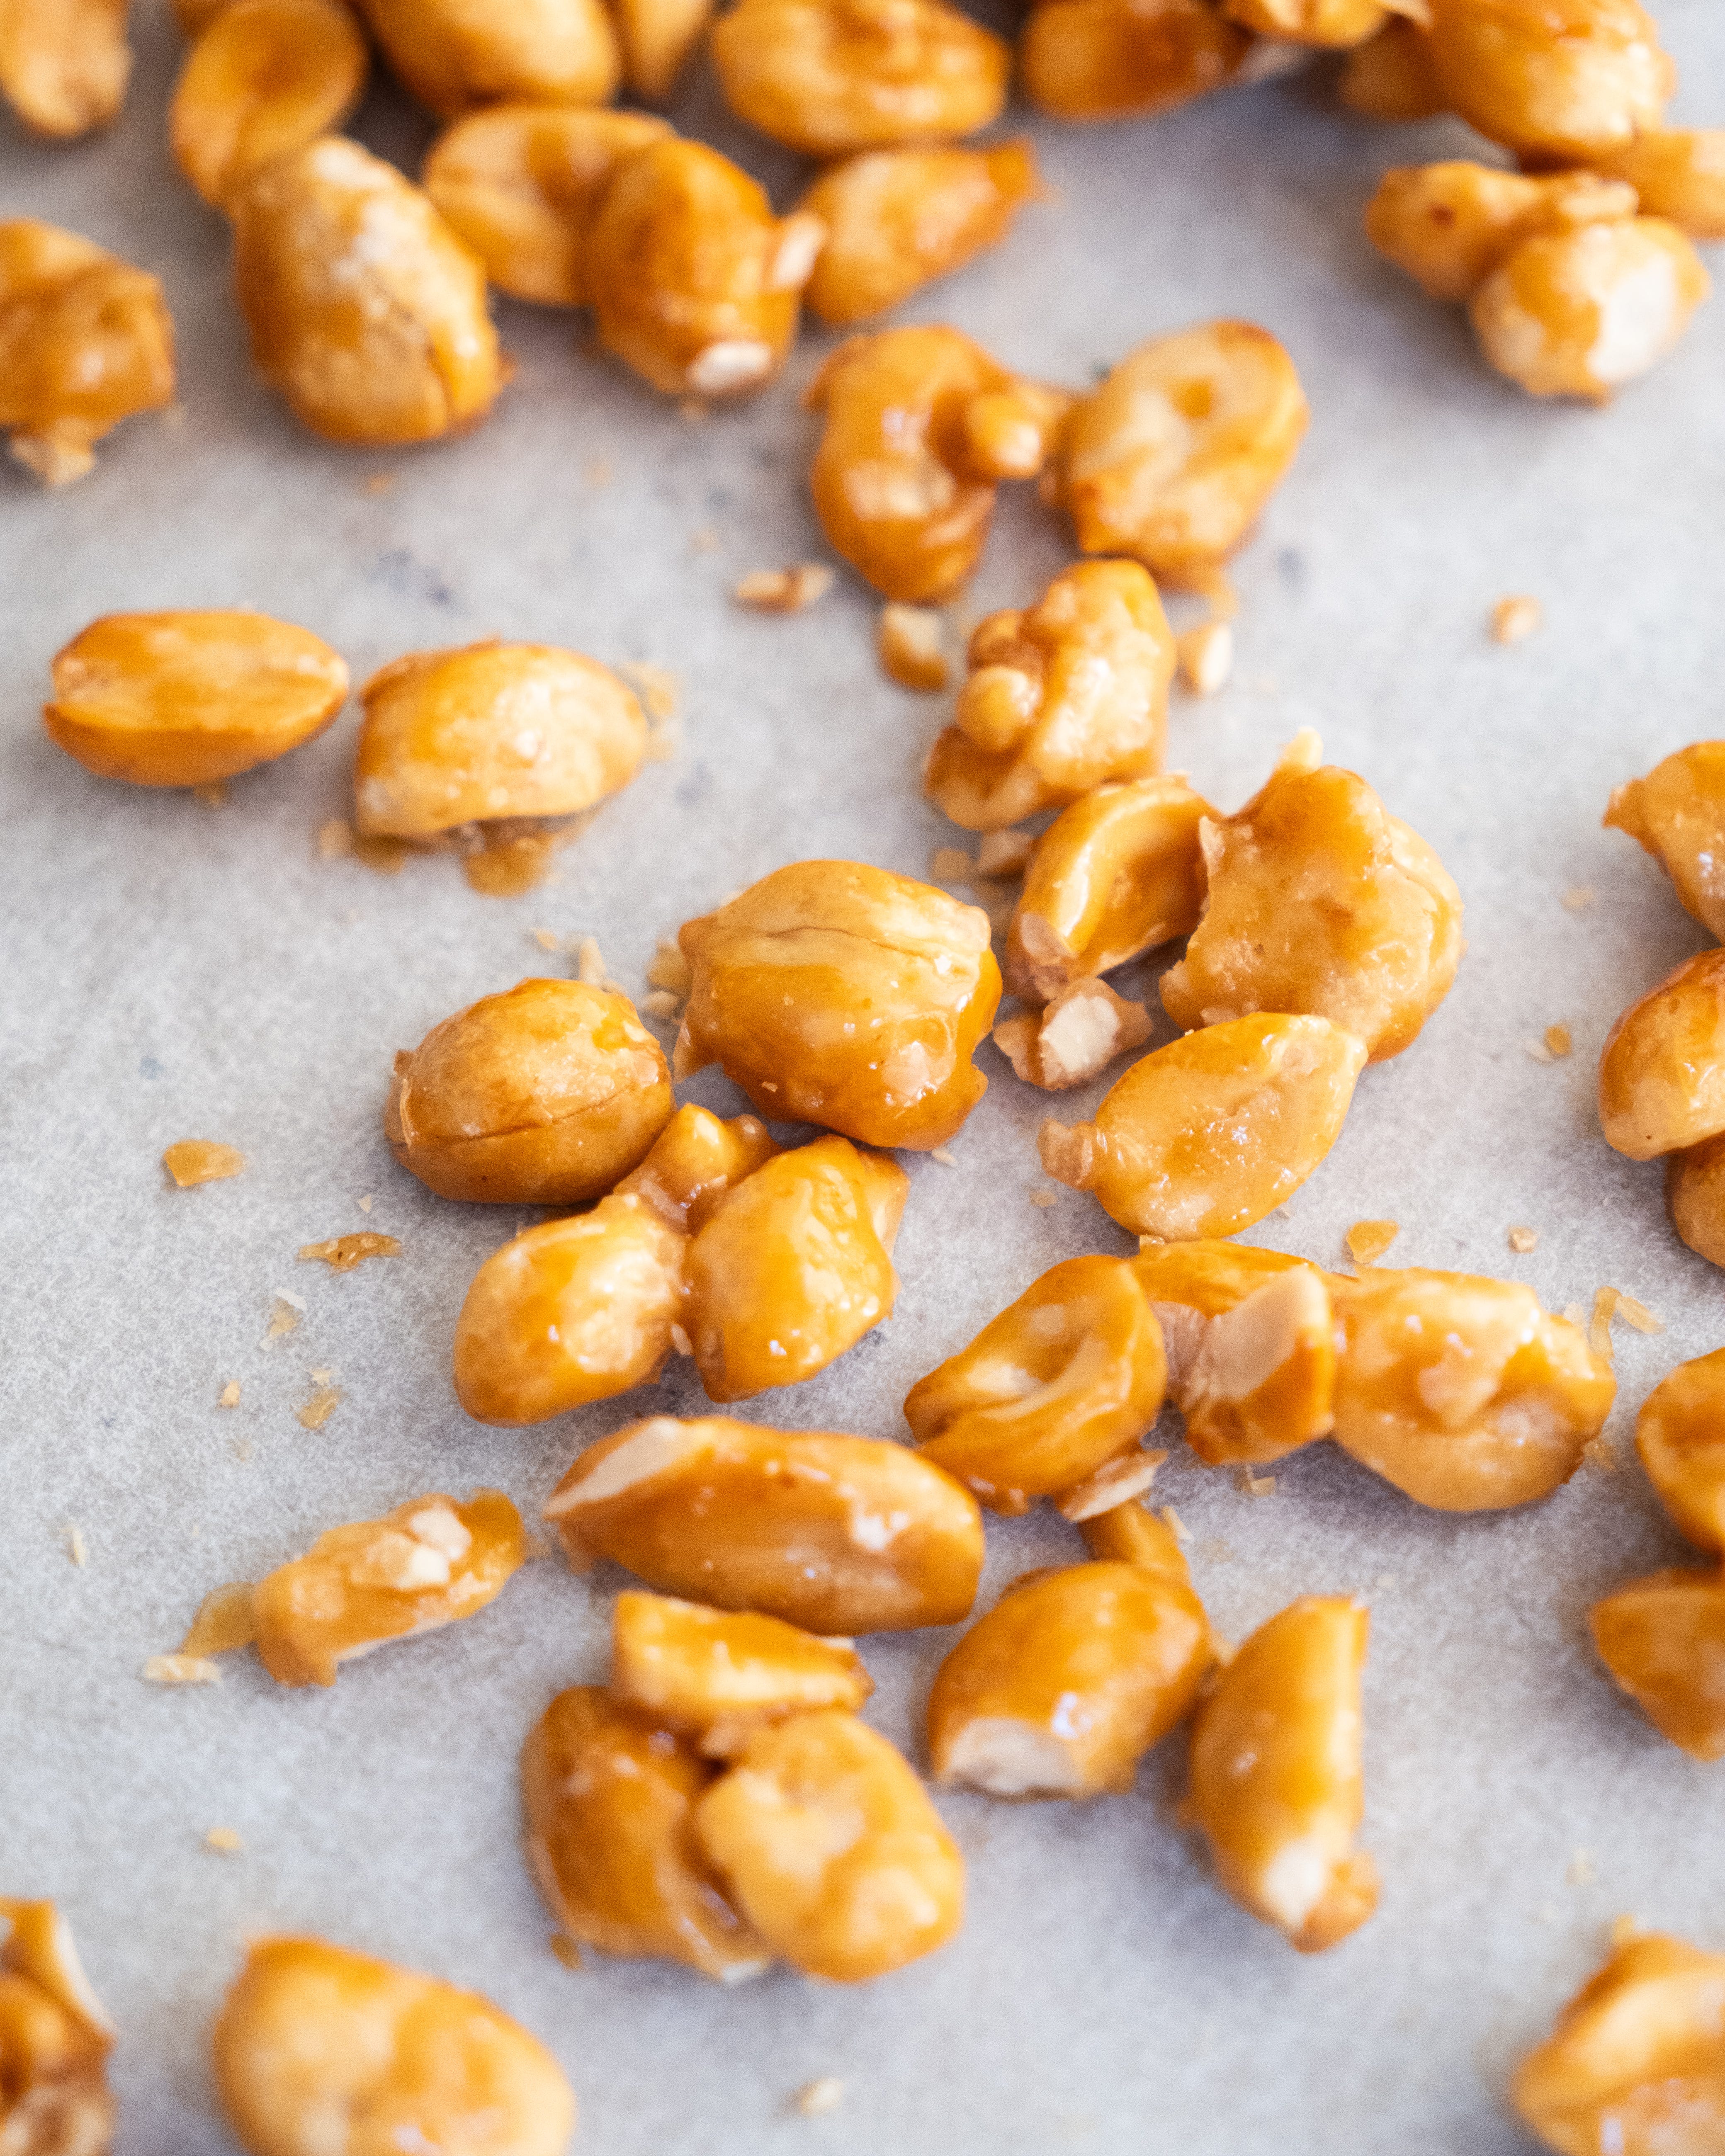
For the final topping, I have added a layer of caramelised salted peanuts. The method used to make these peanuts is incredibly simple but makes for perfectly coated peanuts, perfect for a dessert garnish but also just an incredibly moreish snack. You start by making a sugar syrup, and once this mixture is boiling, you add your nuts and stir until the whole thing crystallises and the nuts end up with a crunchy white coating. You can, if you wish, stop at this point. This coating is sweet and crunchy but without any caramel flavour. To caramelise further, you simply keep the pan on the heat and continue stirring until the coating melts and turns a rich coppery brown. At this point you tip the nuts onto a parchment-lined baking tray and spread them out so they don’t all stick together. If you store the nuts in a sealed container and keep them in a cool, dry spot, they’ll also keep for weeks, if you don’t immediately eat them all in one sitting!
Keep reading with a 7-day free trial
Subscribe to The Boy Who Bakes to keep reading this post and get 7 days of free access to the full post archives.