


Kitchen Reno Diaries #1
Plus a duo of desserts

🎉 Welcome to my newsletter, The Boy Who Bakes, a subscriber-supported newsletter, dedicated to all things baked. This is a post for paid subscribers, who receive exclusive weekly recipes. You can become a paid subscriber to get access to this recipe and every recipe moving forward plus you’ll also get access to the archive including every recipe posted on the newsletter. It costs just £5 a month and that helps me continue writing this newsletter. To subscribe, to either the paid or free newsletter, click the link below.🎉
Hello! Happy Friday!
I am exhausted. I feel like I just moved house all over again. The builders arrived on Monday, and as we prepared the house for them to start work, we had to pack up almost everything in the house except our bedroom and what we needed to set up a temporary kitchen. As we carried box after box to the storage unit and squeezed our furniture upstairs and around corners they probably didn’t truly fit (a lot of pivoting), the house started to empty, and it felt like it did the day we moved in, almost exactly a year ago.
Our builder warned us that living on-site involves a lot of noise and even more dust, but the budget means we need to stay put. For most people this is probably fine; you can survive a few months with a microwave and a kettle. The problem for me is I still need to bake; it’s my livelihood, and I have lots of work that I simply can’t just leave for months before resuming. The question became how could I create a usable kitchen in our little spare room?

After the house was empty, we moved my beloved workbench upstairs so I had a bit of counter space. We ordered a cheap table from Ikea to be home to a microwave, plug-in hob, and a kettle. I considered one of those small tabletop ovens, but they’re all so small. In the end, our brilliant kitchen designer came to the rescue. In their workshop they had an ex-display oven housing that perfectly fit the space in our new ‘kitchen’; all I needed was to find a cheap oven to place inside. A quick online search later and I found a really cheap refurbished oven that used a regular power socket, and within a day I was back in the kitchen baking. Now all I have to contend with is the noise!

Talking of our kitchen designer, this week also included a visit to their studio to start work on the design. As I have been saving up and dreaming about this for years, I can’t tell you how exciting it was to get this process started. We are working with the absolutely brilliant Uncommon Projects, a brilliant independent kitchen manufacturer here in London. They do fully bespoke kitchens but also something called Core, which is what we’re going for. It’s a cheaper alternative to fully bespoke yet still made entirely in-house with the amazing quality and style that Uncommon Projects are known for. I’m going to keep the details vague for now, because who doesn’t love a reveal, but so far we’ve basically nailed down the layout, the colour scheme, the worktop, and the flooring, and if it all comes out as I hope, it’s going to be a massive transformation, and it really will be my dream space. I’m so genuinely excited.

Having never renovated anything anywhere we’ve lived before, I didn’t know quite what to expect. Despite the countless episodes of Grand Designs, I had no idea what the first week would bring. Turns out it brought a LOT. The decrepid kitchen is gone, the oven is sat in our front yard like a sad discarded toy. The ugly tile and the crumbling countertops have been smashed into a million pieces. The foundations have already been dug, and the back of the house has already started to come down. Considering I do watch a lot of renovation shows, you’d also think I’d be prepped for the surprise problems that often arise. But no, I was still taken aback by the two big issues that have already raised their annoying little heads this week. We’ve been blindsided by a staircase that isn't quite where it's supposed to be, meaning steels won't fit as they should, and pipes randomly appearing in the foundations where the water board told us there was none!

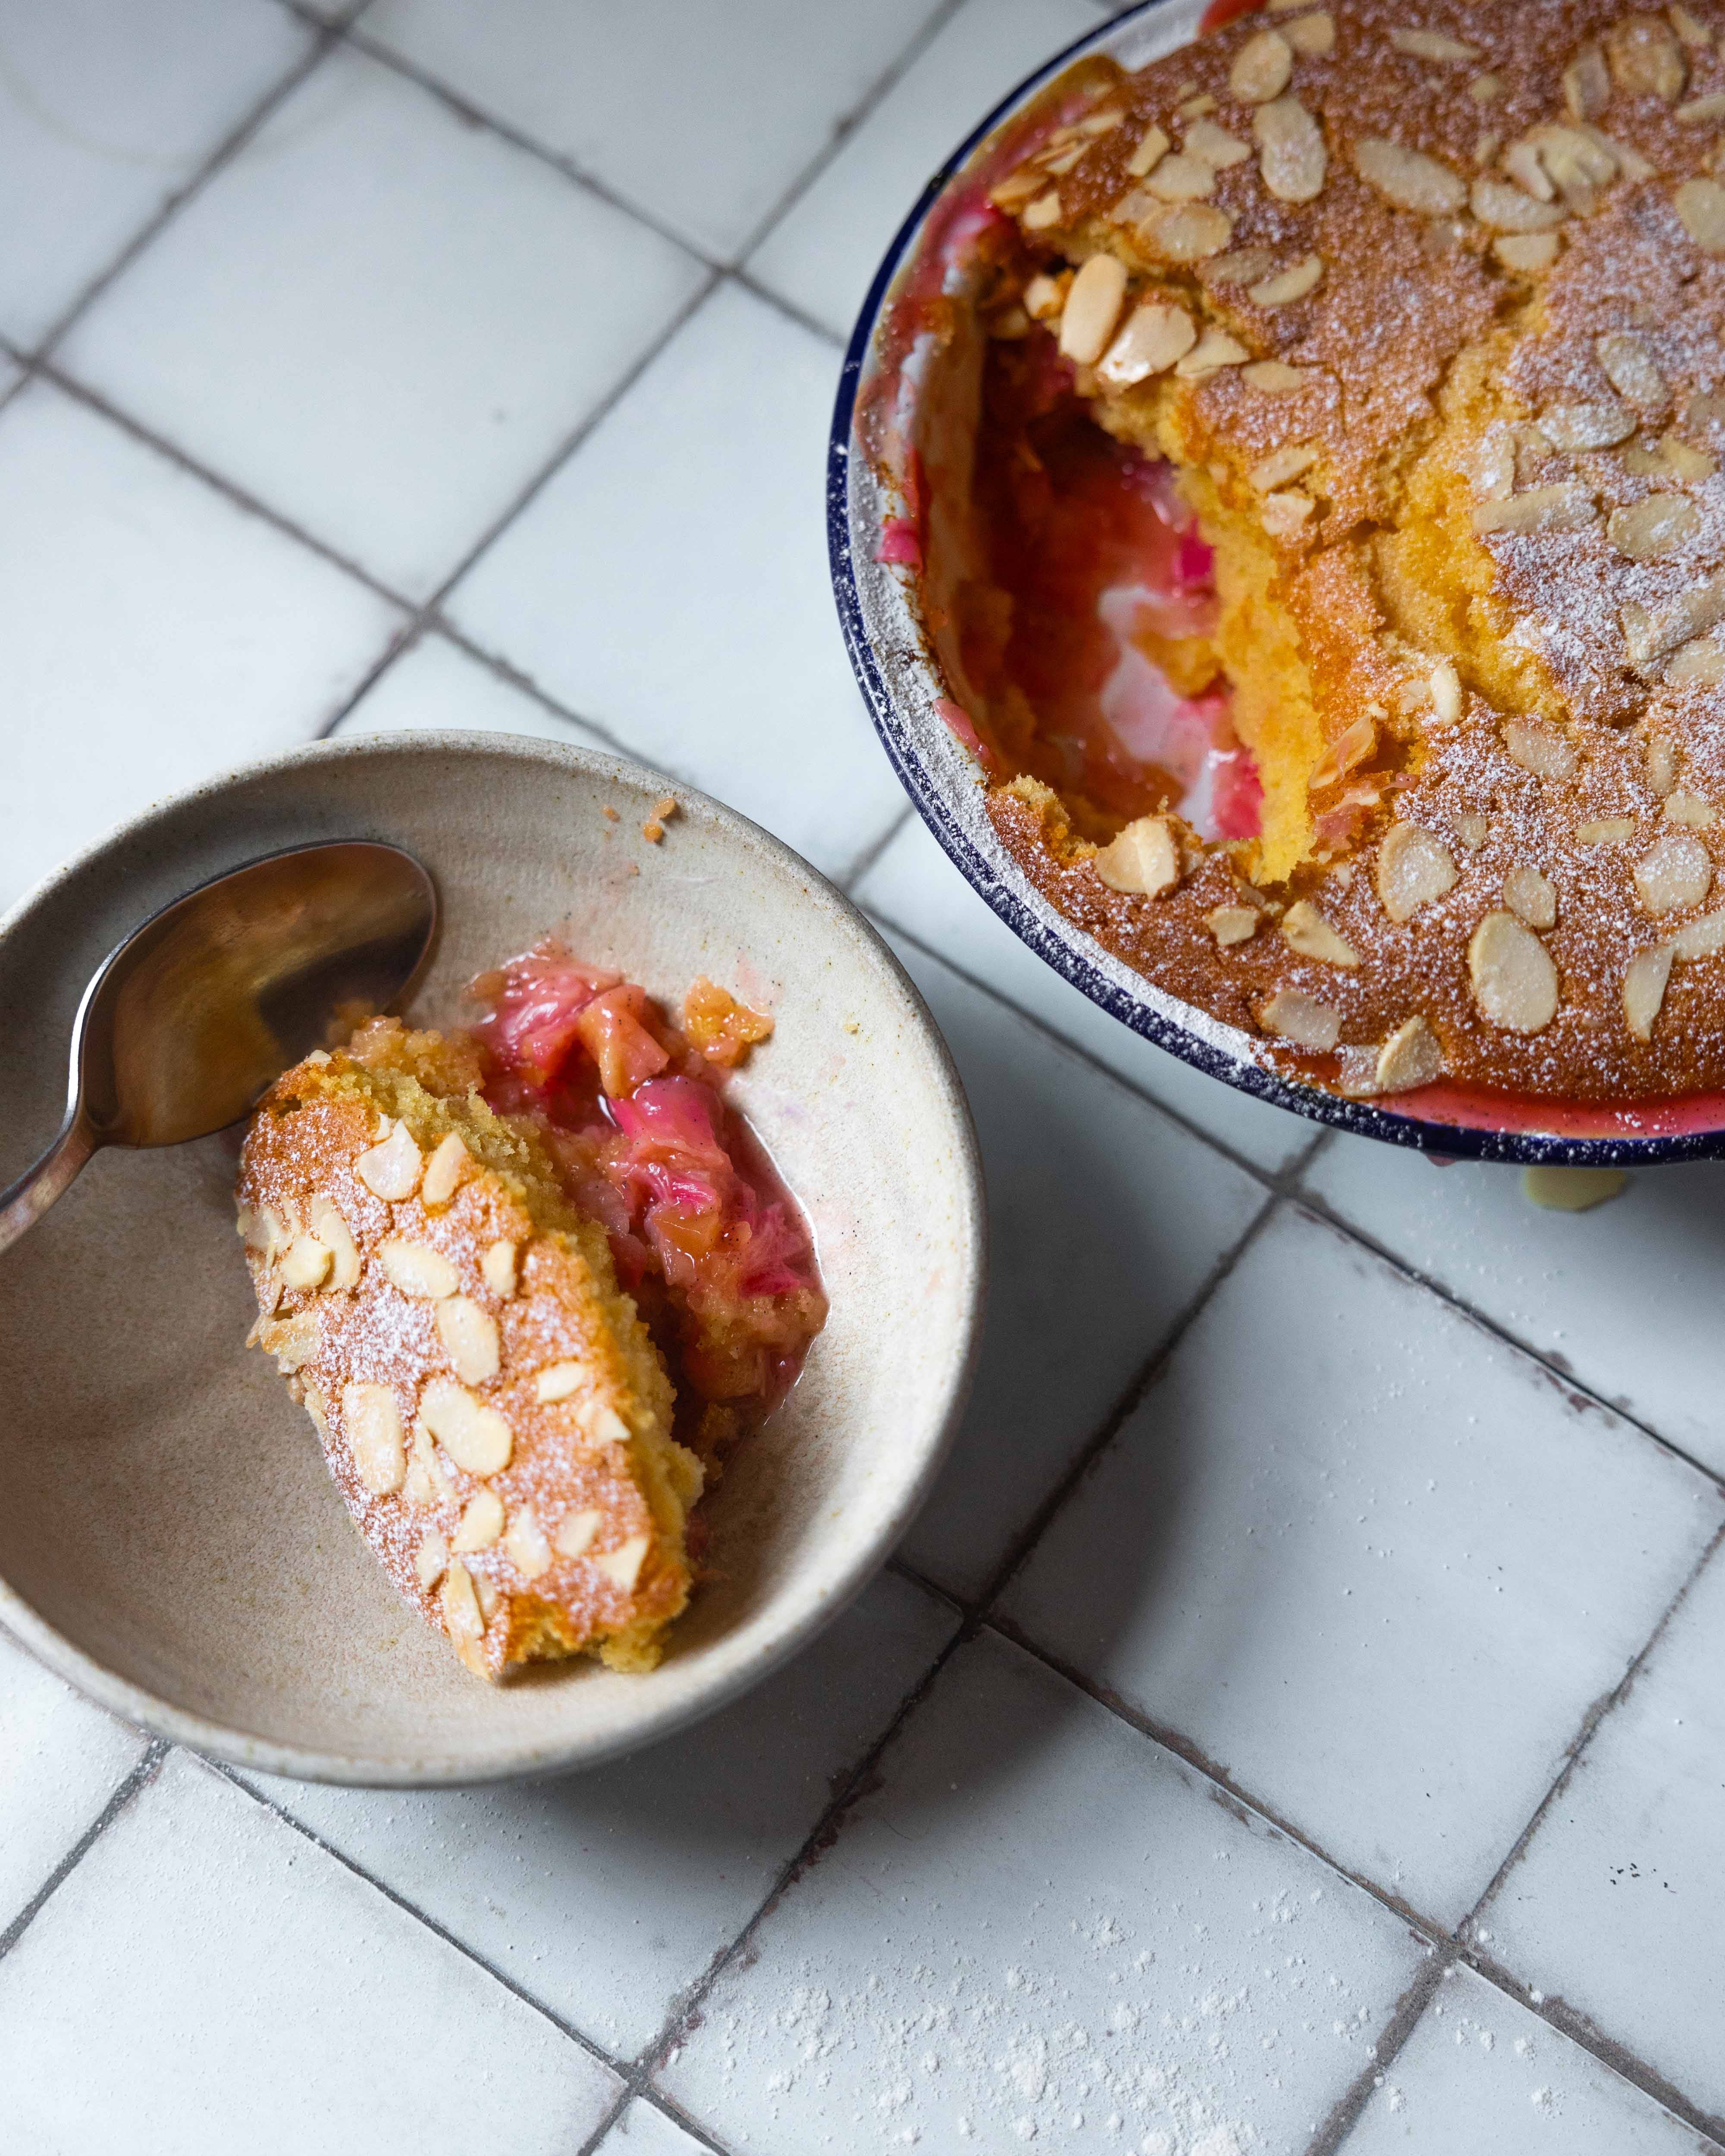
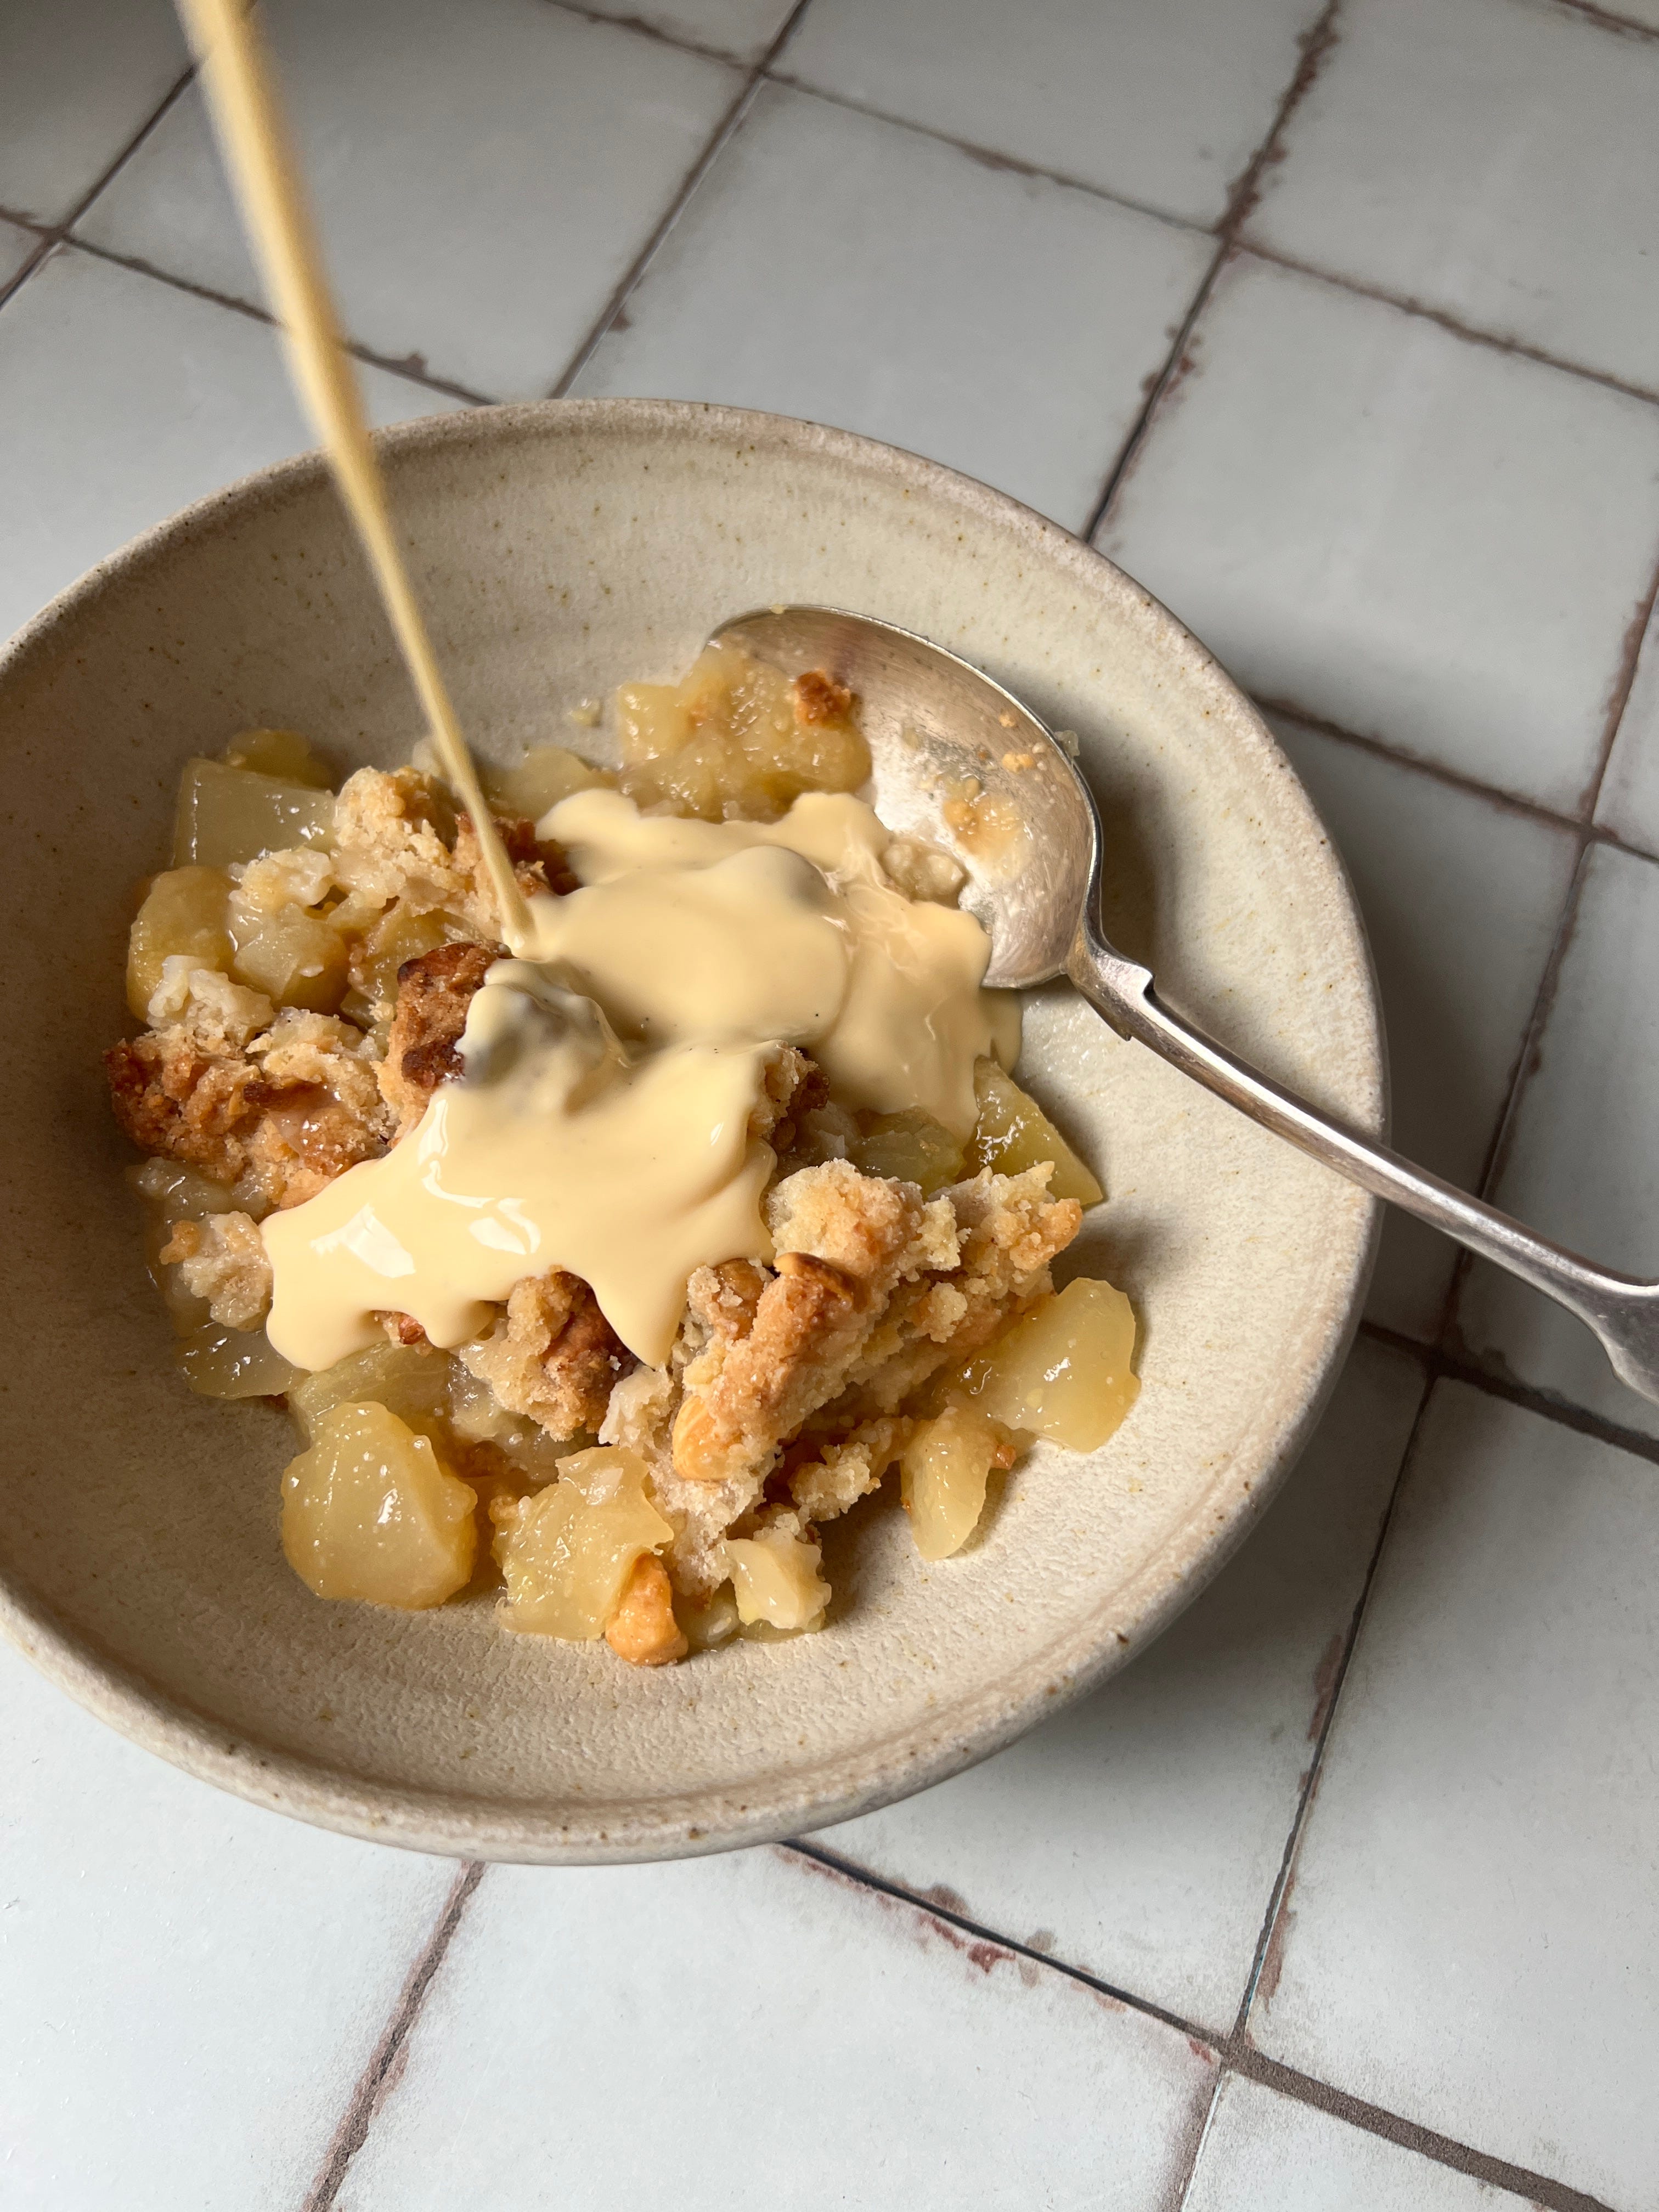
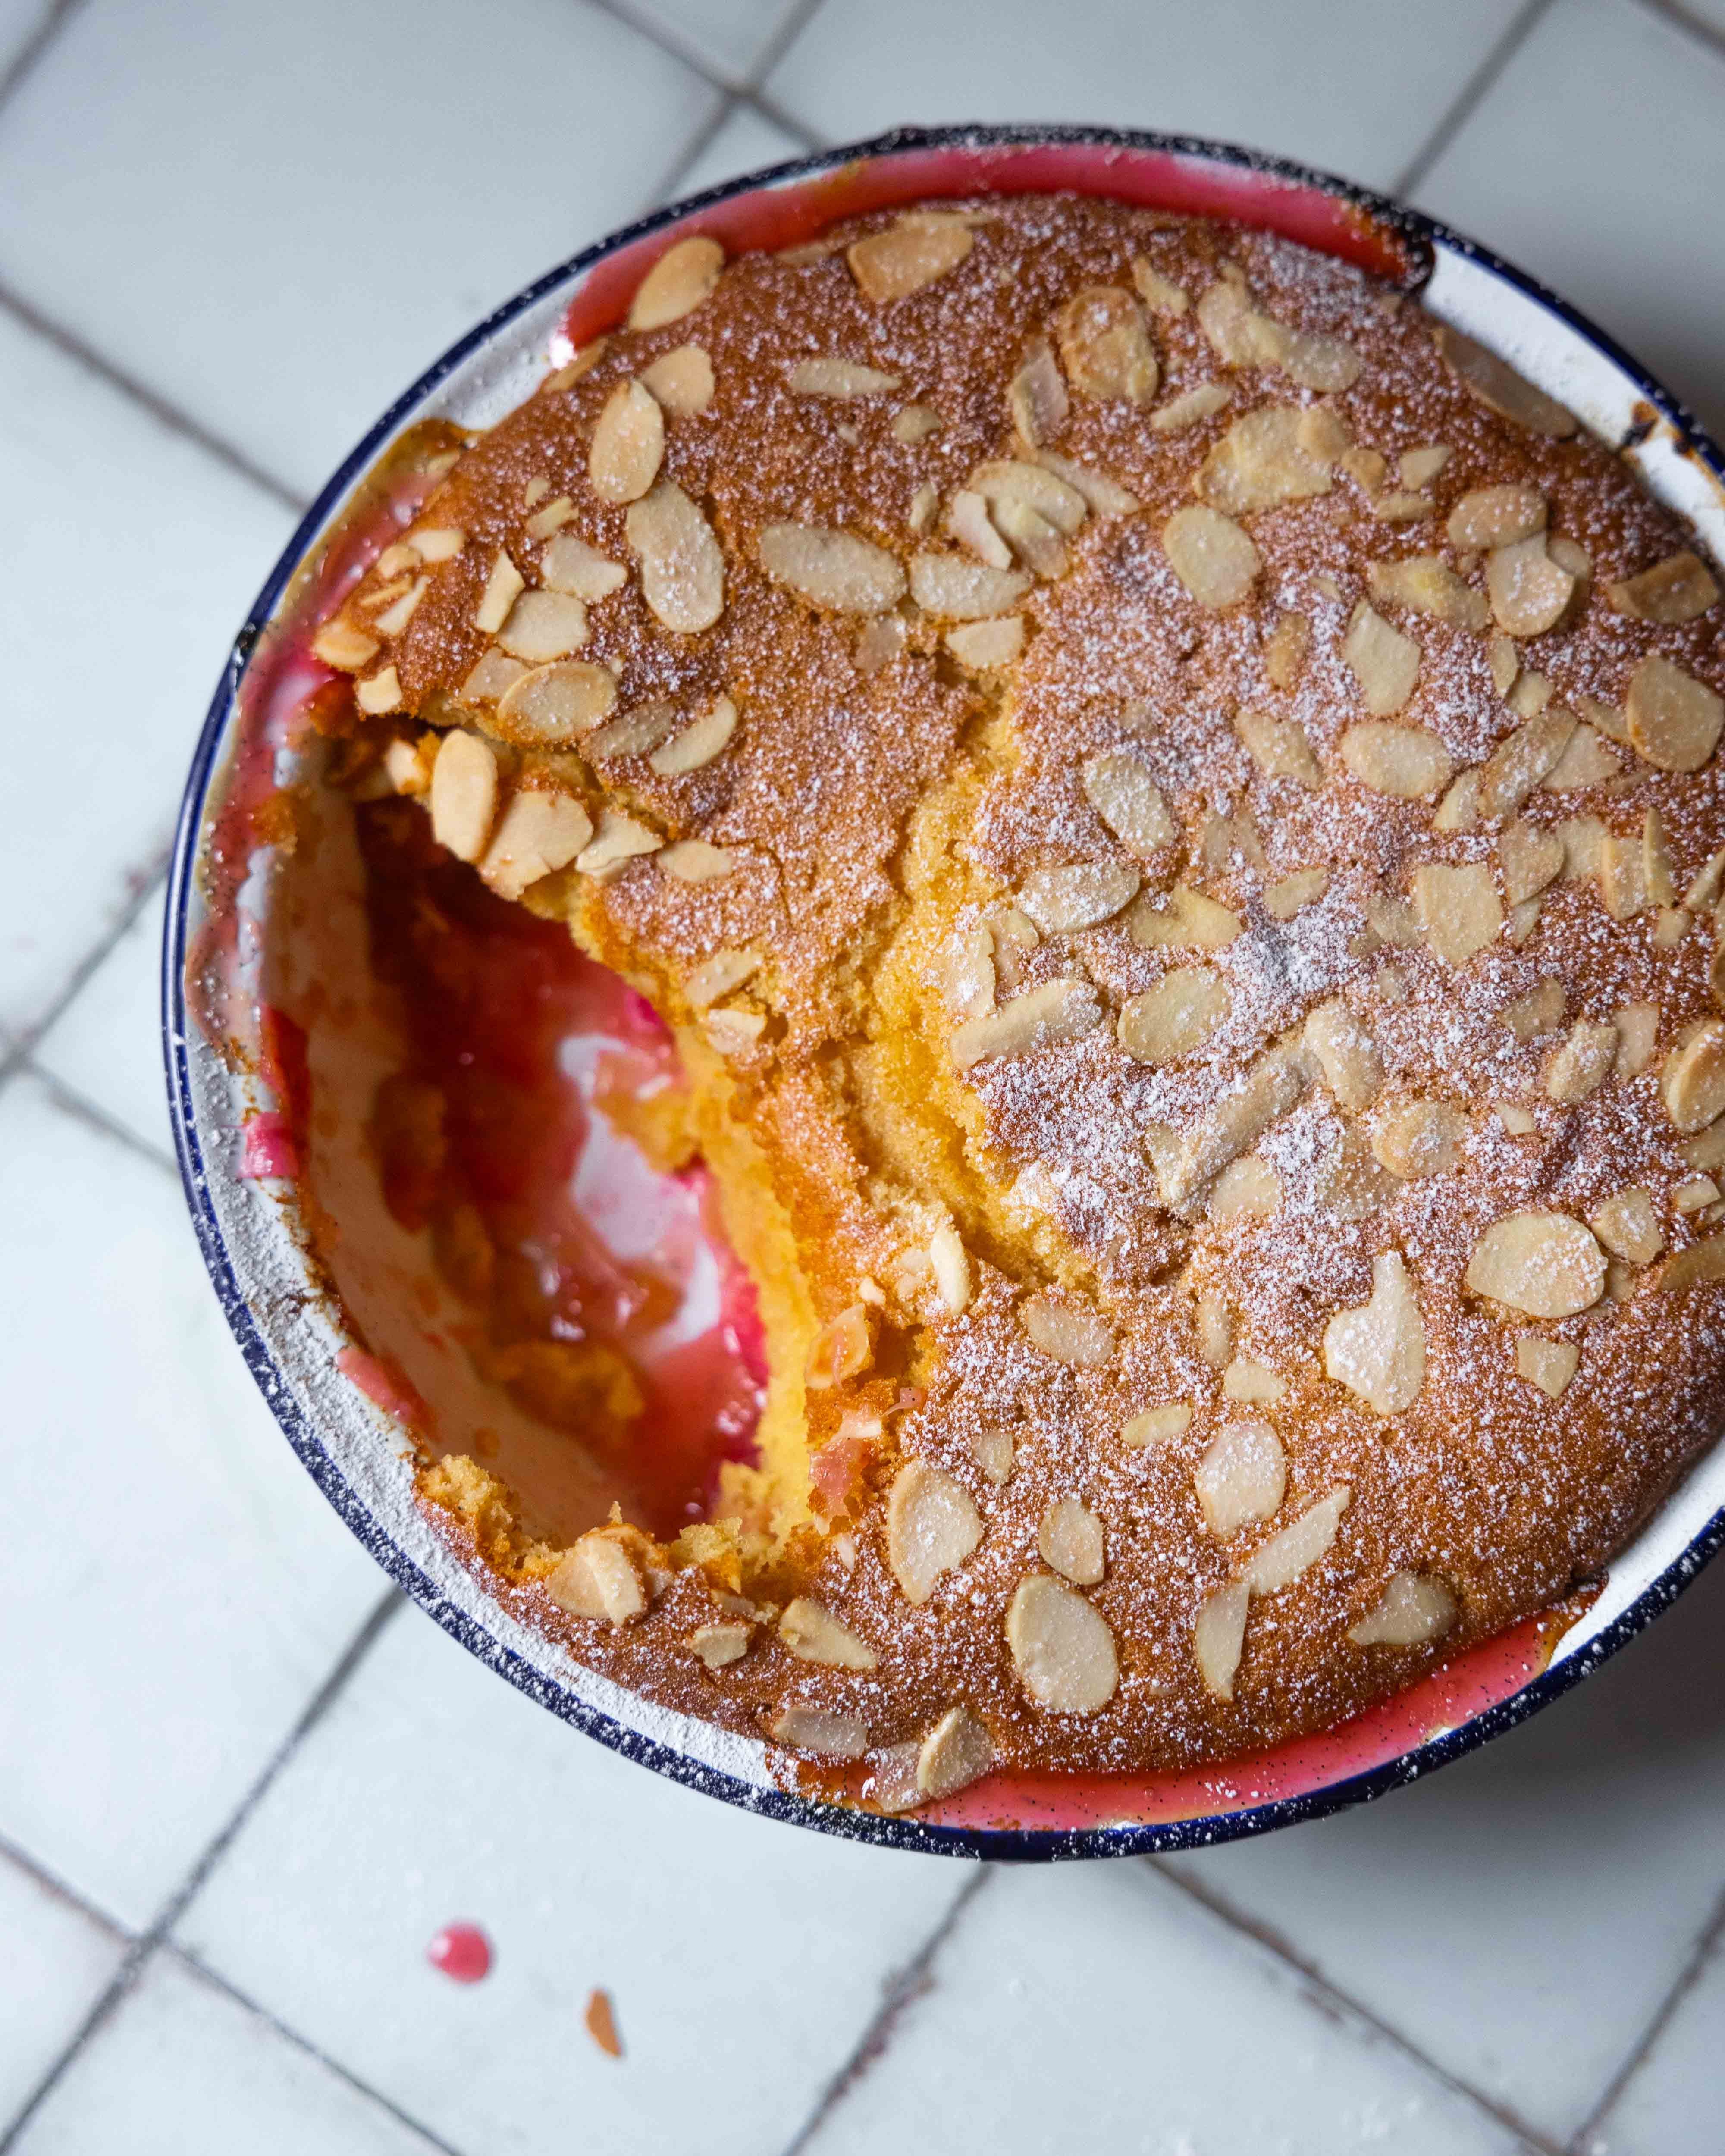
With everything that has been going on with the house, this week became about simplicity, about comfort. When we were prepping the house, I used the old oven one final time and made a simple apple and pear crumble with a hazelnut topping. Once the work started, to test out the new oven and to cover up the stress of the build, I made another classic comforting dessert - a rhubarb Eve’s pudding, also known as a blushing betty! Both are perfect with a vanilla-infused custard.
Apple and Pear Crumble with Hazelnut
Serves 4
Crumble Topping
150g plain flour
100g caster sugar
1/4 tsp fine sea salt
75g blanched hazelnuts
130g unsalted butter, diced and chilled
Fruit Filling
600g diced fruit, a mixture of apple and pear
- I use 1 large Bramley apple and 2 conference pears
Juice of 1/2 lemon
2 tbsp caster sugar
To make the crumble topping add the flour, sugar and salt to a large bowl and stir together to combine. Add the butter and use your fingertips to rub together to form a crumbly dough. Add the hazelnuts and stir to combine. Cover and refrigerate for at least an hour before using. You can also make a double batch and freeze half for use on a later date.
Preheat the oven to 190ºC (170ºC Fan).
For the filling, add the fruit to an 8-inch deep pie plate (I like these enamel versions for this sort of dessert; they’re sold as 9-inch pans, but that includes the rim; the internal dimensions are 8 inches; a 2-inch deep, 8-inch wide cake pan also works for this and the following recipe). Drizzle over the lemon juice and sprinkle over the sugar. Stir everything together to coat everything evenly. Whilst I don't think the crumble needs it, you could also drizzle in a little vanilla bean paste at this stage should you prefer.
Remove the topping from the fridge and crumble over the filling. The crumble might seem like it's piled high, but the fruit will cook down as the mixture bakes, plus who doesn’t love a generous layer of crumble?!
Bake in the preheated oven for about 45-60 minutes or until the fruit filling is bubbling around the edges of the pie plate and the crumble is golden. Remove and serve with plenty of custard, cream, or ice cream.
Rhubarb Blushing Betty
For the ‘Rhubarb Blushing Betty’ recipe, sign up to be a paid subscriber. You’ll gain access to this particular recipe plus the ever-growing archive of exclusive recipes and new content multiple times a month!
Keep reading with a 7-day free trial
Subscribe to The Boy Who Bakes to keep reading this post and get 7 days of free access to the full post archives.