


How To Convince Anyone To Love White Chocolate
Roasted White Chocolate And How To Use It

🎉 Welcome to my newsletter, The Boy Who Bakes, a subscriber-supported newsletter dedicated to all things baked. For bonus posts, filled with exclusive recipes, you can become a paid subscriber for the weekly newsletter, Second Helpings. It costs just £5 a month and, as well as the weekly recipes, that also unlocks access to the full archive of past recipes. To subscribe, to either the paid or free newsletter, click the link below.🎉
I know, I know, white chocolate is the poor-mans chocolate, if it’s even ‘real’ chocolate in the first place. To a lot of people, white chocolate simply sucks. However, It will come as a shock to absolute no-one that I am a rare lover of white chocolate, and as far as I am concerned it absolutely is ‘real’ chocolate. I love the creaminess, the sweetness and the role that white chocolate can play in baking. White chocolate doesn’t necessarily have the strongest flavour but it can be an important backbone to many a recipe, adding a richness, a creaminess that can really elevate a recipe. It is especially good at softening bitter flavours, rounding them out, which is why it’s a perfect partner to matcha, for example. But, if you’re firm in your stance that white chocolate is rubbish, let me try and convince you with one word - caramelisation.
This is not a new idea, far from it in fact. I think I first came across this method reading
blog back in 2009, and since that day, I’ve been hooked. The idea and the method are incredibly simple, but the results are spectacular. You start with basic white chocolate and end up with something packed full of toasted caramel notes, the same flavour you get from dulce de leche, but in white chocolate. It is nothing short of miraculous.The story goes that a pastry chef, working for the chocolate company Valrhona, left a bunch of white chocolate sat atop a Bain Marie and promptly forgot about it. The chocolate slowly started to caramelise, adding wonderful roasted flavour to the chocolate. After a lot of further experimentation the chefs, at Valrhona, were able to replicate the process in a more controlled manner, by roasting the chocolate in the oven, stirring it frequently to stop the chocolate from seizing. A few years later, Valrhona brought out a commercial version called Dulcey. But it’s so easy to make at home, why buy it?
How To Roast White Chocolate
Before we get to technique, it is important to talk about the chocolate you start out with. It is generally advised to use a white chocolate with around 30-35% cocoa butter content. This means the chocolate can be caramelised, but wont also seize into an unusable grainy mess. Thankfully white chocolate that fits this bill is incredibly easy to track down, even at the supermarket. With some high-end manufacturers (Islands and Pump St being two), who use a relatively high percentage of cocoa butter, and therefore less milk powder and sugar, it’s worth noting that the process is a little slower and whilst completely possible to caramelise the chocolate, it does takes a significantly longer period of time to achieve this. If you’re making this for the first time, and buying your chocolate from a supermarket, I can say from experience Green and Blacks white chocolate works very well and does so in a nice and straight forward manner. Unsurprisingly, since they invented the technique, Valrhona’s own ‘Ivoire’ white chocolate works perfectly for this method.
Methods
There are two basic methods to roast the white chocolate, roast it in the oven, slowly at a low temperature or you can also make it in the microwave. I tend to do this solely using my oven but I’ll explain both methods. To successfully caramelise the chocolate it is best to start with 200-300g of chocolate; using less can make it easier for the chocolate to burn.
Oven
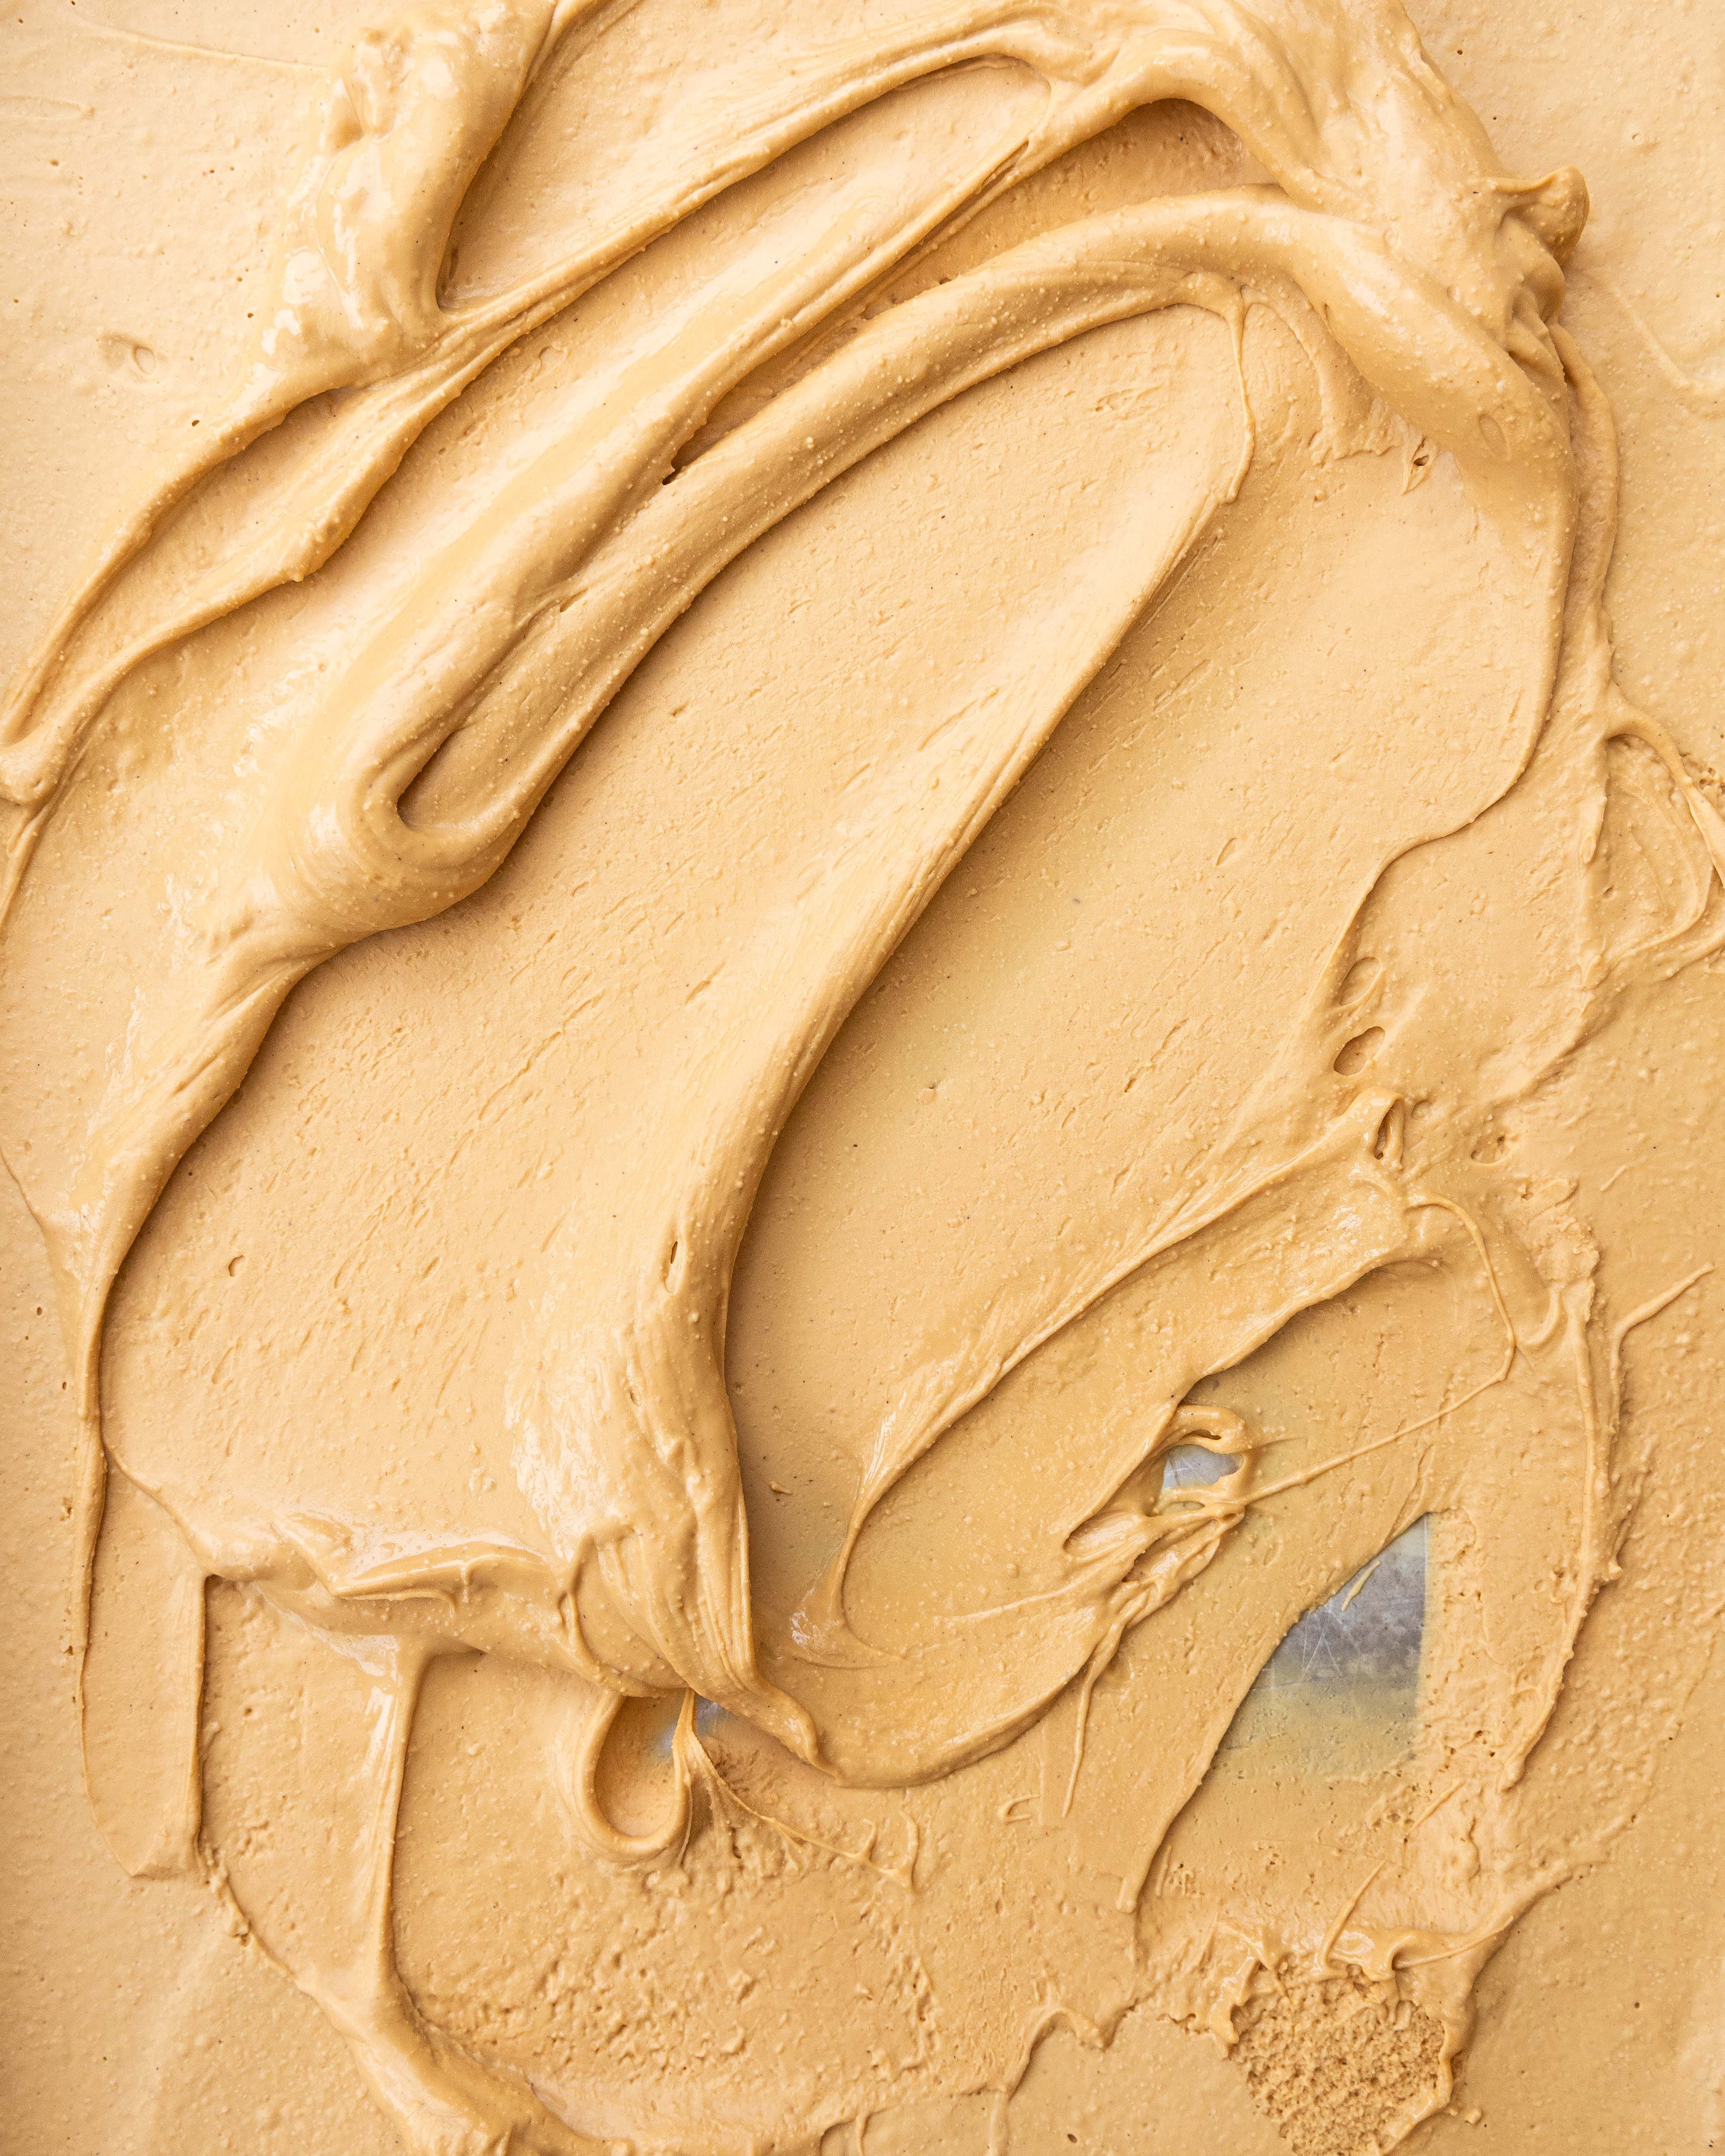
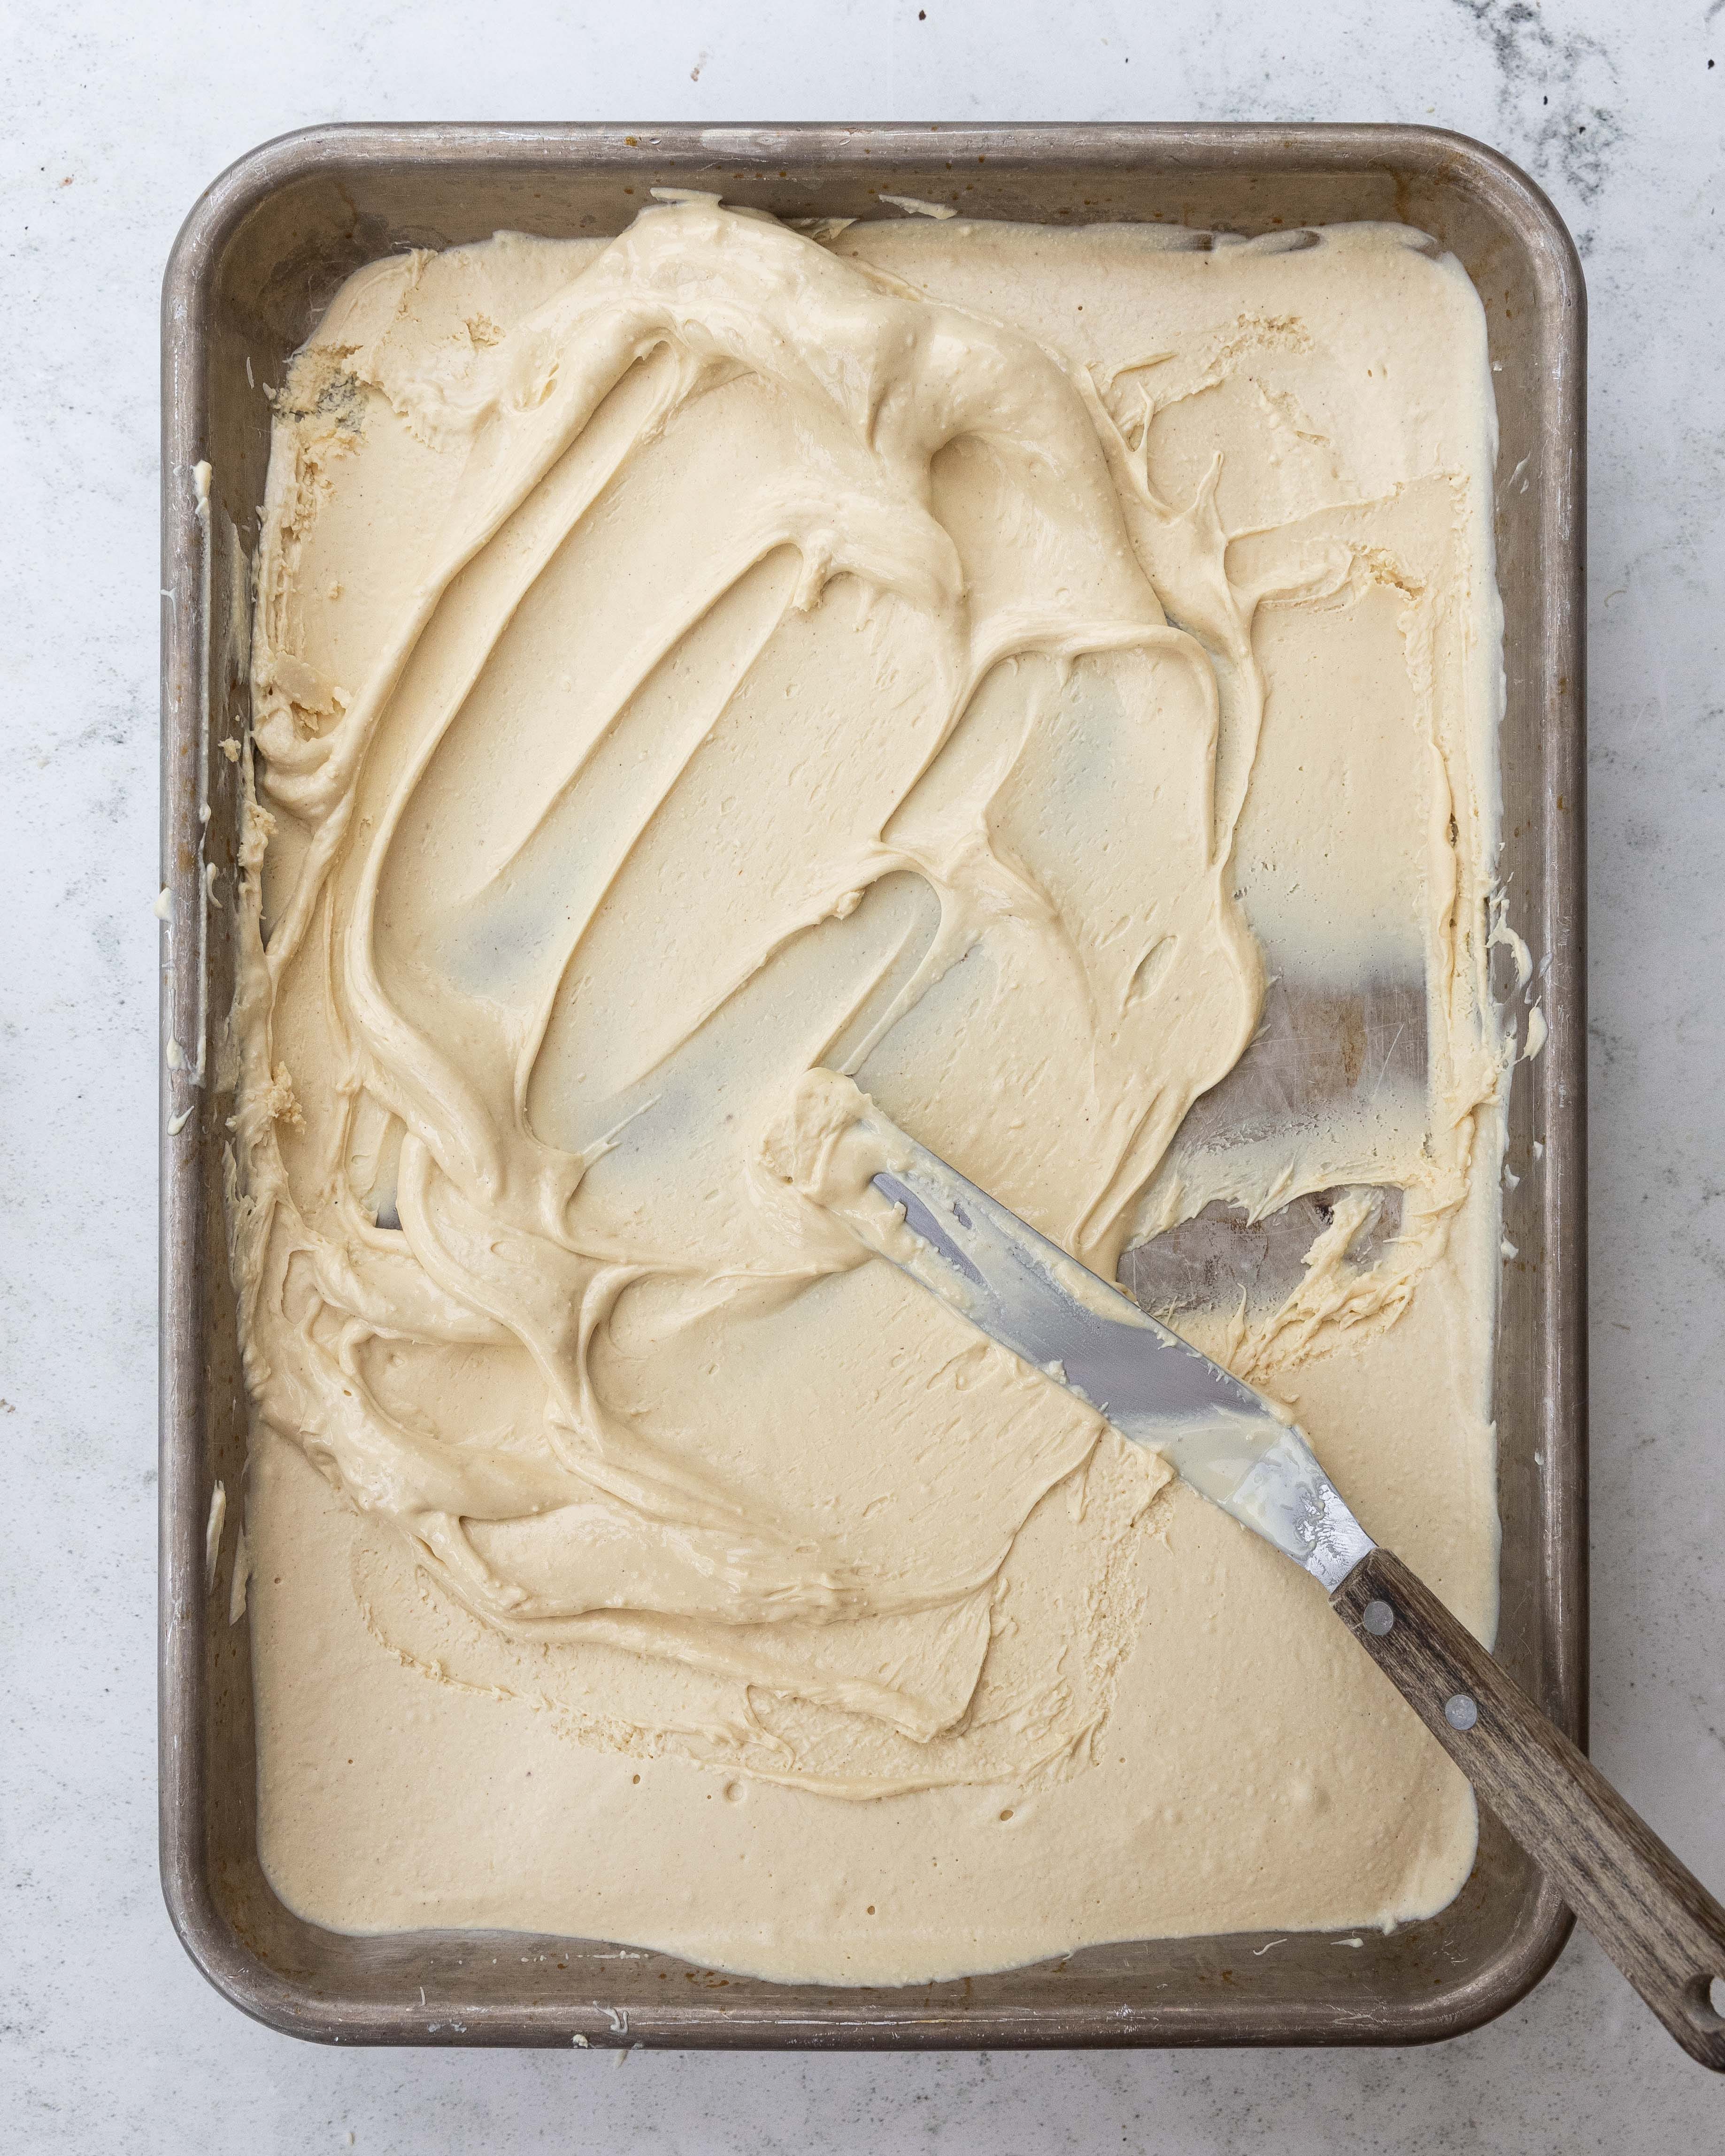
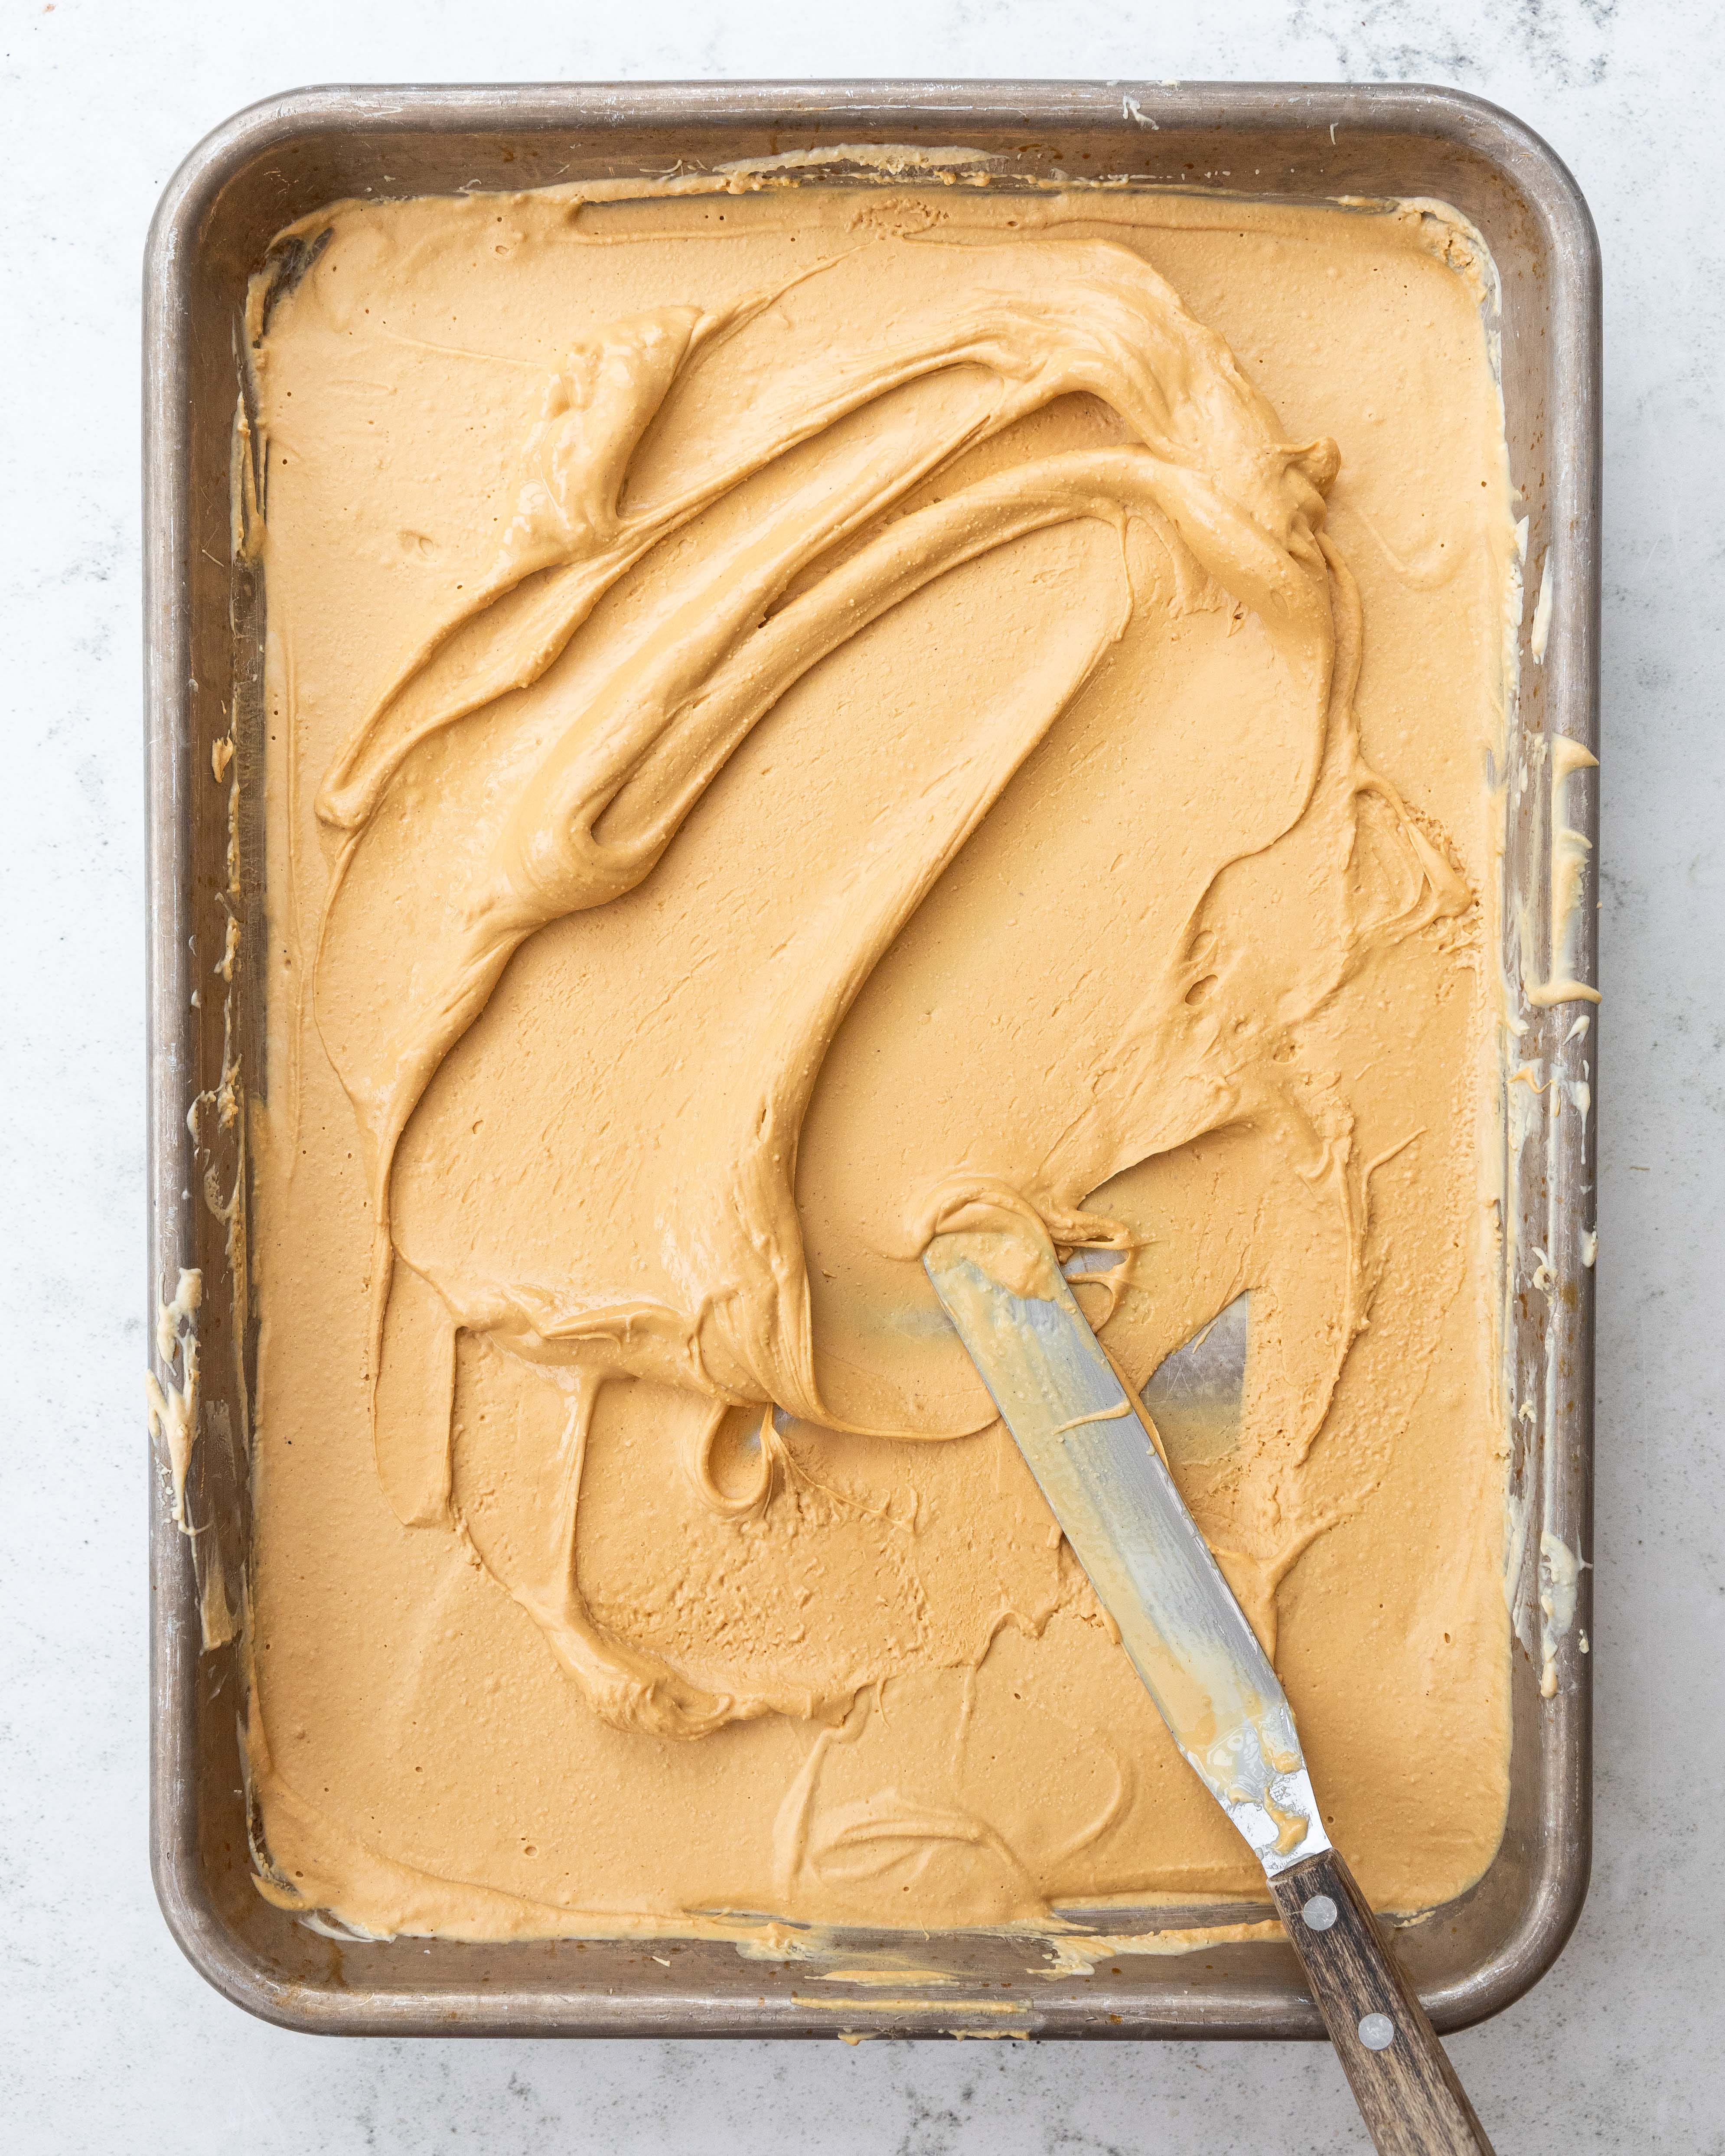
Start by roughly chopping your white chocolate and spreading it into an even layer on a rimmed baking tray. Place the tray into an oven, set to 120ºC (I do a little lower if using a fan oven) and bake it. Every 15 minutes, or so, you want to remove the tray from the oven and stir the chocolate. When you remove the tray from the oven, you’ll notice the chocolate may look a little grainy and dry, this is why it needs a good stir. Before you put the chocolate back into the oven it should be smooth and liquid, otherwise there is a risk it will seize with further cooking. To ensure the chocolate is smooth, I like to use a small offset spatula, which is the most effective tool for the job. After about an hour, the chocolate should have changed from off-white to a golden caramelised colour, it will also taste caramelised and toasty as well. As every brand of white chocolate is formulated differently, this is a rough guide rather than strict instruction; you may find that the chocolate takes more or less time to caramelise, but the principle is the same.
Microwave
The technique using a microwave is very similar, just much quicker, although with a lot more stirring. Caution should be taken, however, because the risk of burning the chocolate is much higher using this method. As before, start with chopped white chocolate, adding it to a microwave-safe bowl. Start with 1 minute bursts, on full power, stirring well between each session, even it it looks like nothing is happening. Once the chocolate starts to take on colour, you want to reduce the length of the bursts, to 15-20 seconds, and you need to stir really well between each burst. Continue this process until the chocolate has developed the colour and level of caramelisation you prefer.
Salt
Once the chocolate is caramelised, using either of the two methods, adding a little pinch of salt is a very good idea. You’re not making caramel but you are making something with similar flavour notes and salt is a great way to boost that flavour and also balance the sweetness; so mix in a little flaked sea salt and you’re done.
Storage
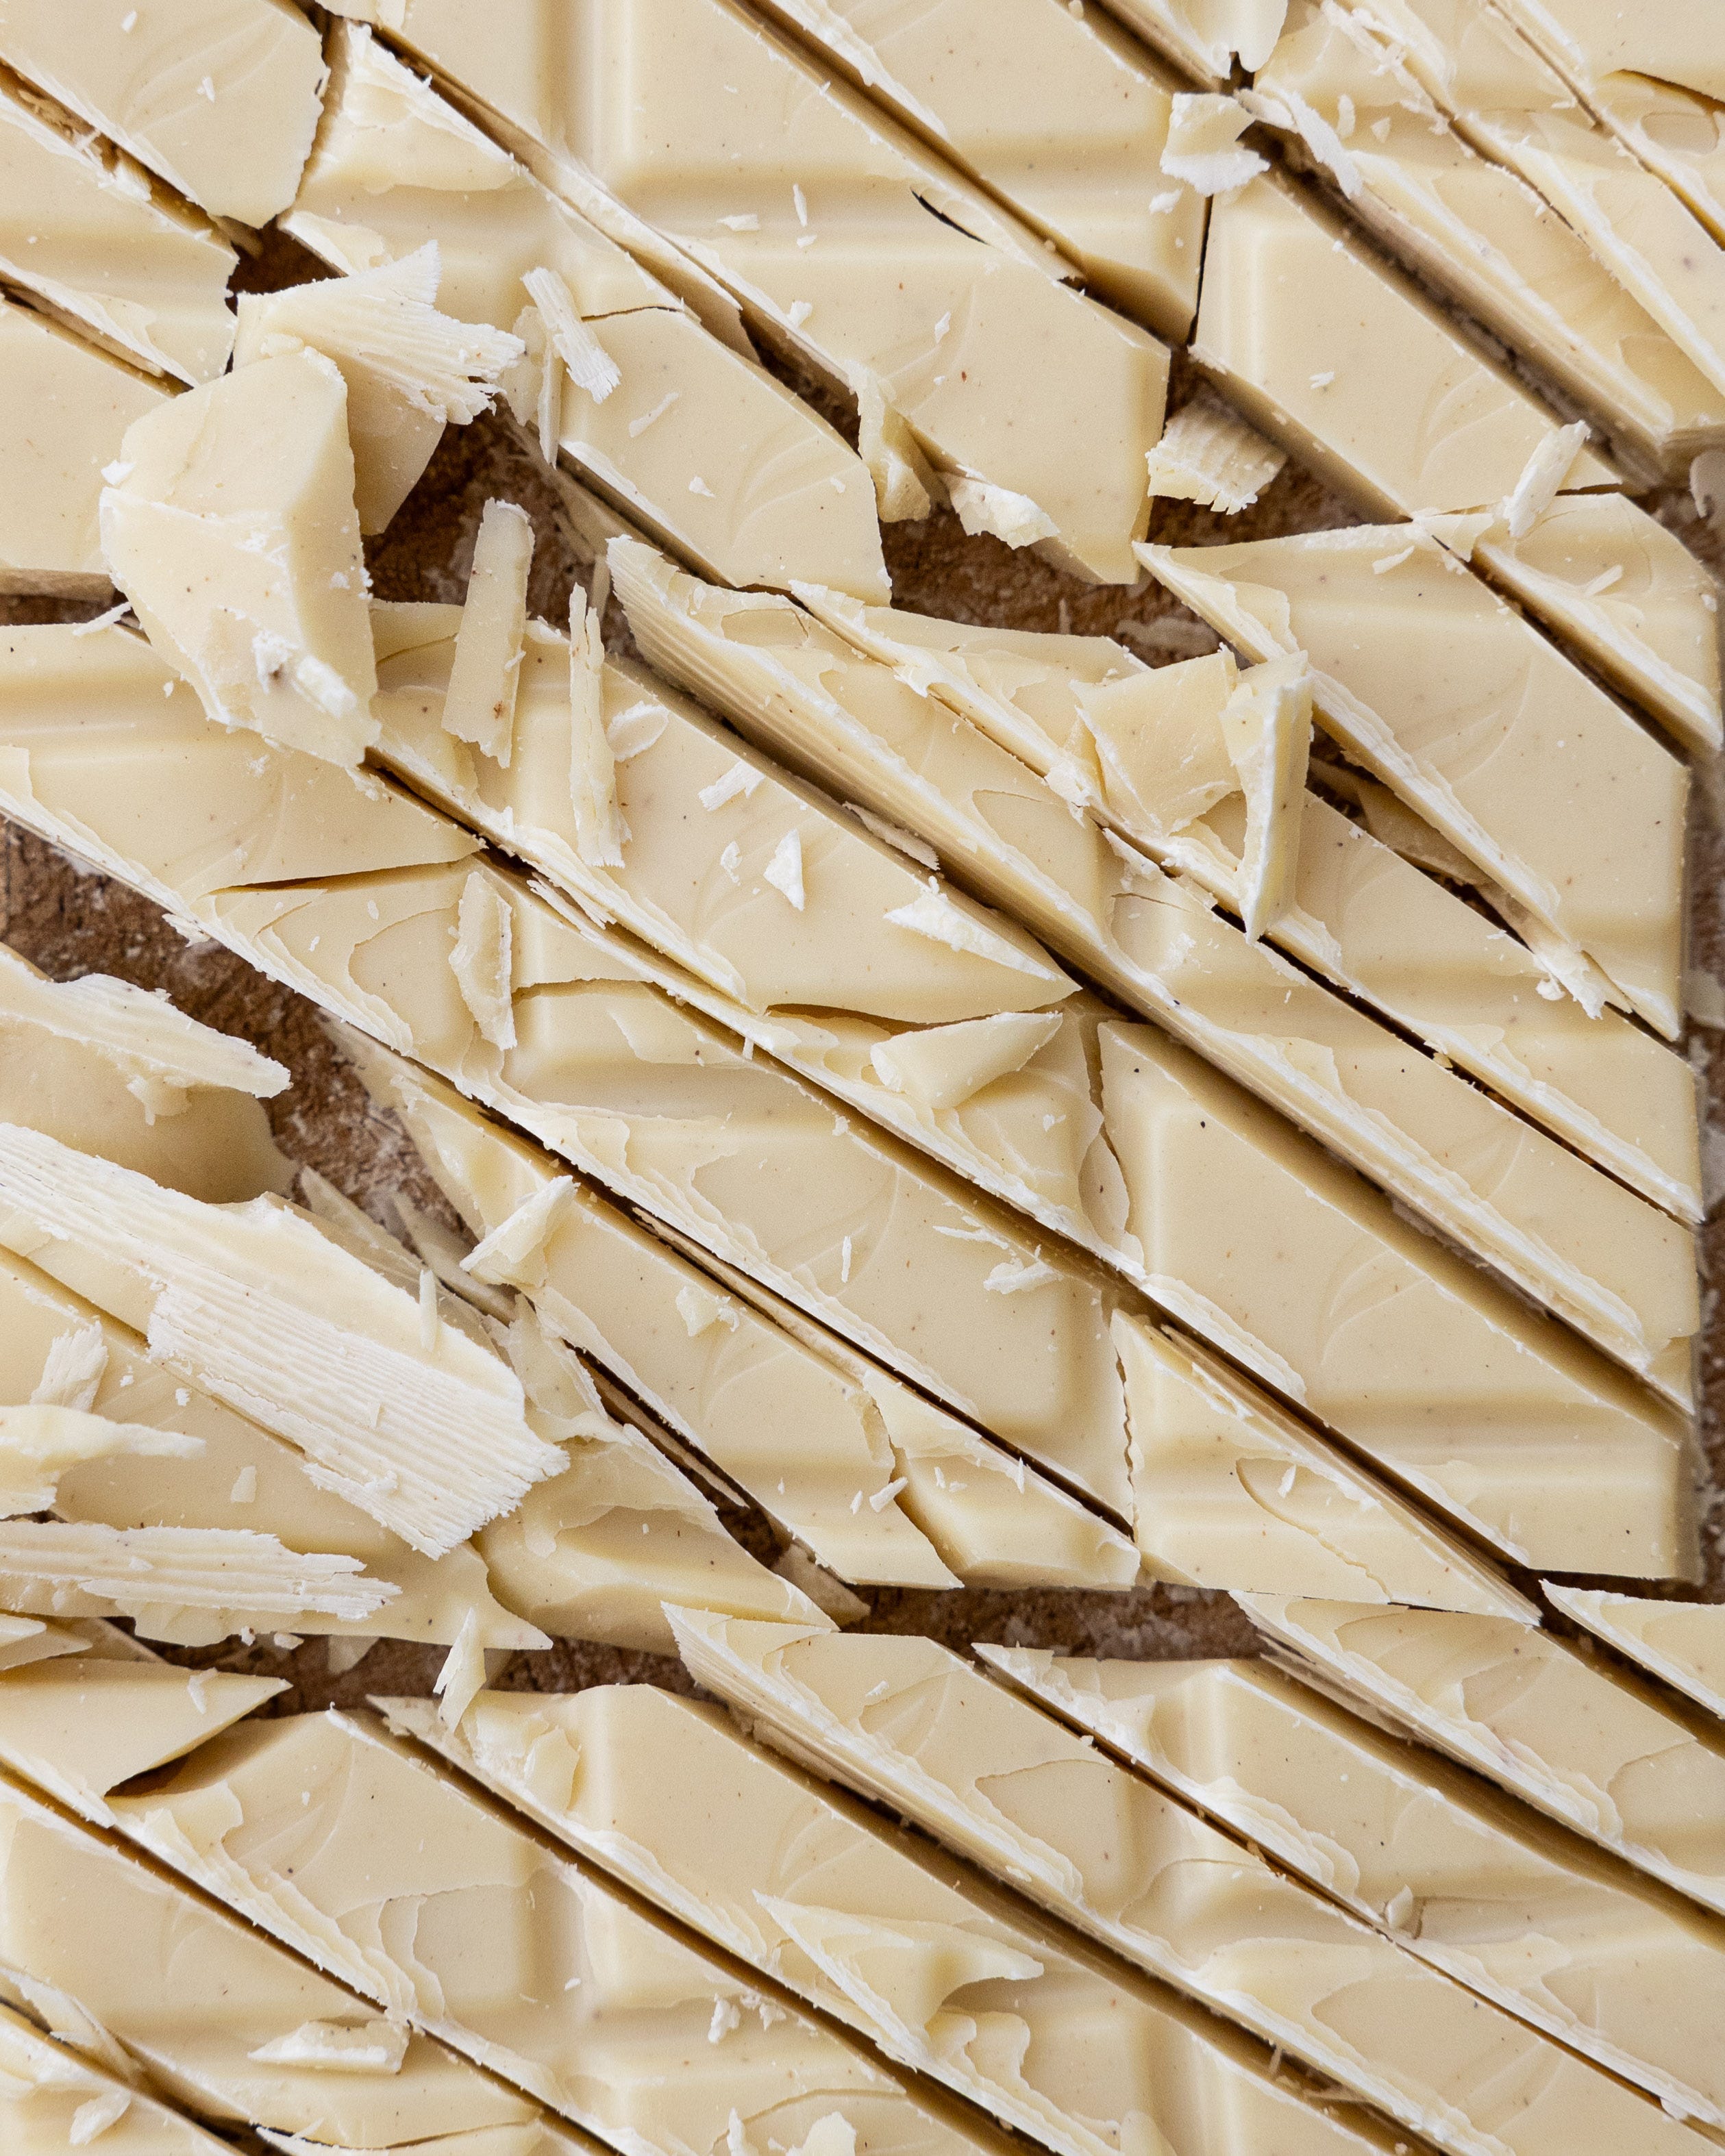
Scrape the finished chocolate onto either a parchment lined baking tray, spreading it into a layer the rough thickness of a chocolate bar, or into a Tupperware container. Allow the chocolate to cool slightly, at room temperature, before transferring to the fridge to set. Once set you can store this chocolate at room temperature for up to three months.
How To Use It
My genuine answer would be to just eat it, but that's not the answer you’re probably looking for. The chocolate will work in the same way you’d use any regular white chocolate, so it’s great in cookies, used to flavour buttercreams or to make ganache. One of my all time favourite uses is to make a swirl, to fold through fresh ginger ice cream - pure heaven.
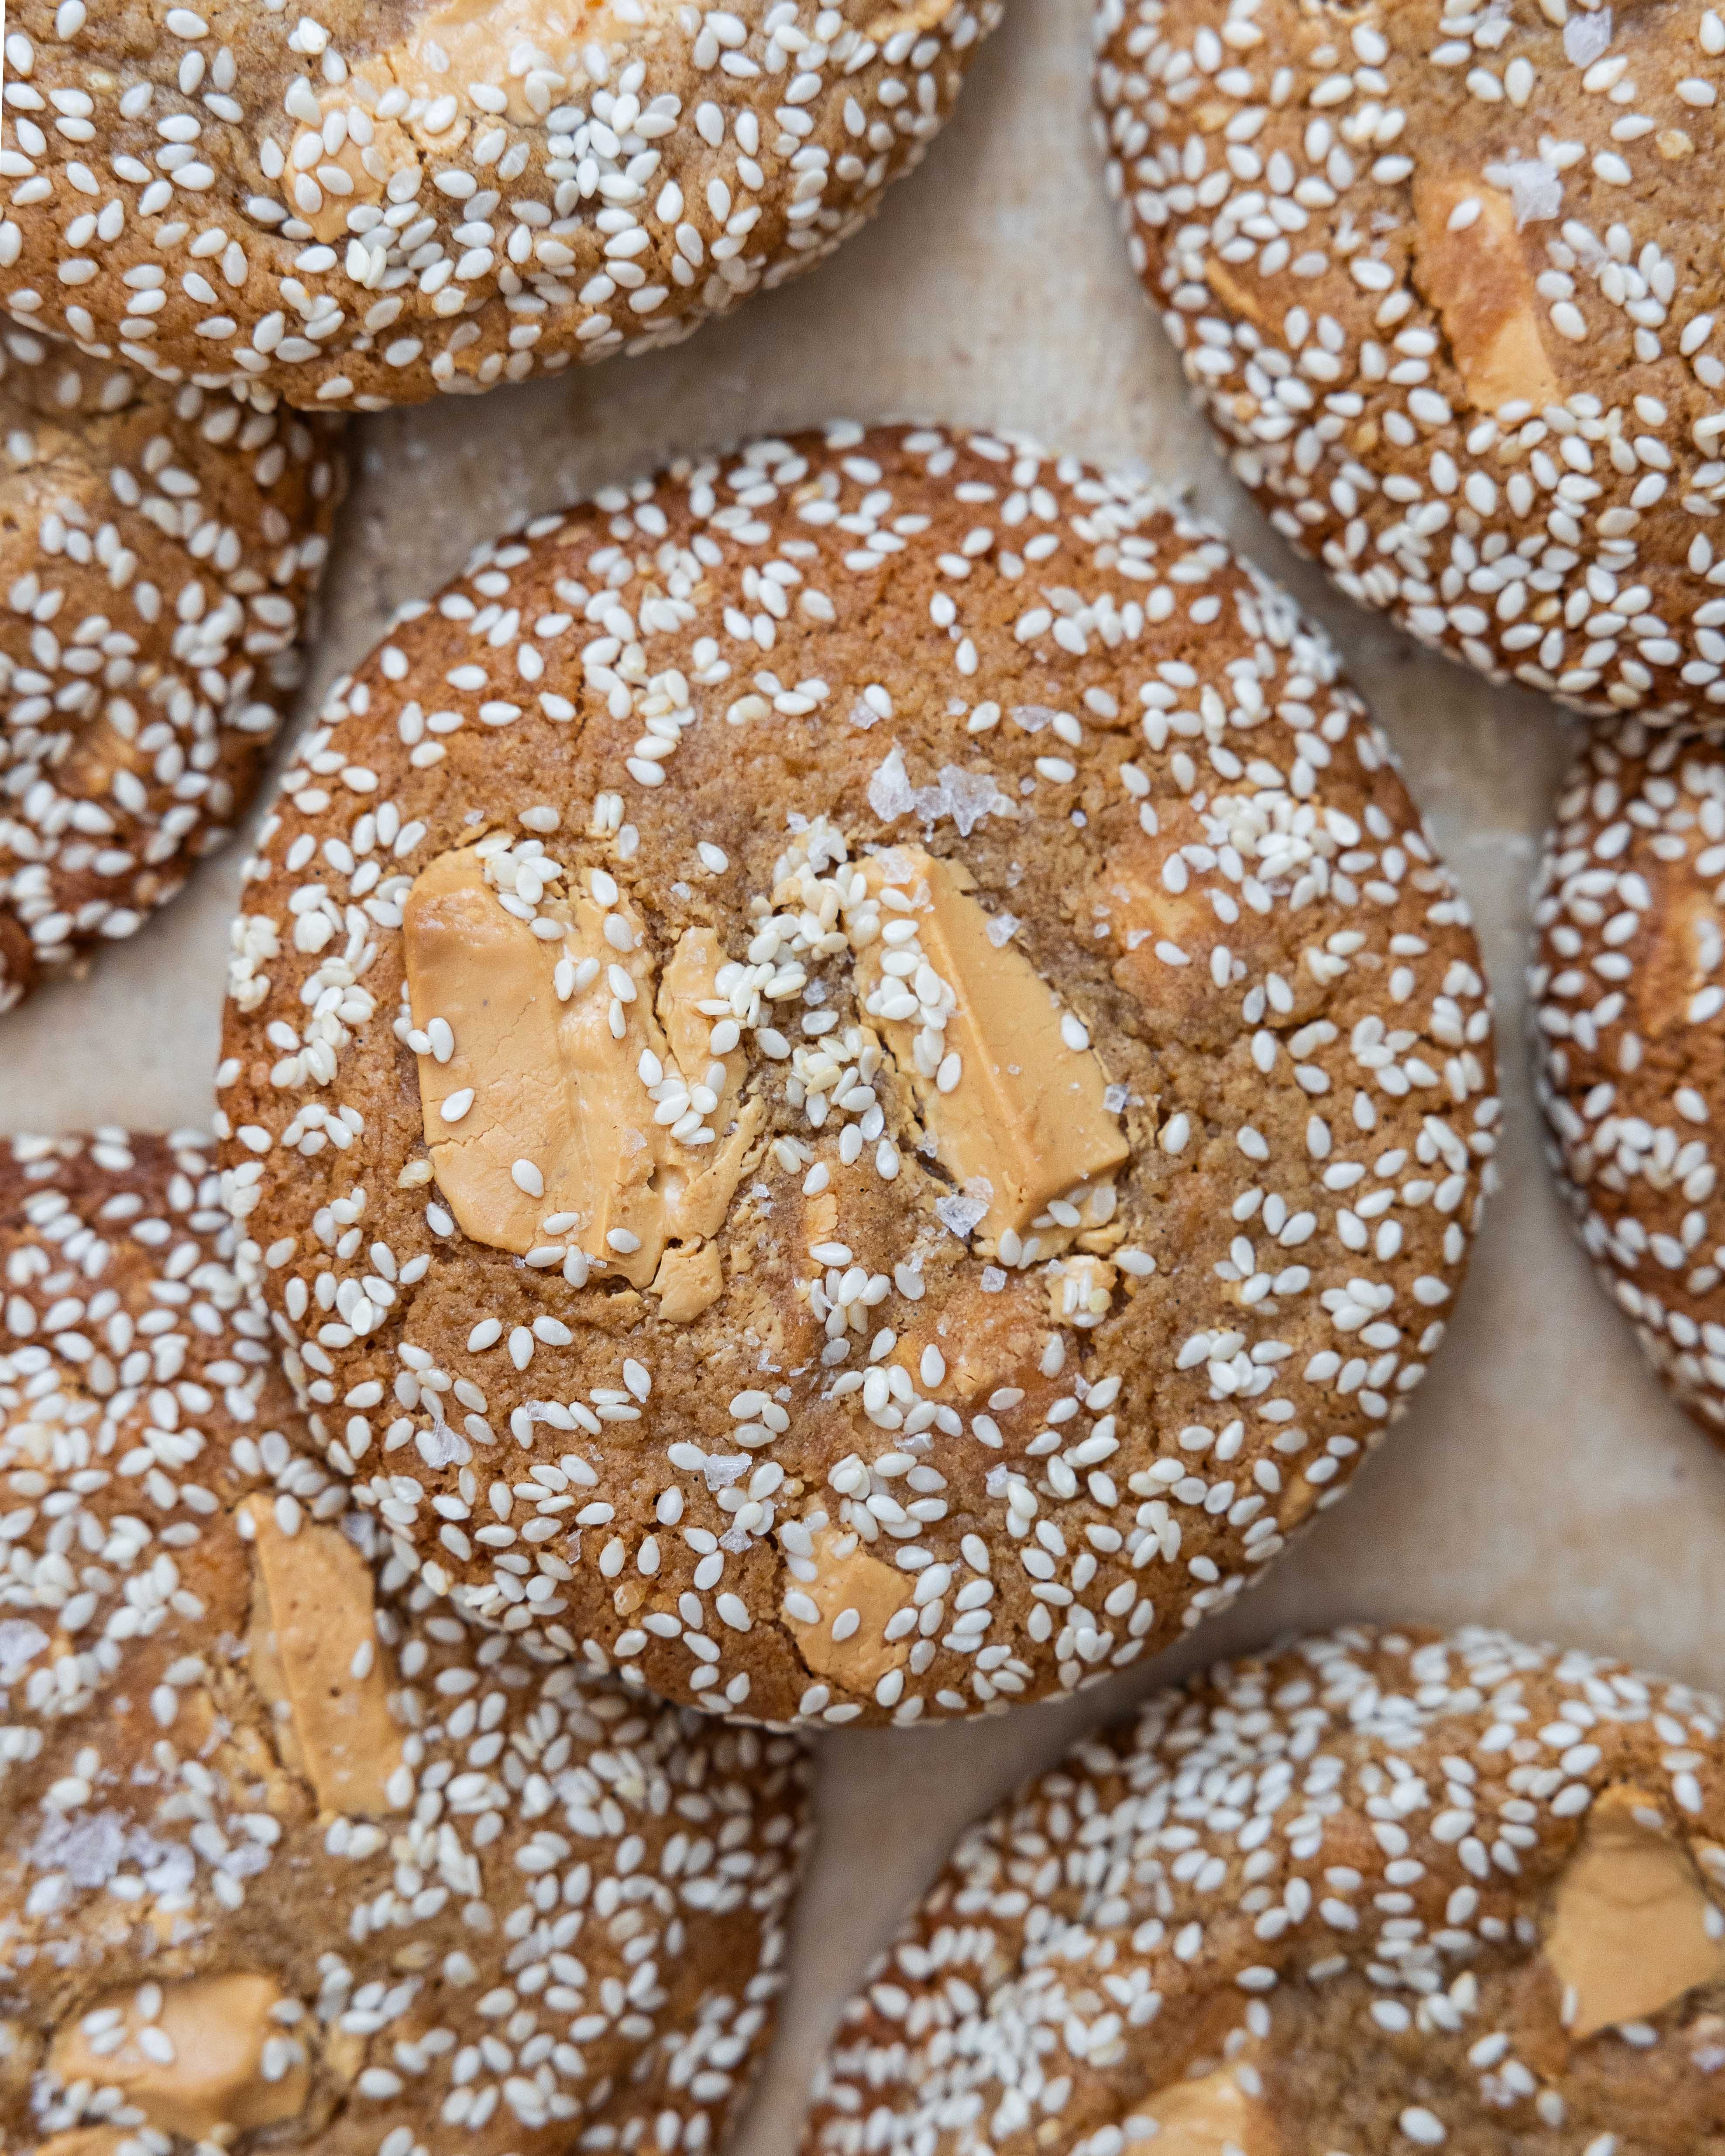
For Second Helpings subscribers this week, I have a fabulous new cookie recipe, using the roasted white chocolate. The cookie recipe really uses the flavour of the roasted white chocolate, to make something incredible. The cookie is made with another two toasted ingredients, toasted honey and toasted sesame, in the form of tahini. Become a paid subscriber to get access to the recipe.
The following recipe comes from my book Small Batch Bakes
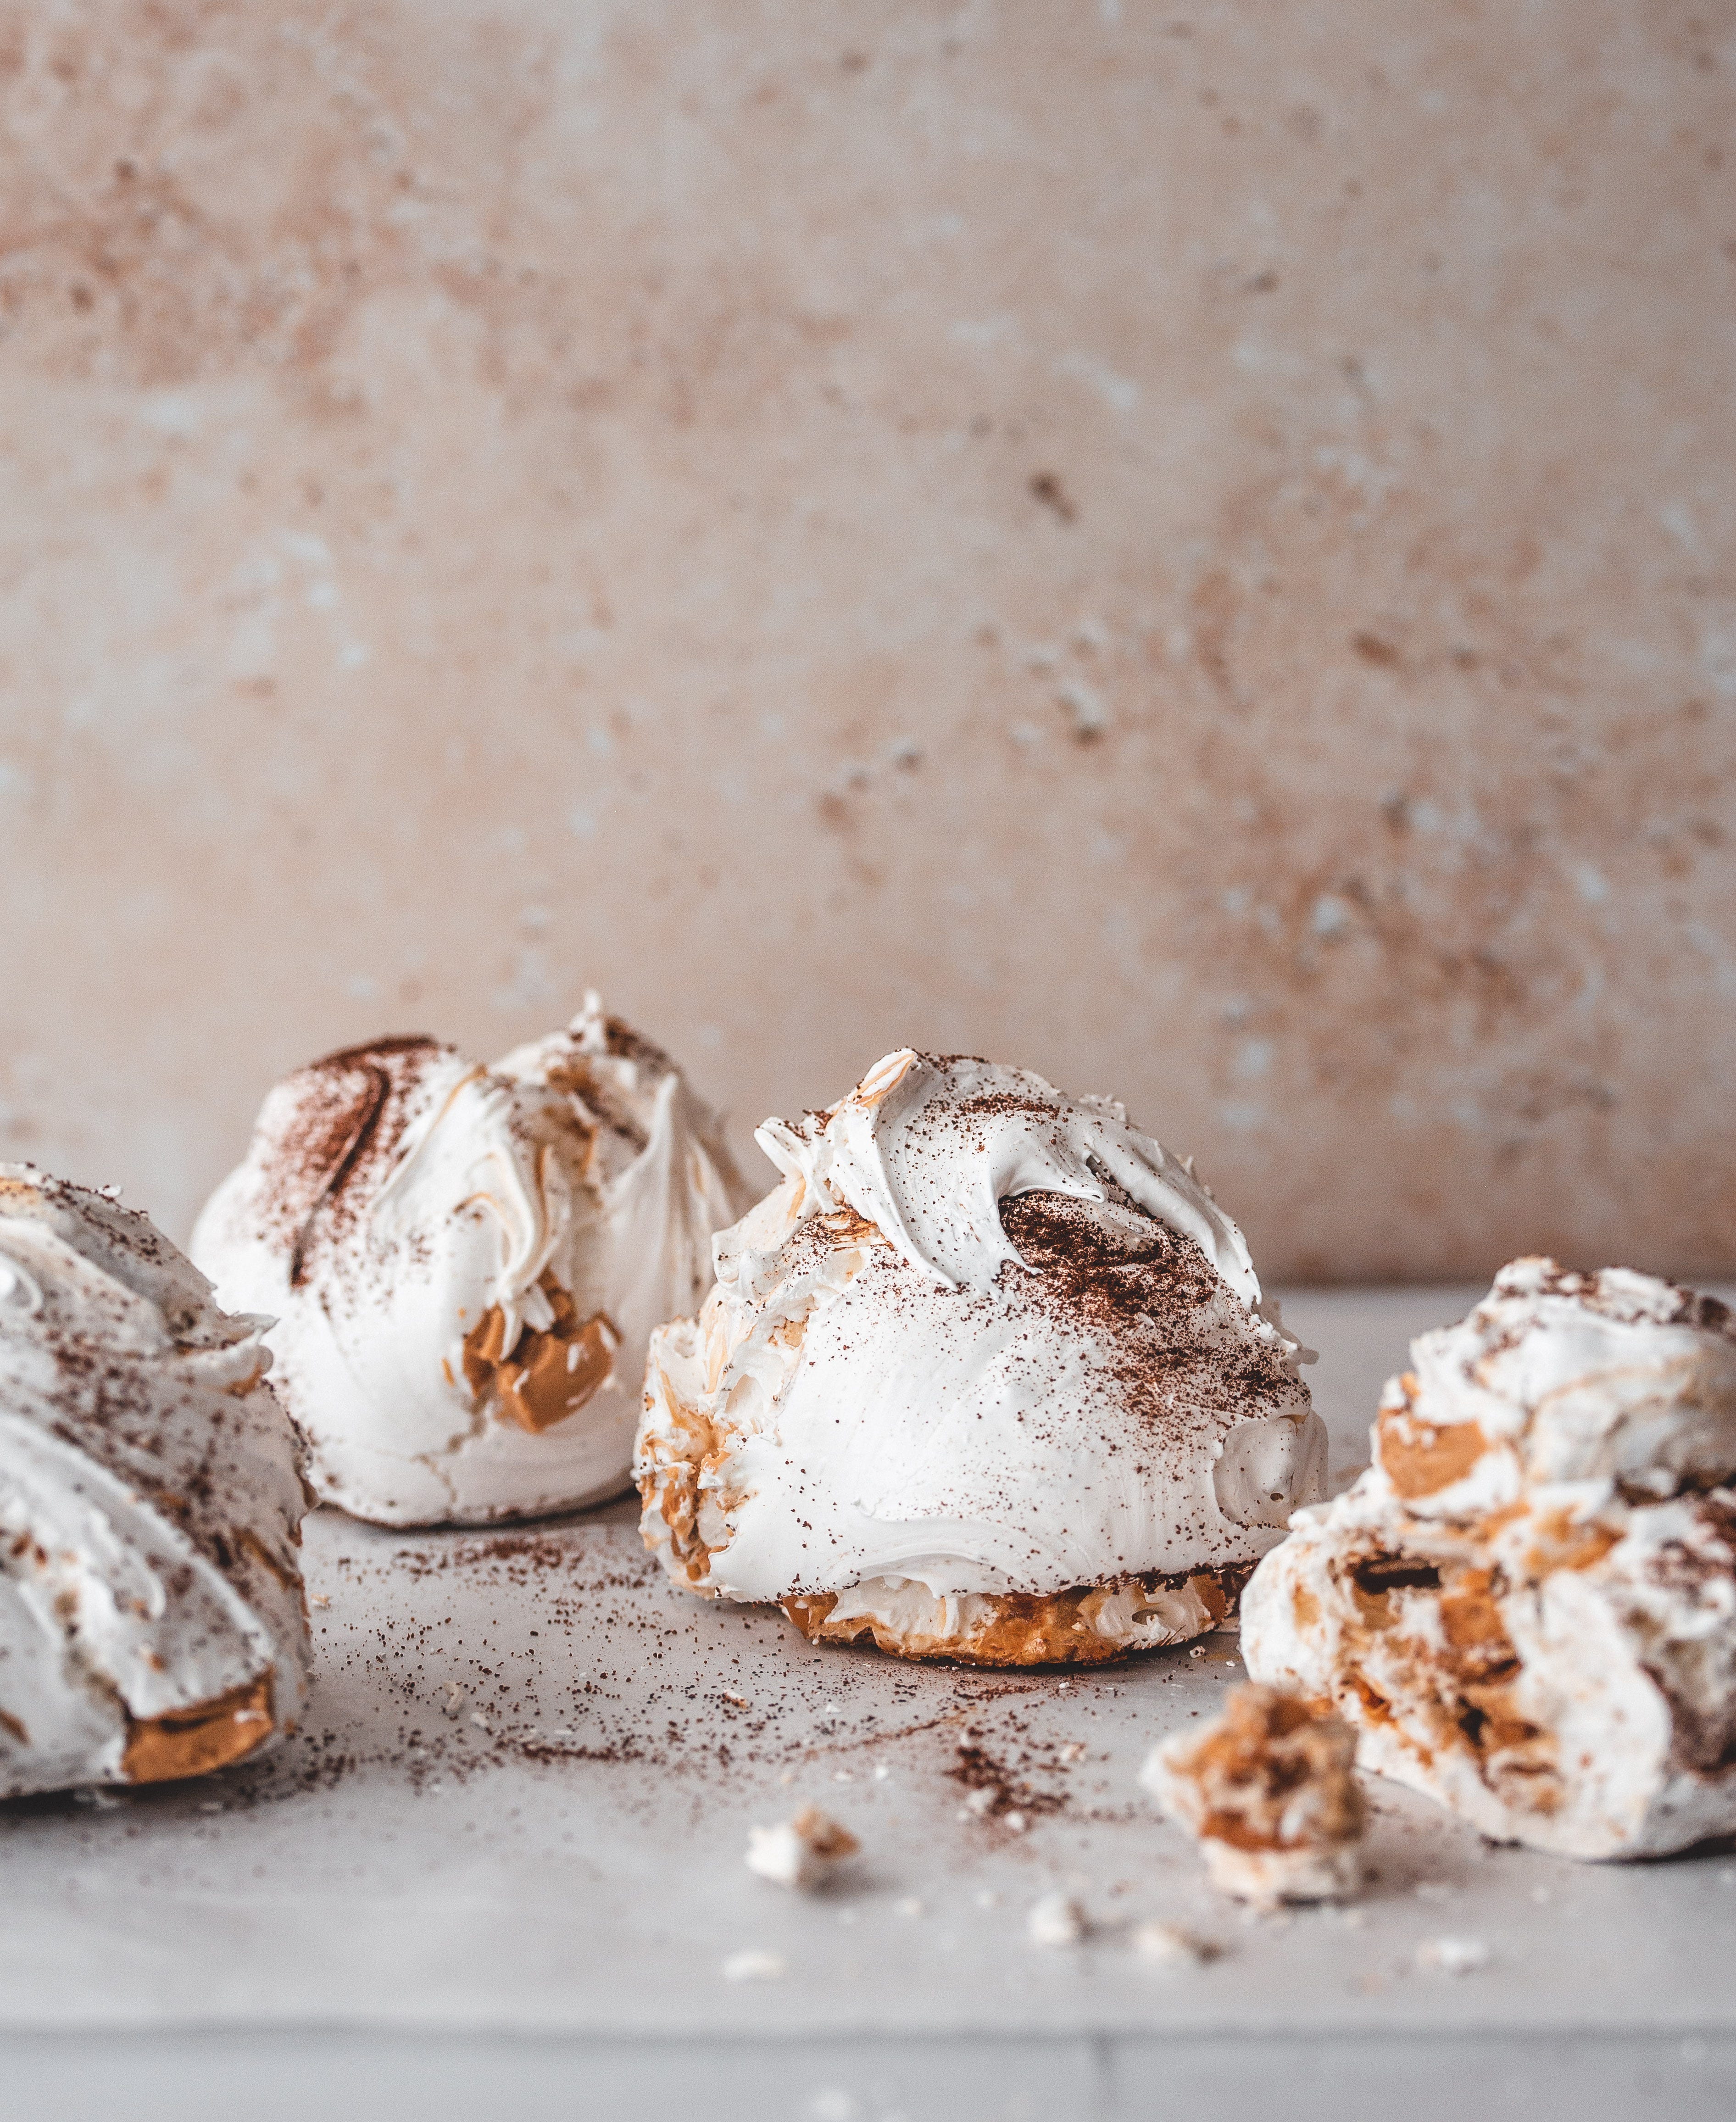
Coffee and Caramelised White Chocolate Meringues
Makes 4
Meringues are a great way to use up leftover egg whites but a plain meringue can sometimes be a little underwhelming. To give a classic meringue a little modern makeover, the light and crisp meringue is swirled with instant espresso powder and chunks of deliciously caramelised white chocolate, giving these meringues a bittersweet flavour that is incredible. This recipe is inspired by a caramelised white chocolate meringue served at the wonderful Ty Melin bakery in Cardiff.
2 large egg whites
160g caster sugar
Pinch of fine sea salt
Pinch of cream of tartar
1 tsp instant espresso powder
70g caramelised white chocolate, roughly chopped
Preheat the oven to 110ºC (90ºC Fan) and line a baking tray with parchment paper.
Place the egg whites into a mixing bowl and using an electric hand mixer whisk together with the salt and cream of tartar until foamy, looking a little like bubble bath or shaving foam. Slowly rain in the sugar a spoonful at a time. Once all the sugar has been added, continue whisking until the meringue holds stiff peaks. Sprinkle over the coffee and chocolate and fold briefly, just a couple times, to swirl into the meringue. Scoop the meringues into roughly equal sized mounds on the prepared baking tray and sprinkle with a little extra coffee powder.
Bake the meringues in the oven for about 1 + 1/2 hours - 2 hours or until dry and crisp and can be lifted easily from the tray. If you bake on the shorter end of the timescale the finished meringues will have a softer centre and if you bake longer, a drier centre. Turn the oven off but leave the meringues in the oven for an hour, to cool down slowly, before removing.
Kept in a sealed container, in a cool dry place, these will keep for at least a week.
If you like small batch recipes like this one make sure you check out my new book Small Batch Cookies which is released this autumn and is available to pre-order now!

Glad to hear you’re a fellow white chocolate lover! The meringue sounds heavenly.
I was craving something sweet, maybe chocolate and found several large bars of Ghirardelli (in the US) white chocolate bought to make something great...that never got made. It's currently my nightly snack. Yours look so good.