


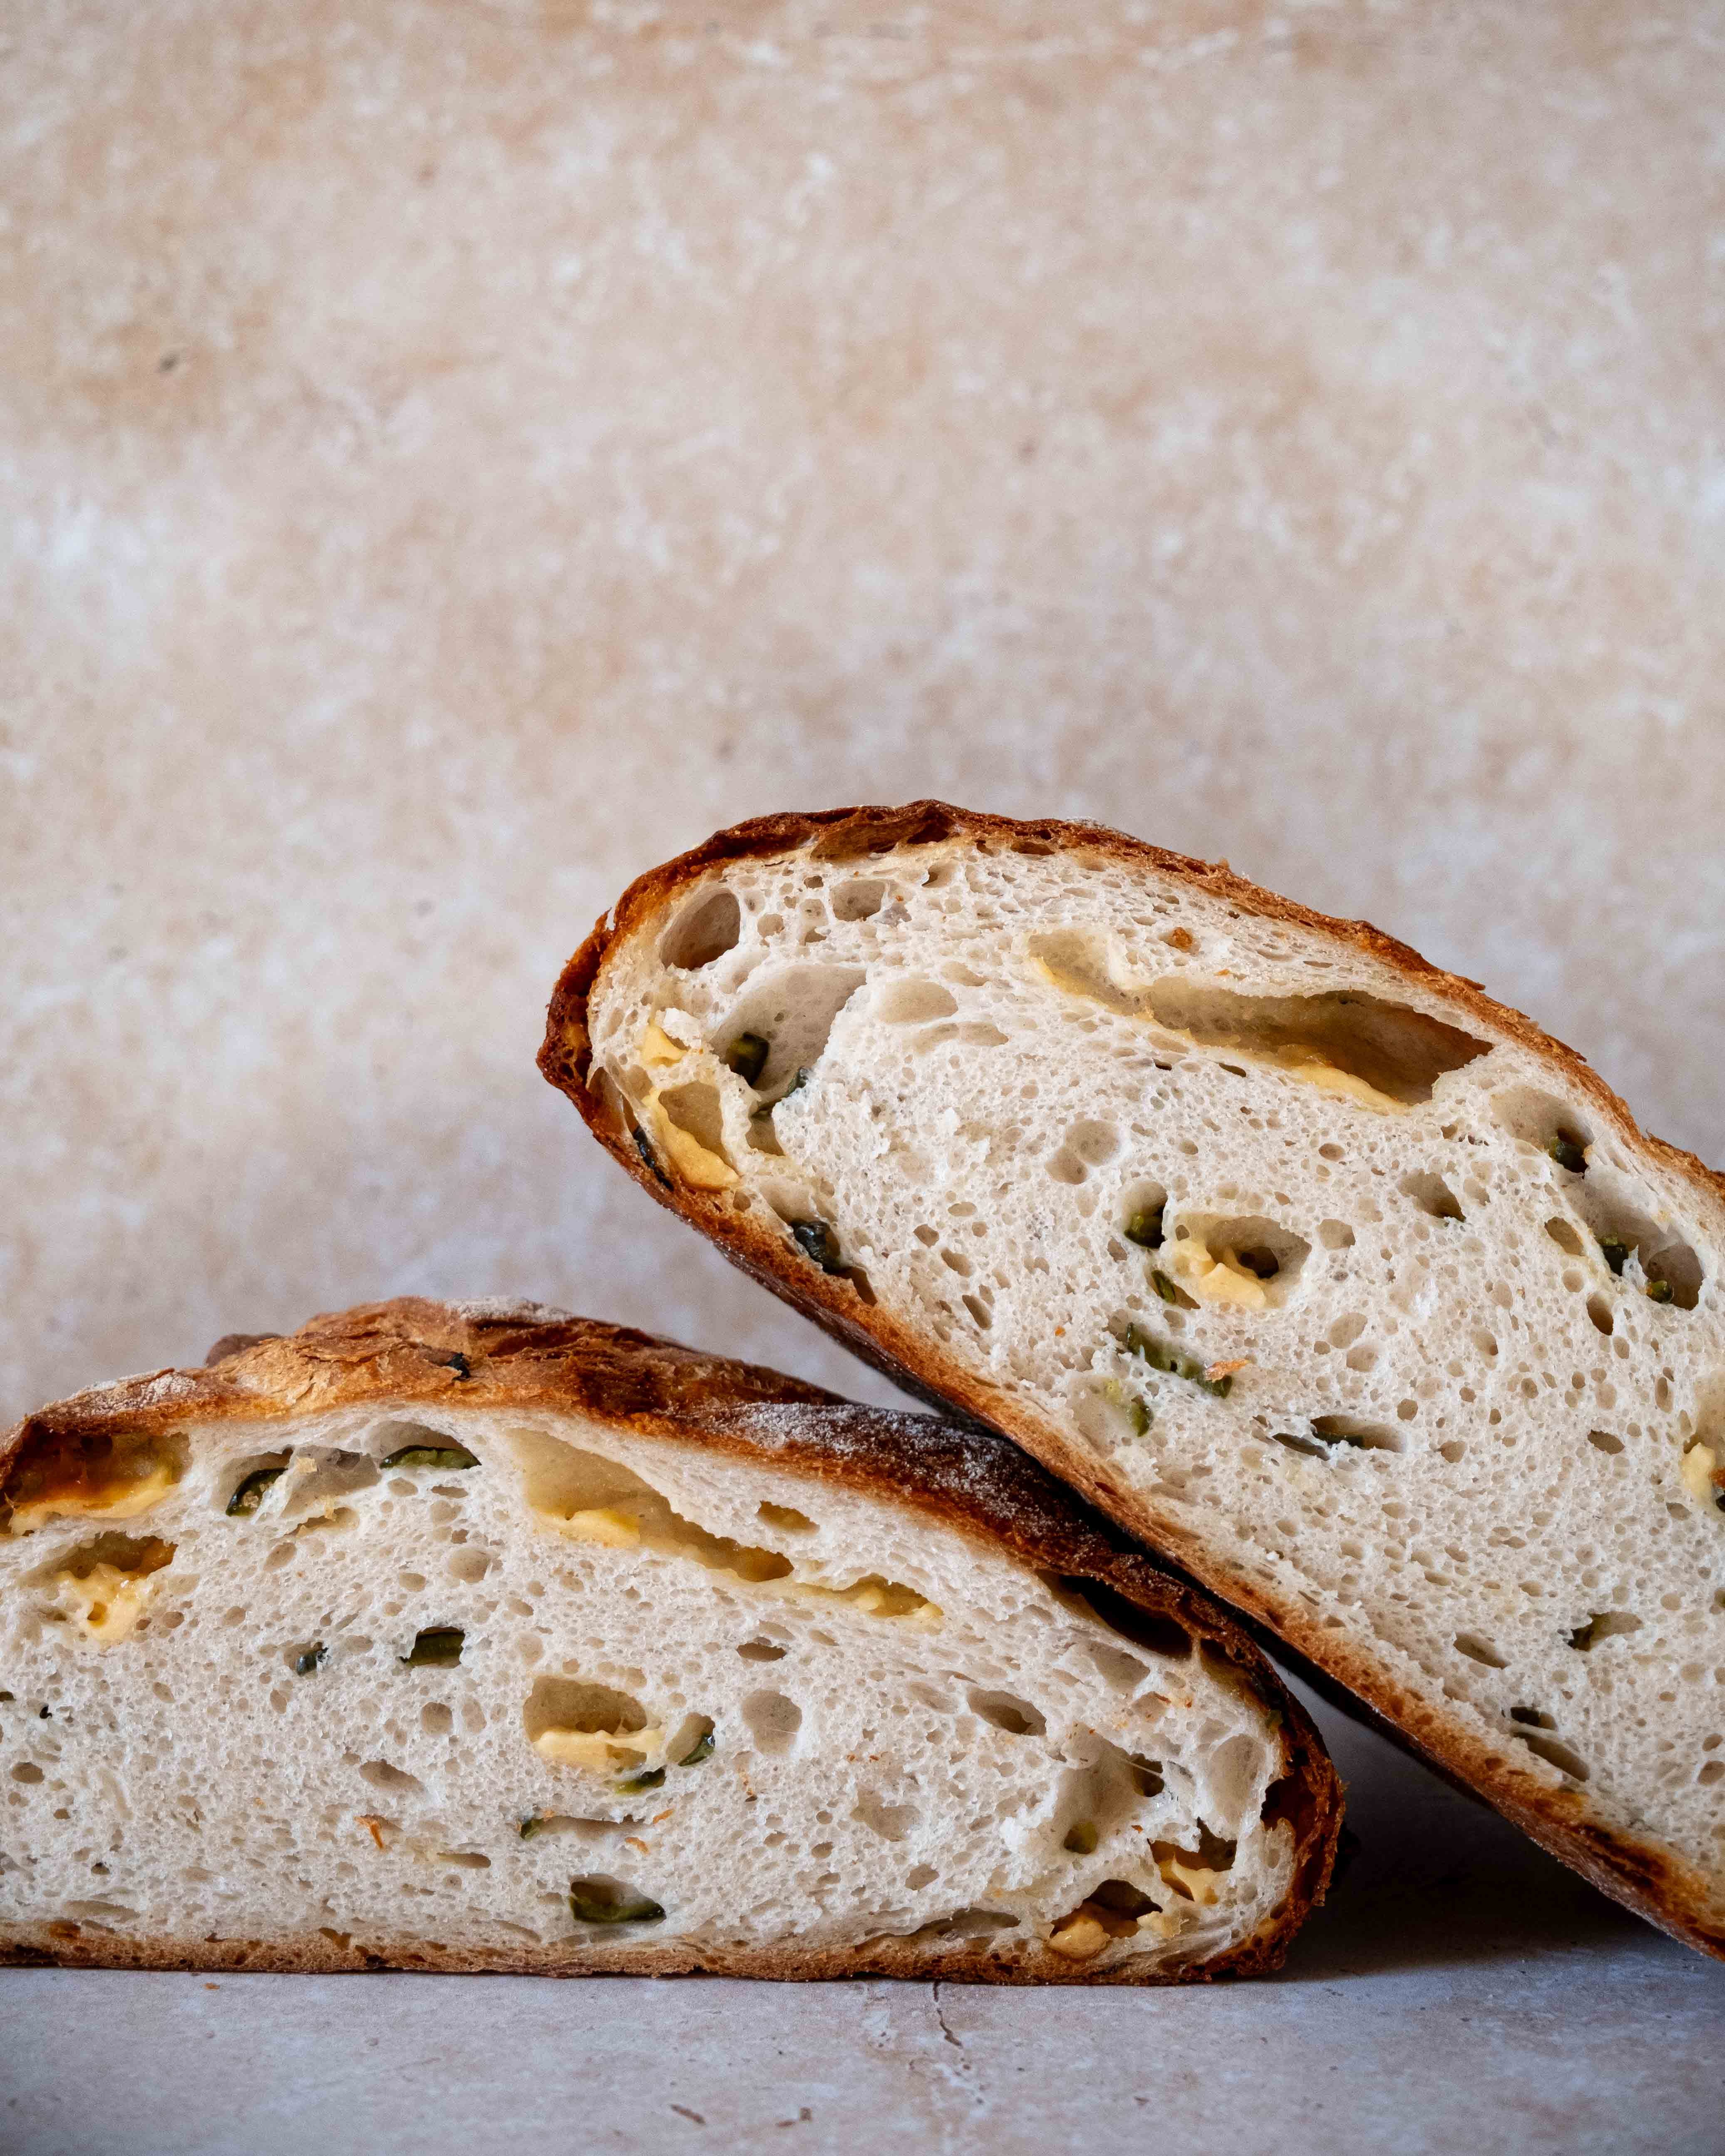
Cheddar & Jalapeno Loaf
Testing out a new stand mixer

This post is sponsored by Ooni
I have been living with my renovation-kitchen for almost six months now and the end is almost in sight! After close to six months of baking in my spare room and washing dishes in the bath, I should finally have an operational (if not quite finished) kitchen by this weekend! It has gotten to the point where I’ve actually started daydreaming about what I am going to cook and, more importantly, bake in the new space. One thing I have missed baking over this period is sourdough. With the tiny space I am using, and with most of my non-essential baking equipment in storage, it was something I just haven’t been able to do. At the start of this process I dried the starter. When the kitchen is done the first job will be rehydrate and revive the starter. This week I decided the itch to bake some bread needed scratching so I made something delicious but simple. And, because my starter is currently a jar of dried flakes, I decided to make a loaf using a different sort of preferment, a poolish.
A poolish is a type of preferment, a dough made before you make the main dough. This includes a variety of methods including Biga, Pooolish and Sponge. A sourdough starter is also a type of pre-ferment. In the case of a poolish it is made with equal parts flour and water mixed together with a tiny bit of yeast and then left for 12-14 hours until it has doubled in size. This dough adds flavour to the final dough but also helps with texture, making for stronger gluten development and loaves that rise higher and with a more open crumb.
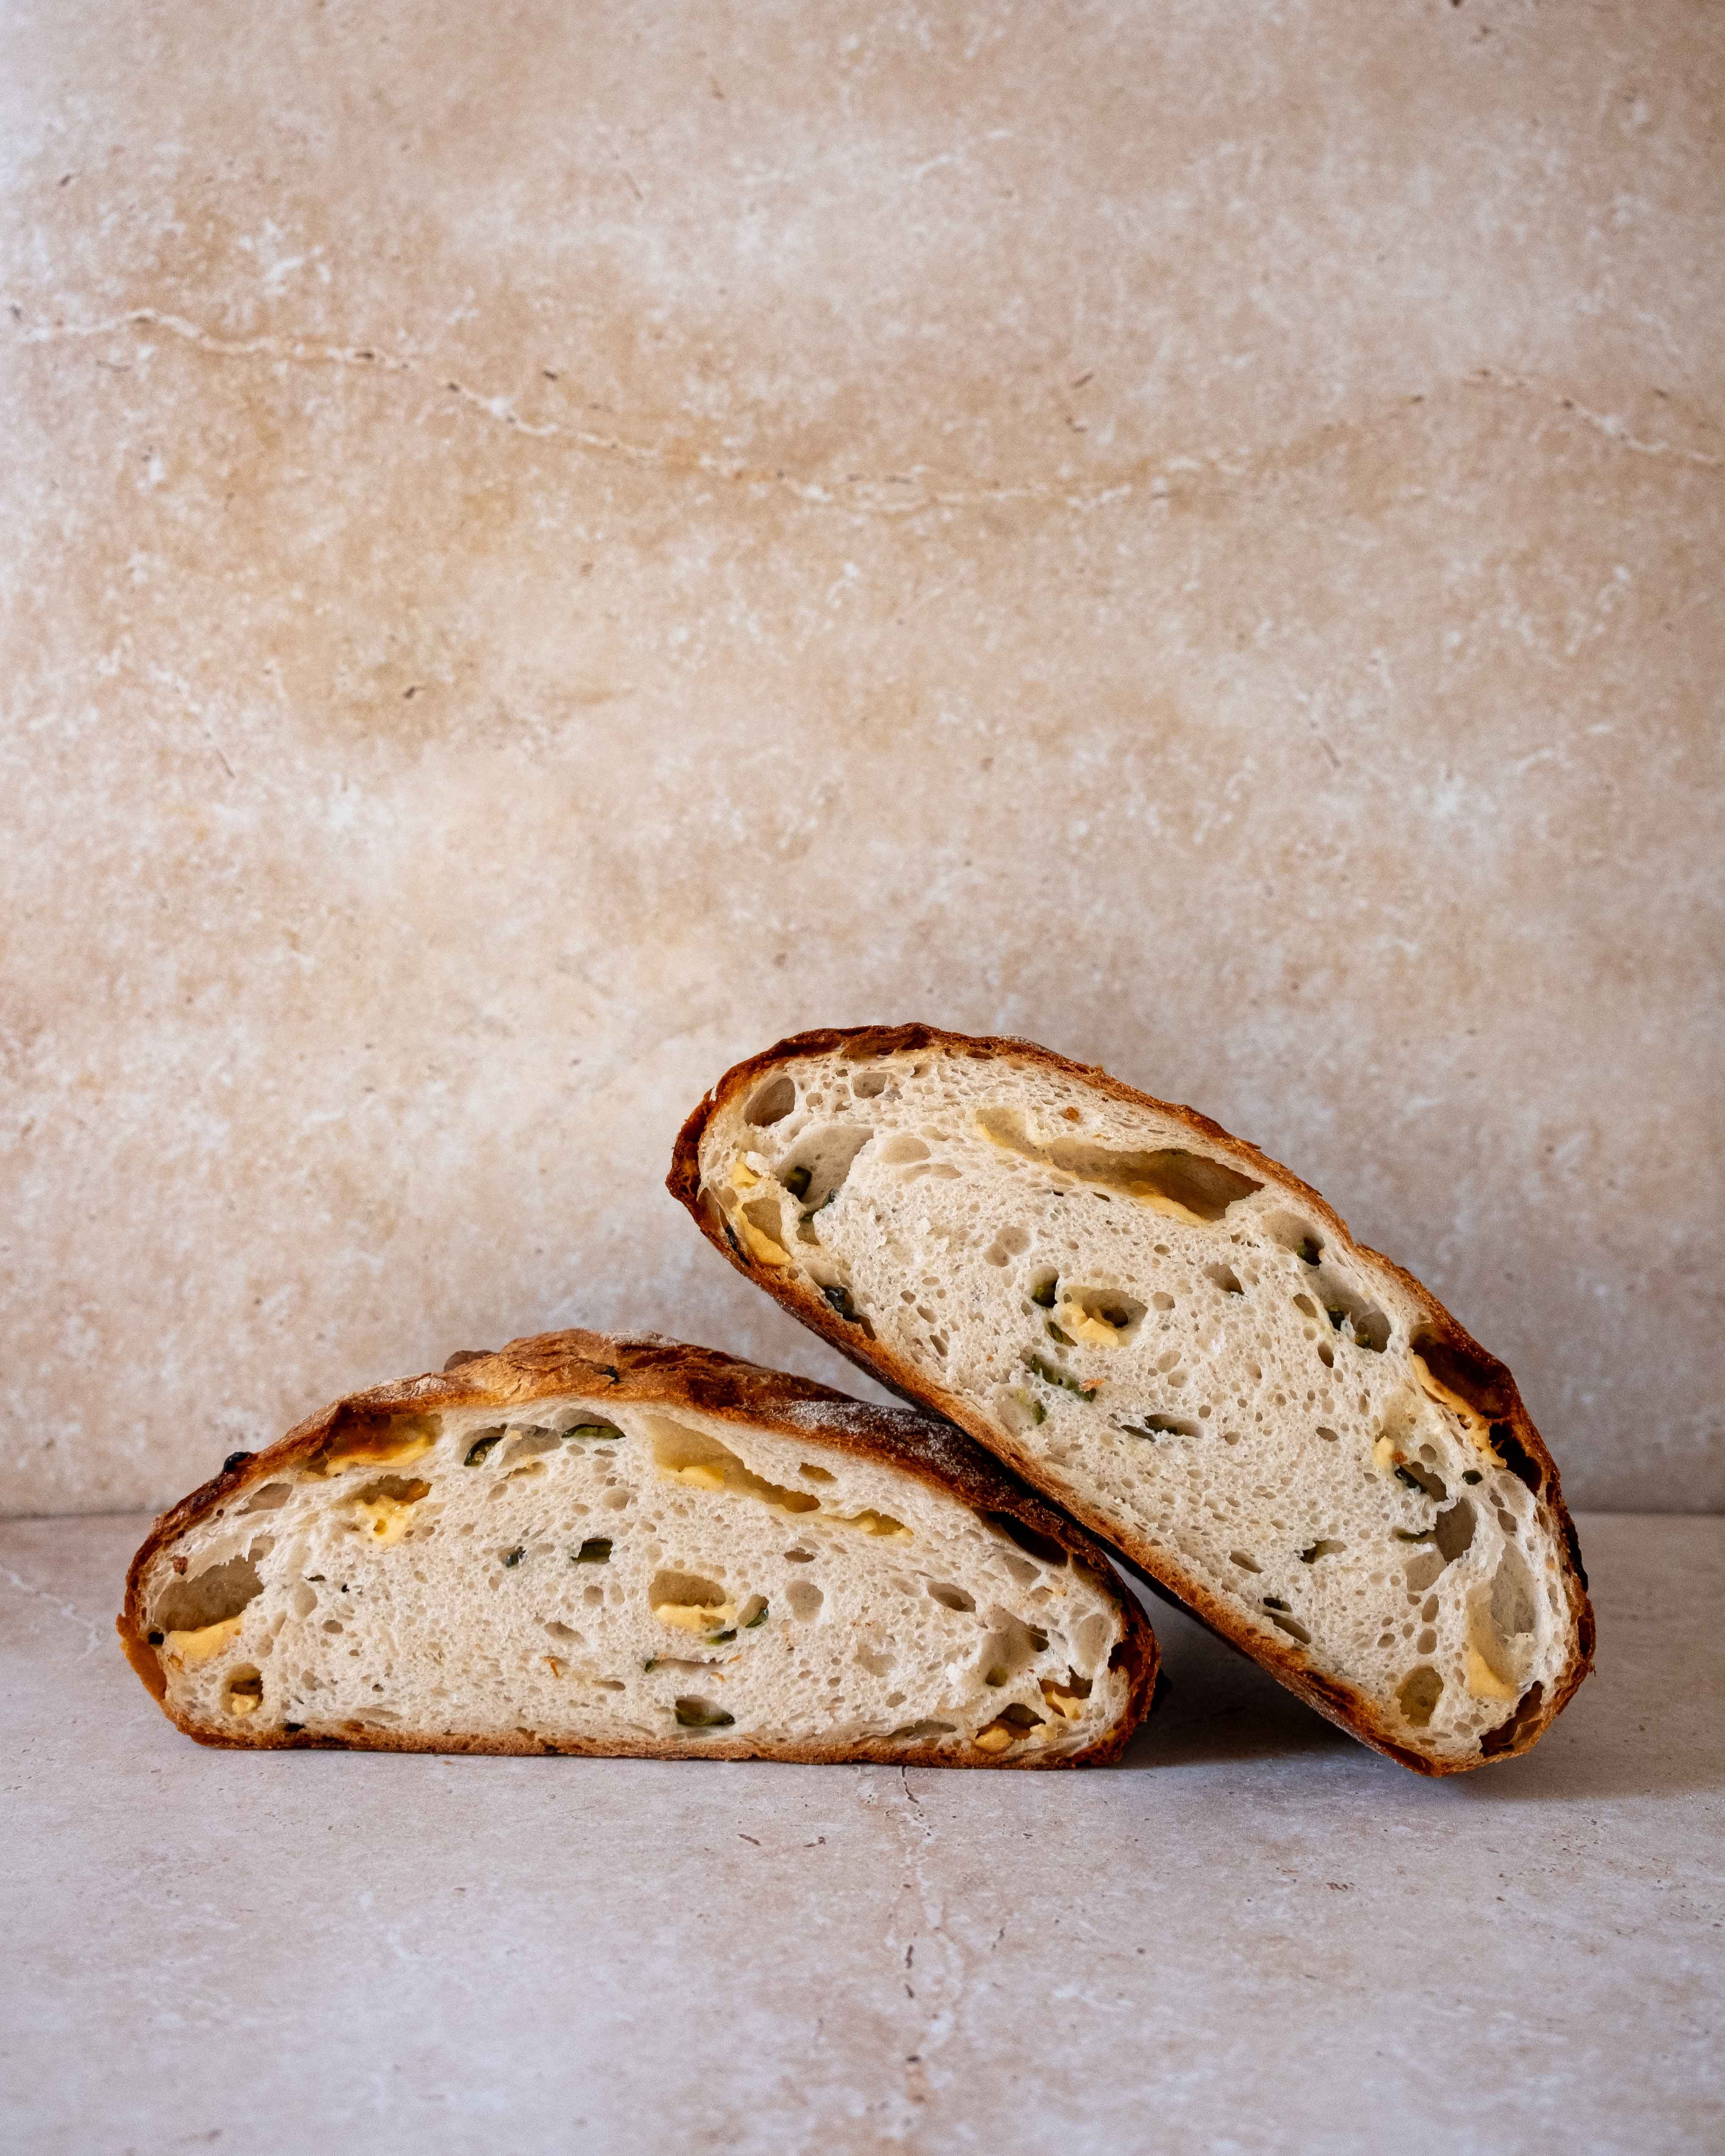
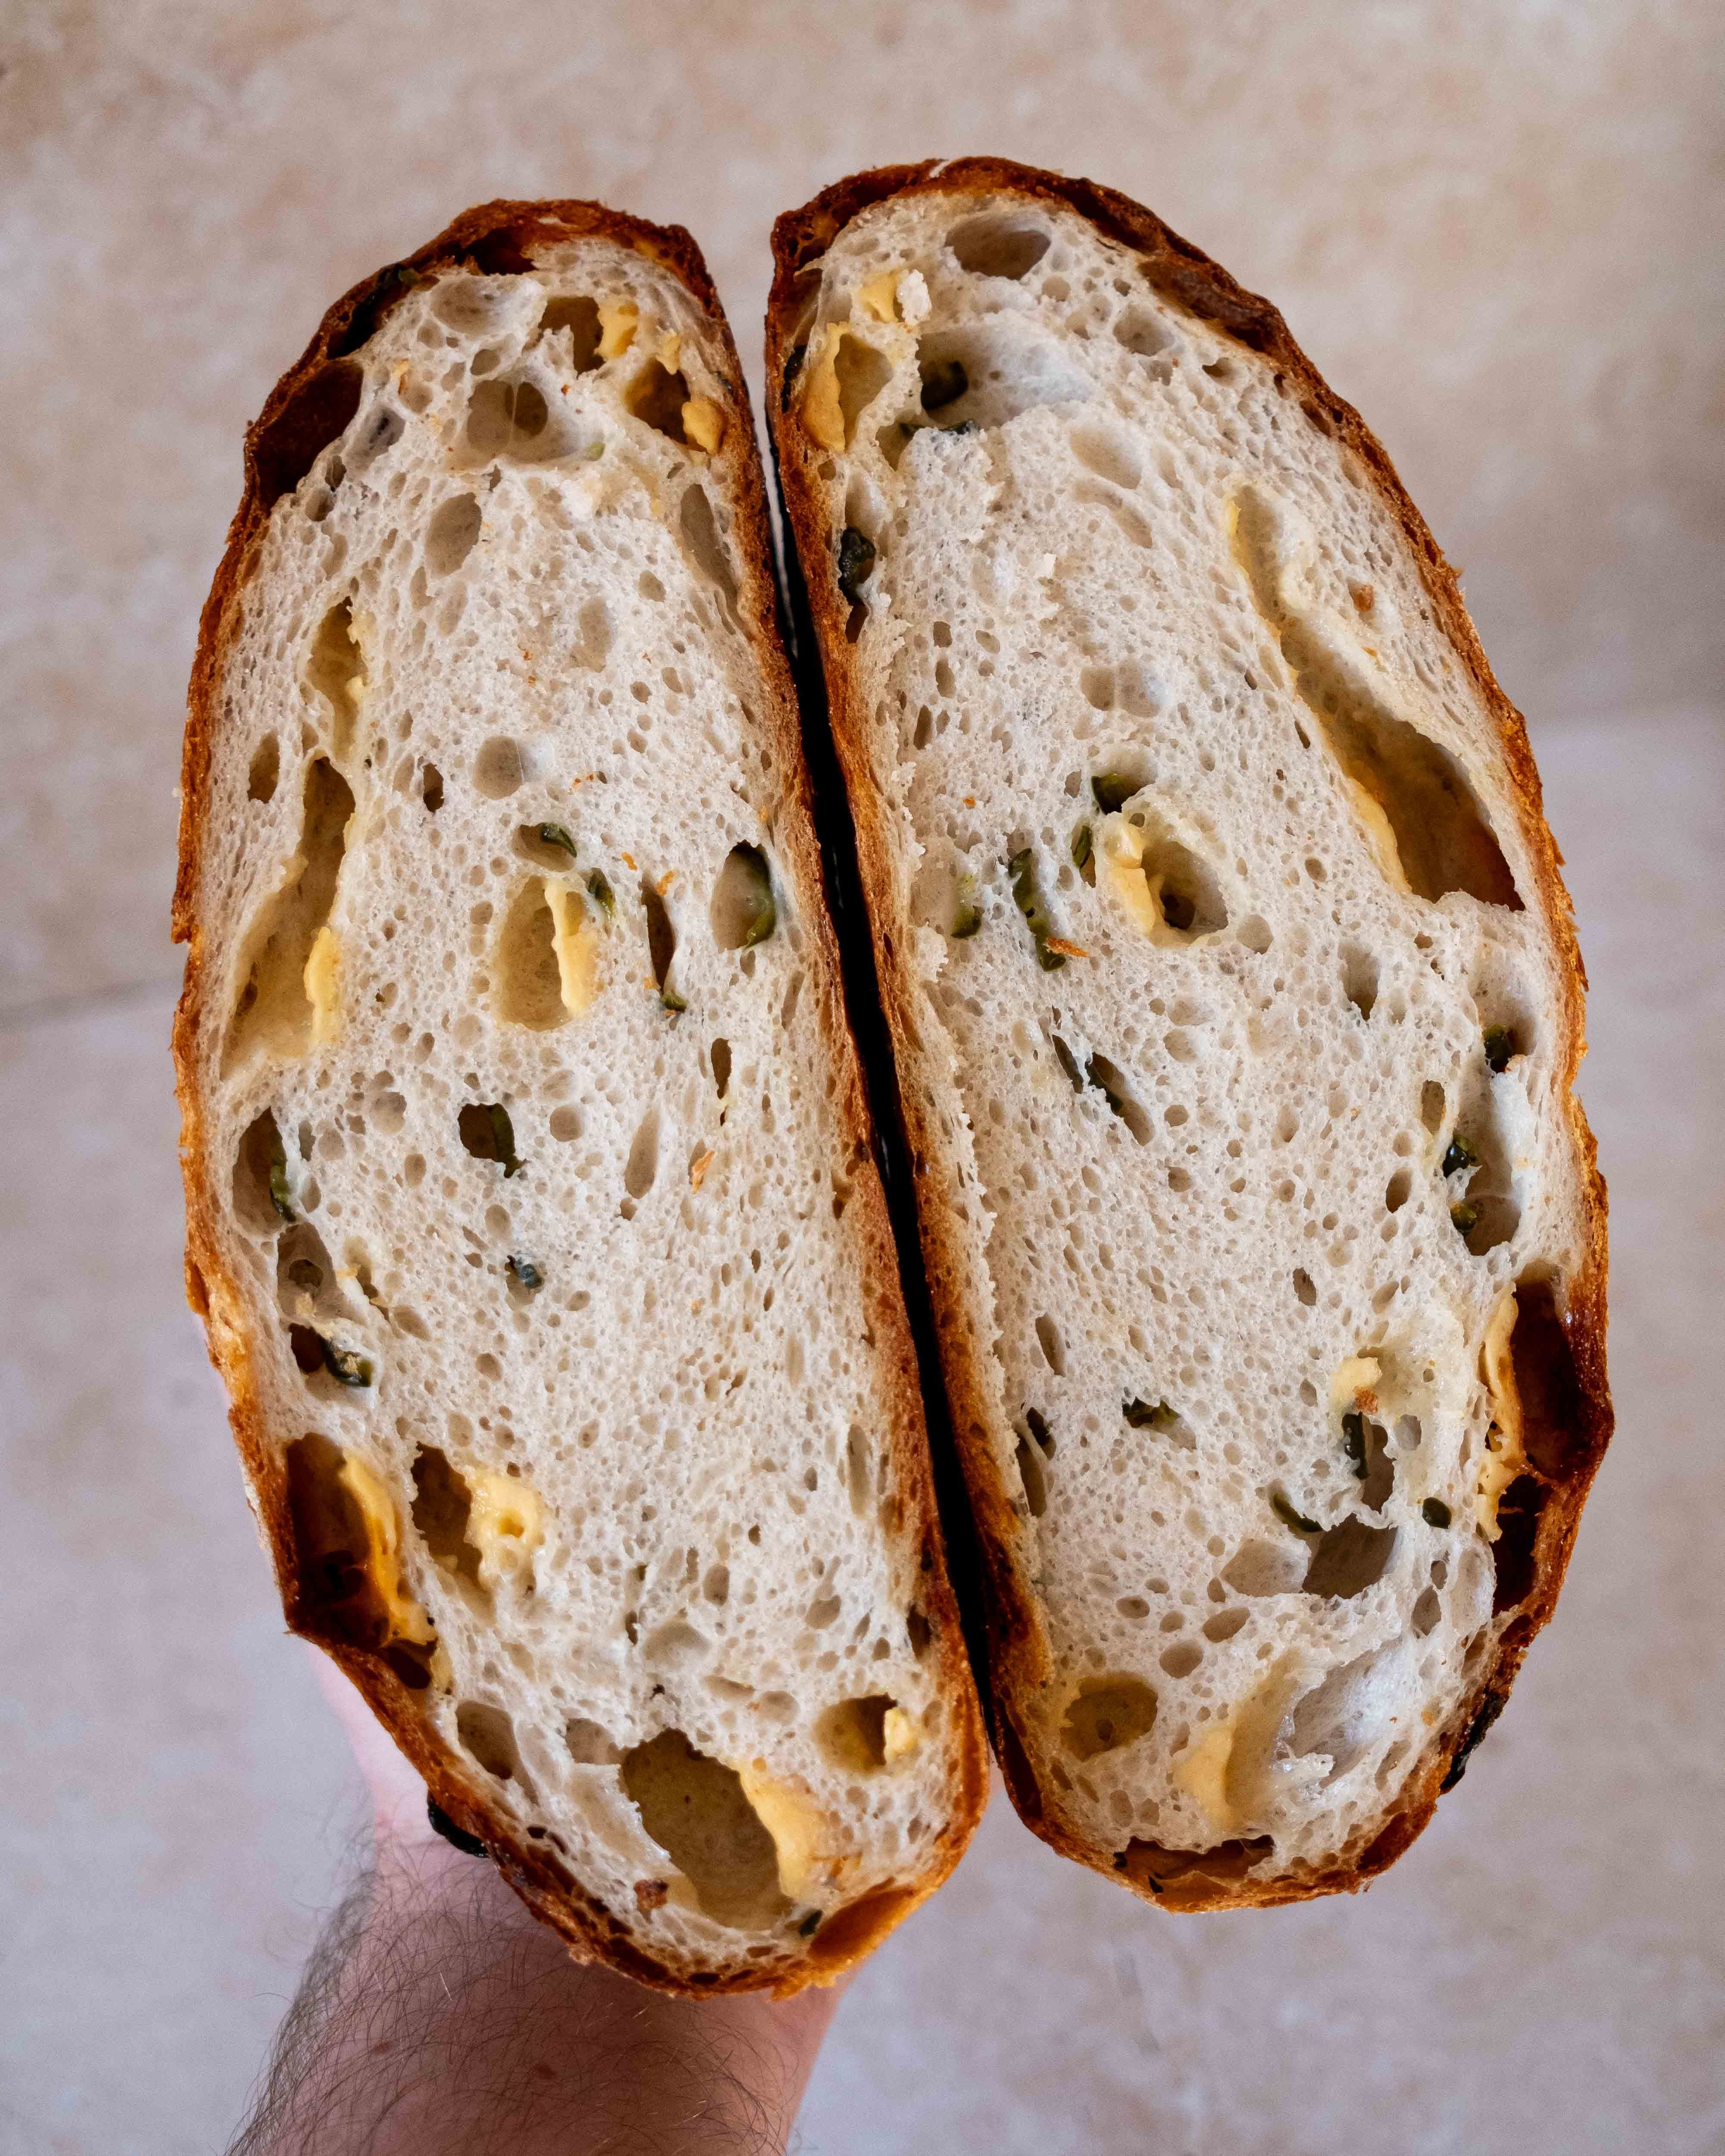
I was really craving something cheesy, so I made a loaf I have been meaning to make for the longest time; a cheddar and jalapeño loaf. The flavour of this bread is fantastic and I had to freeze the sliced bread to stop myself eating the whole thing in one sitting! Whilst it is fantastic sliced fresh it comes into its own when it’s toasted!
To make the loaf I used the brand new Ooni Halo Pro spiral mixer, a very exciting addition to the pizza oven company’s line up. Check out the mixer here.
Cheddar and Jalapeño Loaf
makes 1 large loaf
500g strong white bread flour
2.5g fast action dried yeast
350ml water
10g fine sea salt
50g jalapeños
150g mature cheddar
Poolish
12-14 hrs before you want to make the dough, start by preparing the poolish. Add 150g of the flour and 0.5g of the yeast to a large bowl and mix to combine. Pour in 150ml of the water, which should be at around 22ºC, and mix to form a thick batter. Cover this mixture and leave it at room temperature for about 12-14 hours. The poolish is ready to use when it has risen significantly, at least doubling in size. The surface of the dough should be slightly domed with a lot of bubbles showing on the surface.
Main Dough
Scrape the poolish into the bowl of your mixer; I am using my new Ooni Halo Pro spiral mixer, and add the remaining flour, yeast and 200ml of the water, which should be at around 26ºC. With the dough hook attached, mix together on low speed for a couple of minutes to bring everything together. Increase the speed to medium and knead for about 8 minutes or until nice and strong, smooth and elastic. As the dough is kneading, slice your jalapeños (removing the seeds if you wish) and dice the cheese. Mix the remaining 50ml of water and the salt together, stirring until the salt is dissolved. Once the dough is nice and strong pour in the saltwater mixture and continue mixing until the dough is smooth. Finally, add in the cheese and jalapeños and mix briefly until evenly distributed.
Ooni Halo Pro Spiral Stand Mixer
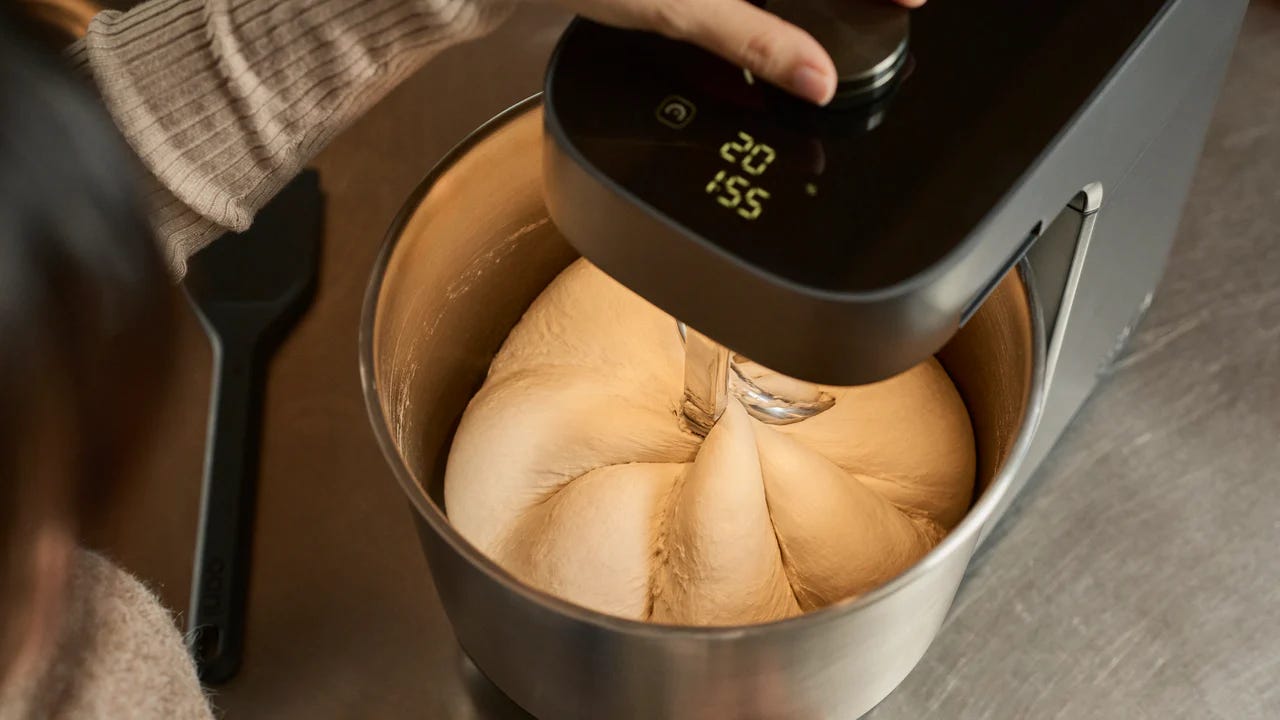
To make this dough I am using my new spiral mixer from Ooni. The difference between a spiral mixer and the stand mixers which you may have used in the past is that both the bowl and the attachment spin. This, combined with another feature called a ‘breaker bar’, means the dough kneads incredibly efficiently and with less friction, which keeps the dough from overheating. In testing out the mixer, I found that this was particularly helpful with high-hydration and enriched doughs.
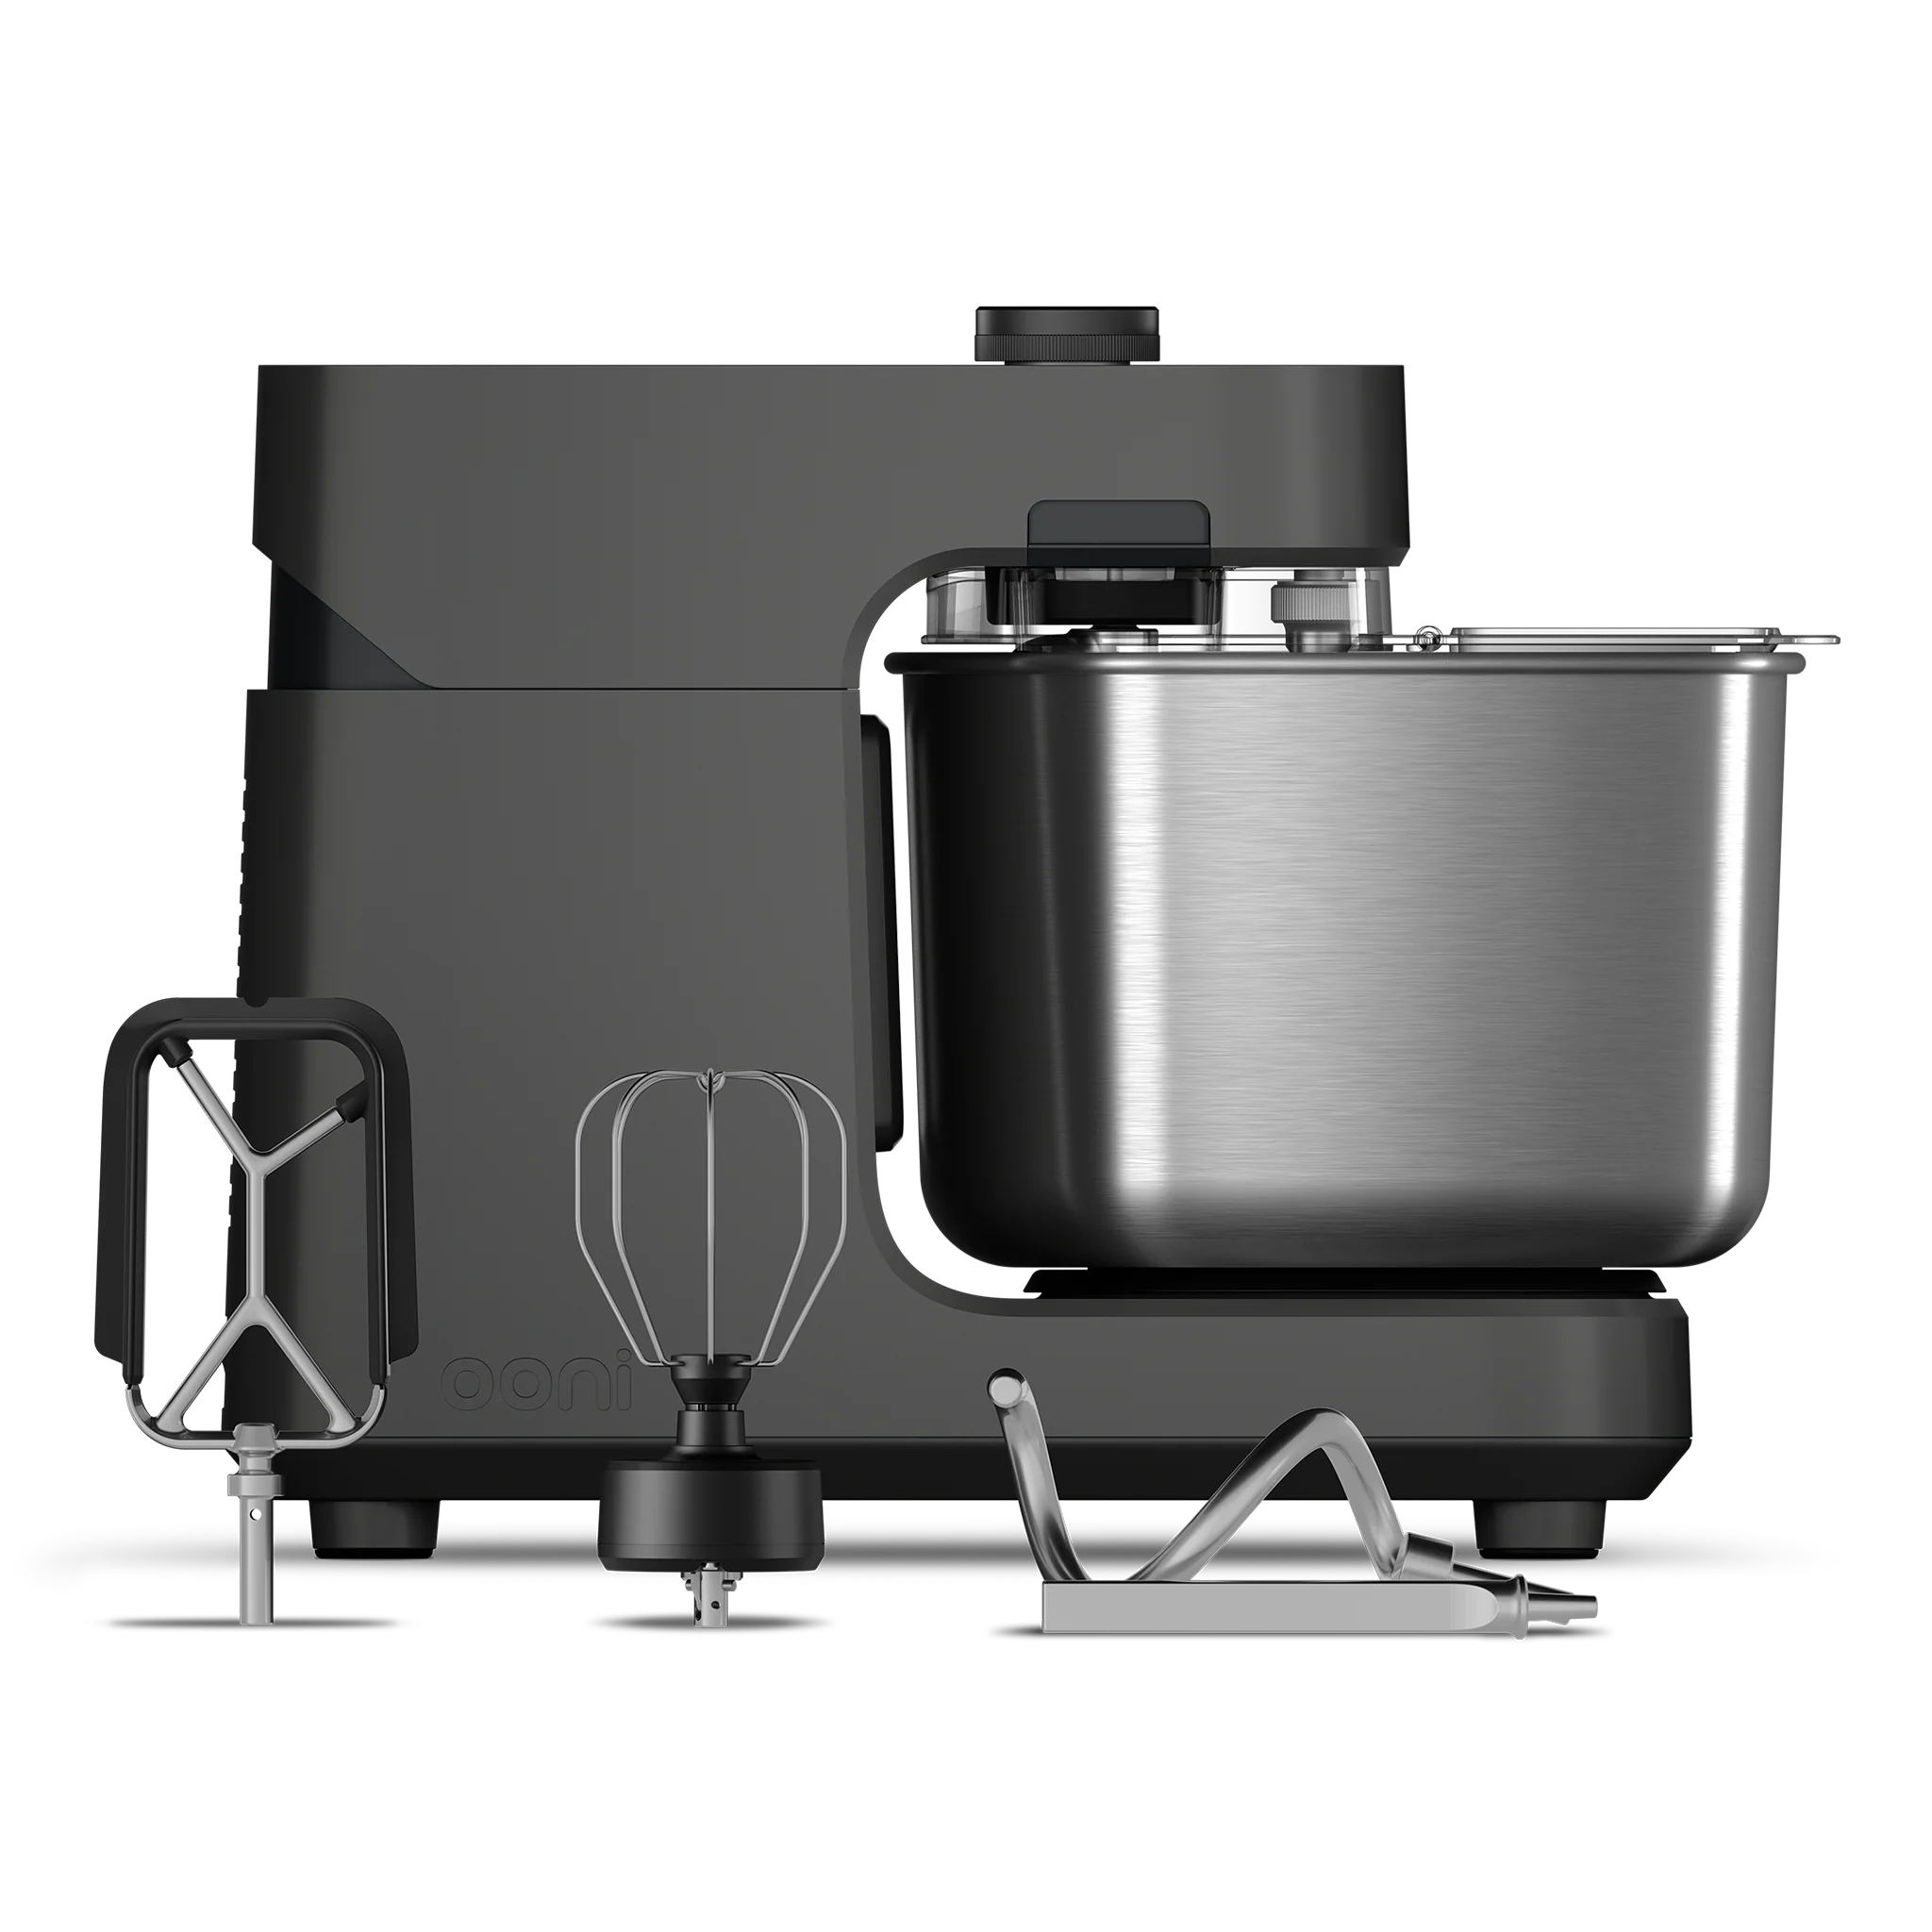
The mixer comes with the same 3 attachments found on most mixers – dough hook, beater and whisk – but it also has a removable breaker bar. This bar stops bread doughs from climbing up the hook, which prevents the dough from kneading efficiently. The mixer also includes a handy timer and a bowl cover with a neat little pour spout if you’re adding water to an existing dough, as I did in this recipe. The mixer also has a massive capacity; with a 7.3-litre capacity, in which you can mix up to 5kg of bread dough!
Shaping and Proofing
Remove the dough from the mixer and shape it into a ball. Place the dough, seam side down, into a lightly greased bowl. Cover and set aside for about 2-3 hours or until the dough has doubled in size.
Turn the dough out onto a lightly floured work surface and shape it into a ball. To do this, fold the sides into the middle of the dough and then flip this parcel, seam side down, onto the work surface. Use your hands or a dough scraper to pull the dough towards you, turning the dough and repeating this process until the surface of the dough feels taut. It is important to note that during this process you’re not trying to completely de-gas the dough, so be gentle. Lift the dough and place, seam side up, into a lightly floured proofing basket (1kg in size) or a large mixing bowl lined with a floured tea towel. Cover the dough and leave it for an hour or until the dough passes the poke test.
Poke Test
With a lightly floured finger, press about an inch into the dough and see how it springs back. If it springs back quickly and almost entirely the dough is underproofed and needs more time. If the indentation holds its shape the dough is likely overproofed. What you're aiming for is an indentation that springs back slowly and not all of the way.
Baking
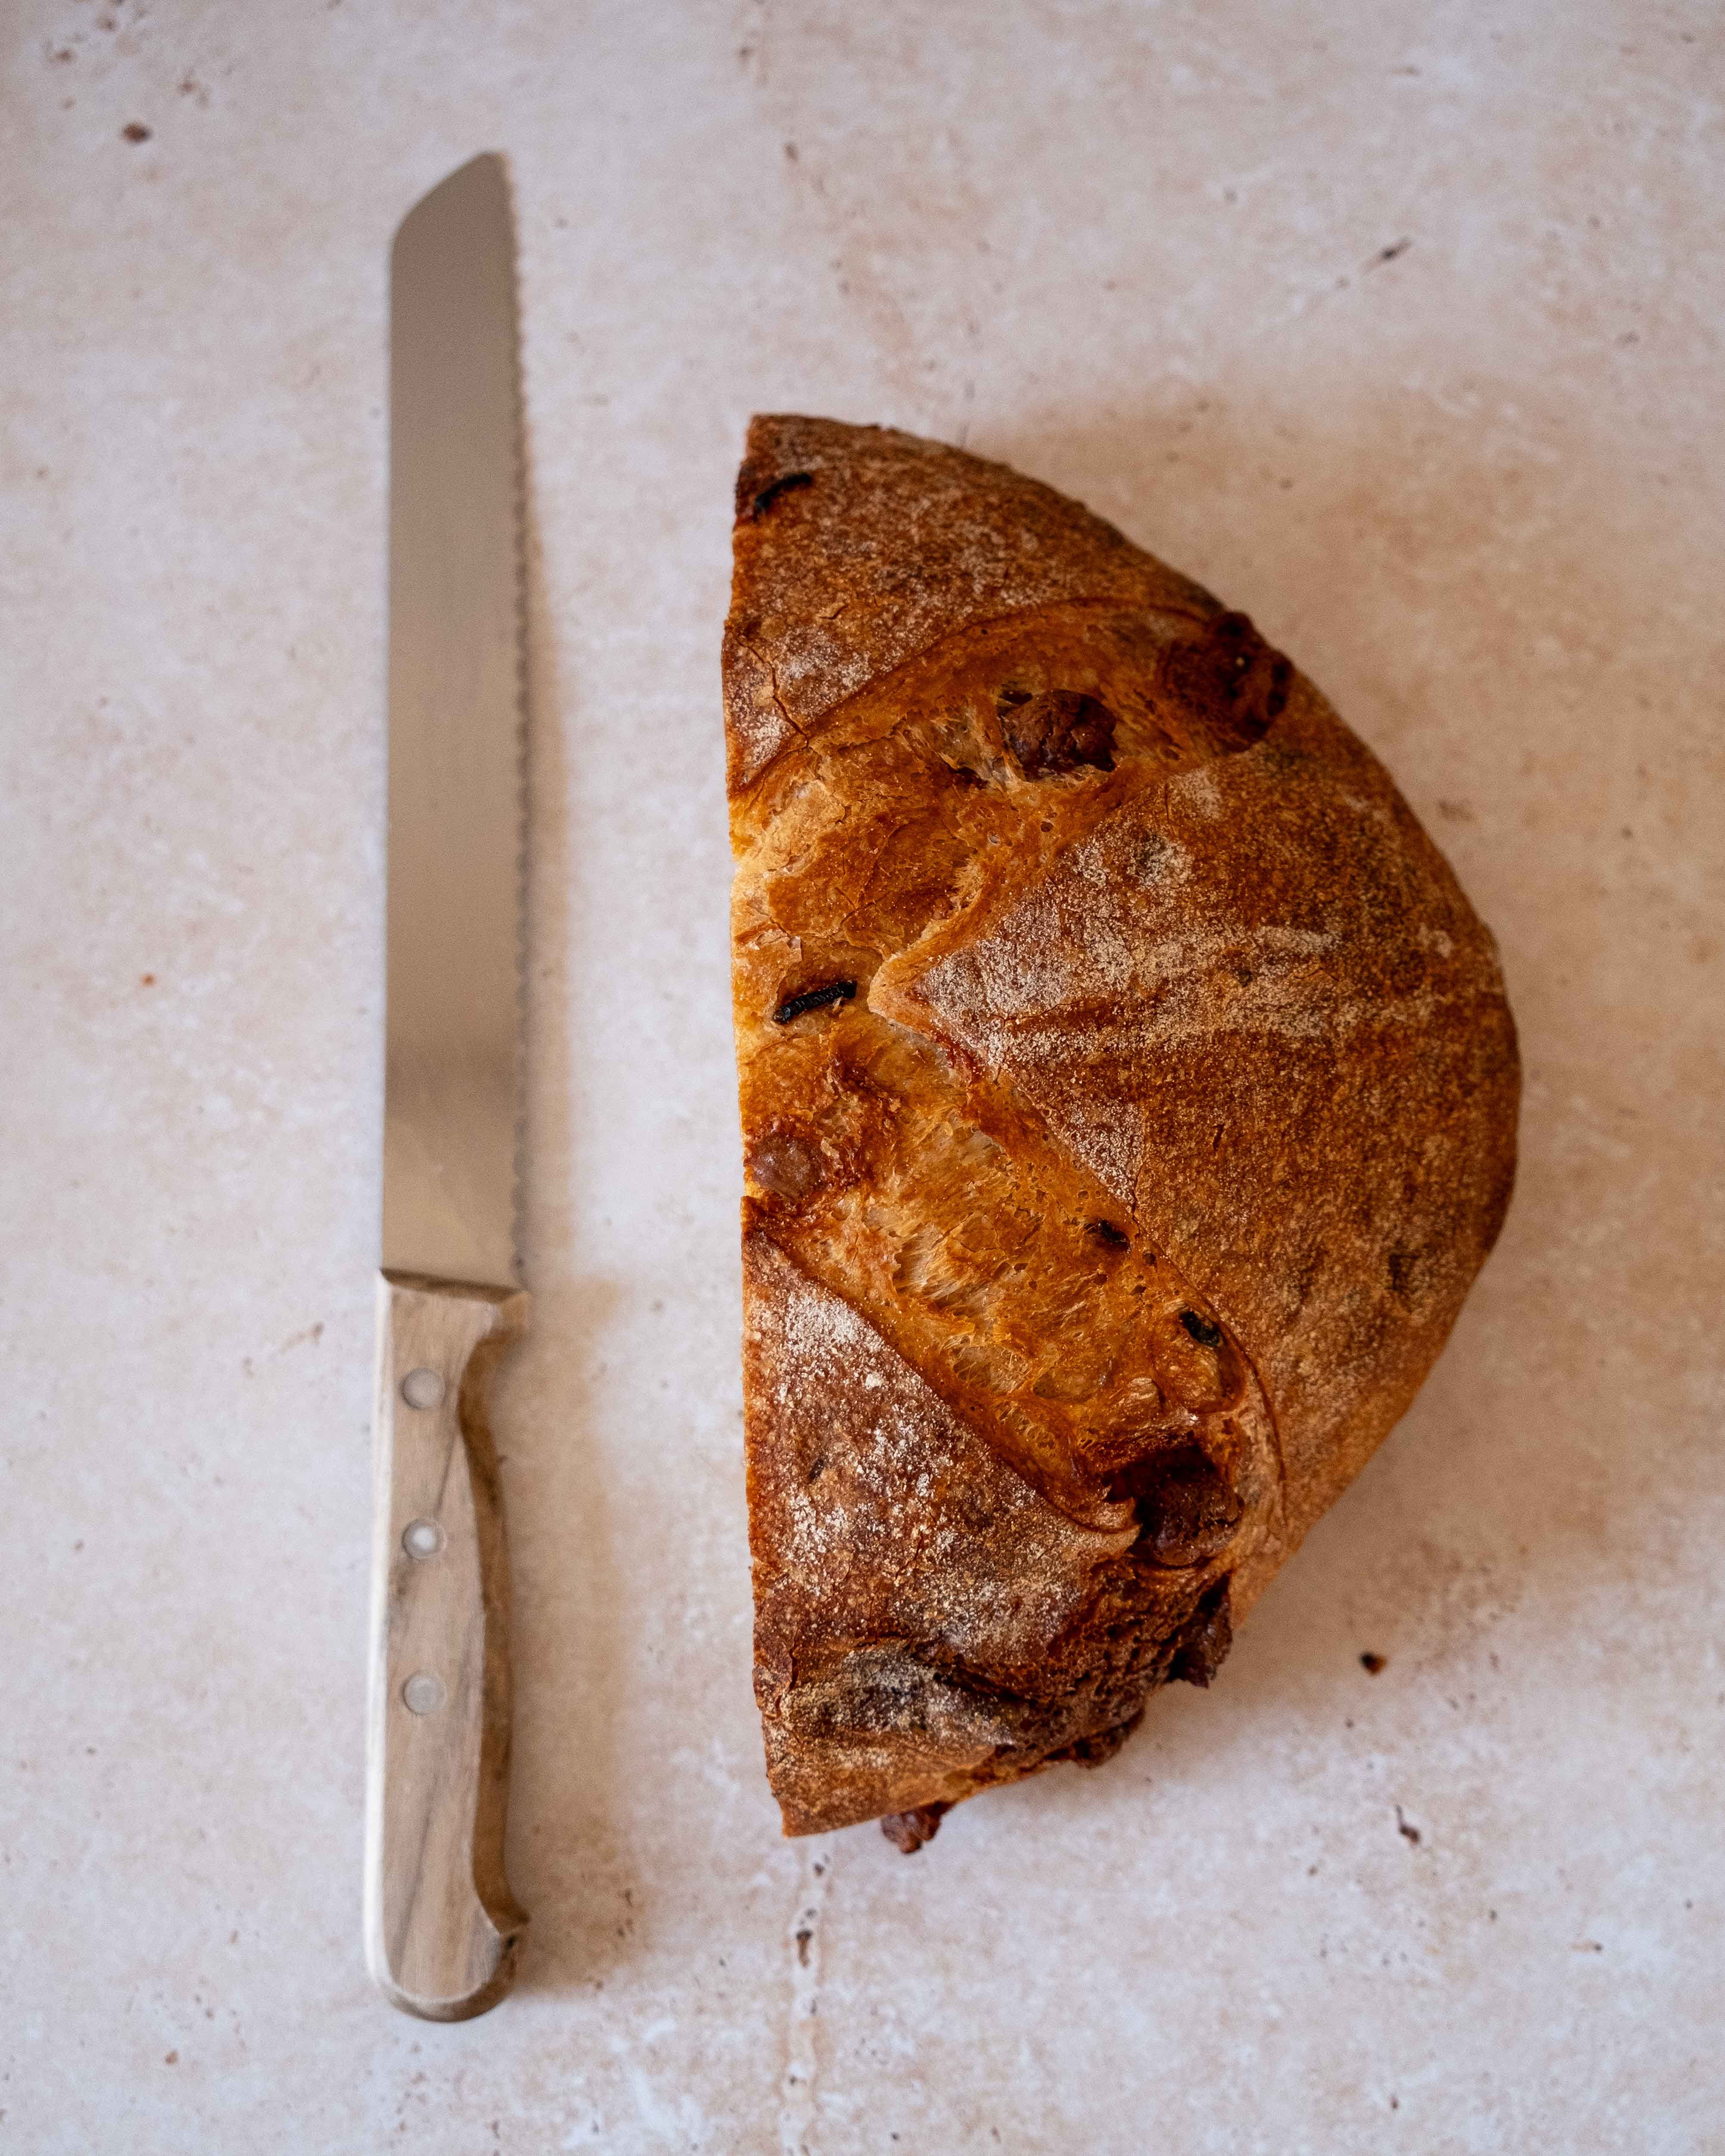
As the dough is doing its final proof, preheat the oven to 250ºC and place a large cast iron pot inside to heat up too. When the dough is ready, turn it out onto a piece of parchment paper and use a knife or razor blade to slash a cross on the surface of the dough. Remove the cast iron pot from the oven and carefully transfer the dough to the pot.
If the pot has room, drop in a couple of ice cubes to add steam; otherwise, you can give the dough a spritz with a spray bottle. Place the lid on the pot and transfer it back to the oven and bake for 25 minutes. When the timer is up, reduce the heat to 220ºC and remove the lid from the pot. Bake for a total of about 45 minutes, until the dough is deep golden brown. Remove the loaf and allow it to cool for an hour before cutting into it and enjoying it.
Yum! Thank you.
Do I really have to wait an hour to eat? I’ve managed about 10 minutes so far…