


🎉 Welcome to my newsletter, The Boy Who Bakes, a subscriber-supported newsletter, dedicated to all things baked. For more bonus posts, filled with exclusive recipes just like this one, you can become a paid subscriber for the weekly newsletter, Second Helpings. It costs just £5 a month and, as well as the weekly recipes, that also unlocks access to the full archive of past recipes. To subscribe, to either the paid or free newsletter, click the link below.🎉
Hello, happy Friday!
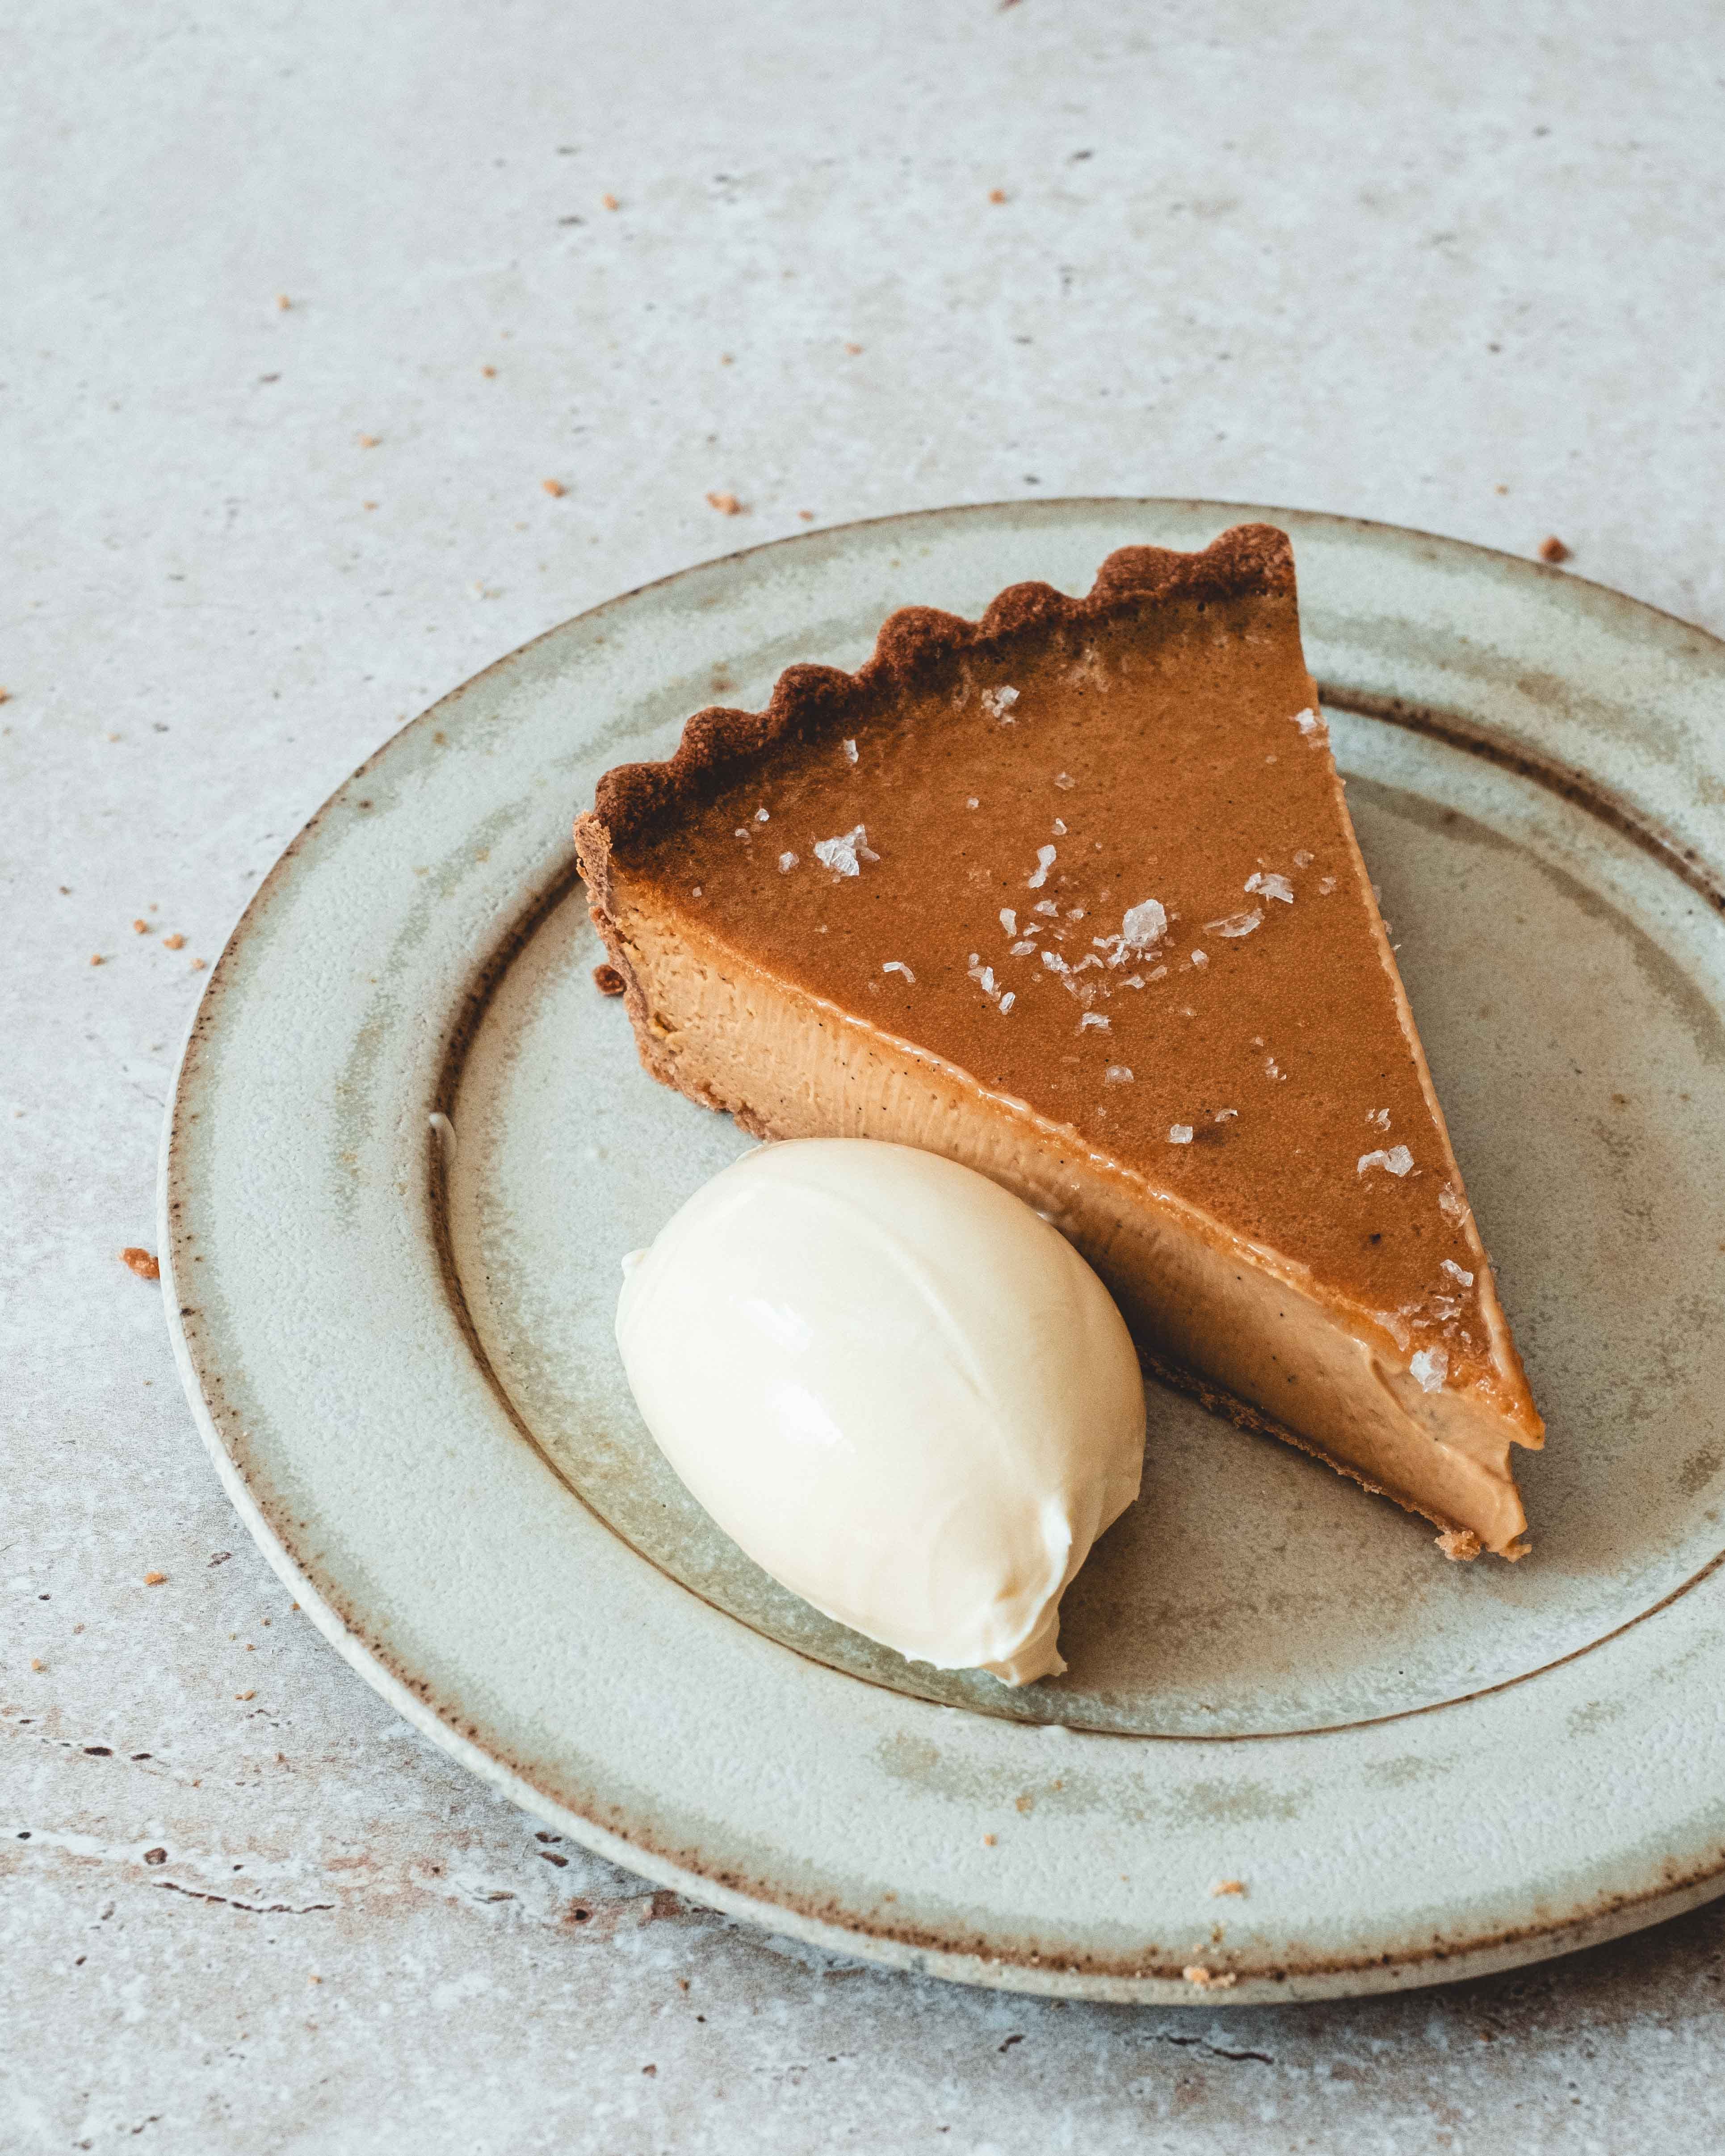
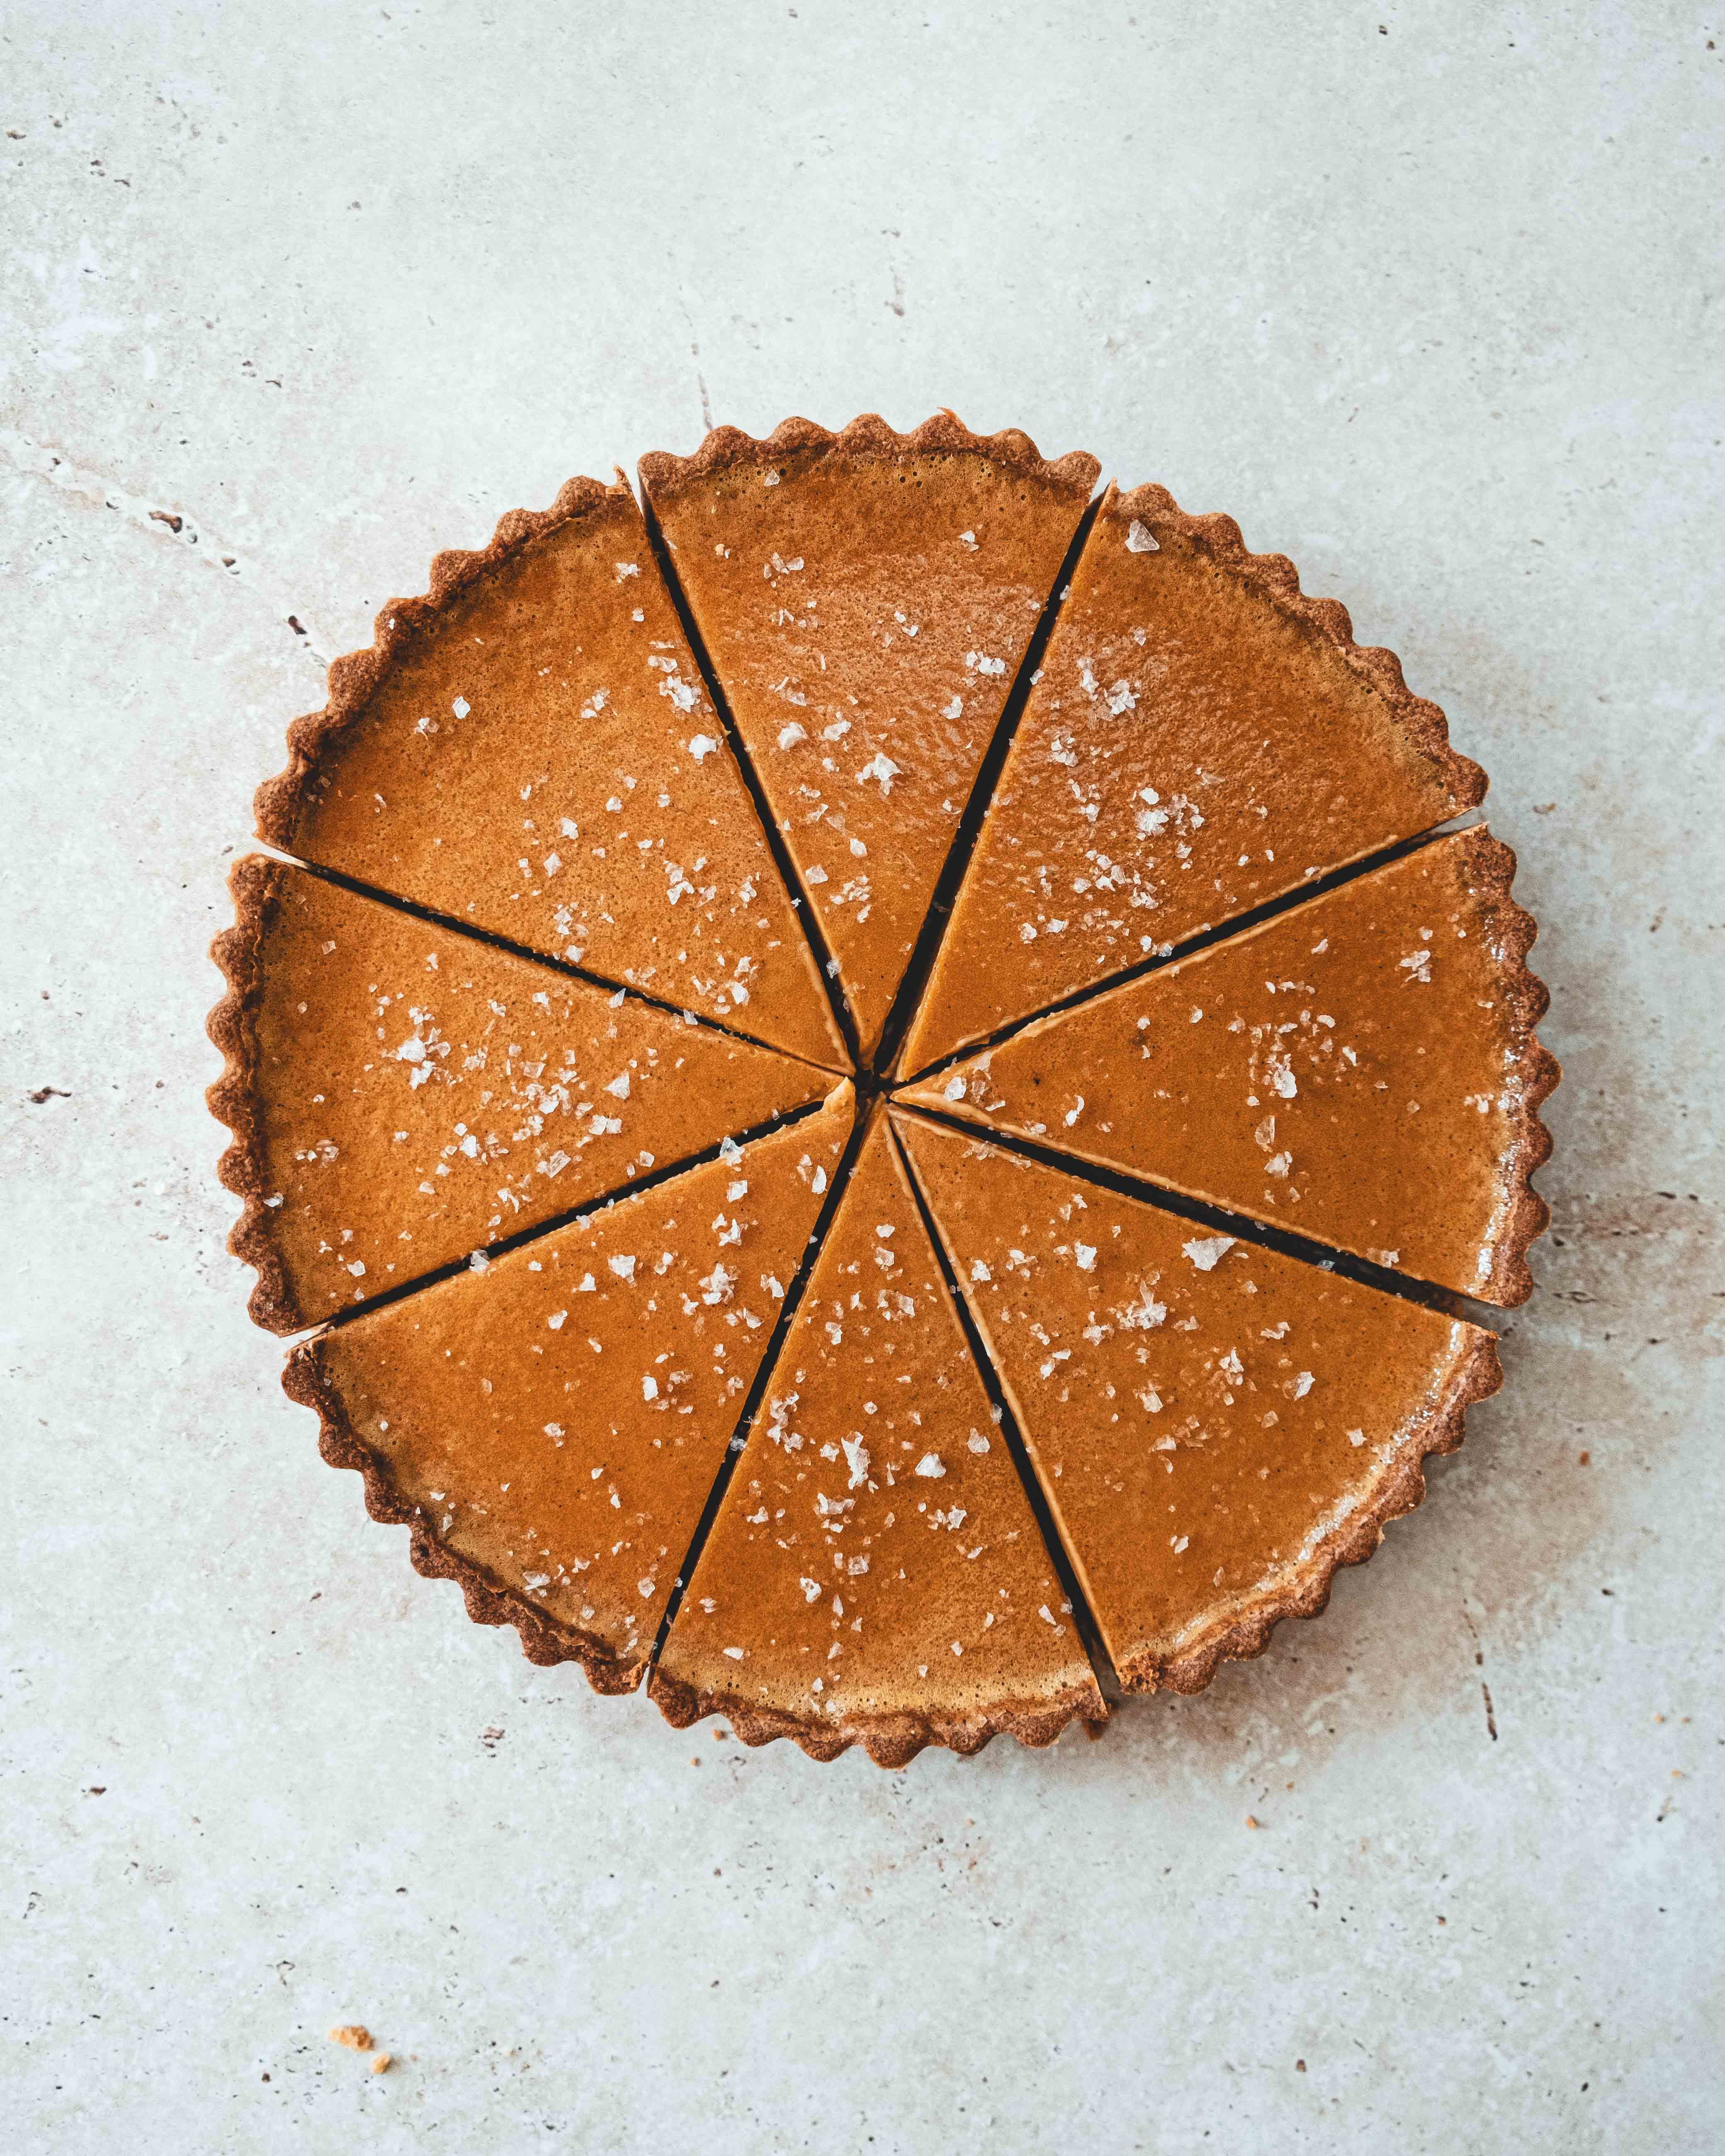
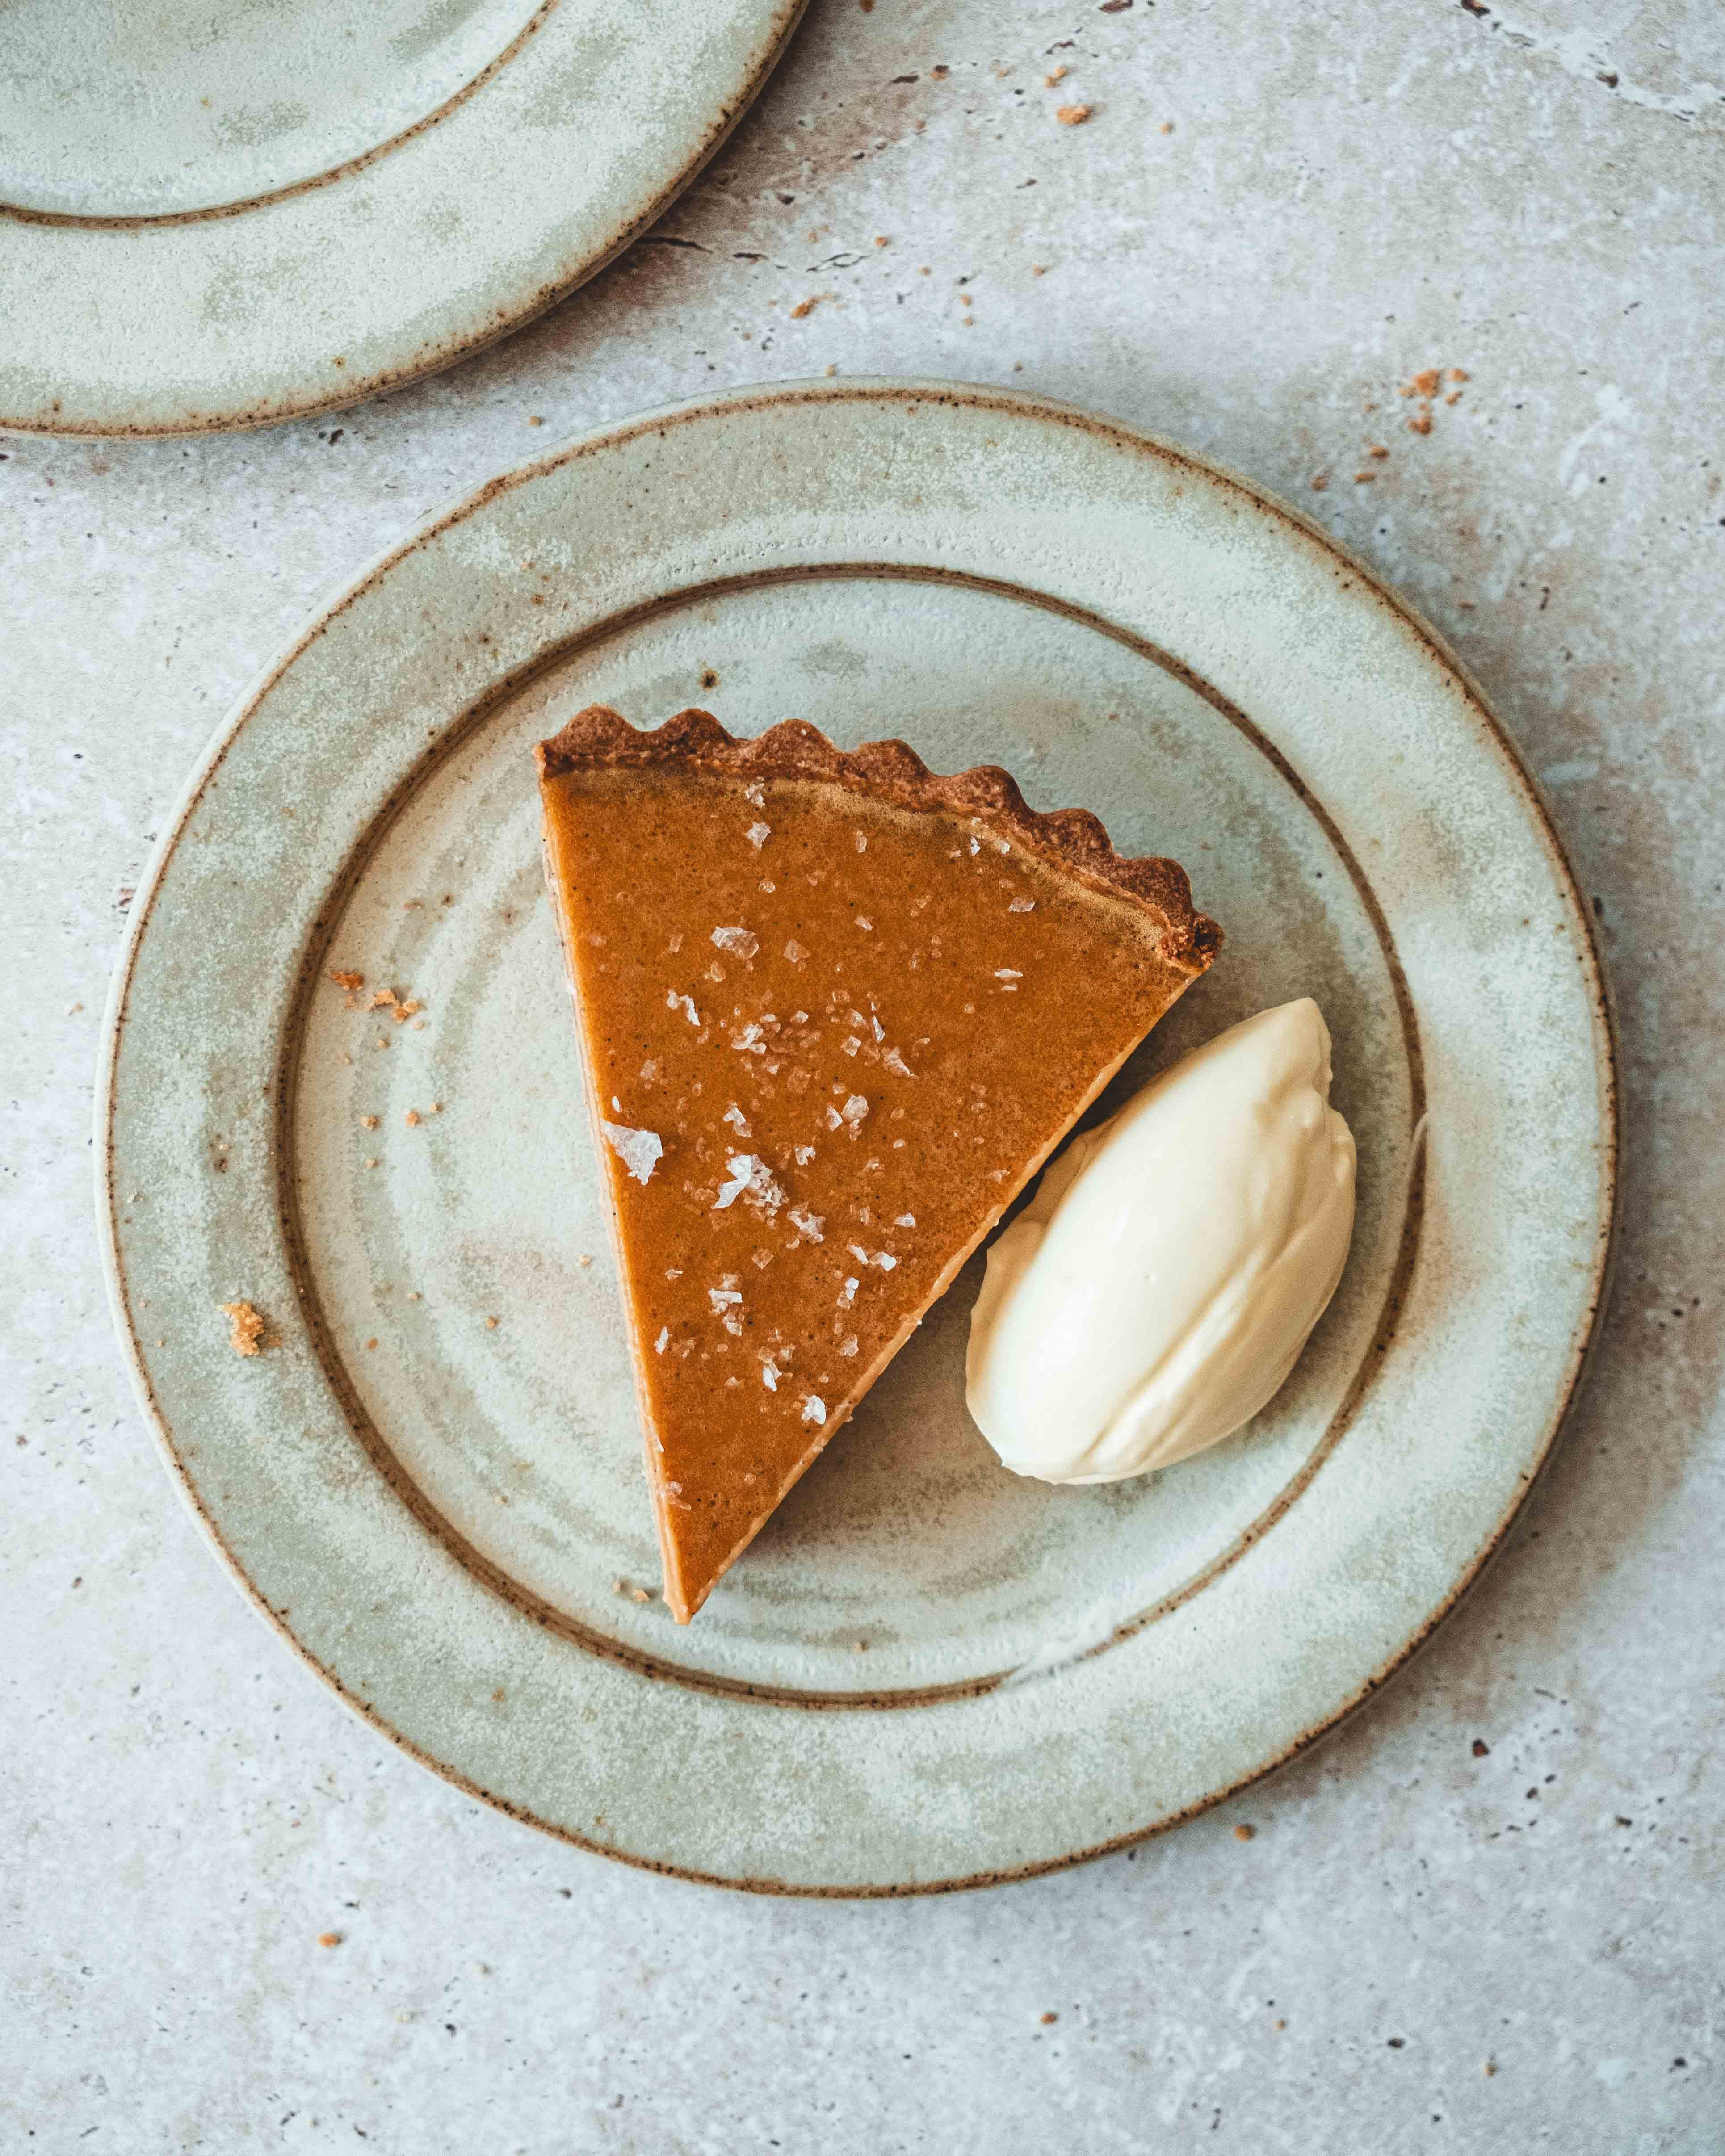
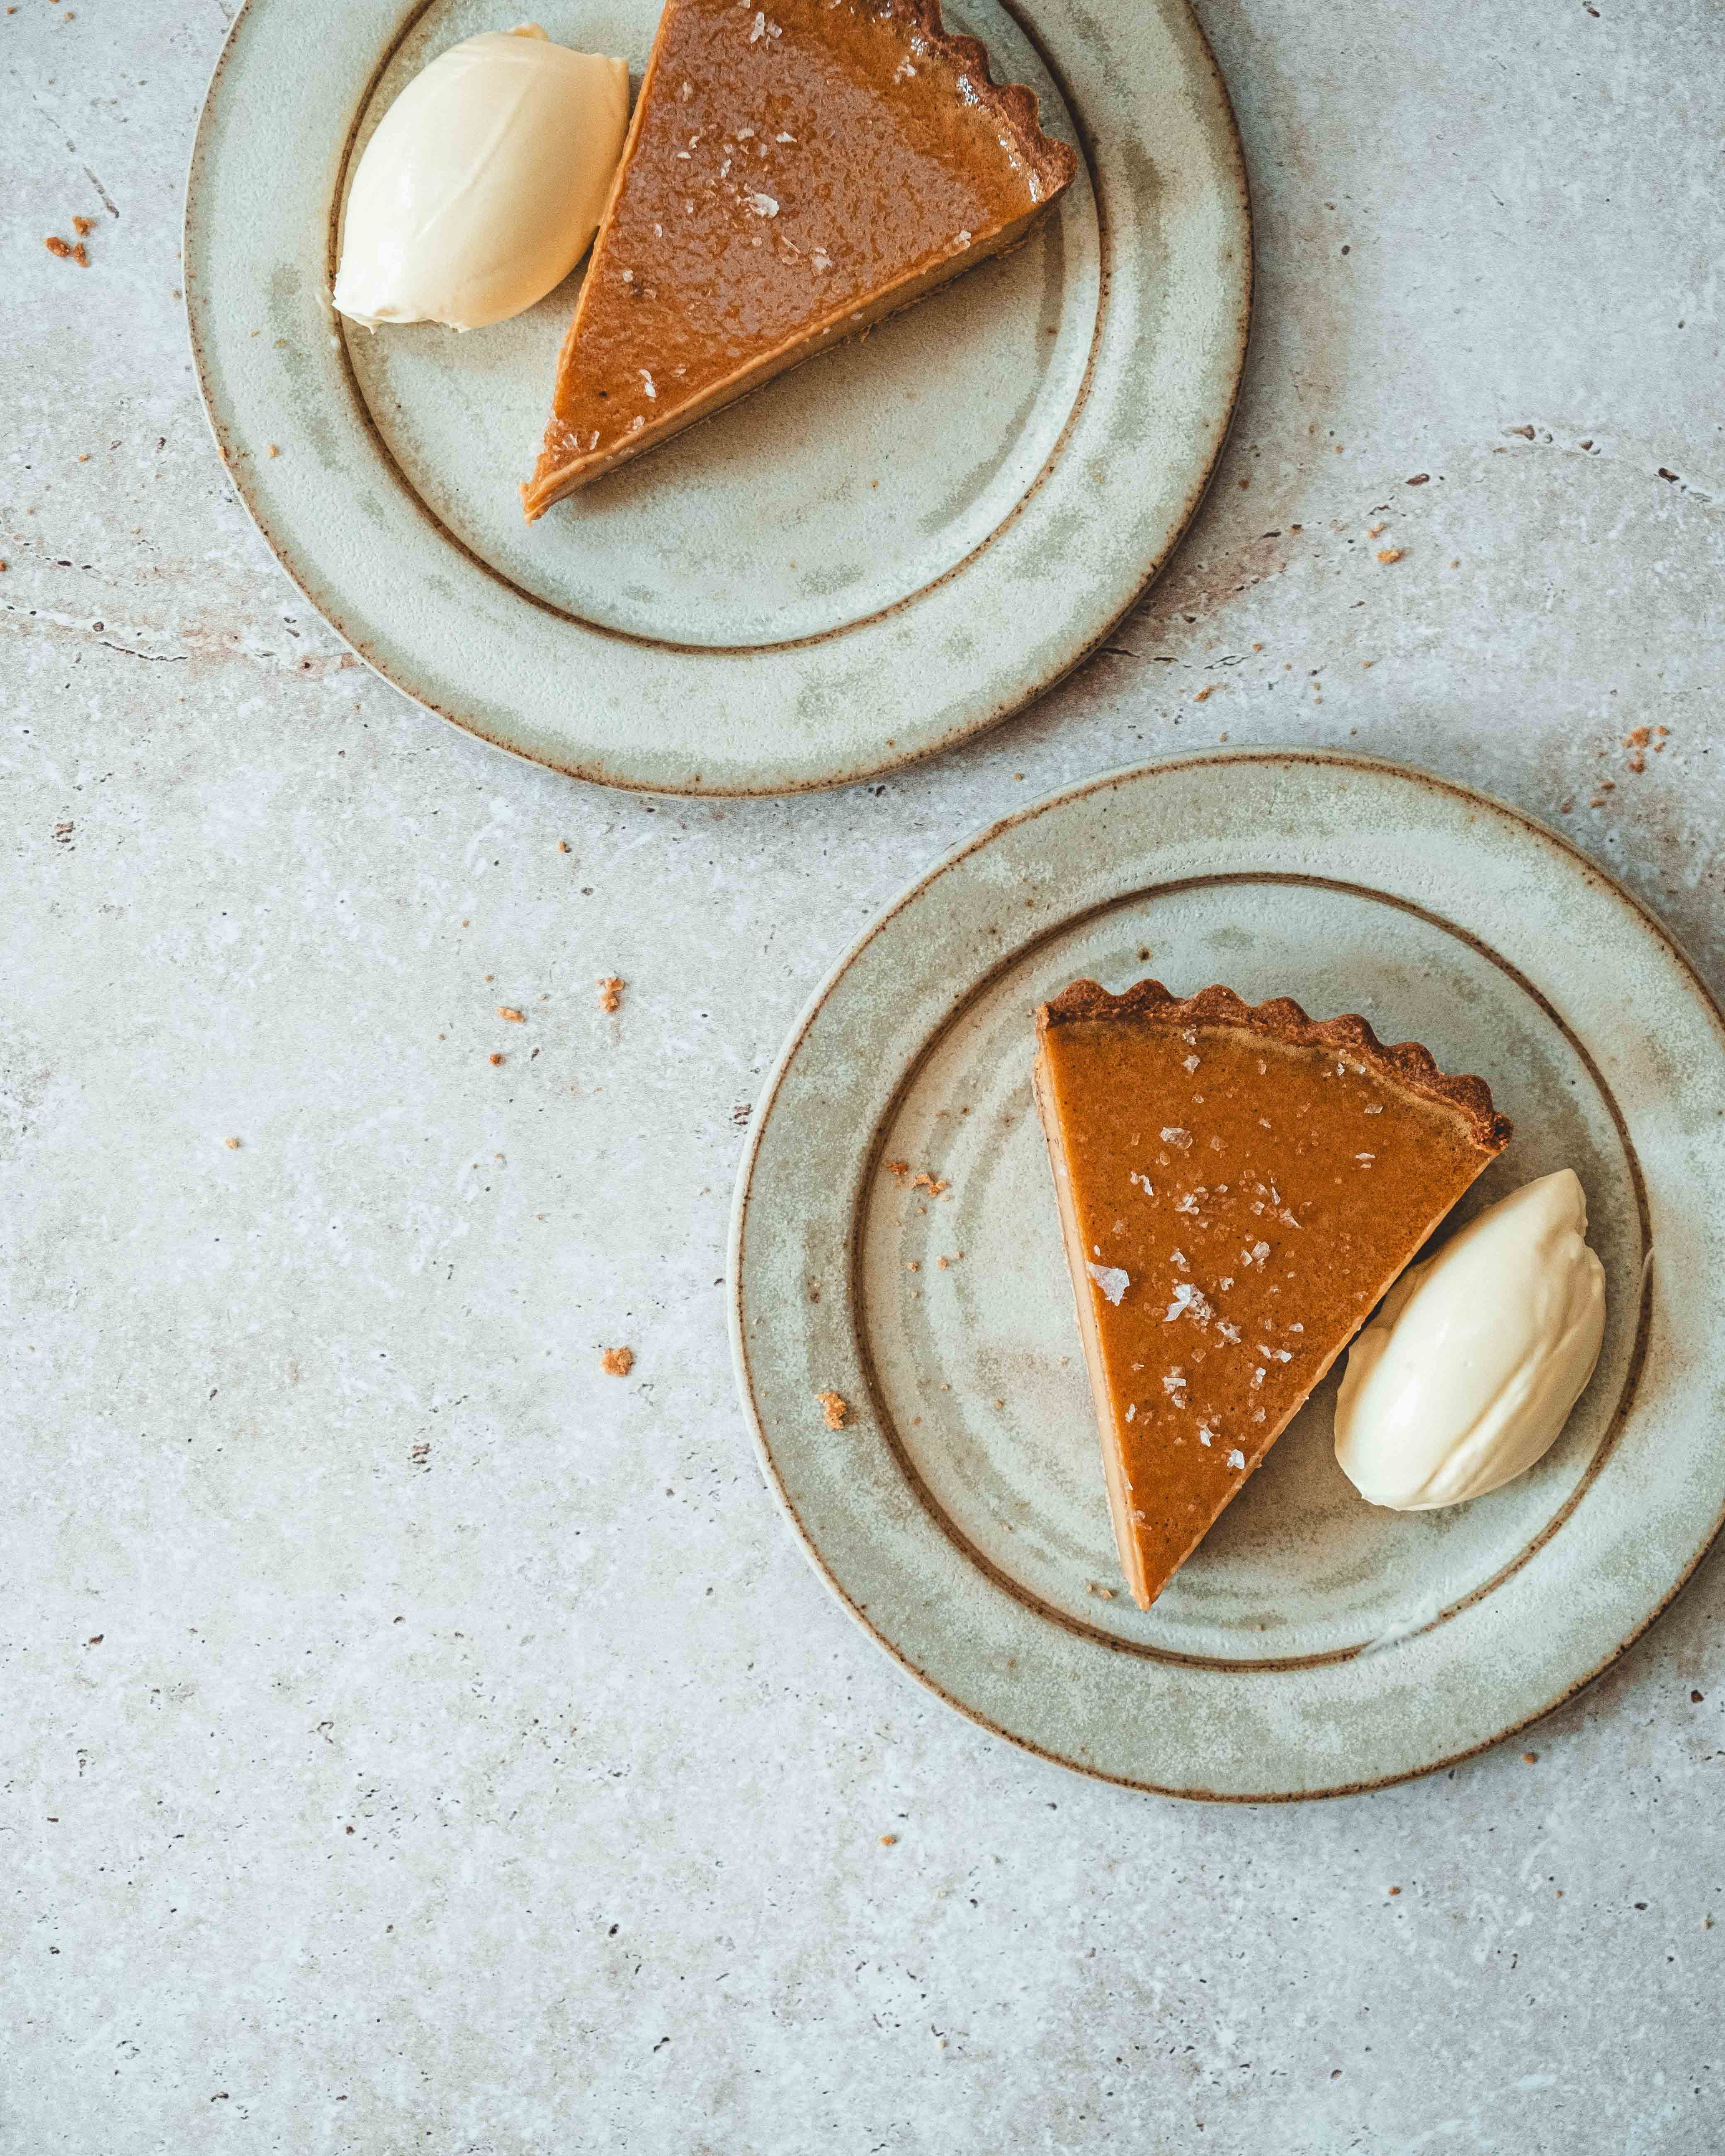
This week’s recipe utilises a technique some of you will already know I love, caramelising honey. A while back, I made a burnt honey cream to serve alongside a simple loaf cake and it proved to be quite the hit, with all of you and for me too! The toasted honey flavour was deep and rich, with a surprising depth of flavour. I’ve been thinking about other ways to utilise it, in everything from ice cream to panna cotta. Today’s recipe seemed like a perfect fit, another great way to highlight this fabulous flavour. The recipe is a ‘salted burnt honey tart’. It’s sweet and salty, bittersweet and toasty with a luscious silky texture to boot! Served with a sprinkling of flaked sea salt and a spoonful of creme fraiche, this is a winner of a dessert!
To caramelise the honey all you need to do is cook it, a little bit like caramelising regular white sugar. At first, the honey will loosen up and become a little bit watery. As it cooks the honey begins to bubble and this is the stage at which you need to watch it closely; the colour will suddenly start to change and it can very quickly switch from deeply caramelised to overly burnt. Whilst we want it to darken by a few shades, to develop a hint of bitterness and complexity, we don’t want outright burnt. Cook it until the honey smells toasty and is the colour of a dark copper coin. As with a regular caramel, you’re playing a game of chicken. Cook the honey too far and it will be too dark and too bitter. Don’t cook the honey enough and it won’t develop the toasted edge we are aiming for.
Pastry Tips
The tart uses my go-to sweet pastry recipe but with one small change. Classically I have made this pastry with a combination of egg yolk and water but in an attempt to reduce the amount of egg whites I had left over - I simply replaced the water with egg white. The change is minimal but, I found the pastry even easier to work with, and it was already a workhorse recipe.
You can make the pastry a couple of different ways; by hand, in a food processor or, as I’ll show you today, in a stand mixer. All three methods work well, it’s simply a matter of preference.
Whilst I find this pastry a breeze to roll out I know this is a technique many people struggle with so these would be my three biggest tips.
Keep The Pastry Cold.
When you’re rolling out pastry, the idea is to work with the pastry before it has a chance to warm up too much. If you’re new to pastry and find you’re a tad slow or maybe your kitchen is warm, don’t fret, simply pop the pastry onto a baking tray and chill it for 10 minutes before continuing. If the pastry gets too warm not only will it be harder to work with, the baked pastry can end up tough and chewy.
2. Roll Between Parchment
If you’re guilty of adding too much bench flour this is the tip for you. Instead of rolling out on a floured work surface, roll the pastry between two sheets of parchment paper. You don’t have to add any flour, it is easier to handle and you can also use the parchment to help you line the tart case.
3. Rolling Guides
If you find it hard to roll to an even thickness there are two types of rolling guides to help. One is attached to your rolling pin, in the form of either thick bands that slide onto your rolling pin, or they’re part of a rolling pin set with rolling guides that can be screwed onto the end of your pin. The second style of guide is wooden or plastic strips which you set on either side of your dough with the rolling pin on top. Personally I prefer the latter, I often use them when making croissant dough or puff pastry and I am trying to work as neatly as possible.
Keep reading with a 7-day free trial
Subscribe to The Boy Who Bakes to keep reading this post and get 7 days of free access to the full post archives.