
Beyond The Basics: Sour Cherry Pie
The king or queen of pies

🎉 Welcome to my newsletter, The Boy Who Bakes, a subscriber-supported newsletter dedicated to all things baked. Paid subscribers get a new recipe EVERY WEEK, and this normally costs £5 a month, but for the next few weeks, you can subscribe with 20% off for the lifetime of your subscription! An absolute bargain! .🎉
Is there a phrase that haunts you? That makes you recoil every time you hear it? I know some people, inexplicably, hate the term moist. For me, the turn of phrase is ‘soggy bottom’, a phrase that has haunted me for 16 years. Bake Off popularised the phrase, and now I hear it all the time. There is nothing wrong with that, except that I’ve heard every conceivable permutation of the soggy bottom joke, so the phrase has slowly grated at me over time. A death by a thousand soggy bottoms. So yes, today, we’re obviously talking about…soggy bottoms.
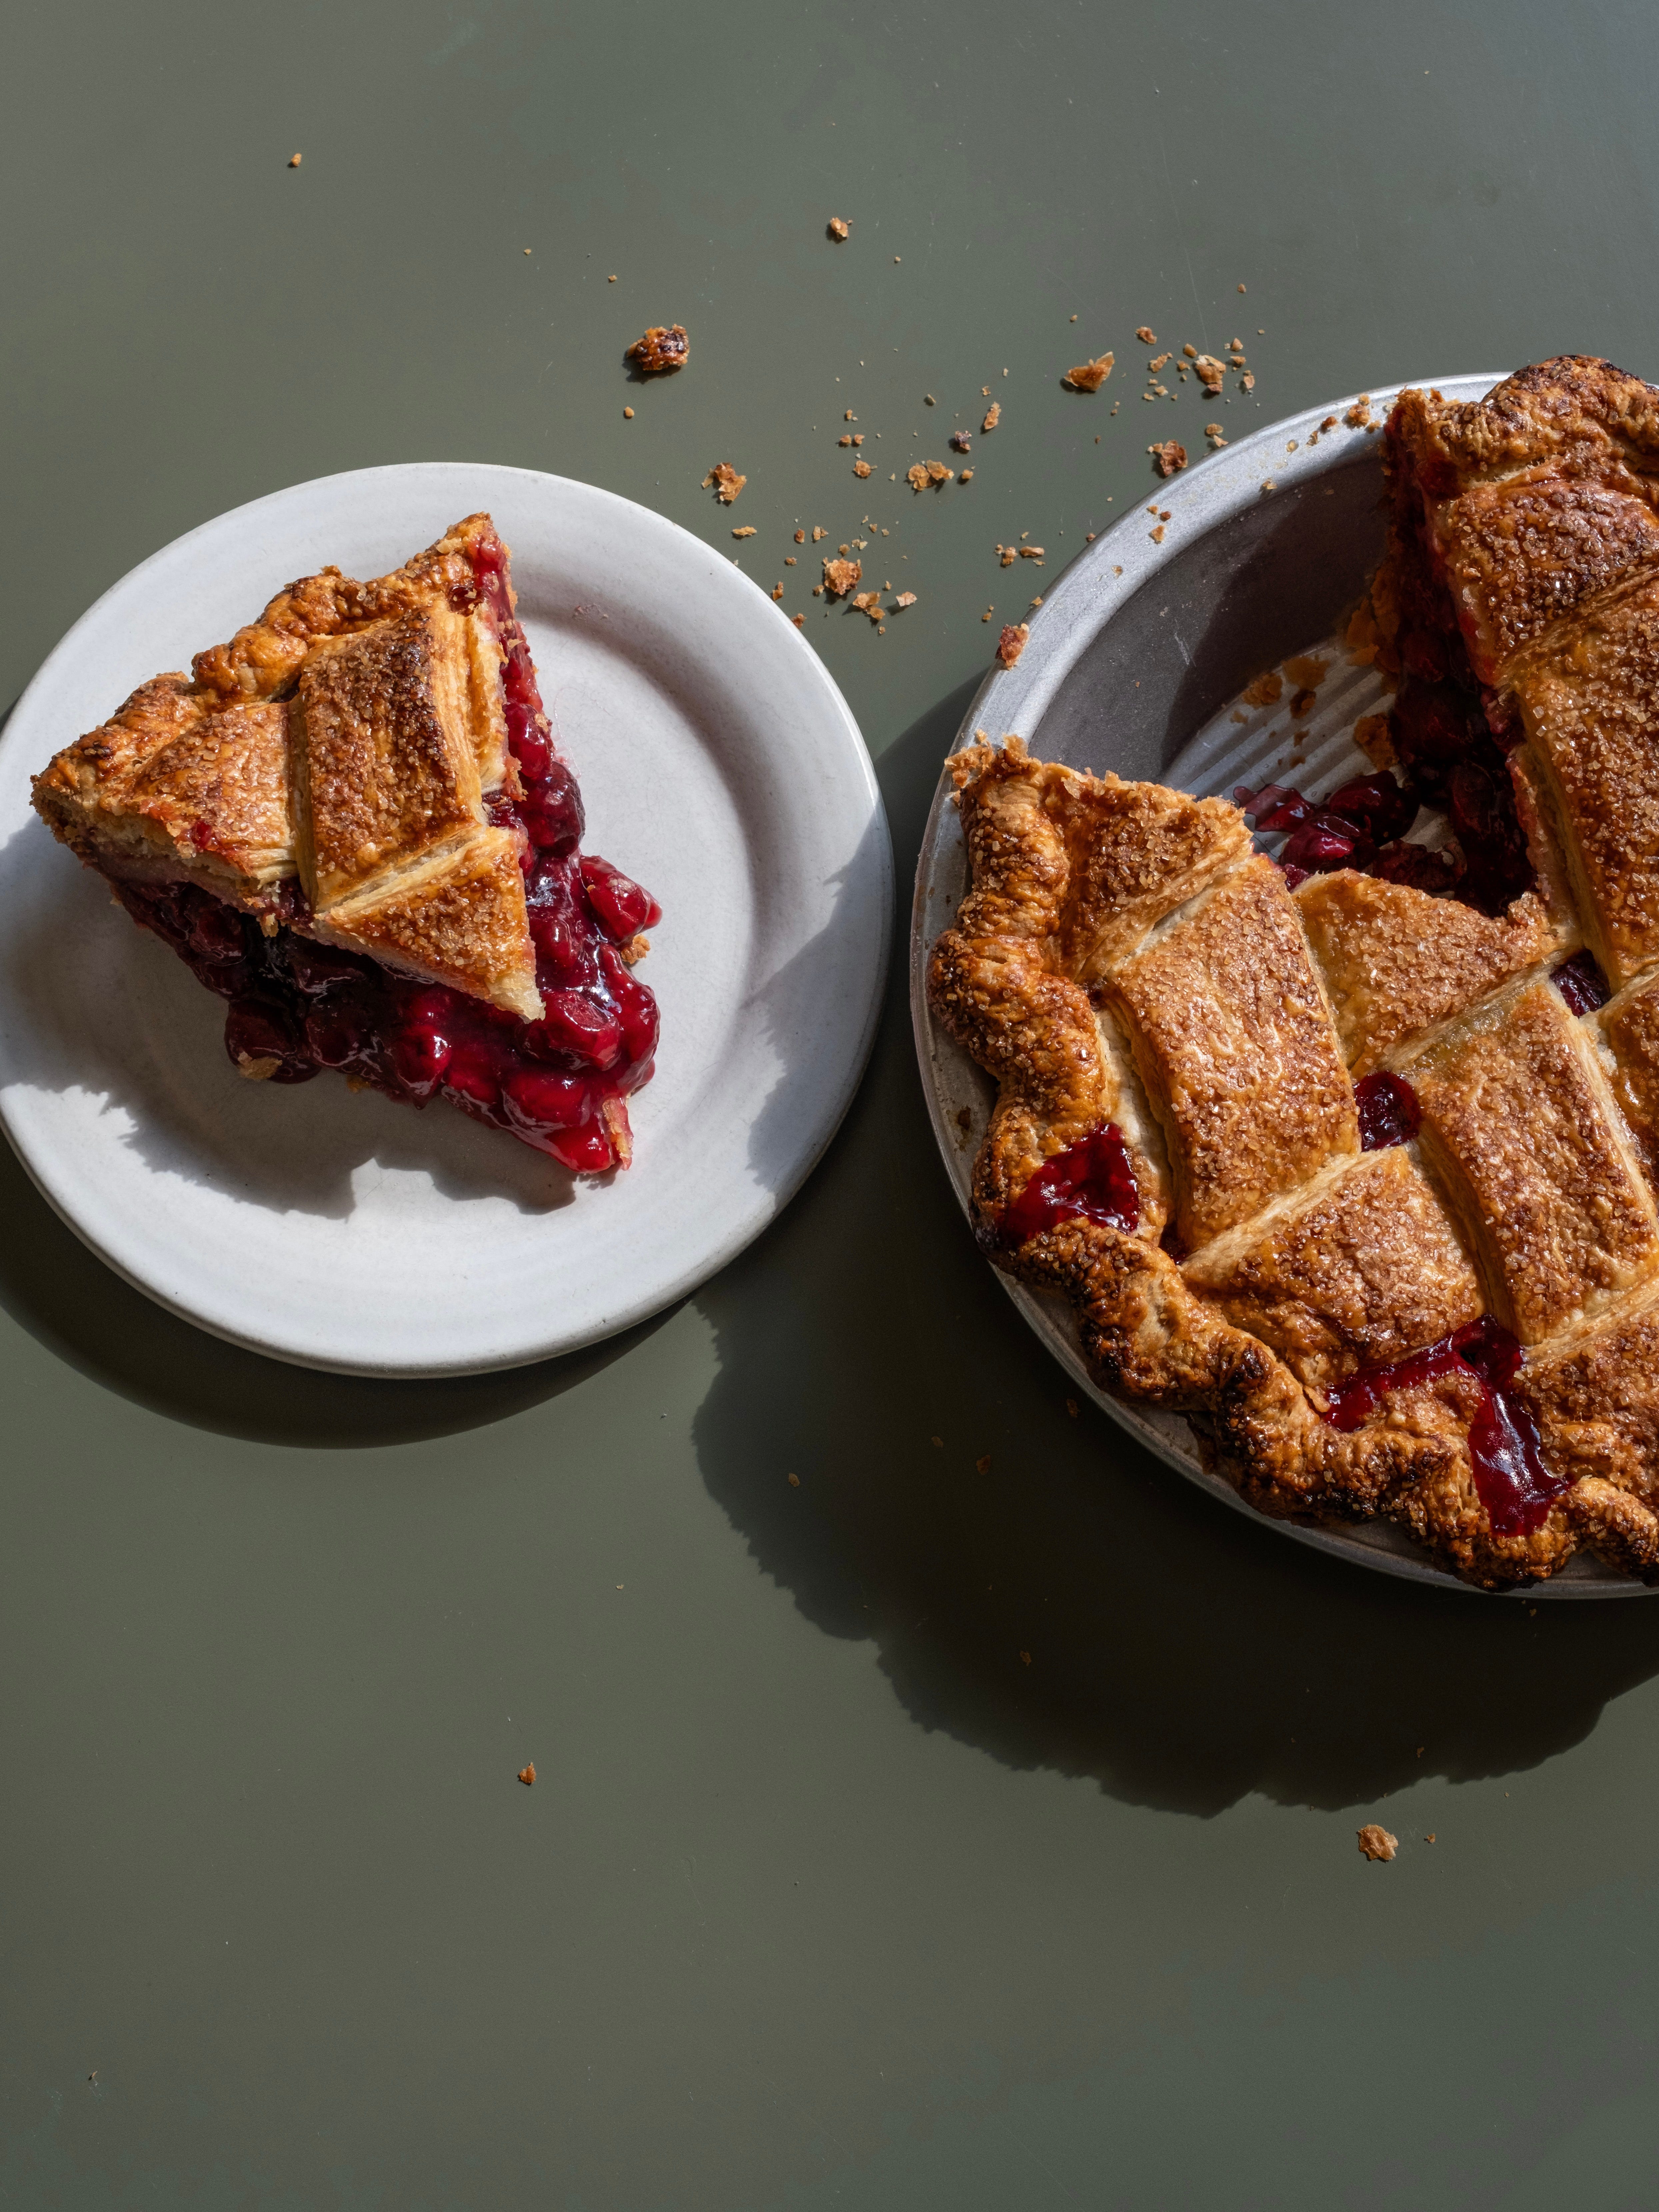
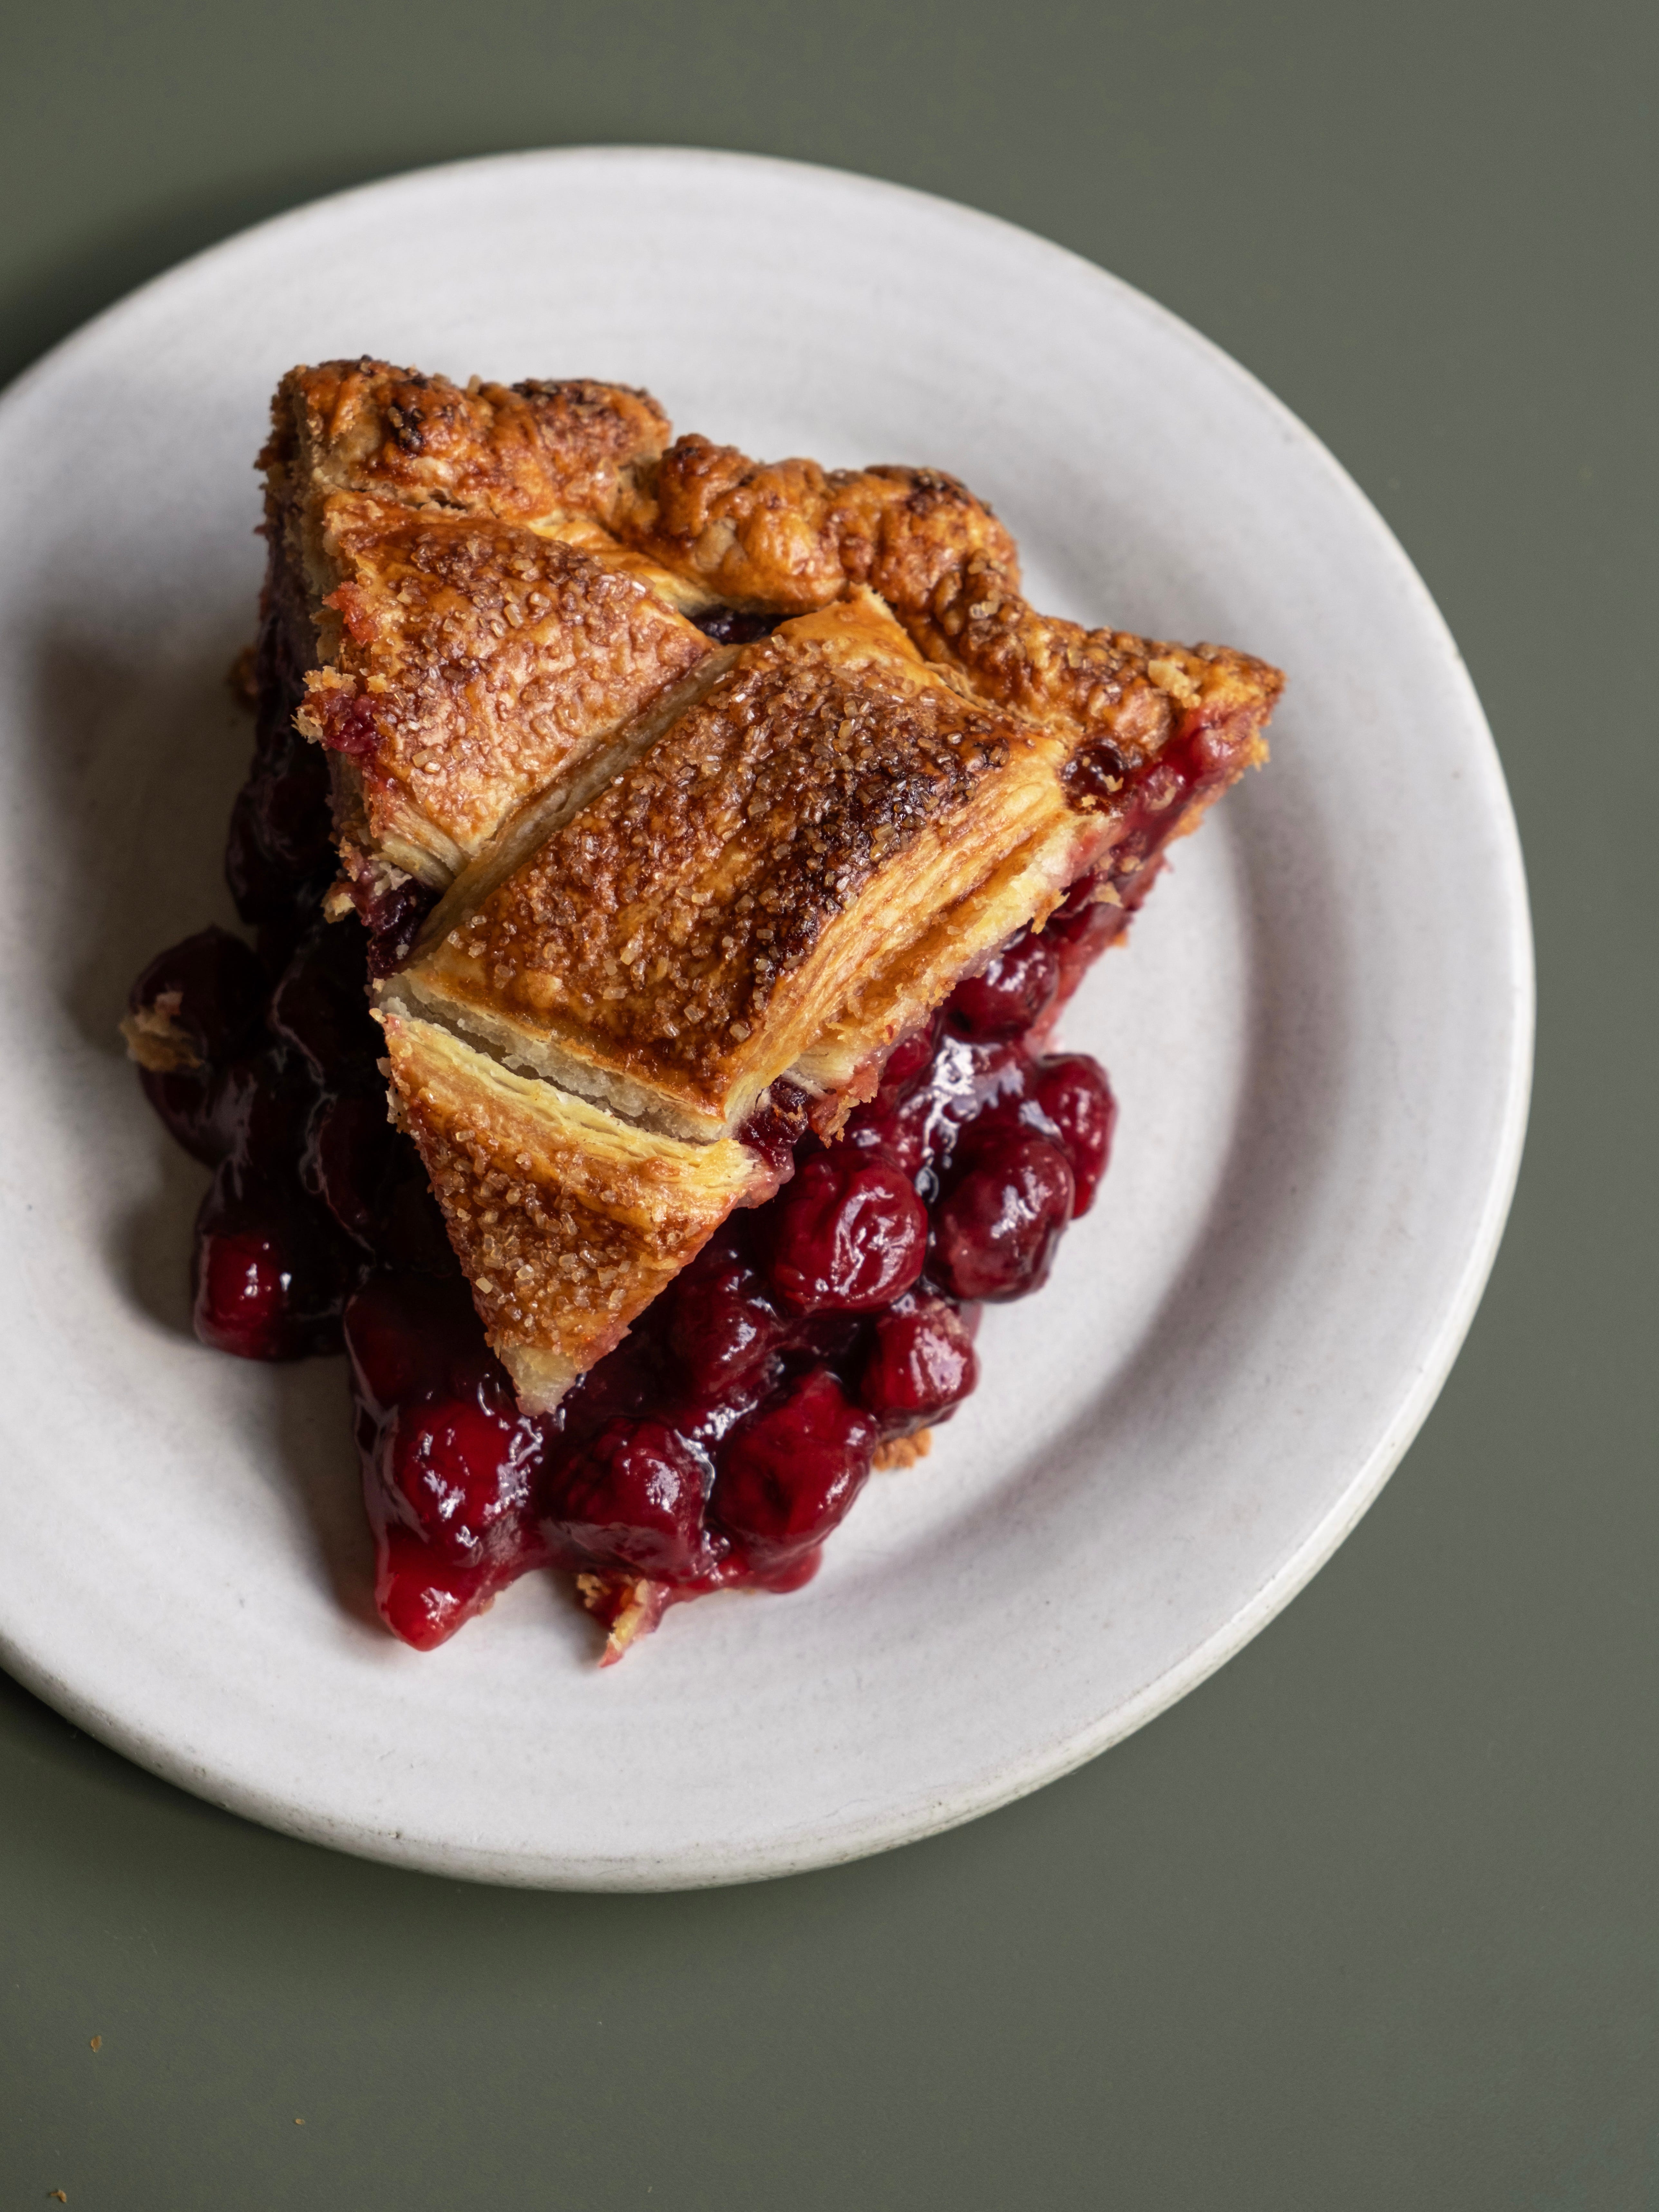
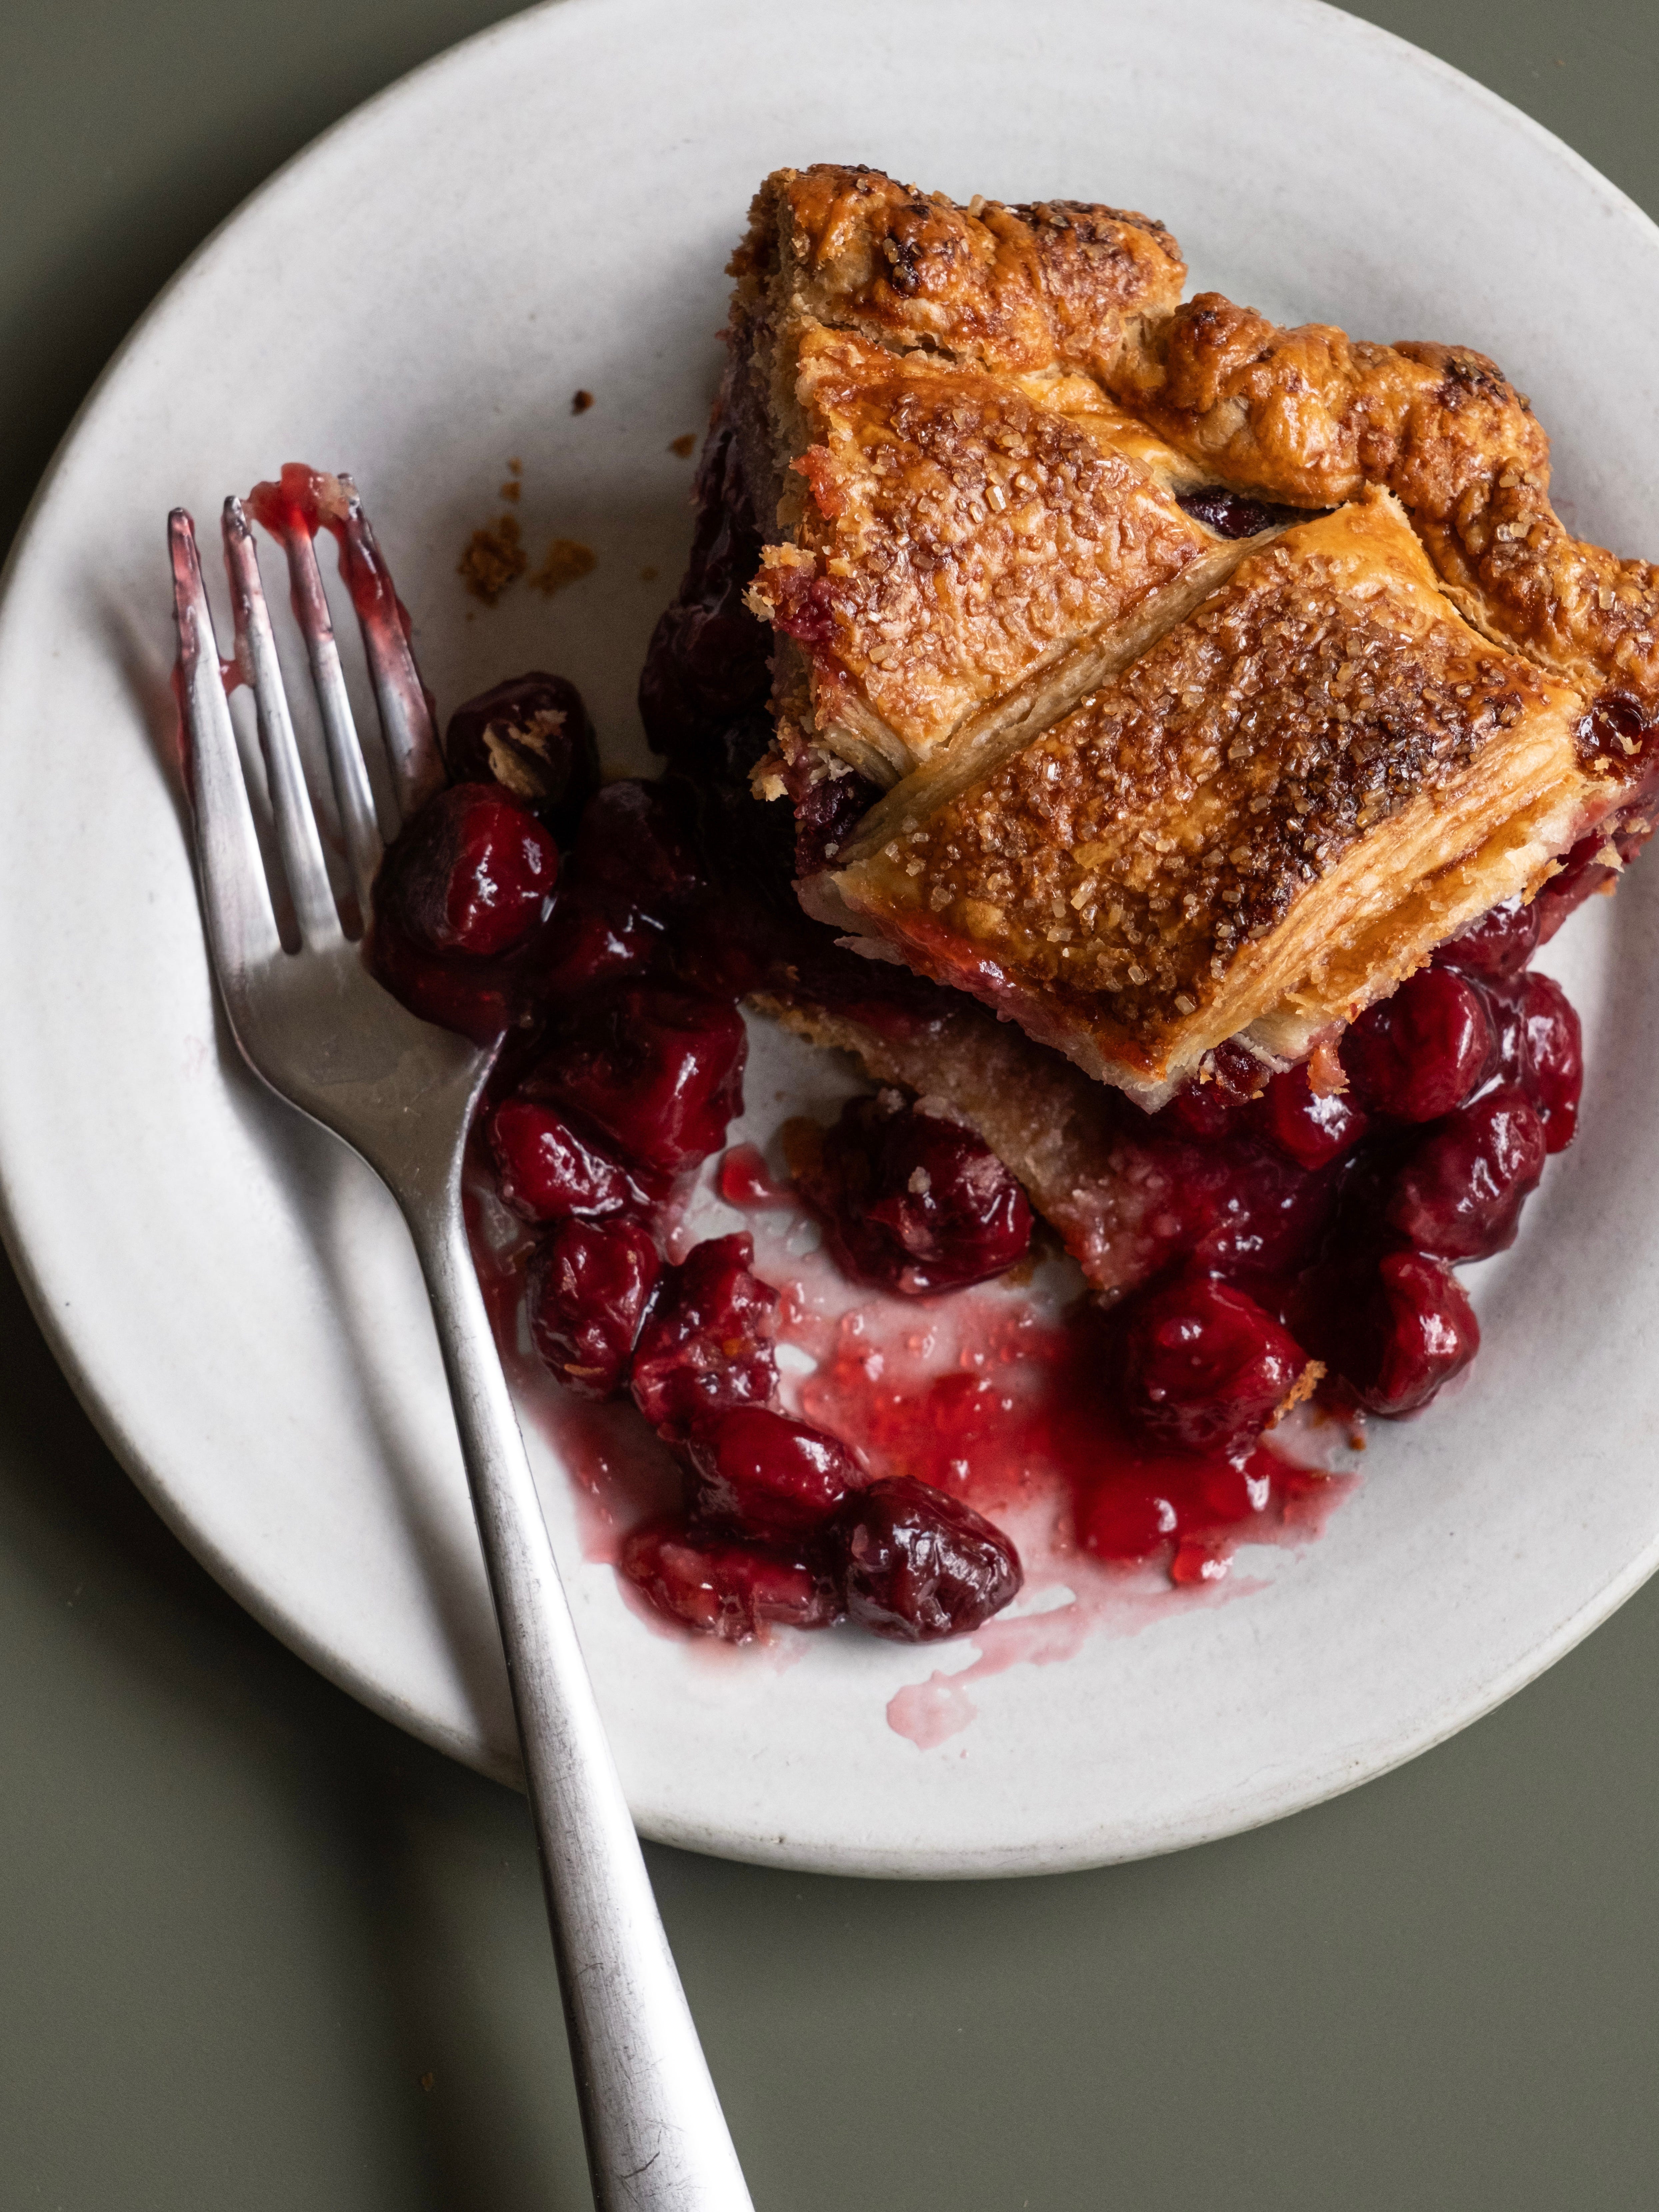
A slice of sour cherry pie is like gold dust in the UK, nigh on impossible to get your hands on. Sour cherries are rare in this country and definitely not available in any supermarkets. I have been lucky to find them in my local greengrocer, an incredible resource I am so lucky to have on my doorstep, and over the years I’ve also found them in Middle Eastern and Eastern European grocers. Some fruit farms also grow and sell them, but you basically need one of these close by to actually get hold of any. They also have an incredibly short season, just a few weeks a year. Thankfully, a quick Google led me to a supplier of frozen cherries that I happily use in a pinch. But what actually makes them worthwhile tracking down? They are sometimes known as pie cherries, and as far as I’m concerned, they are the king and queen of pie-baking fruits. They start off incredibly tart, and once tempered with sugar, they reveal an incredibly bright flavor with the essence of cherry, including hints of bitter almond. They’re simply incredible.
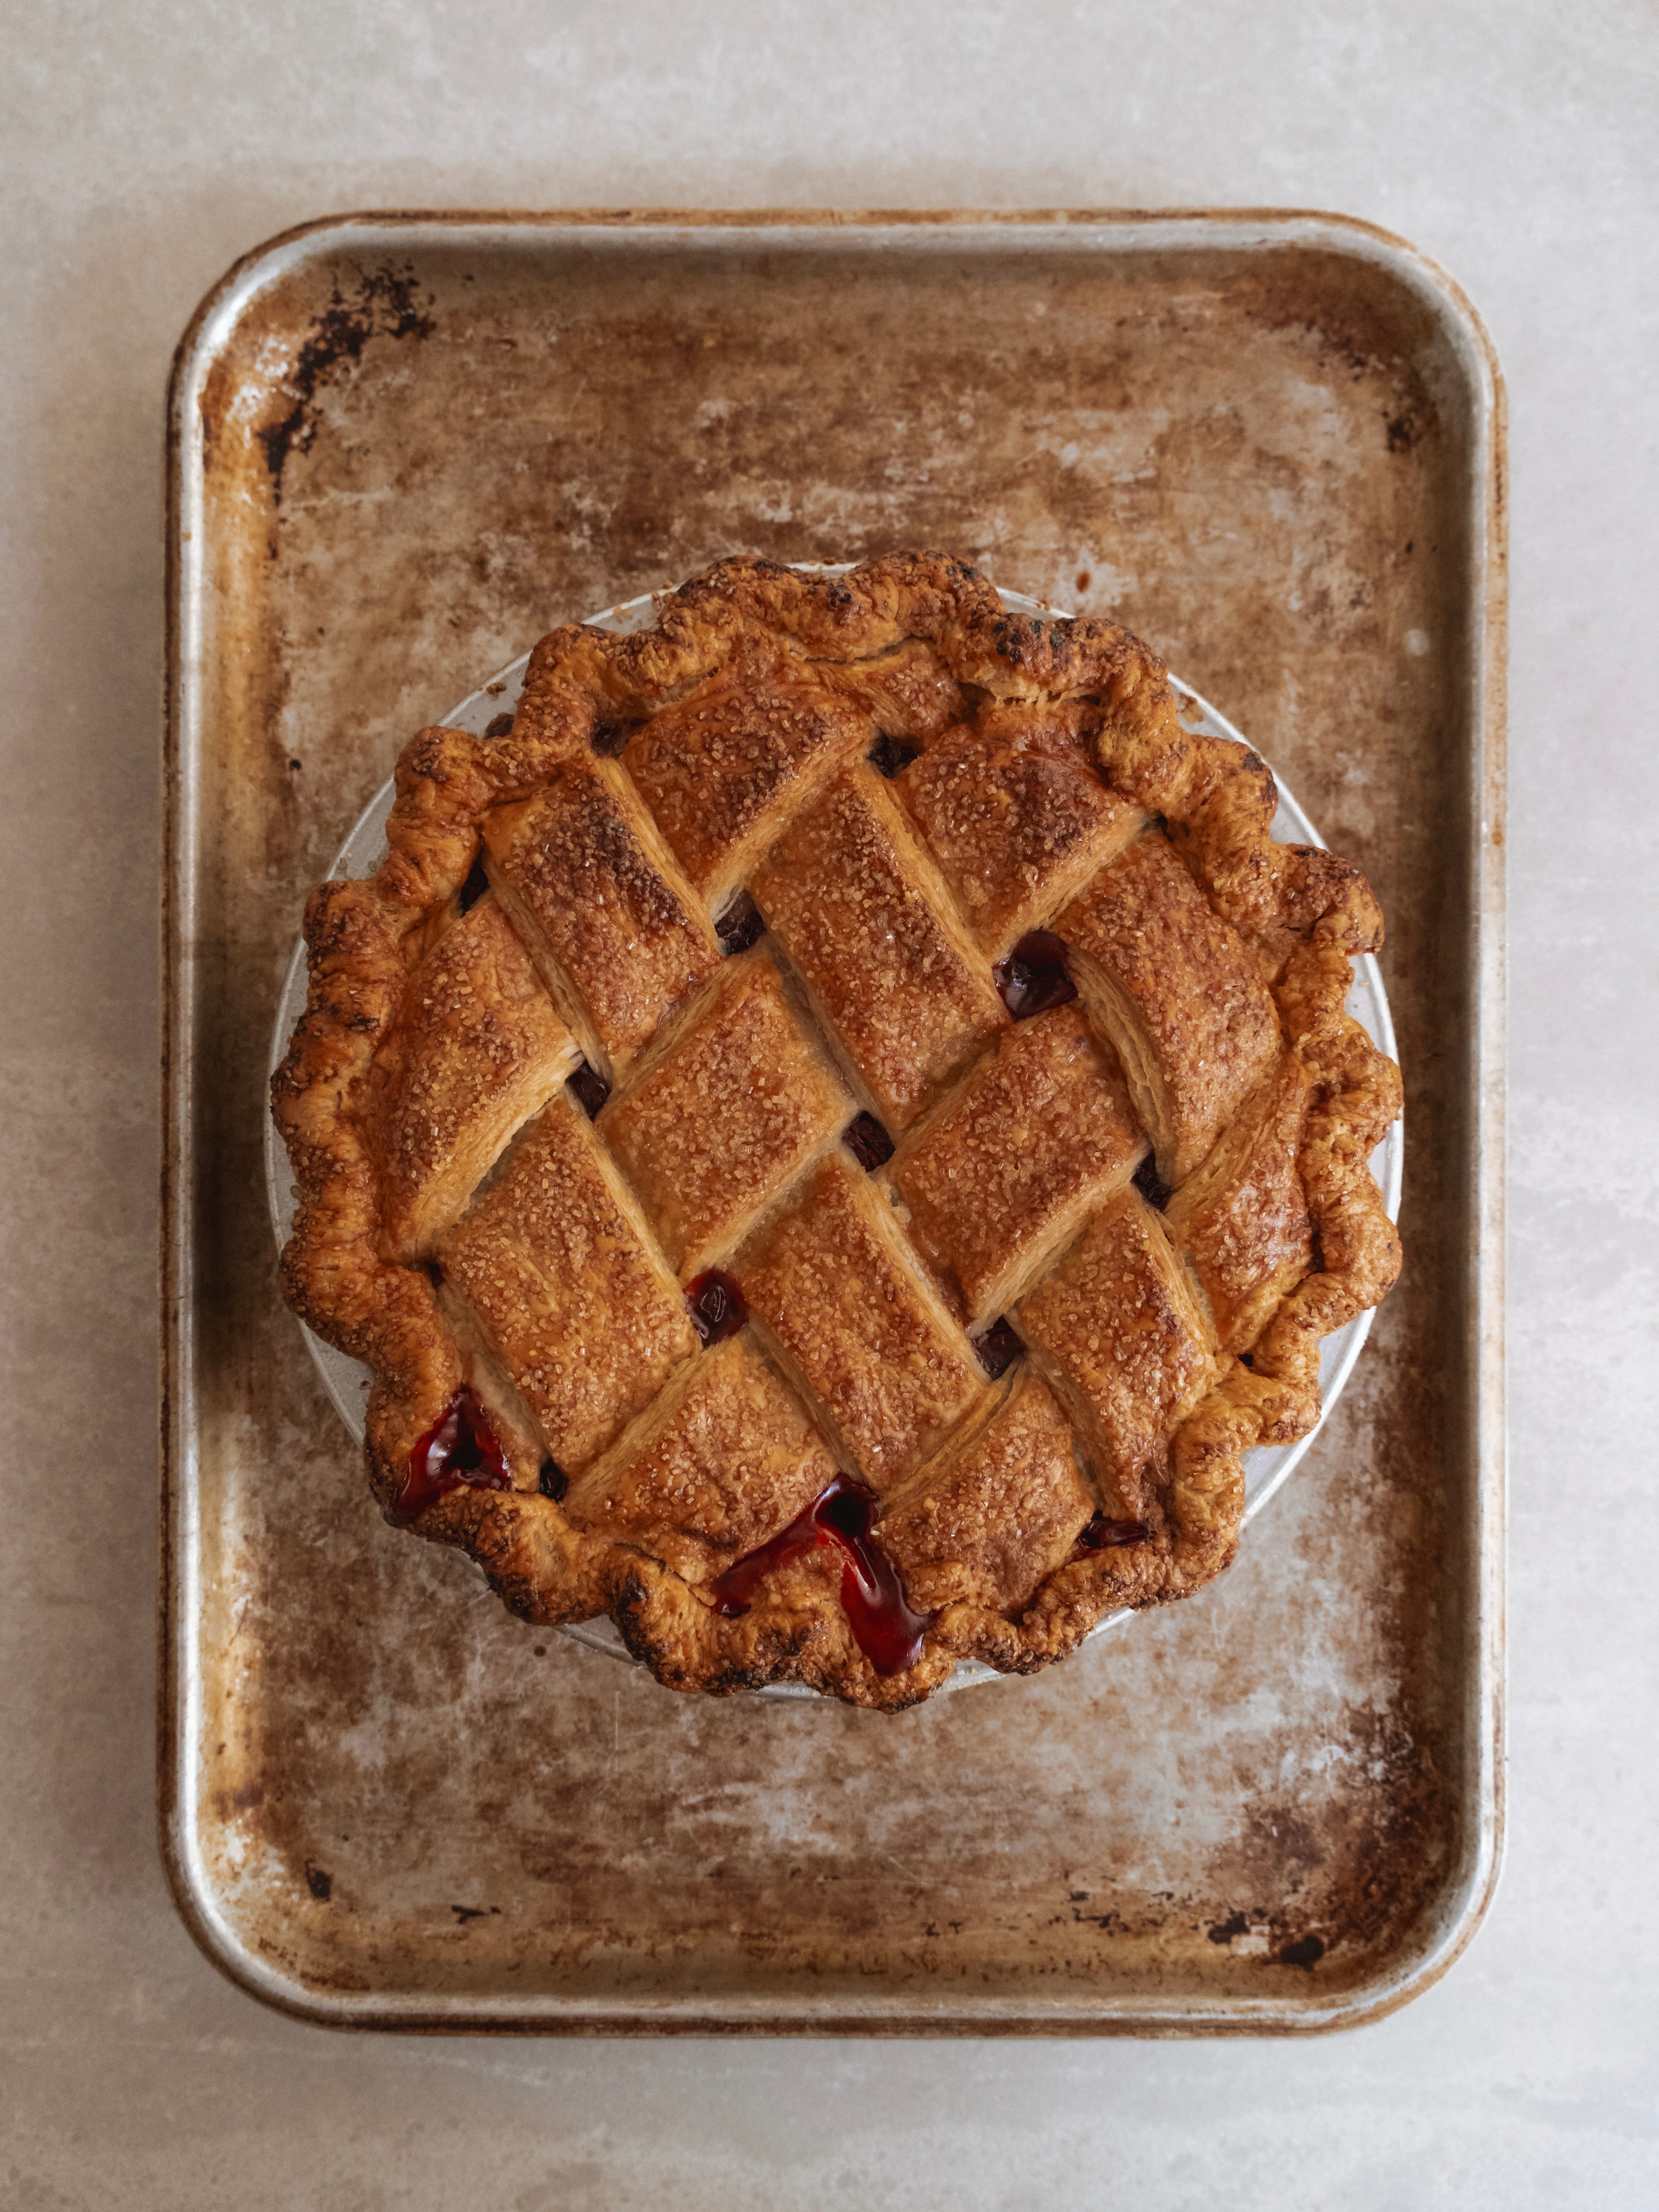
To make these incredibly special cherries into a finished product, I kept things as simple as they come. A classic pie with a lattice crust. An incredibly flaky, buttery pastry encasing a generous sour cherry filling. Serve it with a scoop of vanilla ice cream, and I think you’d have my death row meal. Sometimes it is the simplest of things that end up the most satisfying and special.
Making a classic pie is by no means difficult; making the pastry is definitely the hardest part of the process, and that is more of an investment of time rather than skill. But there are a few tips and tricks to ensure everything goes right. Yes, we’re talking about soggy bottoms.
Ensuring a pie is properly baked, with a crisp top and bottom crust, with a filling that is perfectly set, is not rocket science, but there are a few tips I have learned along the way.
1. Pizza Stone or Steel
The key to baking the bottom crust is to get as much heat directly onto the bottom crust. When you bake the pie on a tray, the heat has to warm up the baking tray first and then transfer through to the pie plate. You can preheat the baking tray before adding the pie; that helps for sure, but the best way is to skip the baking tray altogether and place the pie plate directly atop your baking stone or steel. This ensures as much heat as possible gets to the bottom crust and helps ensure a sturdy, properly baked crust. If the pie is filled with a berry filling that is likely to bubble up and out of the pie crust I tend to bake the the pies directly on the stone for the first half and then transfer it to a baking tray (thats been in the oven the whole time) halfway through the bake time, ensuring a crisp base and juices that don’t spill out directly onto your baking stone.
2. Soggy Soakers
When I am making a pie with a berry filling, I like to add a thin layer of ground almonds to the base of the bottom crust before adding the fruit filling. As the pie bakes, it will release liquid, and the almonds will soak up some of it, giving the crust a better chance of staying crisp. If you don’t want to use nuts, you can also sprinkle in some fine breadcrumbs or semolina. I opt for almonds as the flavour is a nice addition to most fruit fillings and the texture is very subtle.
3. Par Cooked Filling
By and far the most important tip is to pre-cook the filling. For fruit fillings, this means gently cooking the fruit with the sugar just until the fruit releases a lot of juice but stopping before the fruit is completely broken down. This liquid is then reduced slightly and thickened with cornstarch. By pre-cooking the filling, the liquid in the fruit is already thick and isn’t able to soak into the pastry as much as when the fruit is added raw.
4. Bake It Long Enough
I have a theory that most people drastically underestimate how long it takes to fully bake pastry. Pastry should be a rich golden brown, not a pale and anemic yellow. Baking the pie long enough ensures the pastry is properly baked through and gives the pastry its best shot at a properly browned bottom crust.
5. Metal Pans
There are many different styles of pie plate, but I always use metal. These pans are really good conductors of heat, especially when compared with glass or ceramic, and they help ensure a properly baked crust. These are the exact pans I use.
Keep reading with a 7-day free trial
Subscribe to The Boy Who Bakes to keep reading this post and get 7 days of free access to the full post archives.