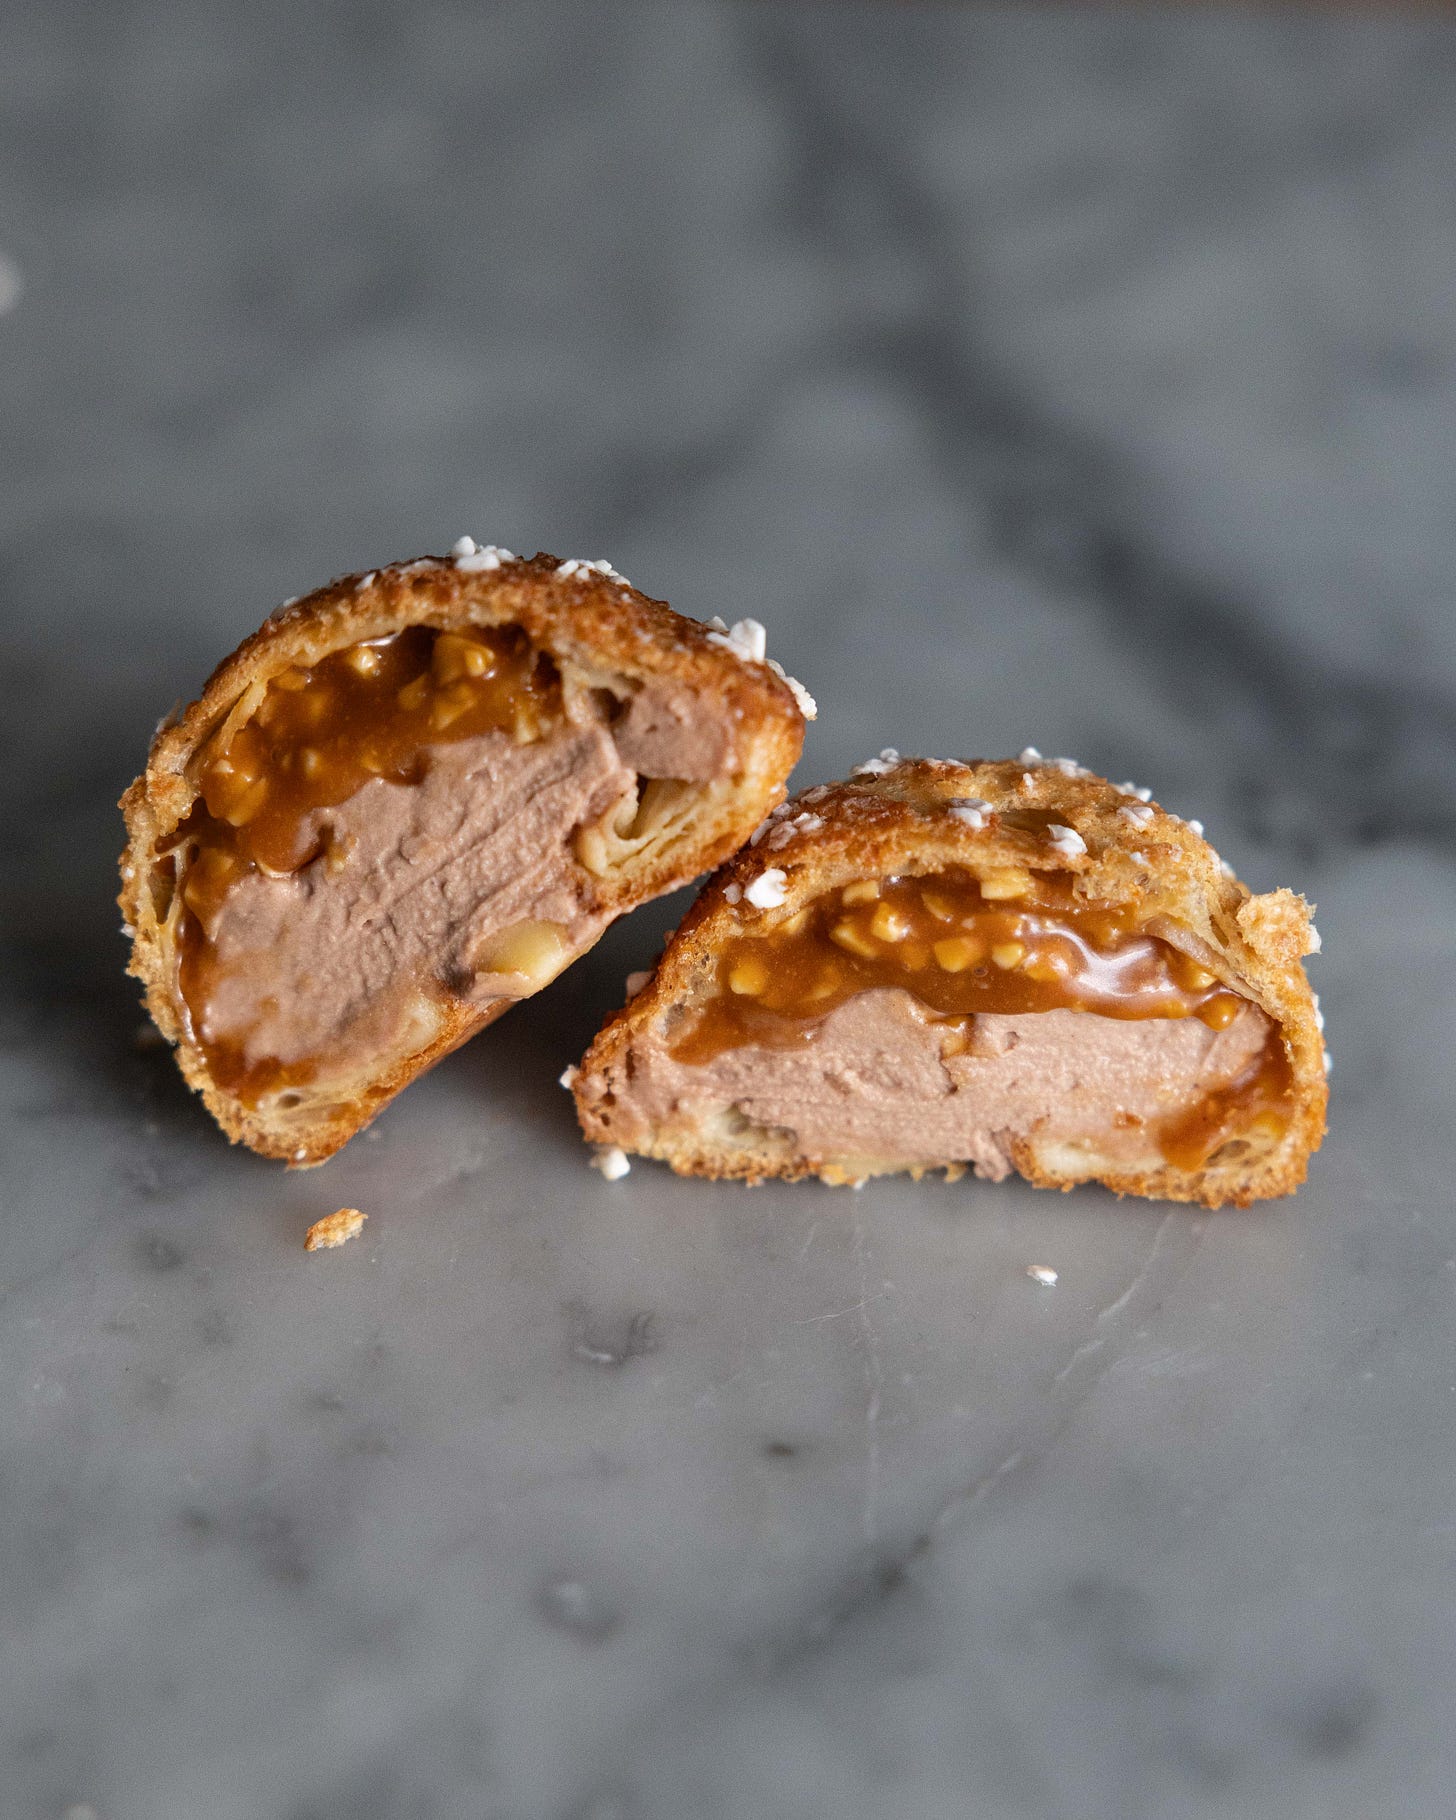
We are creeping closer and closer to the Christmas season but, before we go full force on all the festive recipes, I wanted to make something relatively simple, but jam packed full of flavour, a little treat for the weekend. In all honesty the flavours of the dish were chosen specifically, because I was going to be serving them to my other half’s dad, who loves snickers flavoured bakes. Think chocolate, peanut and caramel and you can see the direction I am headed in.
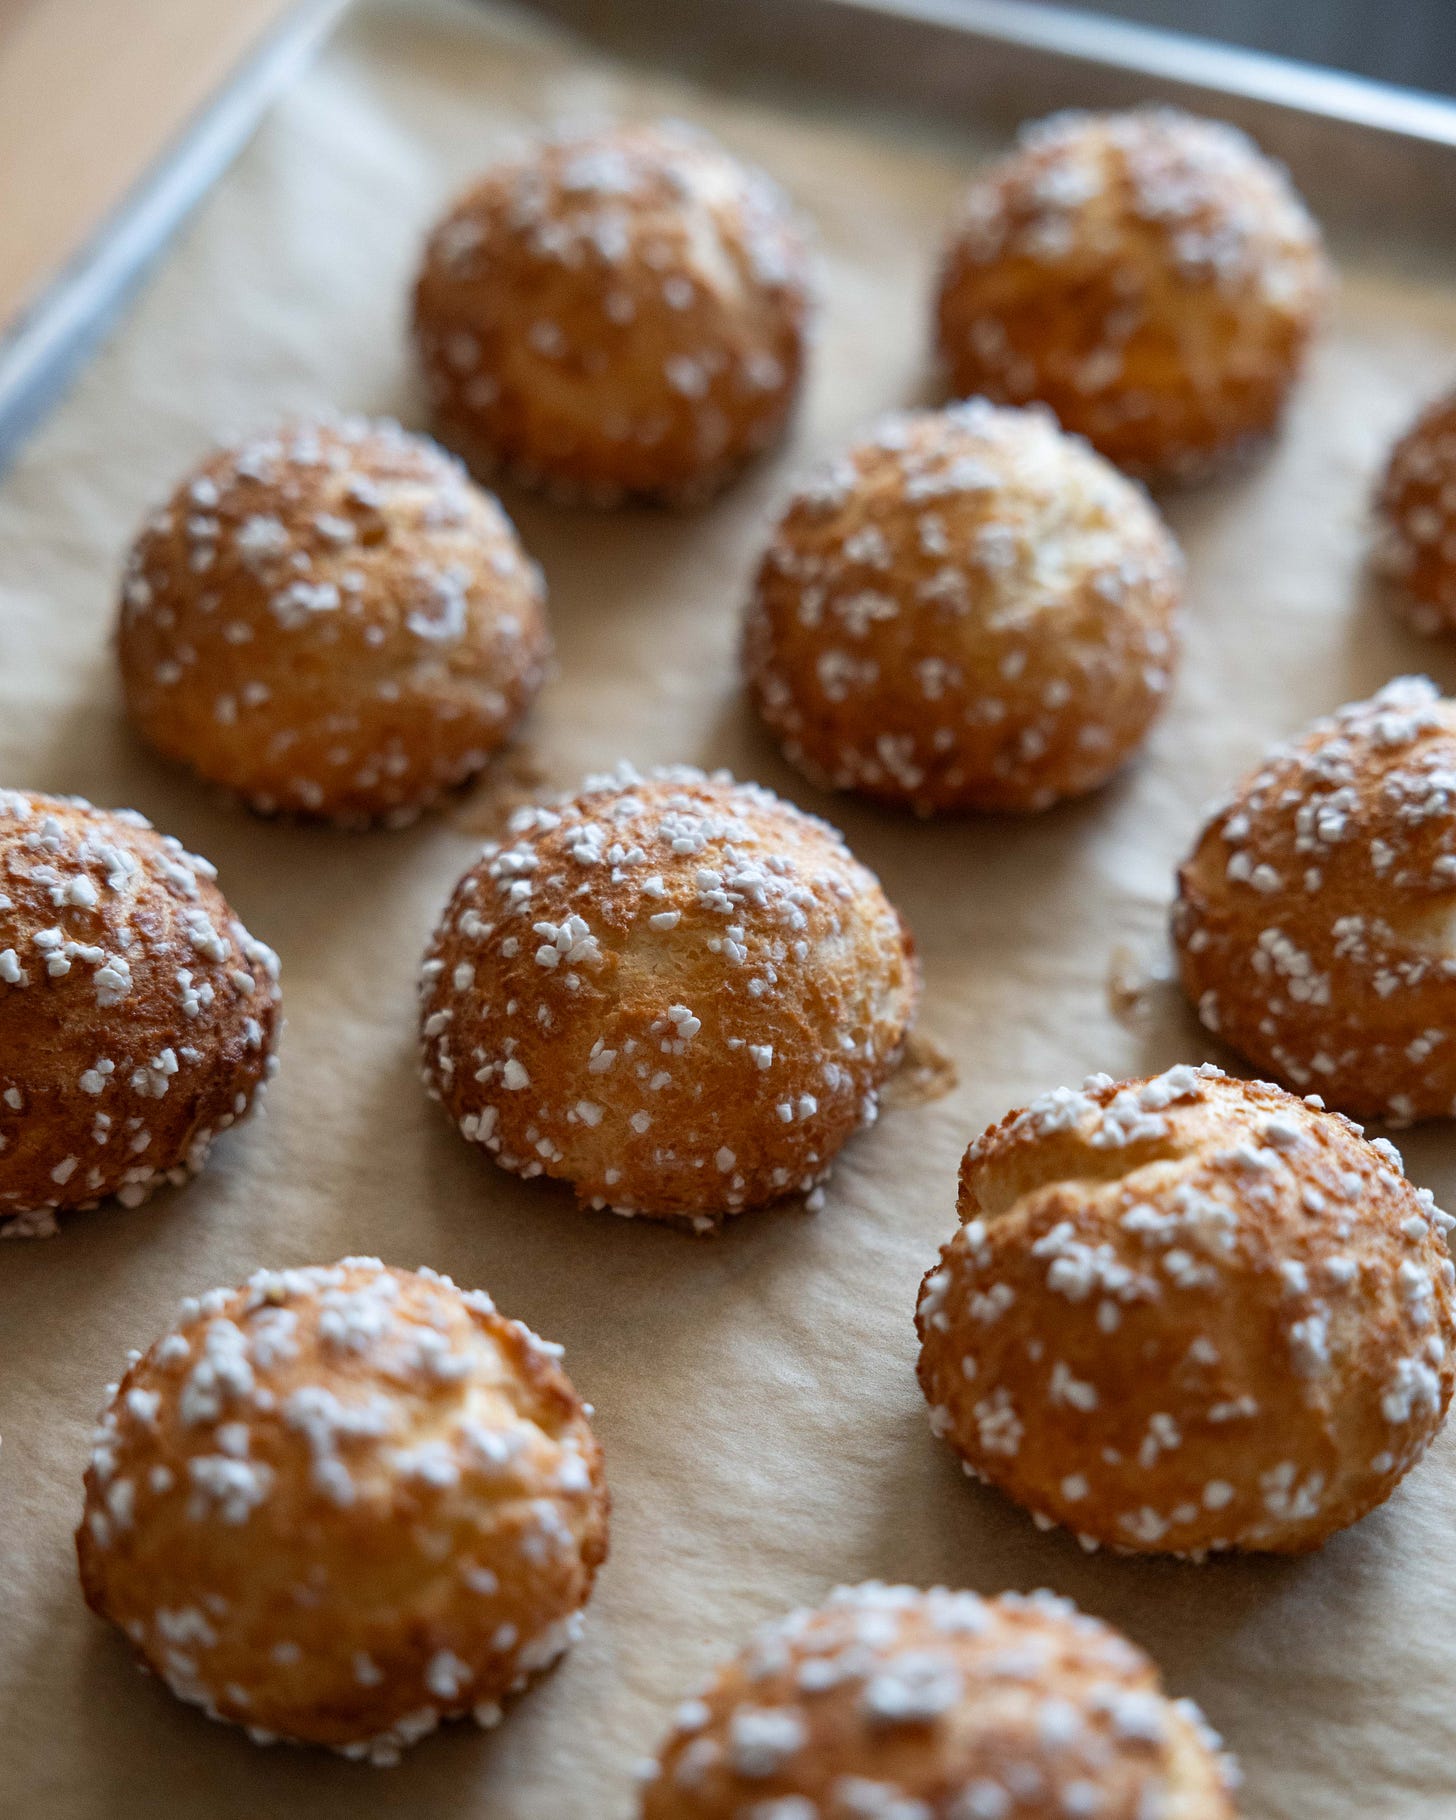
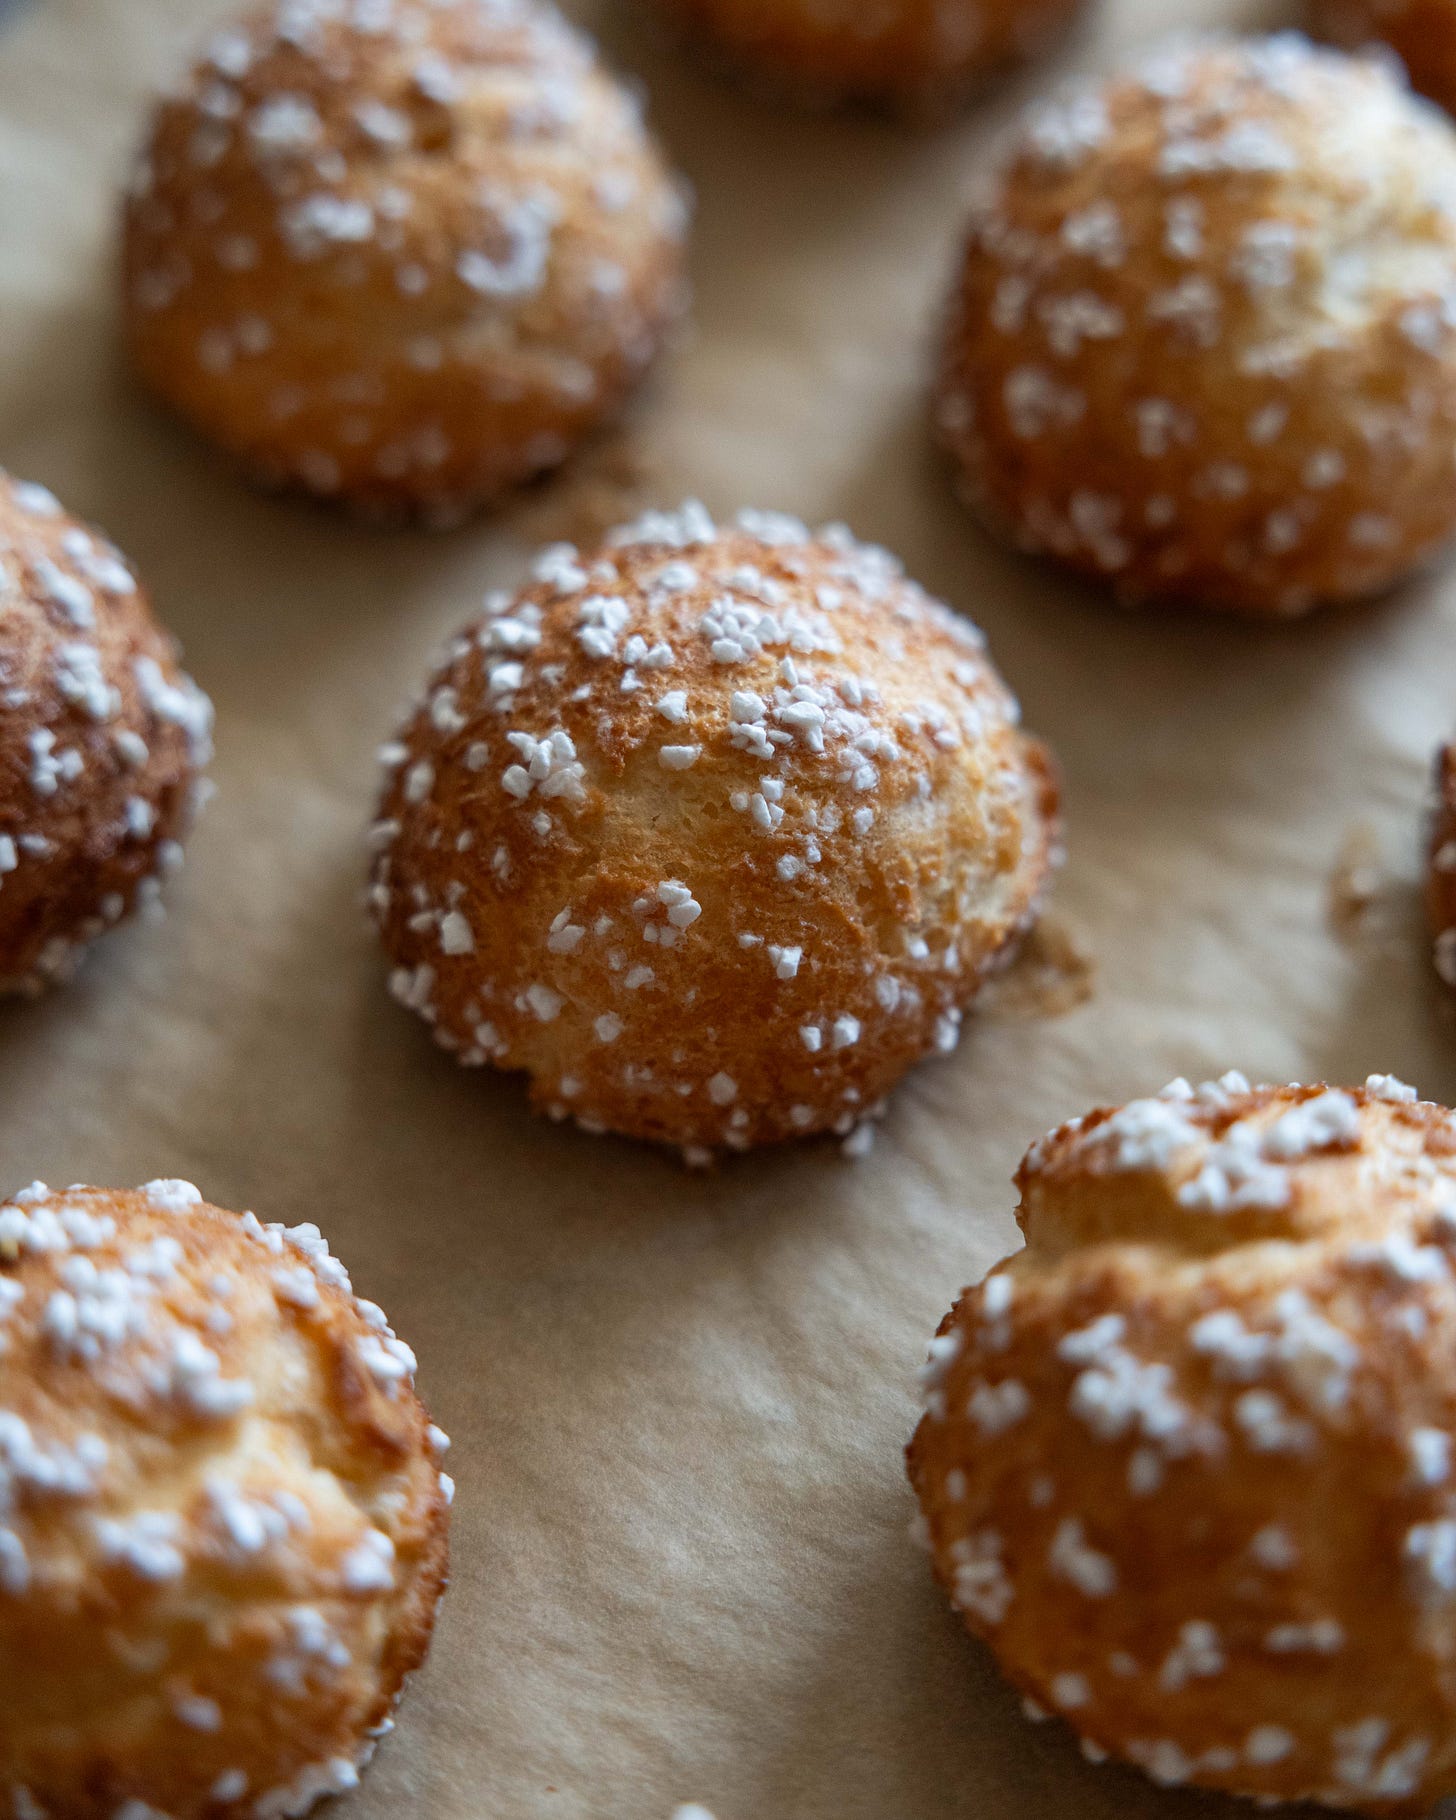
The dish itself is made up of three elements, all relatively simple but all great building blocks which you can use in other recipes. It starts with a classic choux recipe, which is baked in my all time favourite style, as simple chouquettes, little balls of choux pastry with nothing more to adorn them than a generous sprinkling of pearl sugar. These little choux buns are a popular childhood treat in France, and are commonly sold in small bags at bakeries for an after school treat. Whilst normally served without a filling, I have been seeing more and more filled versions, specifically vanilla cream filled chouquettes. For my version I went a little outside of the traditions and, as already mentioned, went down a snickers bar inspired route. The first filling is a salted peanut caramel; you make a classic caramel, leaving out any salt, and then mix through lots of salted peanuts which have been finely chopped. I love the caramel for a whole host of uses, for example it makes for a particularly good tart filling, with thin layer of ganache poured on top. This caramel gets piped into the top of the chouquette and the majority of the choux is then filled with a milk chocolate cream, a light chocolate Chantilly. The balance of the flavours and textures could be overly rich and heavy but, in this case, it is nicely balanced and still feels like a nice sweet snack rather than a full on dessert. The recipe makes 15 chouquette so these are great served to a crowd (they’d be perfect for a Christmas party) or if you want to go down the dessert route you could serve two to a person, with a little hot chocolate sauce, to make them a take on profiteroles.
Choux pastry is, in my opinion, the least daunting of the pastries to make, but it can be a little tricky to master. If you’ve ever tried to make eclairs, you’ll know it can be tricky to ensure a pastry that expands evenly and without cracks. Thankfully, there are a couple things you can do to ensure a perfectly baked choux, one that rises evenly, without cracks, and is perfectly hollow inside; the first thing you can do is to add a layer of craquelin, a thin dough that can be added to the choux pastry before it goes in the oven. This dough melts when it hits the heat of the oven and takes a while to set up; in that time the pastry expands fully giving you a beautifully round pastry, that is perfectly hollow. The craquelin effectively slows down the rate at which the choux pastry forms a crust, allowing it expand fully. Adding a a generous sprinkle of pearl sugar also does the same job; it’s also a hell of a lot easier. You can also spray the piped choux pastry with a little oil or dust them with icing sugar, both of which also interrupt the formation of the crust and allow for full expansion. Whilst I try hard to use ingredients that are widely available from supermarkets, pearl sugar is one of those ingredients you’ll need to track down some place else. If you happen to have a Swedish grocer or deli nearby, its a safe bet they’ll have the sugar in stock, if not it is very easy to buy online.
Choux Ratios
When it comes to choux pastry you can think of the recipe through weight but a really useful way of remembering the recipe is via a simple ratio, 2:1:1:2 - 2 parts liquid, 1 part butter, 1 part flour, 2 parts egg. You also need to add a small amount of salt and a small amount of sugar, but these are small seasoning level amounts. In my recipe below, the ratio might look a little different as I like to use half water and half milk so you could even express the ratio as 1:1:1:1:2, 1 part water, 1 part milk, 1 part butter, 1 part flour, 2 parts egg. After years and years of making choux, with many recipes tried, this simple recipe has proved to be my favourite.
You might also be wondering why I call for a mixture of milk and water instead of just one or the other. The answer is the culinary equivalent of sitting on the fence. When only water is used, the choux puffs up brilliantly but doesn’t brown as well, when only milk is used the choux browns brilliantly but don’t puff up quite as much, as the milk causes the eggs to coagulate a little quicker so the choux puffs up a little less. For a best of both worlds situation, I use an equal mix of the two.
When it comes to baking temperature many recipes like to start with a high temperature to give an initial blast of heat before lowering the temperature to finish the choux and dry it out. I have found this generally unnecessary and actually counter to even baking, baking them at a steady 190ºC (170ºC Fan) result in more evenly shaped choux,
Chantilly
Chantilly, a fancy French way of saying whipped cream, is simply a lightly sweetened whipped cream. In this recipe, it is a little more involved but almost just as easy. A mixture of cream and milk chocolate is used but a little milk is also added. The reason for the milk is ensure a cream that whips easily without turning grainy. When chocolate is added to the cream it can make whipping the cream more prone to over whipping, leaving you with a grainy end result. The milk counteracts this problem and helps you create a deliciously light cream.
Caramel
This recipe is made using the ‘dry caramel’ method. This simply means the sugar is caramelised on its own, no water is added. I find this method the simplest, simply because it is much less prone to crystallisation. You simply add the sugar to a saucepan and heat it until it melts and caramelises. You stir the caramel a little, to ensure even melting, and then you simply cook it according to colour. The lighter the finished caramel, the sweeter it will taste, the darker the caramel the more bitter it will become. The key is finding that sweet spot, where the caramel has a bittersweet flavour, rich and well developed but not burnt or offensively bitter. For me, that means cooking the caramel until it is a deep amber brown, the colour of an old penny. To ensure a smooth caramel making process, a useful step to include is heating up your cream before it is added to the sugar. Cold cream added to hot melted caramel will lead to your caramel seizing into a large lump. To rescue the seized caramel you have to turn the heat to low and cook the caramel until the lump melts back into a smooth caramel; the problem with this is that as it continues to cook the moisture will continue to evaporate meaning the final caramel will not have the intended texture. By simply bringing the cream to a simmer before you start caramelising the sugar, you can entirely avoid this problem.
The full recipe is below, for paid subsribers. To get exclusive weekly recipes why not become a paid subscriber
Keep reading with a 7-day free trial
Subscribe to The Boy Who Bakes to keep reading this post and get 7 days of free access to the full post archives.


