
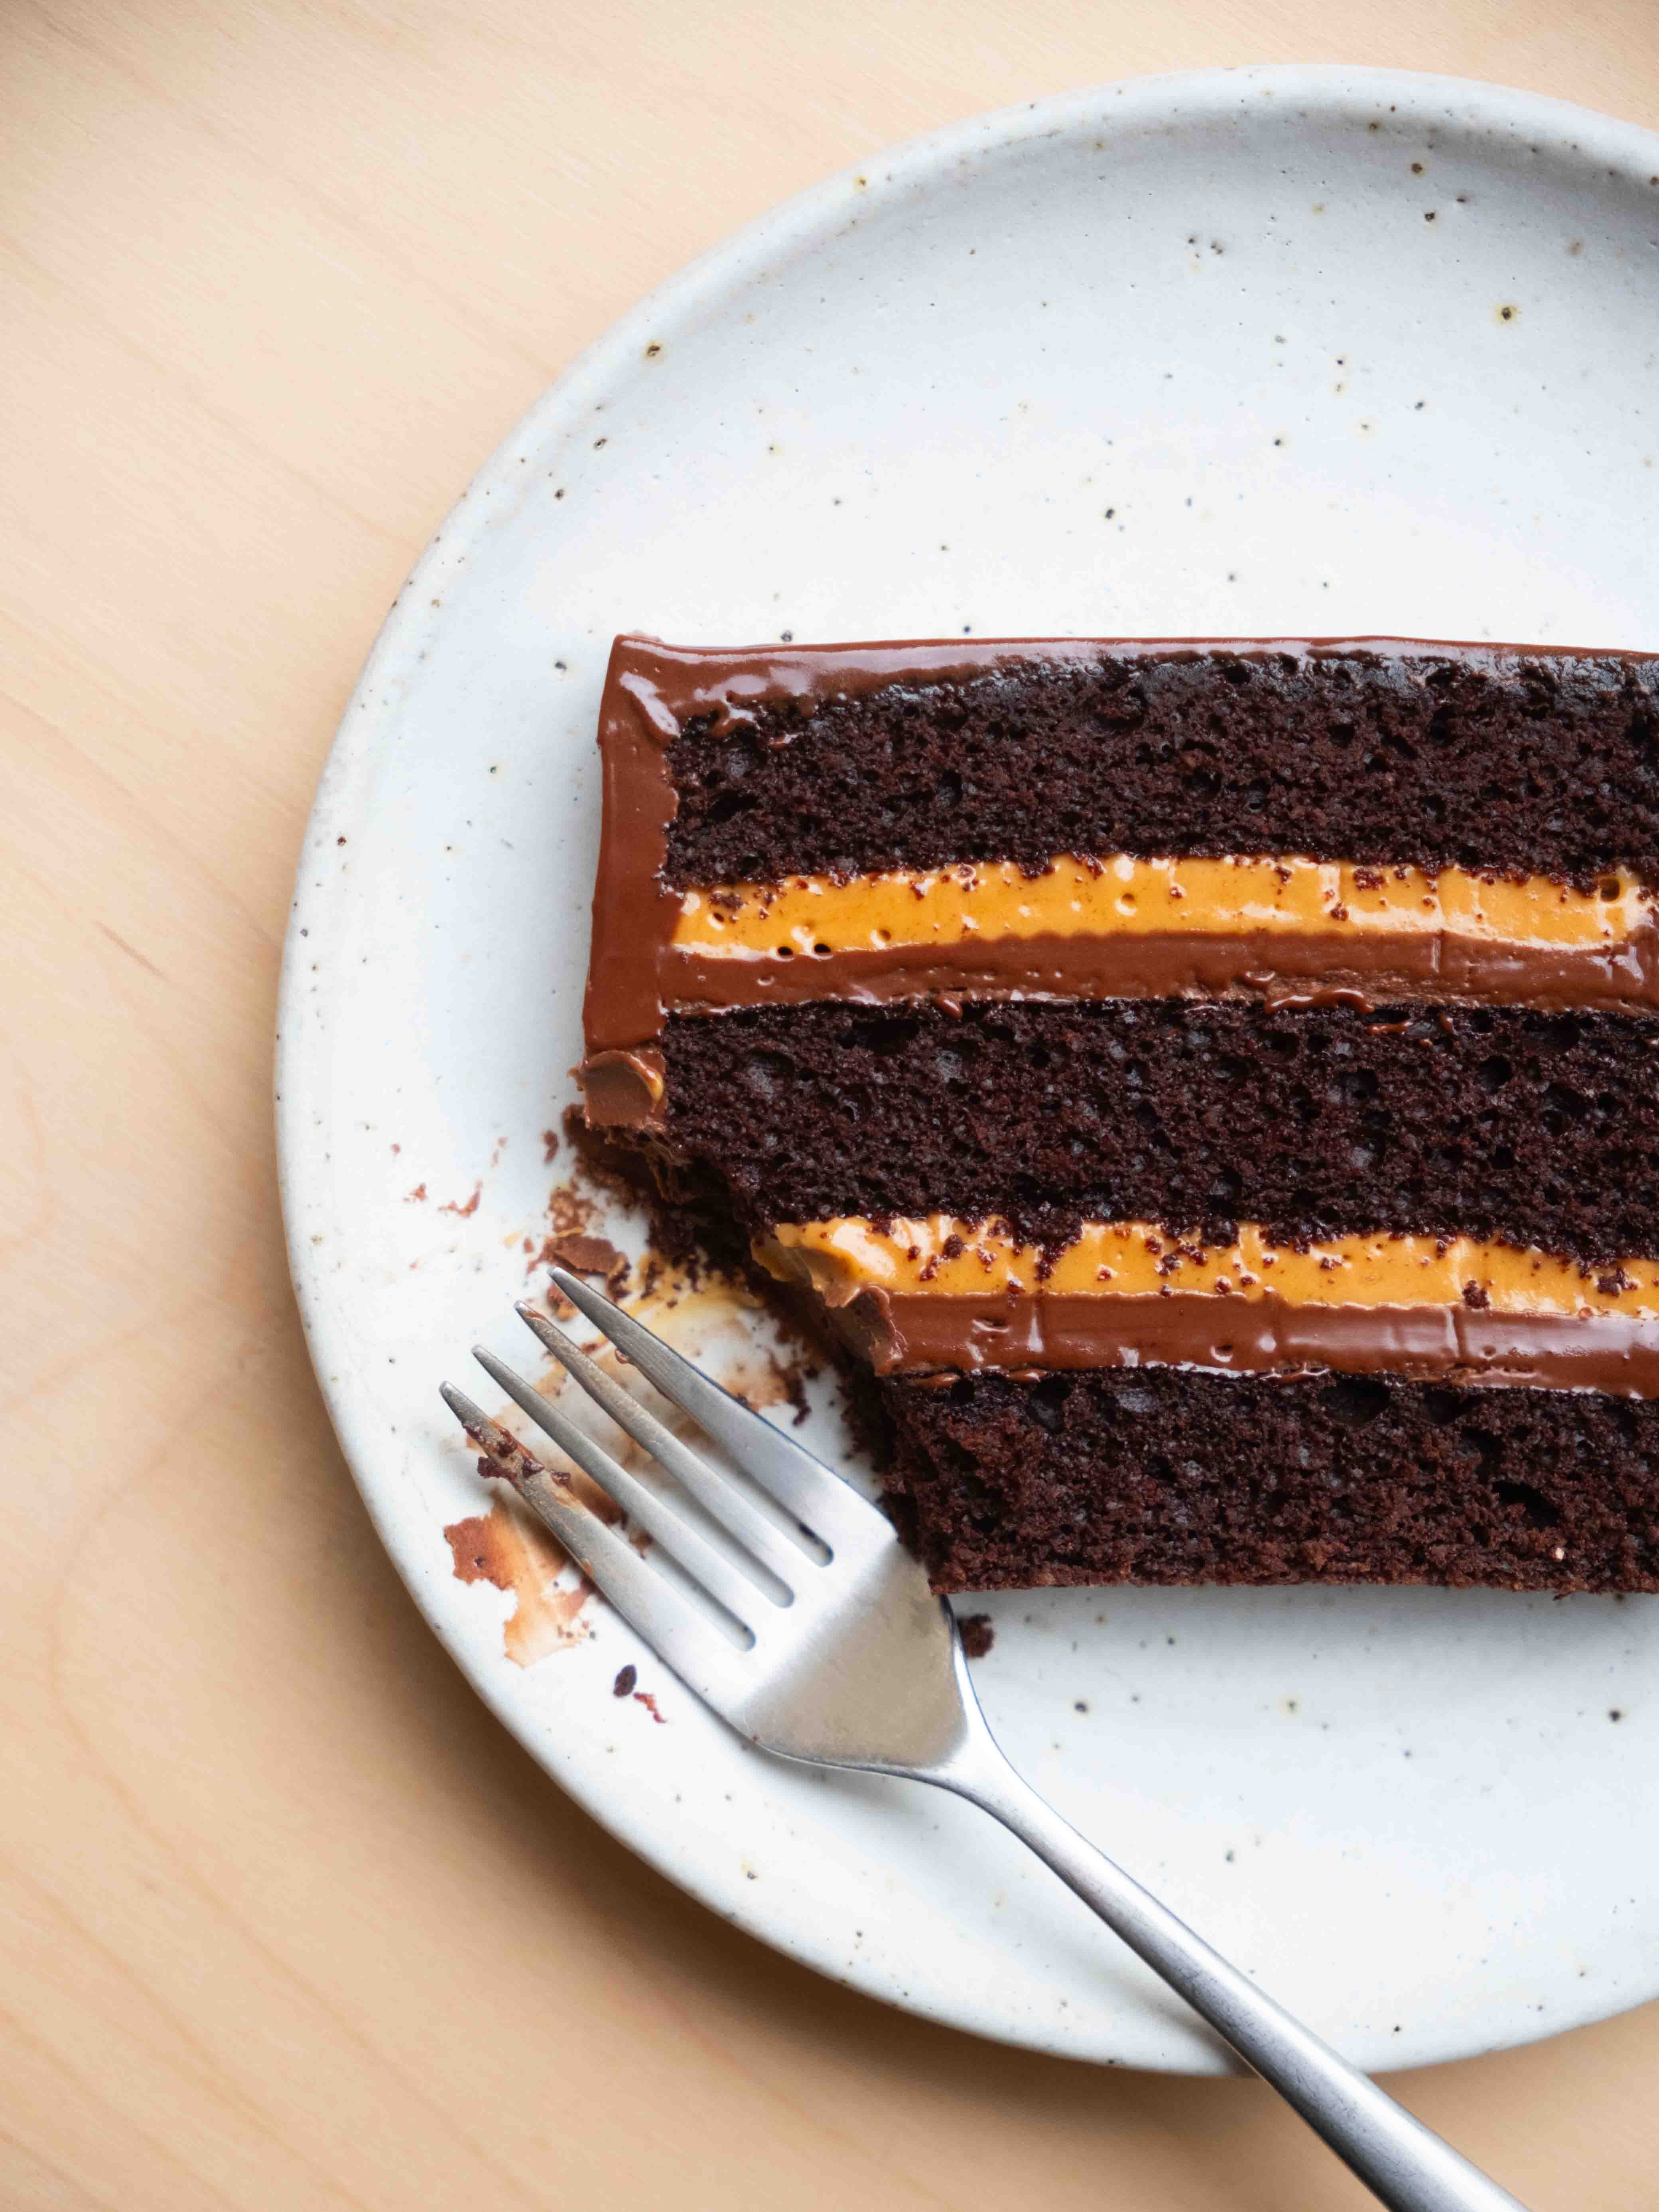
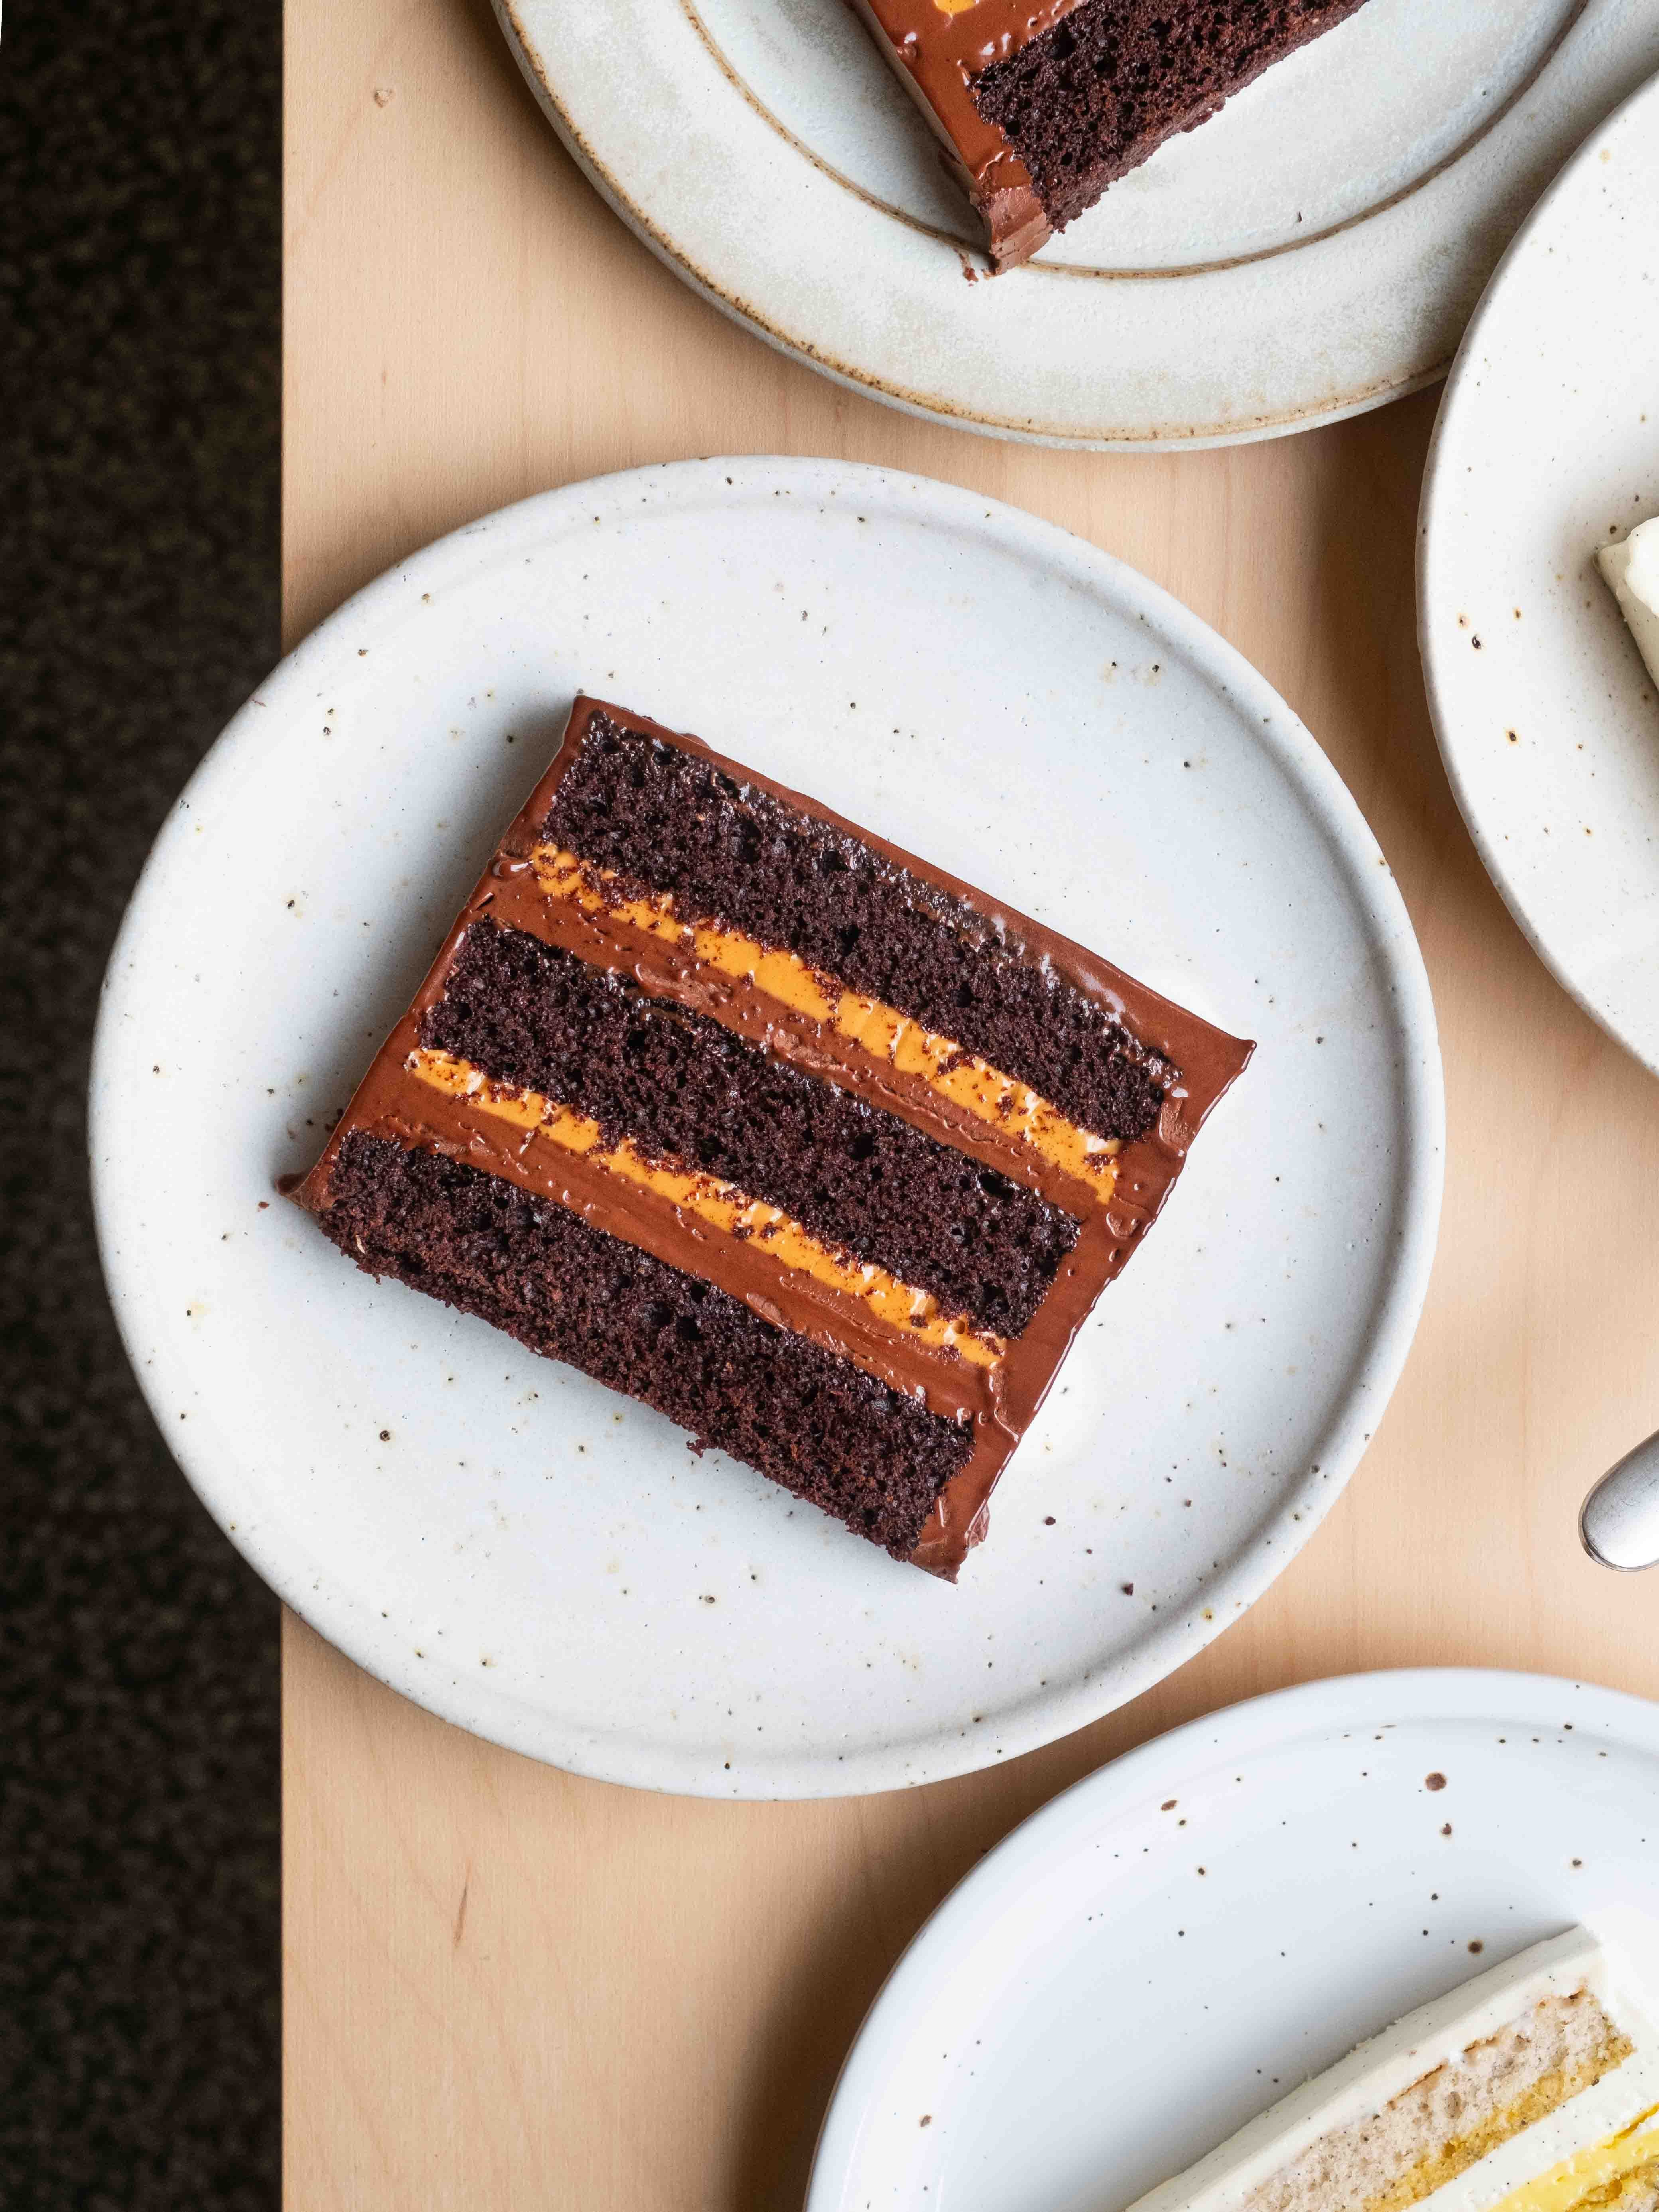
Whipped Caramel Chocolate Cake 2.0
Slab Cake Edition

Hello, happy Friday!
Do you believe in coincidences?
Personally, I’m not sure, but this is definitely one funny quirk of timing. Over the last month, whilst I have been on tour, there has been a slow but steady increase in demand for one specific thing: the method for turning the chocolate and caramel cake from Chocolate Baking into a slab cake. Whilst I was on the road, the cake was going viral.
I have received such a deluge of messages about the cake that I knew the second I had a little bit of free time at home, I would post the updated recipe and method. What I didn’t know is, the day I started testing out the required amendments to turn the cake into a slab, the bakery that was selling the cake let me know they had decided to finally take it off the menu, on the exact same day I had planned on posting the recipe, today! So, if you missed out on getting a slice at the bakery, now you can make it at home!

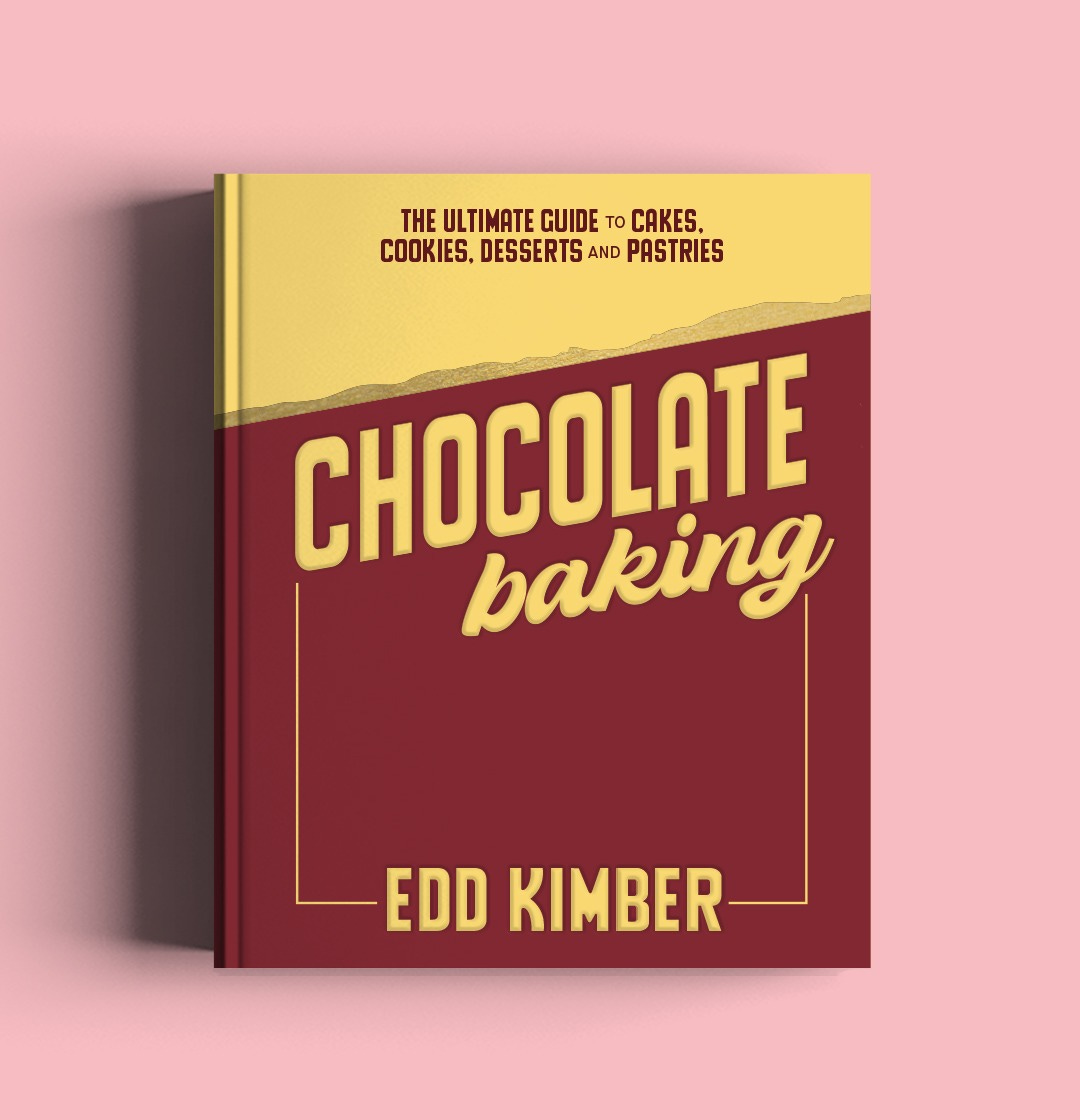
For those of you who have no idea what I’m talking about, let me briefly fill you in. We held my book launch party at my friend George’s amazing bakery, Populations, which is housed inside Cornershop in central London. For the party, George and I decided to serve just one thing, the cake. I thought it would be the perfect dish that really encapsulated the book and would go down a treat at the party. I suggested making it as a slab, purely to make it easier to make and serve at scale. George decided to keep it on the menu for a week or so after the party, and then something completely unexpected happened, it started selling out every day, within minutes of t hitting the counter. Every day it sold out quicker and quicker, and then people actually started queuing up before the cake was even on the counter, even badgering staff when it wasn’t out yet or had sold out! The demand only seemed to grow, and by the end, the bakery had to institute both a separate cake-specific queue as well as limiting customers to a single slice. That alone would have been an amazing response, but this is one of those rare moments of genuine virality. Whilst I was on tour, we put the cake on the menu at Parachute Bakery in San Francisco and at Hani’s Bakery in NYC. In both places, the cake sold out so quickly! Beyond the bakeries I have collaborated with, I have also seen it on the menu at over 20 bakeries in 8 different countries, which is honestly mind-blowing. It is just cake after all!
As requested and promised, today I am sharing the recipe and method for turning this cake into the slab version of your dreams. Thankfully, it is an incredibly easy transition, and the recipe itself doesn’t really change much beyond the tin required to make a slab. I will also include some additional advice on how to achieve the best result when making each of the three elements. For the eagle-eyed amongst you, you’ll also notice that I have included the American measurements, which is not something I do in this newsletter (I am a dedicated advocate of baking with weight instead of volume), and this is purely because the book also includes the volume measurements, so I replicated that here.
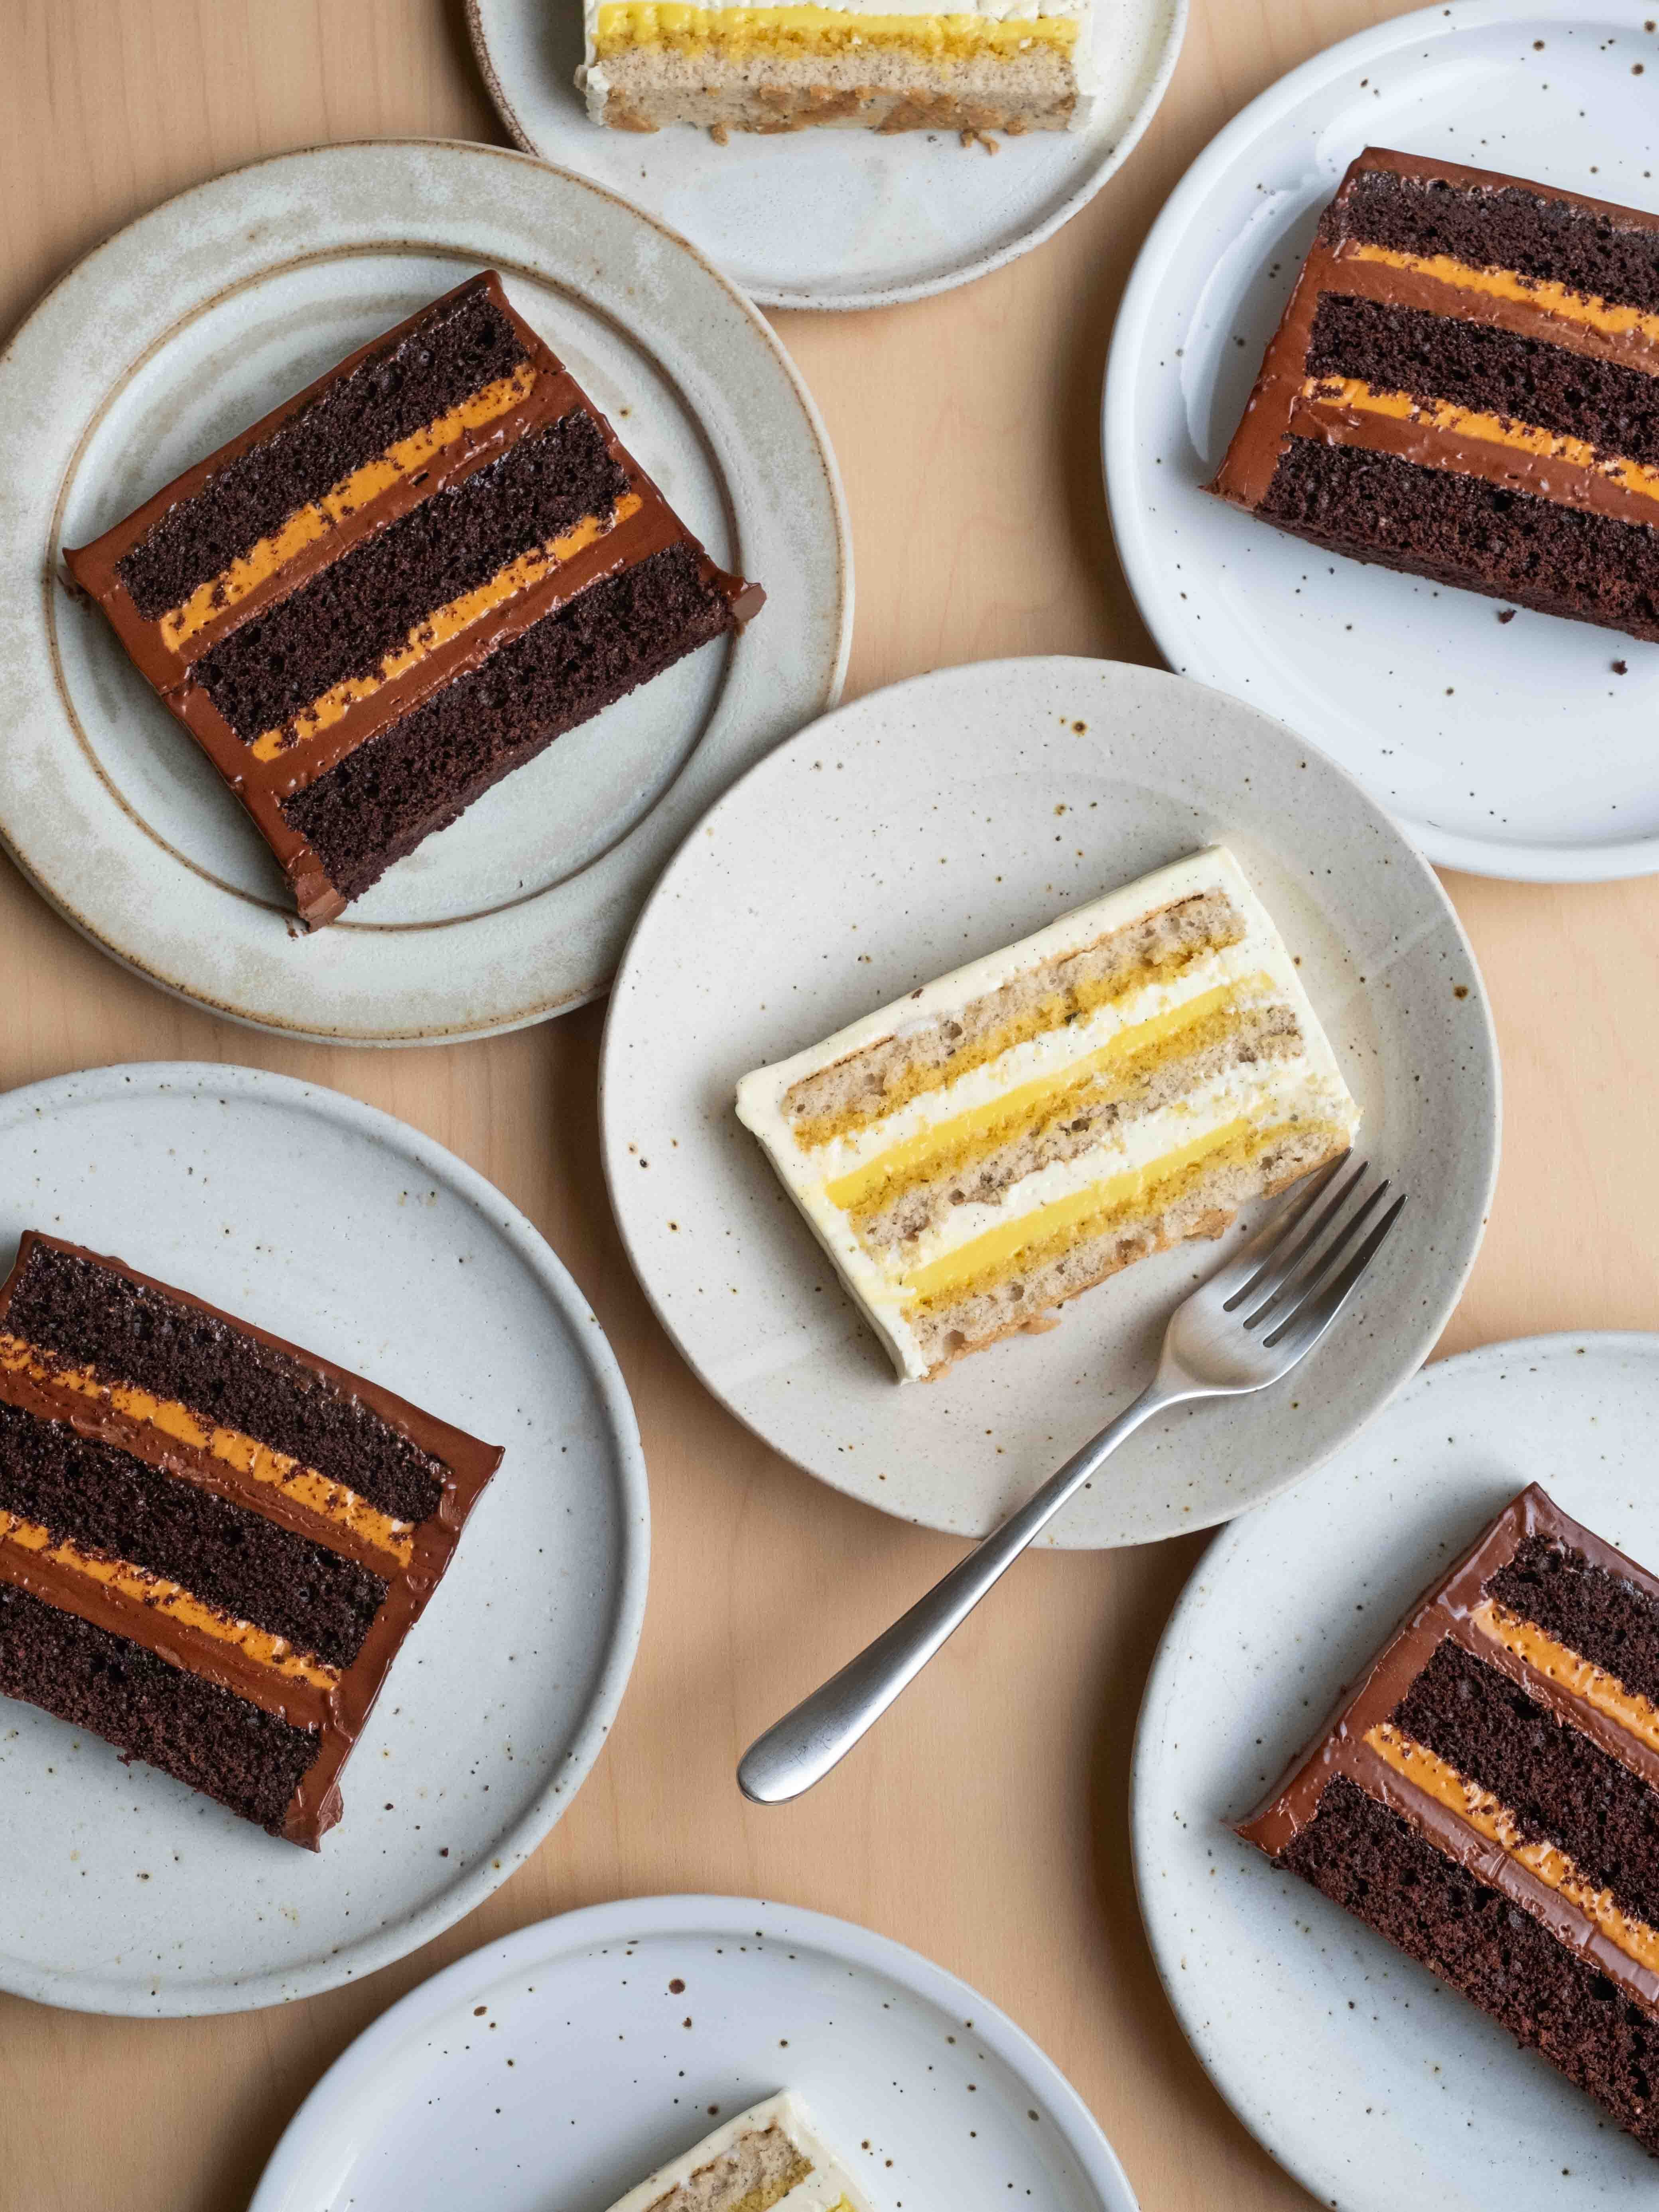
For paid subscribers this week, I have another slab cake, think of it as the opposite of the chocolate cake, a light jasmine tea genoise with a passion fruit ganache, which is then finished with a salted vanilla buttercream.
Chocolate and Whipped Caramel Slab Cake
Serves 8
Chocolate Cake
45 g (3 tablespoons) unsalted butter, diced
50 g (13⁄4 oz) dark chocolate (65–75% cocoa solids), finely chopped
80 g (2⁄3 cup) plain (all-purpose) flour
50 g (scant 1⁄2 cup) wholemeal (wholewheat) rye flour, or plain (all-purpose) flour
1⁄2 teaspoon baking powder
1 teaspoon bicarbonate of soda (baking soda)
1⁄4 teaspoon fine sea salt
125 g (1⁄2 cup + 1 tablespoon, packed) light brown sugar
25 g (1⁄3 cup) cocoa powder (dutched)
100 ml (1⁄3 cup + 1 tablespoon) hot black coffee
100 ml (1⁄3 cup + 1 tablespoon) buttermilk
1 large egg
Whipped salted Caramel
150 g (3⁄4 cup) caster (superfine) sugar
200 ml (3⁄4 cup + 1 tablespoon) whipping (heavy) cream
15 g (1 tablespoon) unsalted butter pinch flaked sea salt
Ganache
230 g (8 oz) dark chocolate, 60–70% cocoa solids, finely chopped
180 ml (3⁄4 cup) whipping (heavy) cream
2 tablespoons golden syrup or honey
185 g (12⁄3 sticks) unsalted butter, diced and at room temperature
For the caramel, add the sugar to a medium saucepan and place it over medium heat. Pour the cream into a separate small saucepan, place over a medium heat, bring to a simmer, then remove from the heat. This stage is very important because if you add cold cream to hot caramel, it will form a large lump that will take time to cook out, resulting in a reduced mixture that won’t whisk as easily.
Cook the sugar until it is fully melted and caramelised to a dark coppery brown colour. Add the butter and salt and swirl to combine. Carefully pour in half the cream; it will bubble up aggressively, so take care and allow the bubbling to subside before pouring in the rest. Because you warmed the cream prior to adding it to the melted sugar, you should have a smooth sauce; if not, turn the heat to low and stir until smooth. Pour the smooth caramel into a large bowl, then set it aside for 30 minutes before transferring it to the refrigerator to chill for at least 4 hours.
Tips: when making the caramel, take it as dark as you dare. A pale caramel wont have the intensity of flavour to stand out against the dark chocolate. Refrigerating the caramel for at least four hours is a non-negotiable. If you try to whip it too early, it will likely split and be too loose to use. If you prefer, you can make the caramel a day ahead, though it will whip best after around 4 hours.
To make the ganache, place the chocolate in a large heatproof jug and melt it in the microwave. Pour the cream and golden syrup into a small saucepan, place over a medium heat and bring to a bare simmer. Remove from the heat and pour a third over the chocolate and stir to combine. Add the remaining cream in two additions, stirring well until a silky-smooth ganache is formed. Add the butter and stir it into the ganache until it is smooth. If you have one, finish with a brief blend using a stick blender to ensure the ganache is thoroughly emulsified. set aside until it is thick but spreadable.
Tips: if you have the book, there is a whole section on making ganaches successfully, but the above method is designed to make a ganache which is less prone to splitting (this is also why I use whipping cream instead of double cream). This ganache is particularly rich because of the butter, which makes it a little more prone to splitting. To prevent this from happening, only bring the cream to the barest of simmers. Because the chocolate is already melted, the cream doesn’t need to be boiling; in fact, boiling cream will actually make a split ganache more likely. I also always use a hand blender for this ganache; it's a fail-safe that guarantees the silkiest texture.
Preheat the oven to 170°C/150°C Fan (340 ̊F). Lightly grease a 9x13inch cake pan and line the base and sides with baking parchment, securing the parchment in place with a couple of metal binder clips.
To make the cake, place the butter and chocolate in a bowl set over a pan of simmering water and heat, stirring occasionally, until both are fully melted. Meanwhile, mix together the flours, baking powder, bicarbonate of soda, salt, brown sugar and cocoa. If you use good-quality brown sugar and cocoa, they may be prone to forming lumps (due to the amount of molasses in the sugar and the fat in the cocoa powder). If this happens, pass them through a fine-mesh sieve to ensure a lump-free mixture. Remove the bowl of chocolate from the heat and stir in the hot coffee, then the buttermilk. Once smooth, add the egg and whisk until smooth and combined. Pour the liquid ingredients into the flour mixture and briefly whisk until a smooth batter is formed. Don’t over-whisk, as you can develop the gluten in the batter, leading to a less tender cake. This is doubly important if using rye flour, as it can lead to an unpleasant gummy texture. Pour the batter into the prepared tin and spread it into an even layer.
Tips: whilst it is always important to prepare your ingredients ahead of time, it is advisable to prepare the hot coffee as close to using it as possible. If the coffee is allowed to cool too much, the final batter can be a little thick and will take more effort to spread into the tin. It is by no means a deal breaker, but it will make your life a little easier. And don’t worry, you can't taste the coffee, but if, for some reason, you want to use something else, you can simply use hot water.
Bake in the preheated oven for 18-20 minutes or until the cake springs back to a light touch and has just started to pull away from the sides of the tins. Allow the cake to cool for 10 minutes, then use the parchment to lift it onto a wire rack to cool completely.
Remove the caramel from the refrigerator and, using an electric hand mixer, whisk on medium-high speed until the caramel turns light and pale and forms soft peaks. It won’t be as light as whipped cream or meringue, but it should be thick enough to hold its own shape.
Tip: This whipped caramel needs to be thick enough to hold its shape; if it is too loose, it can make assembling the cake tricky.
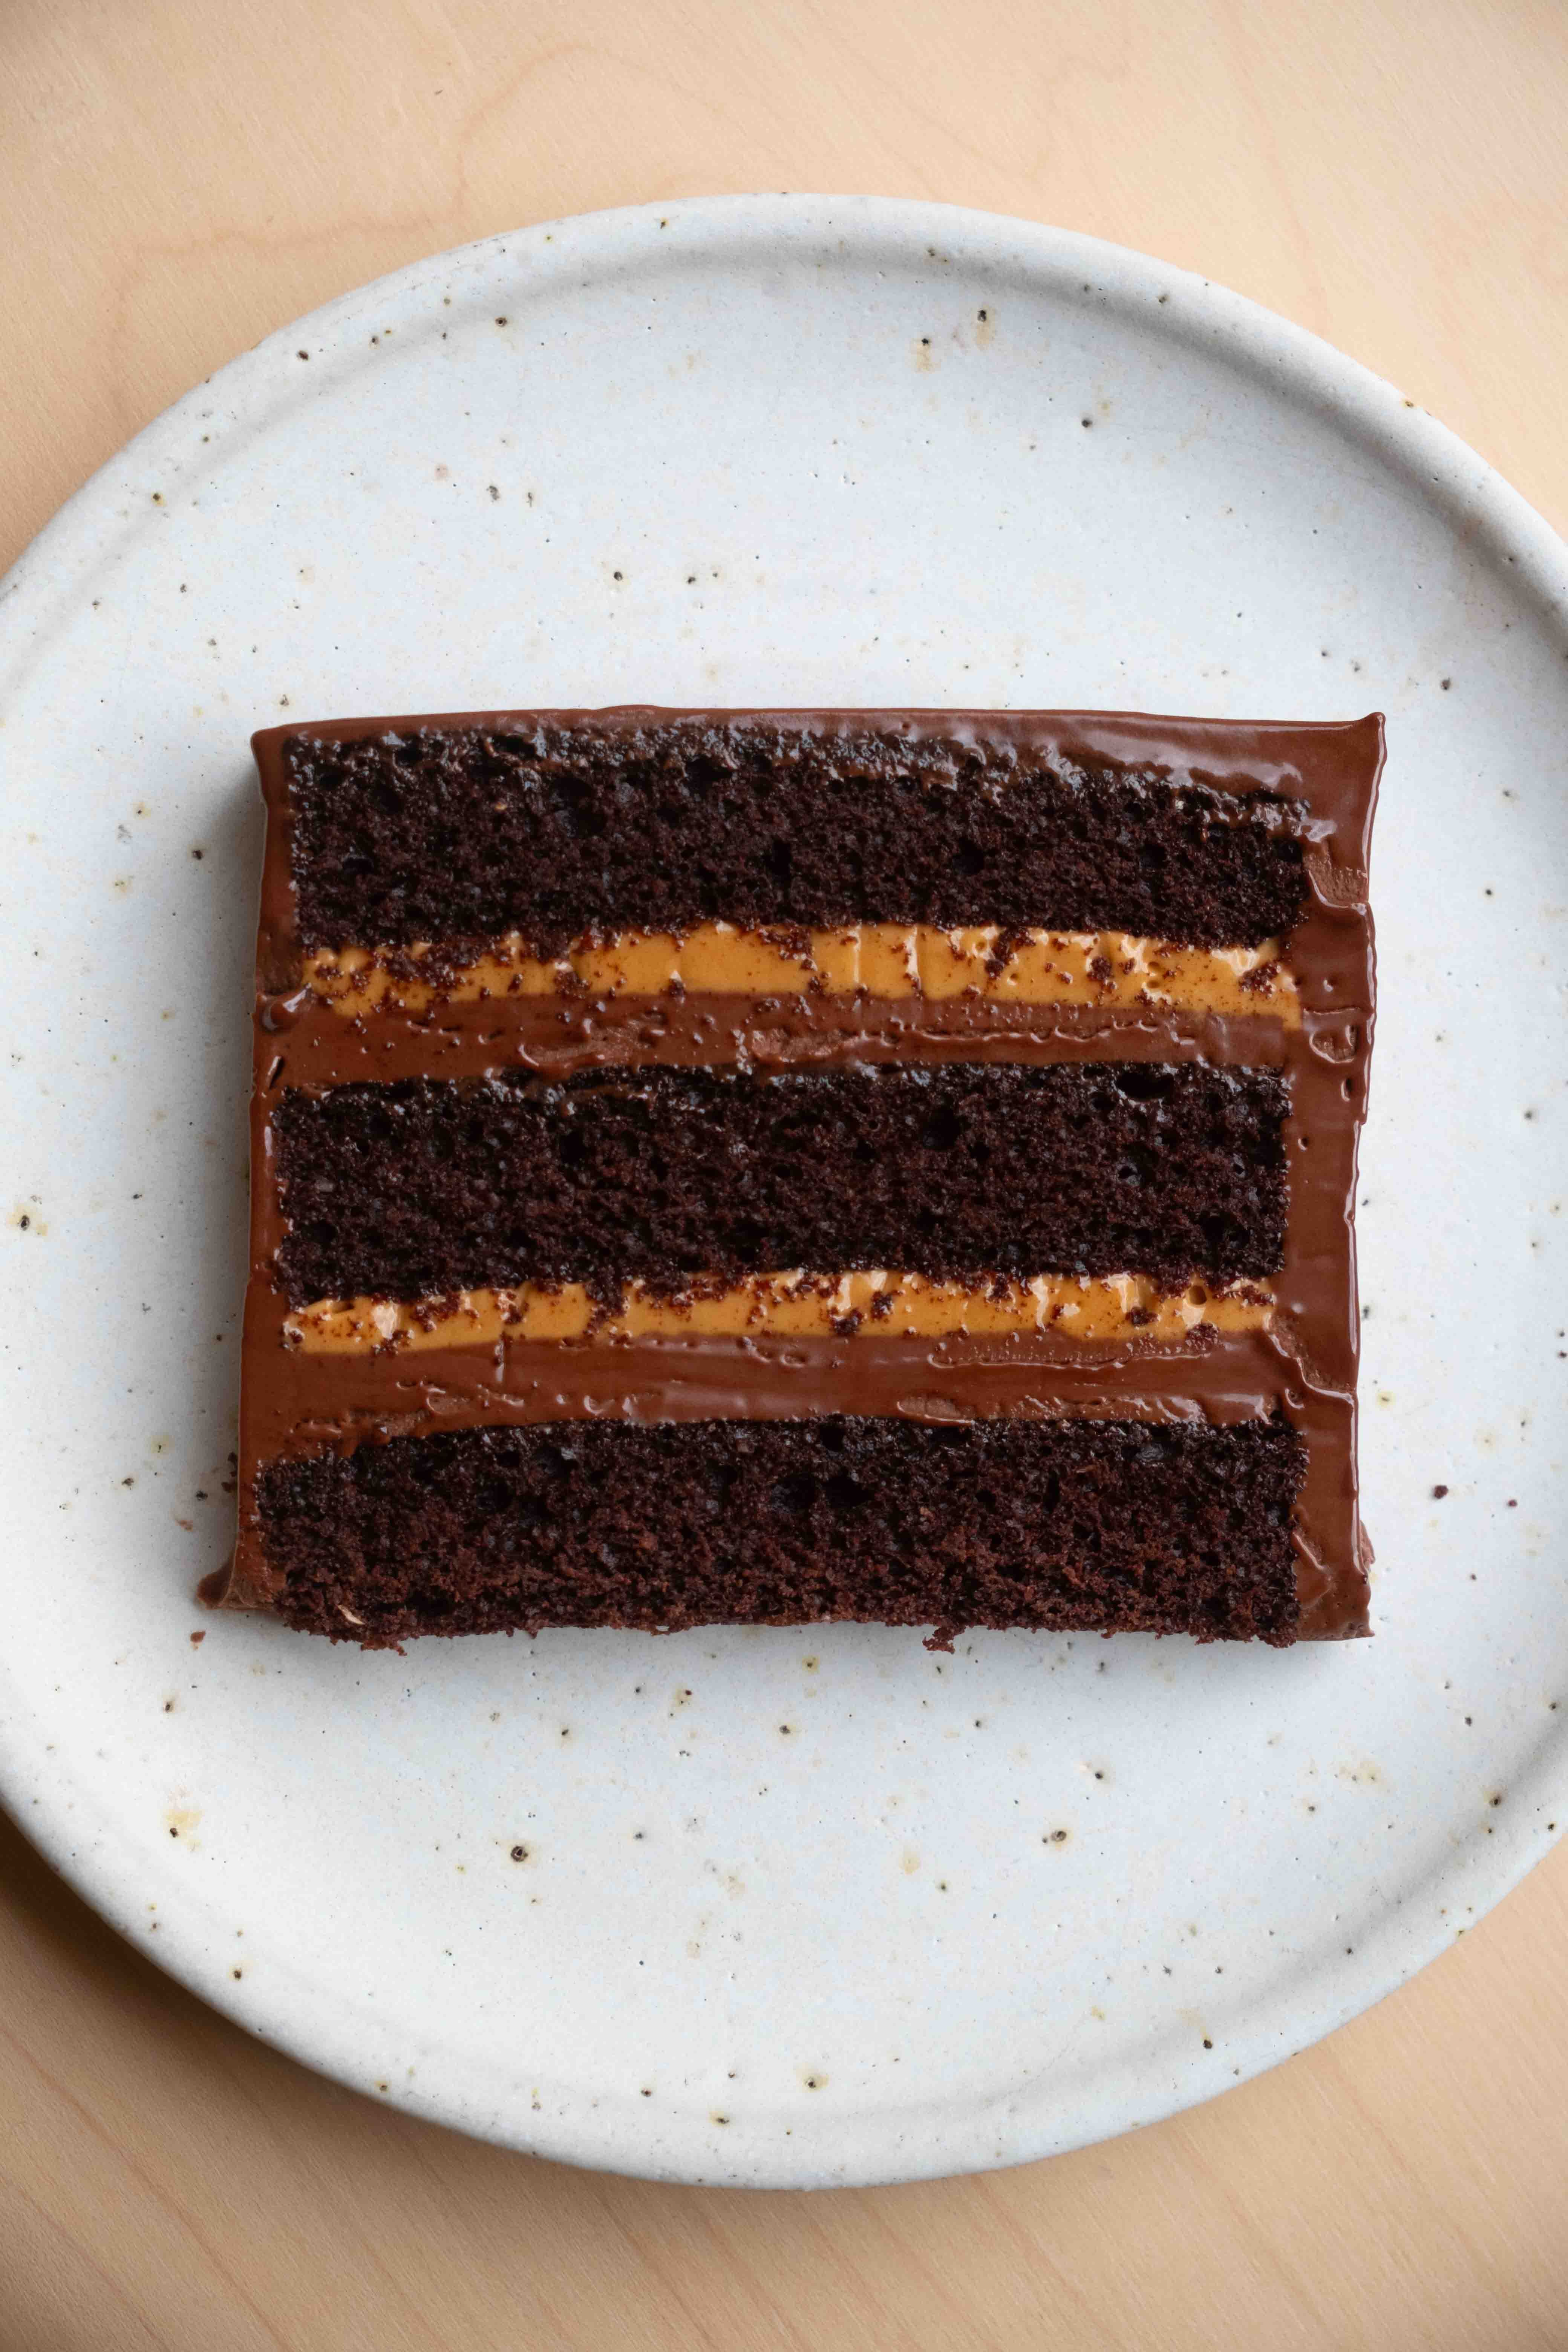
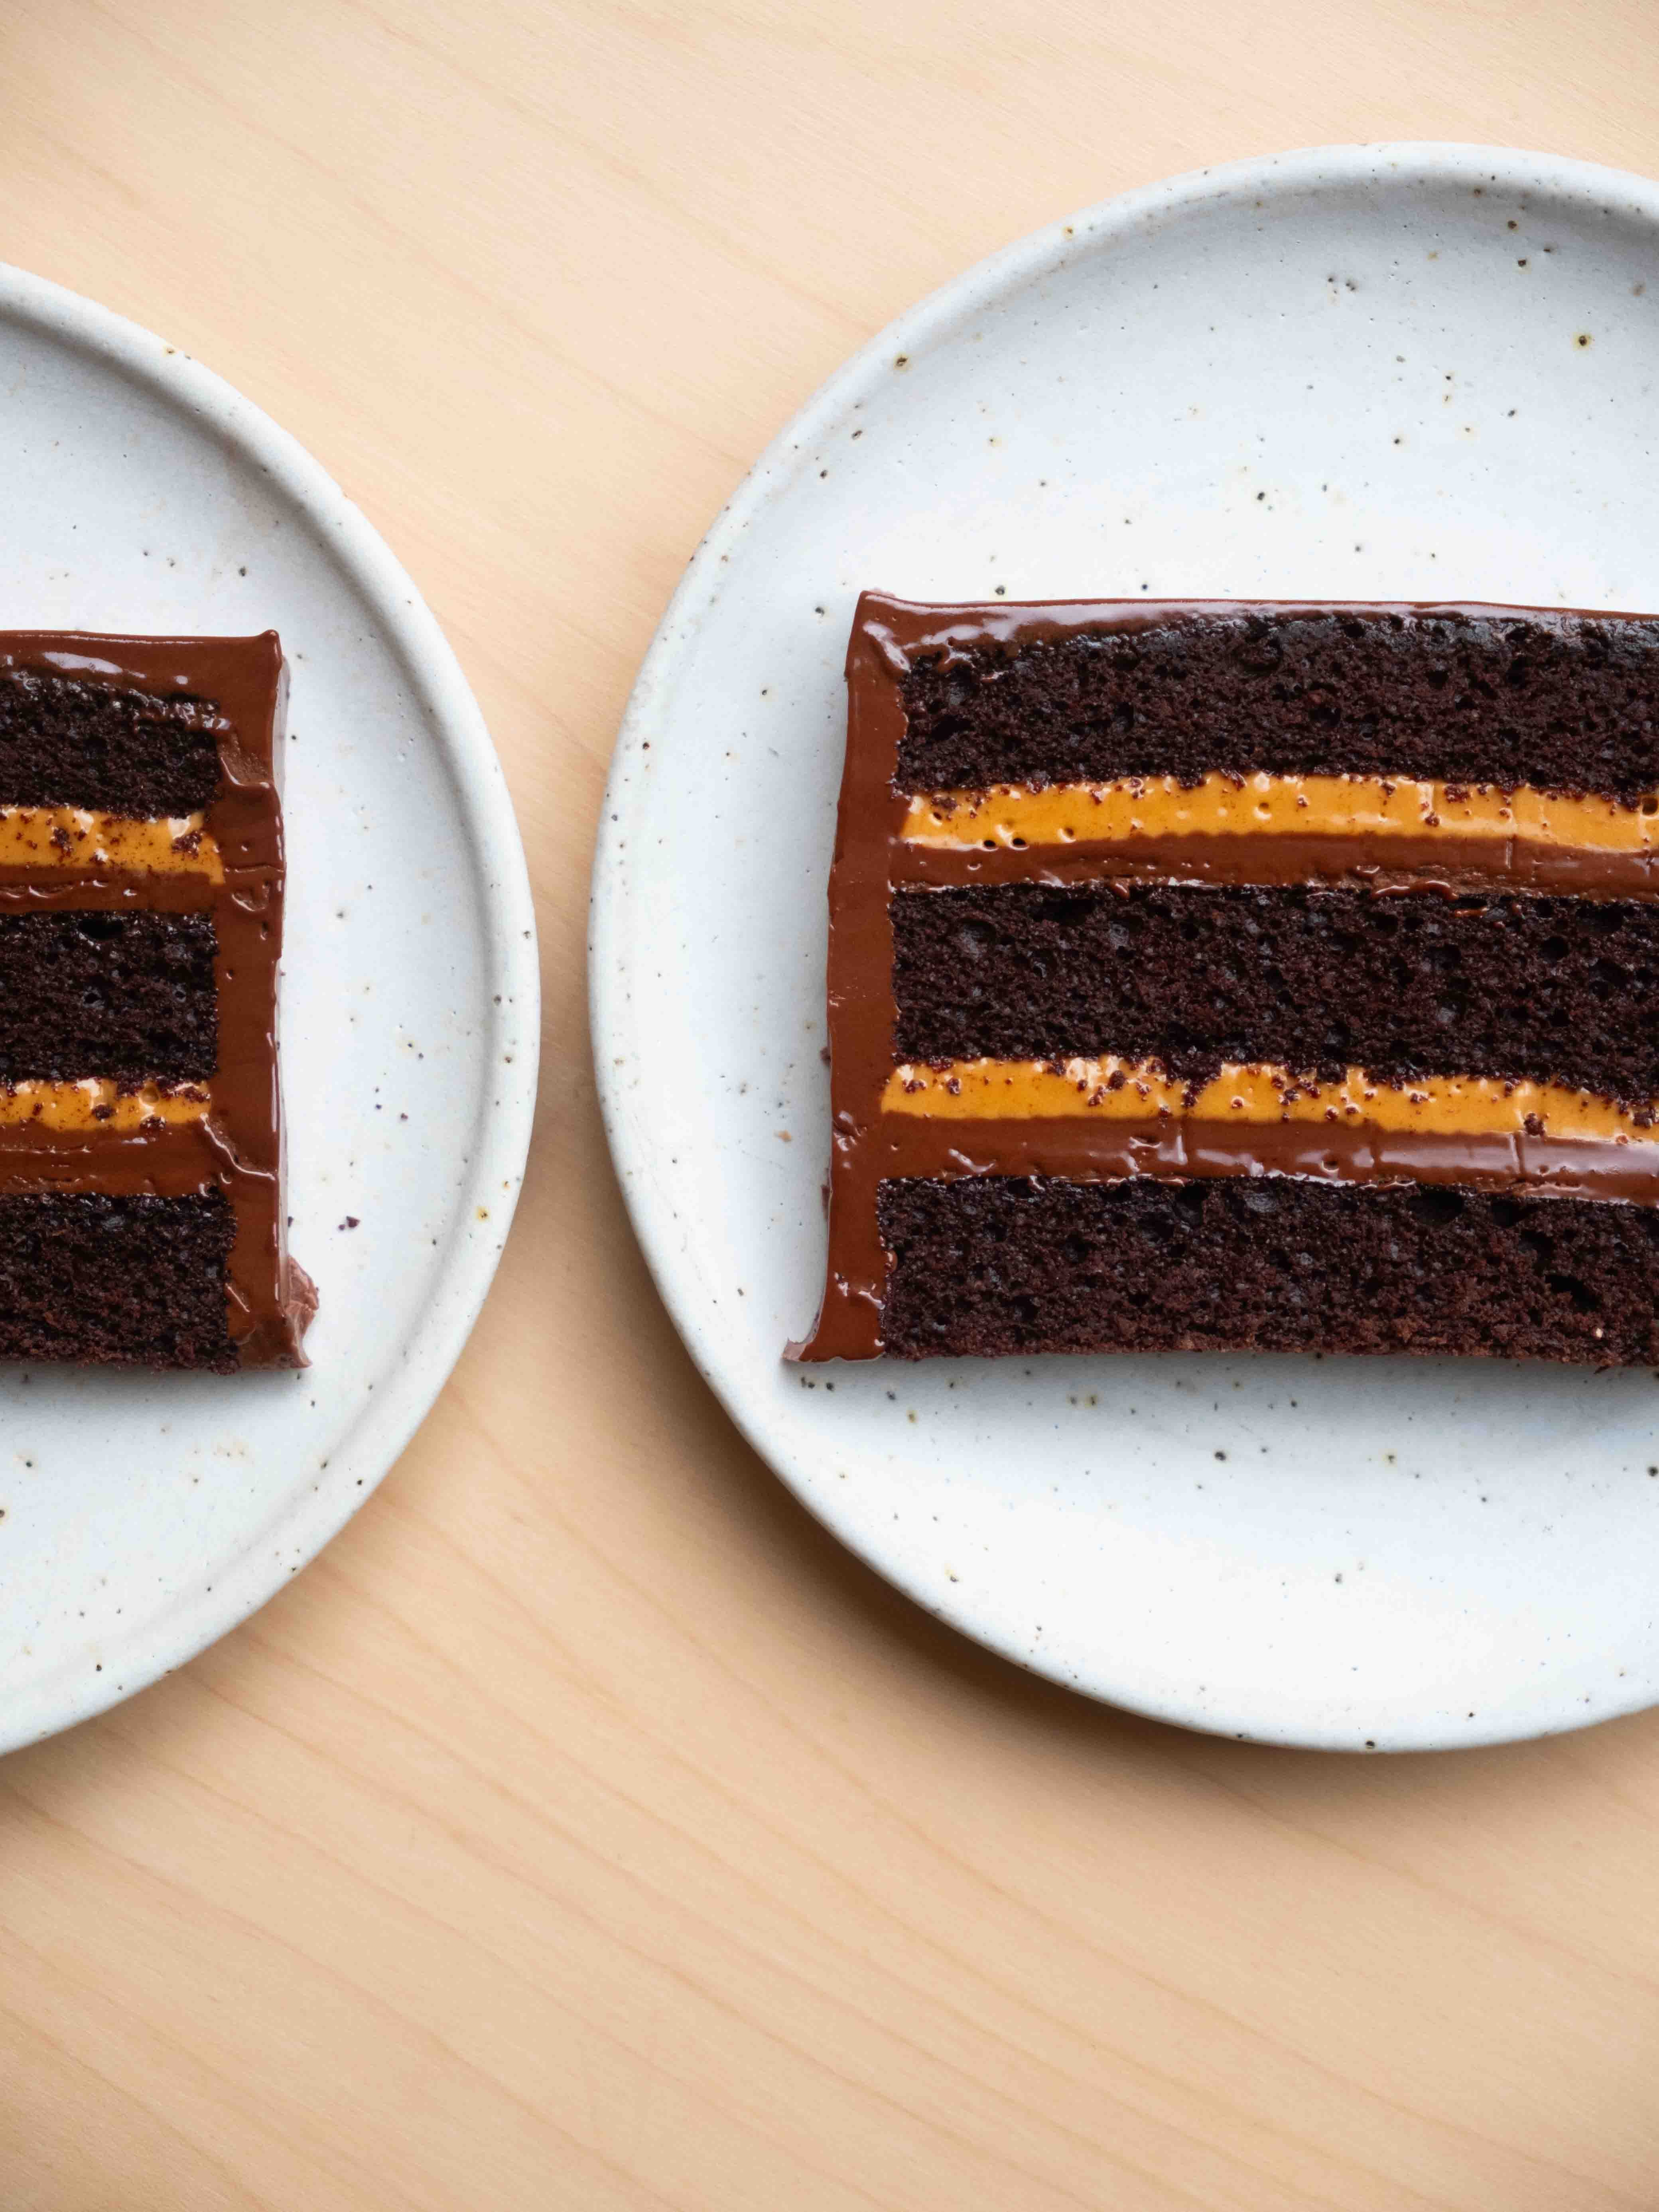
To assemble, use a serrated knife to cut the cake layer into three smaller rectangles. Place the first cake layer on a serving plate and spread a little of the ganache over it, leaving a small border around the outside edge. Add a third of the caramel and spread it to cover the ganache layer. Repeat this layering process once more before adding the final layer of cake. Spread the remaining ganache over the top and sides of the cake, then set aside until the ganache has set.
Tips: I like to assemble the cake using a piping bag because it makes it easier to ensure the layers of caramel and chocolate are consistent across the cake, resulting in an aesthetically pleasing balance. Whilst the shape of this cake has changed, the amount of fillings stays the same, but do note there is just enough of both to properly fill and coat the cake, so try to ensure you only use half of the caramel for each layer of the filling. Because we are slicing the cake as a slab, I also don’t add ganache to the ends of the cake, just the longer sides.
Kept refrigerated, this cake will keep for up to 5 days. Do not serve this cake cold from the fridge, give it at least a few hours to temper, this will allow the ganache to soften and the cake to come to room temperature.
Hi is it a 130g total of AP flour or 80g AP flour and 30g of either whole wheat/rye?
Just written down the slab cake notes on post-its, and stuck them in the book. Will be using this for a celebration cake at some point.