

A Glutton For Punishment
A Glutton For Punishment
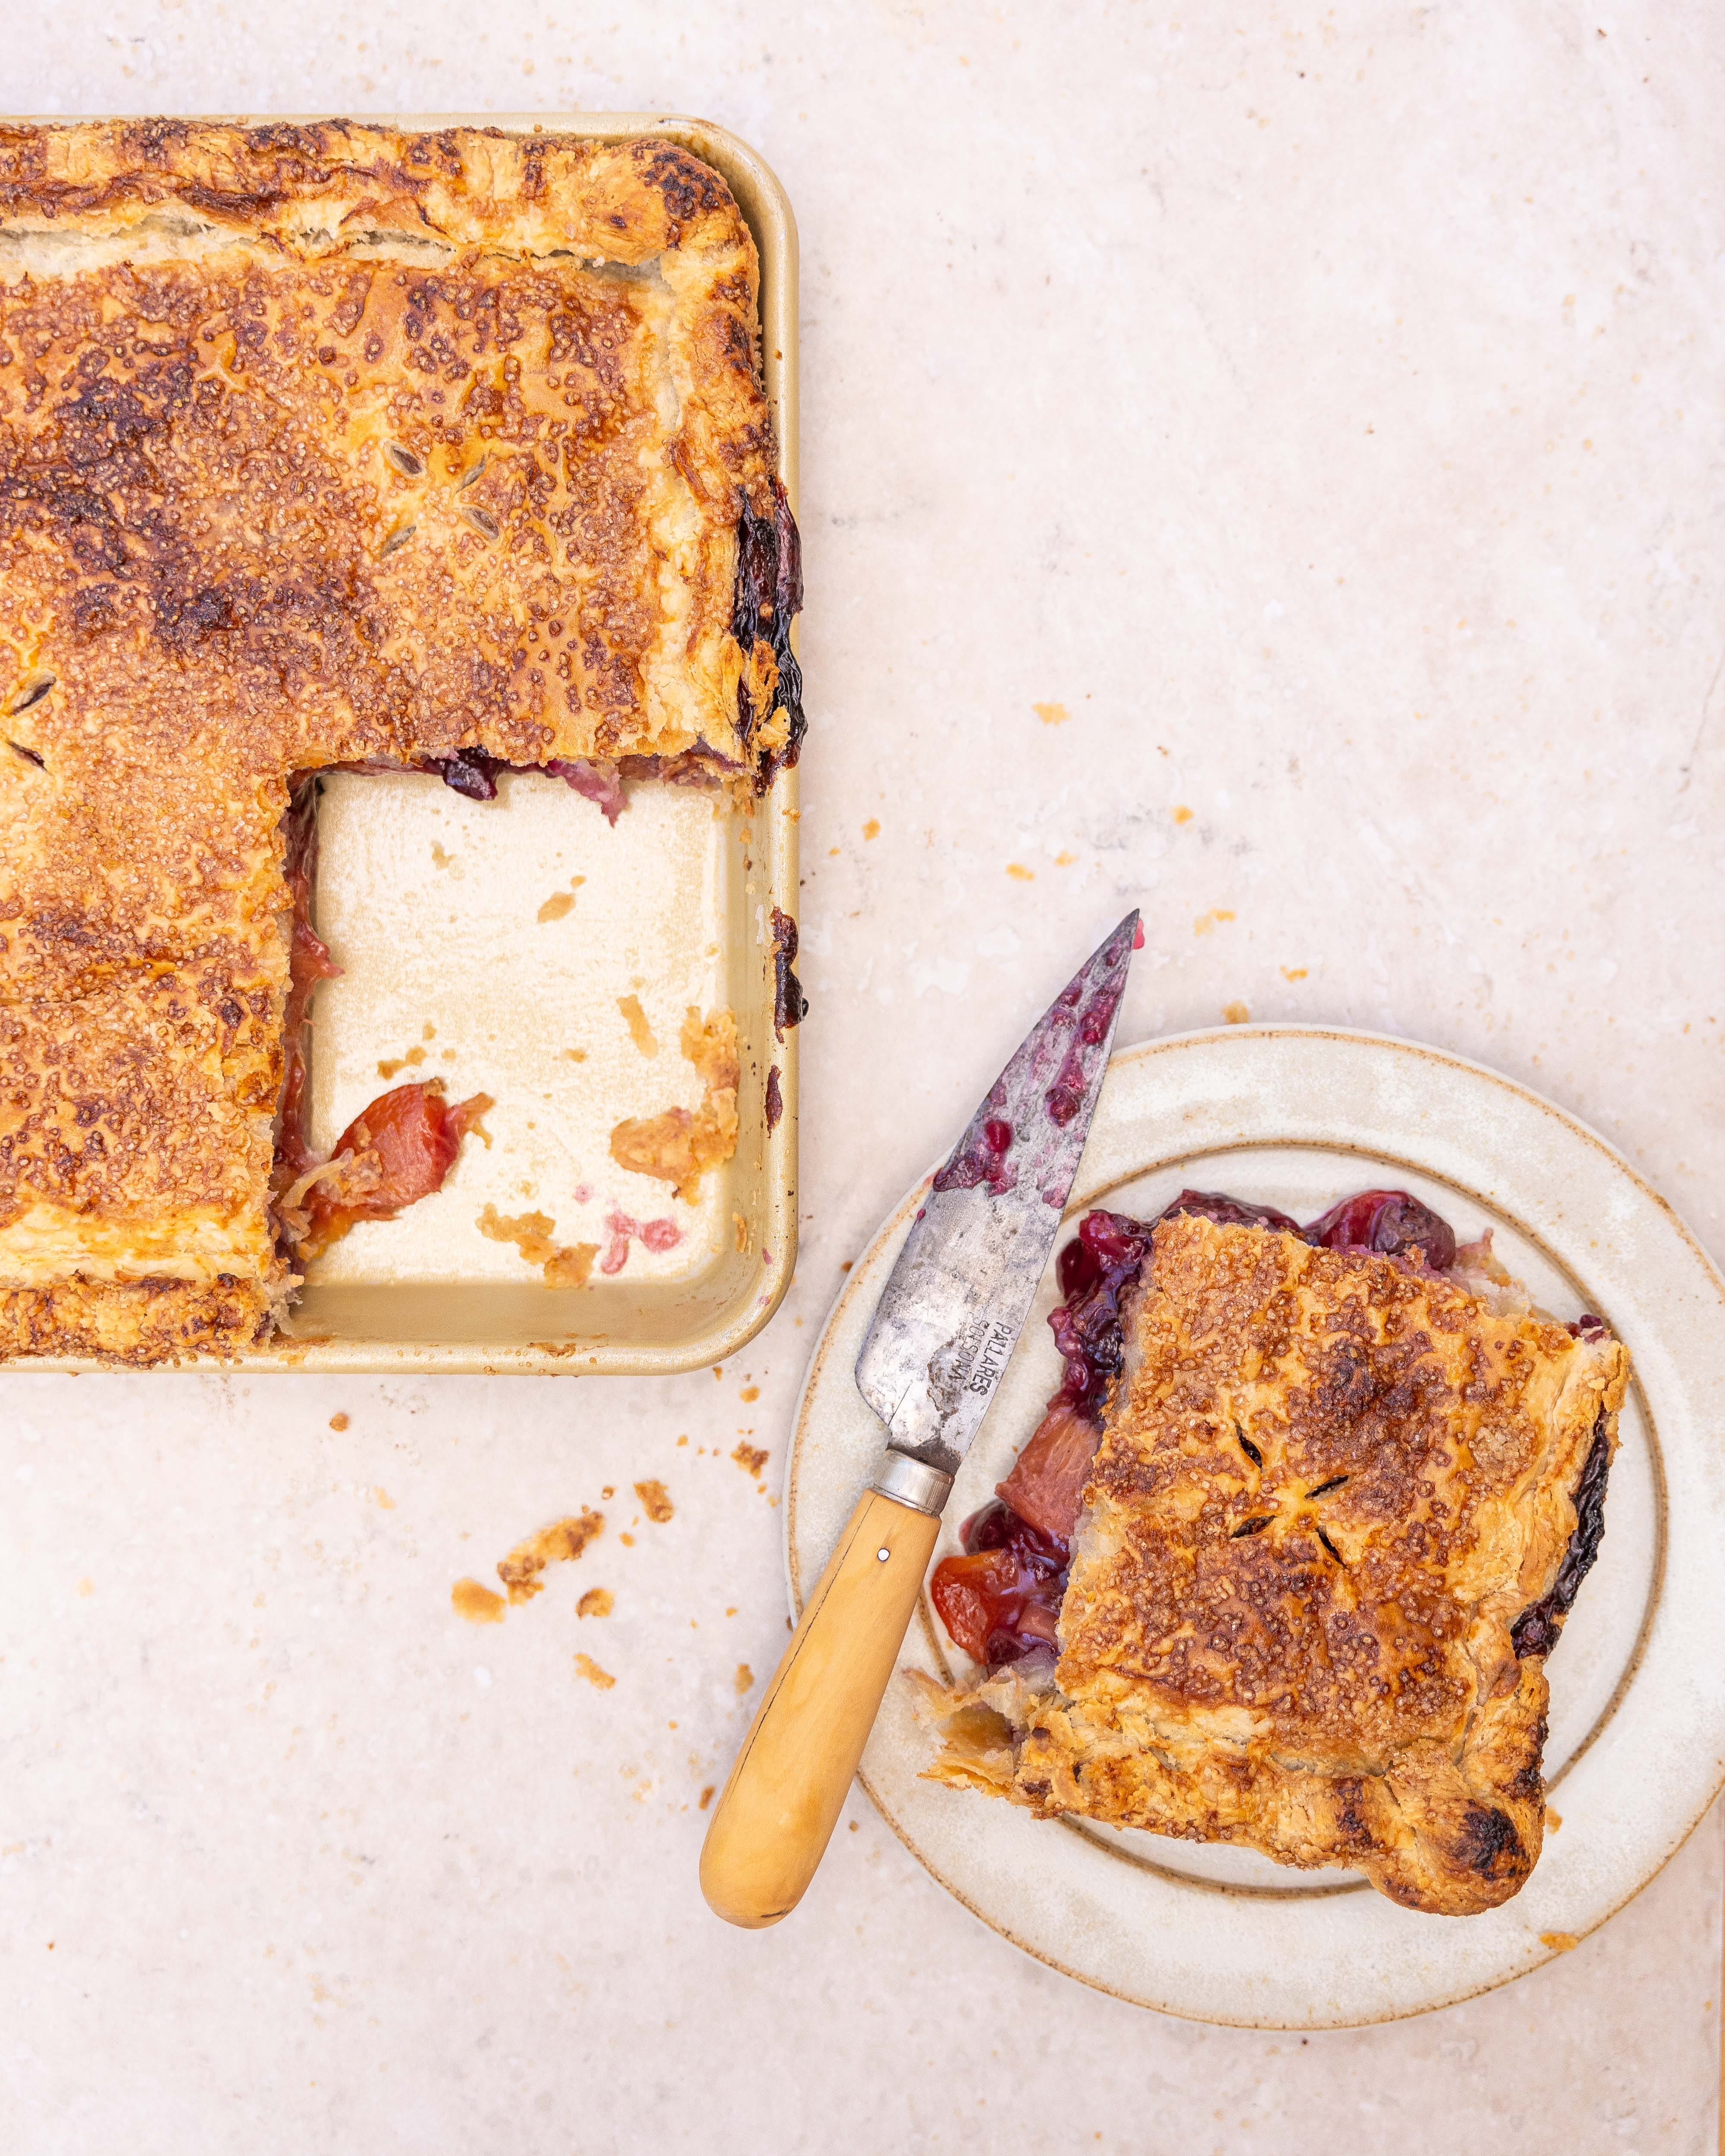
Making Pie On The Hottest Day Of The Year

🎉 Welcome to my newsletter, The Boy Who Bakes, a subscriber-supported newsletter, dedicated to all things baked. For more bonus posts, filled with exclusive recipes just like this one, you can become a paid subscriber for the weekly newsletter, Second Helpings. It costs just £5 a month and, as well as the weekly recipes, that also unlocks access to the full archive of past recipes. To subscribe, to either the paid or free newsletter, click the link below.🎉
Hi, Happy Friday!
Let's get one thing clear before we start, it was too hot to be in the kitchen this week, and yes I know it seems like us Brits are overly sensitive to heat but, trust me, it was hot. There has been a ton of debate online this week, with many Americans saying us Brits are silly to whine about the heat when its only 82ºF (thats 28ºC for my fellow brits), that we should come to Texas if we want to experience what real heat is like. And on one hand, I get it, the over the top nature of our news media makes it seem like some huge and unprecedented heat wave, when in reality, it was a short run of unusually hot days but, on the other hand, the UK simply isn’t designed for heat. Our houses are built to retain heat, it is often hotter inside than out, we don’t have AC because it’s rarely needed and our humidity is always high, so the heat is uncomfortable and sticky. What I am saying is, let us complain a little, it’s not a competition and don’t forget if there is anything that unites us Brits, it’s complaining about the weather. All of that to say, making pie dough this week may not have been my most sensible of ideas.
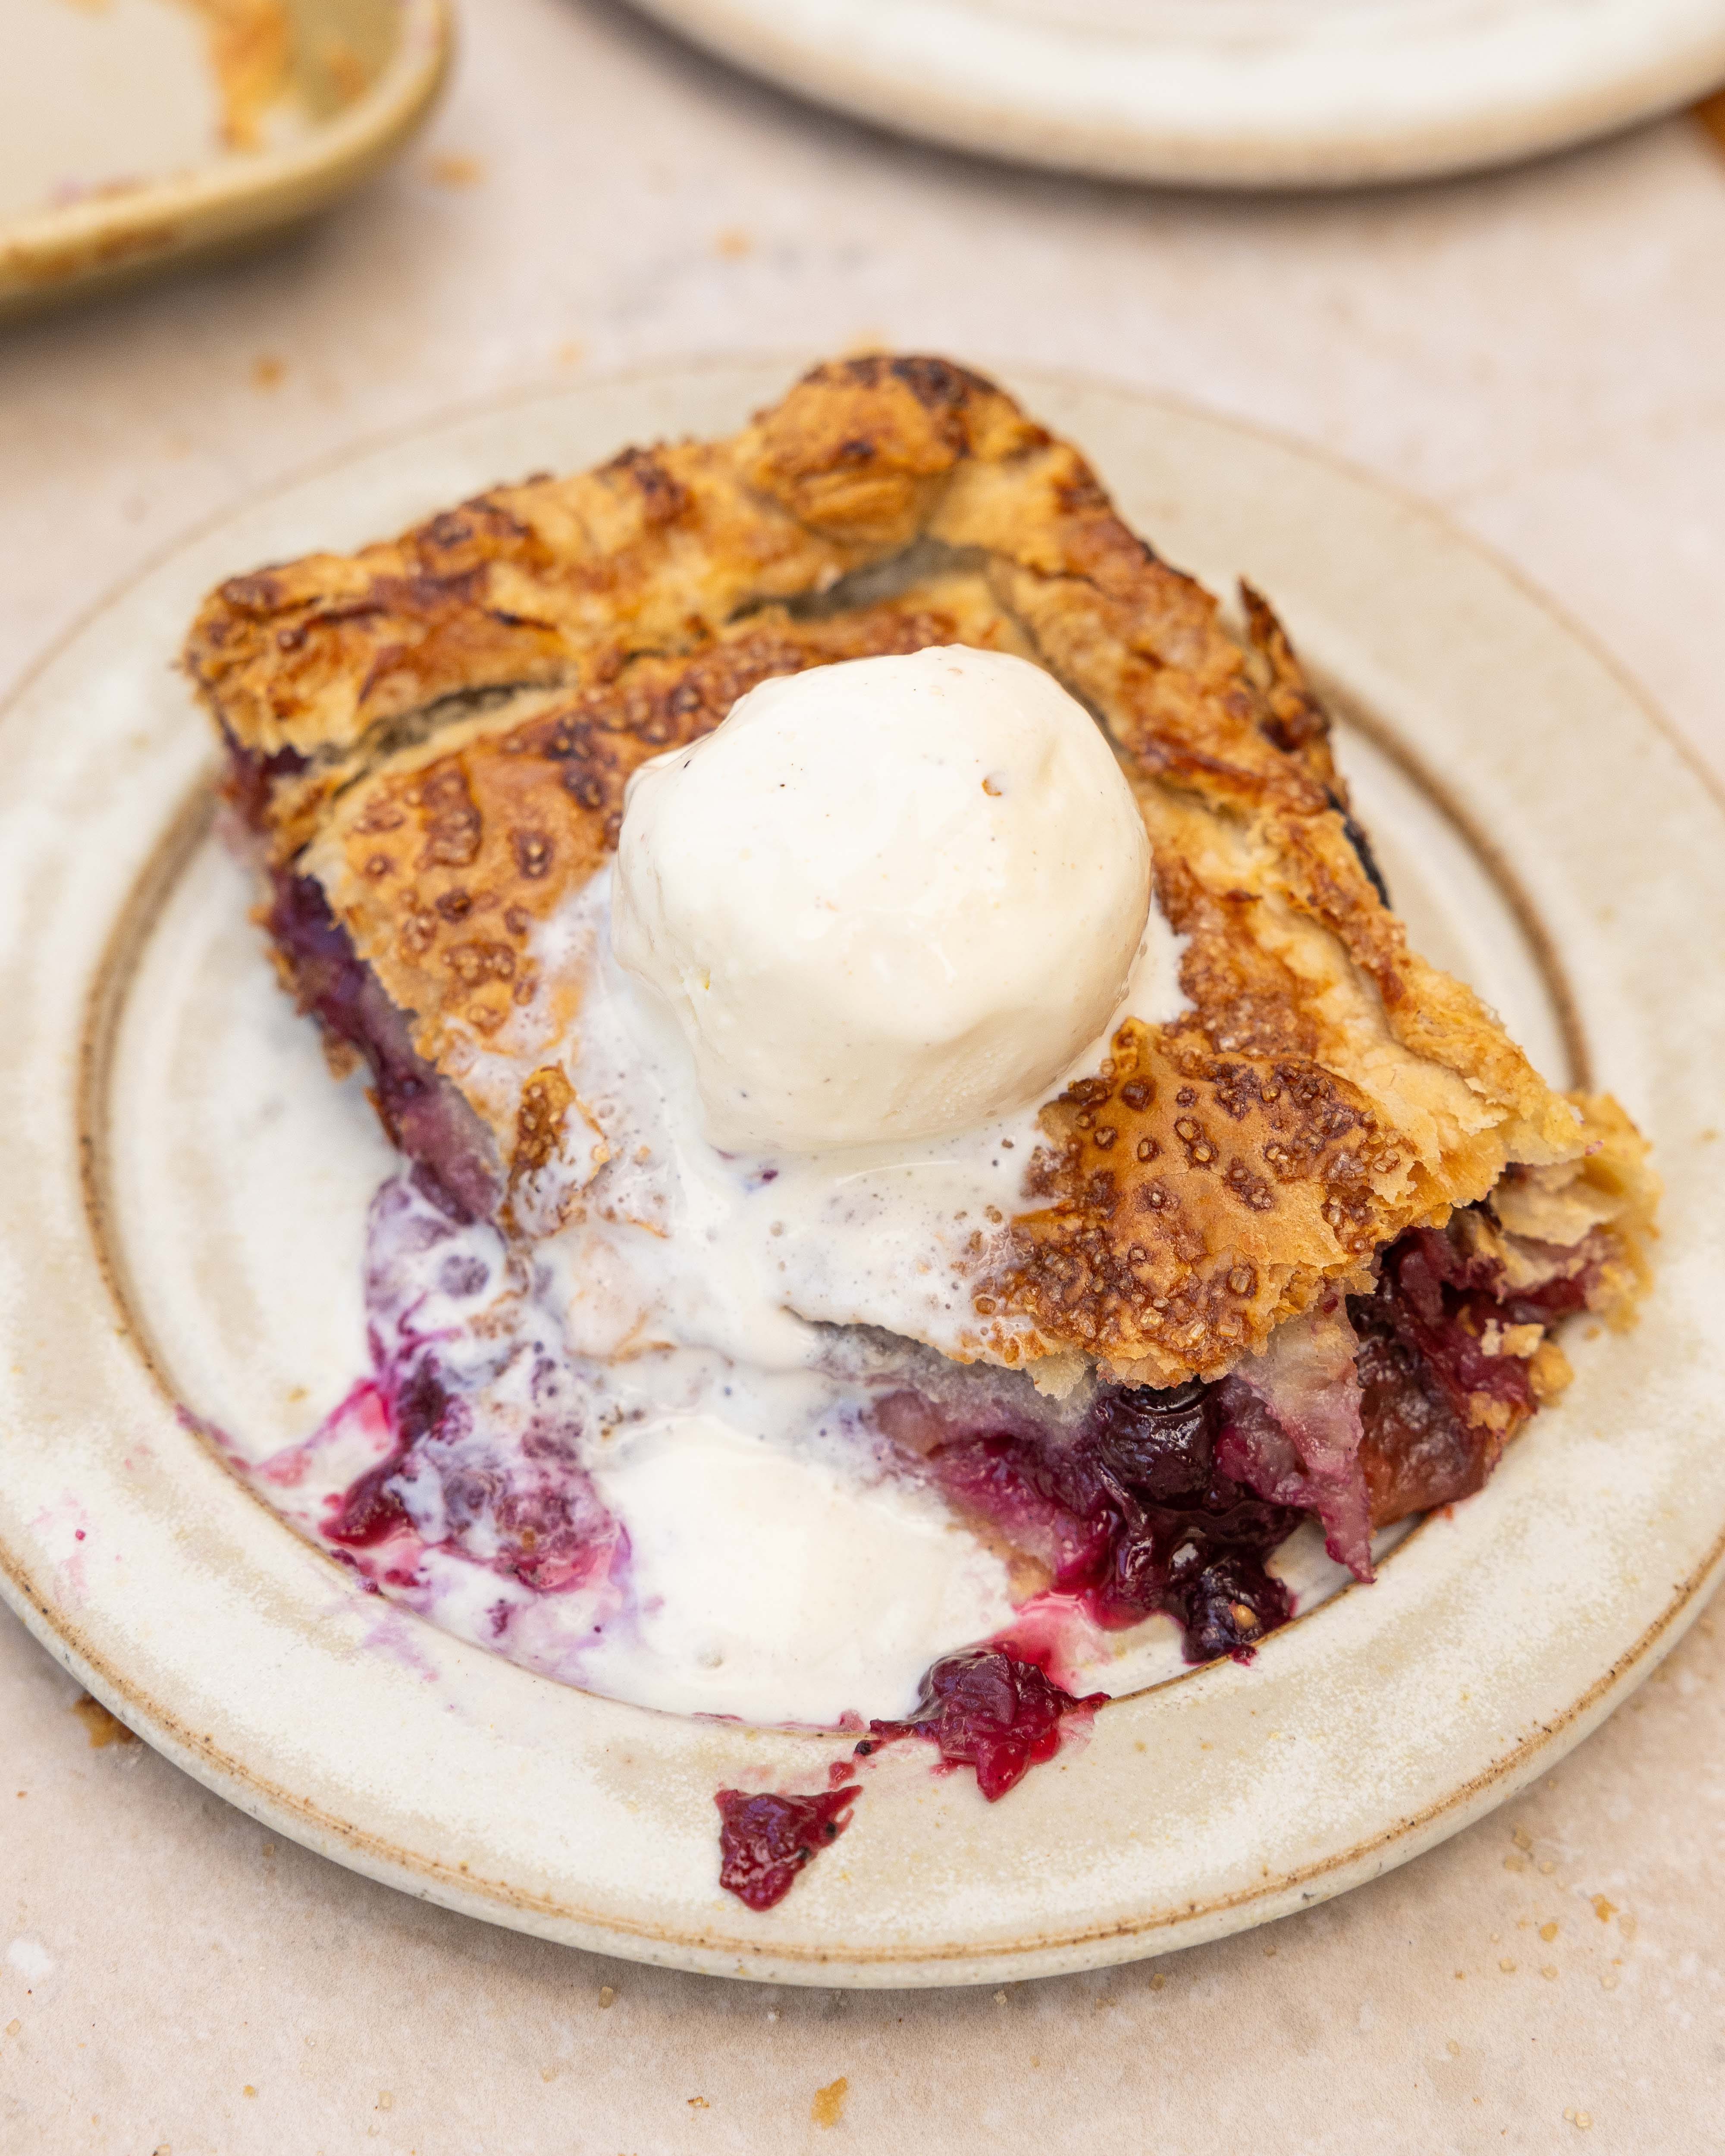
Yes this week is all about pie, specifically slab pie. I am an equal opportunities pie lover, any shape and styler of pie gets my vote. Hand Pies? Of course. Streusel Pie? You better believe it! But my two true loves, when it comes to pie, are the classic lattice pie and a generous slab pie. The beauty of a slab pie is the ratio of filling to pastry, a slab pie celebrates the pastry just as much as the filling, so the pastry needs to be up to scratch.
Flavour Of Flour
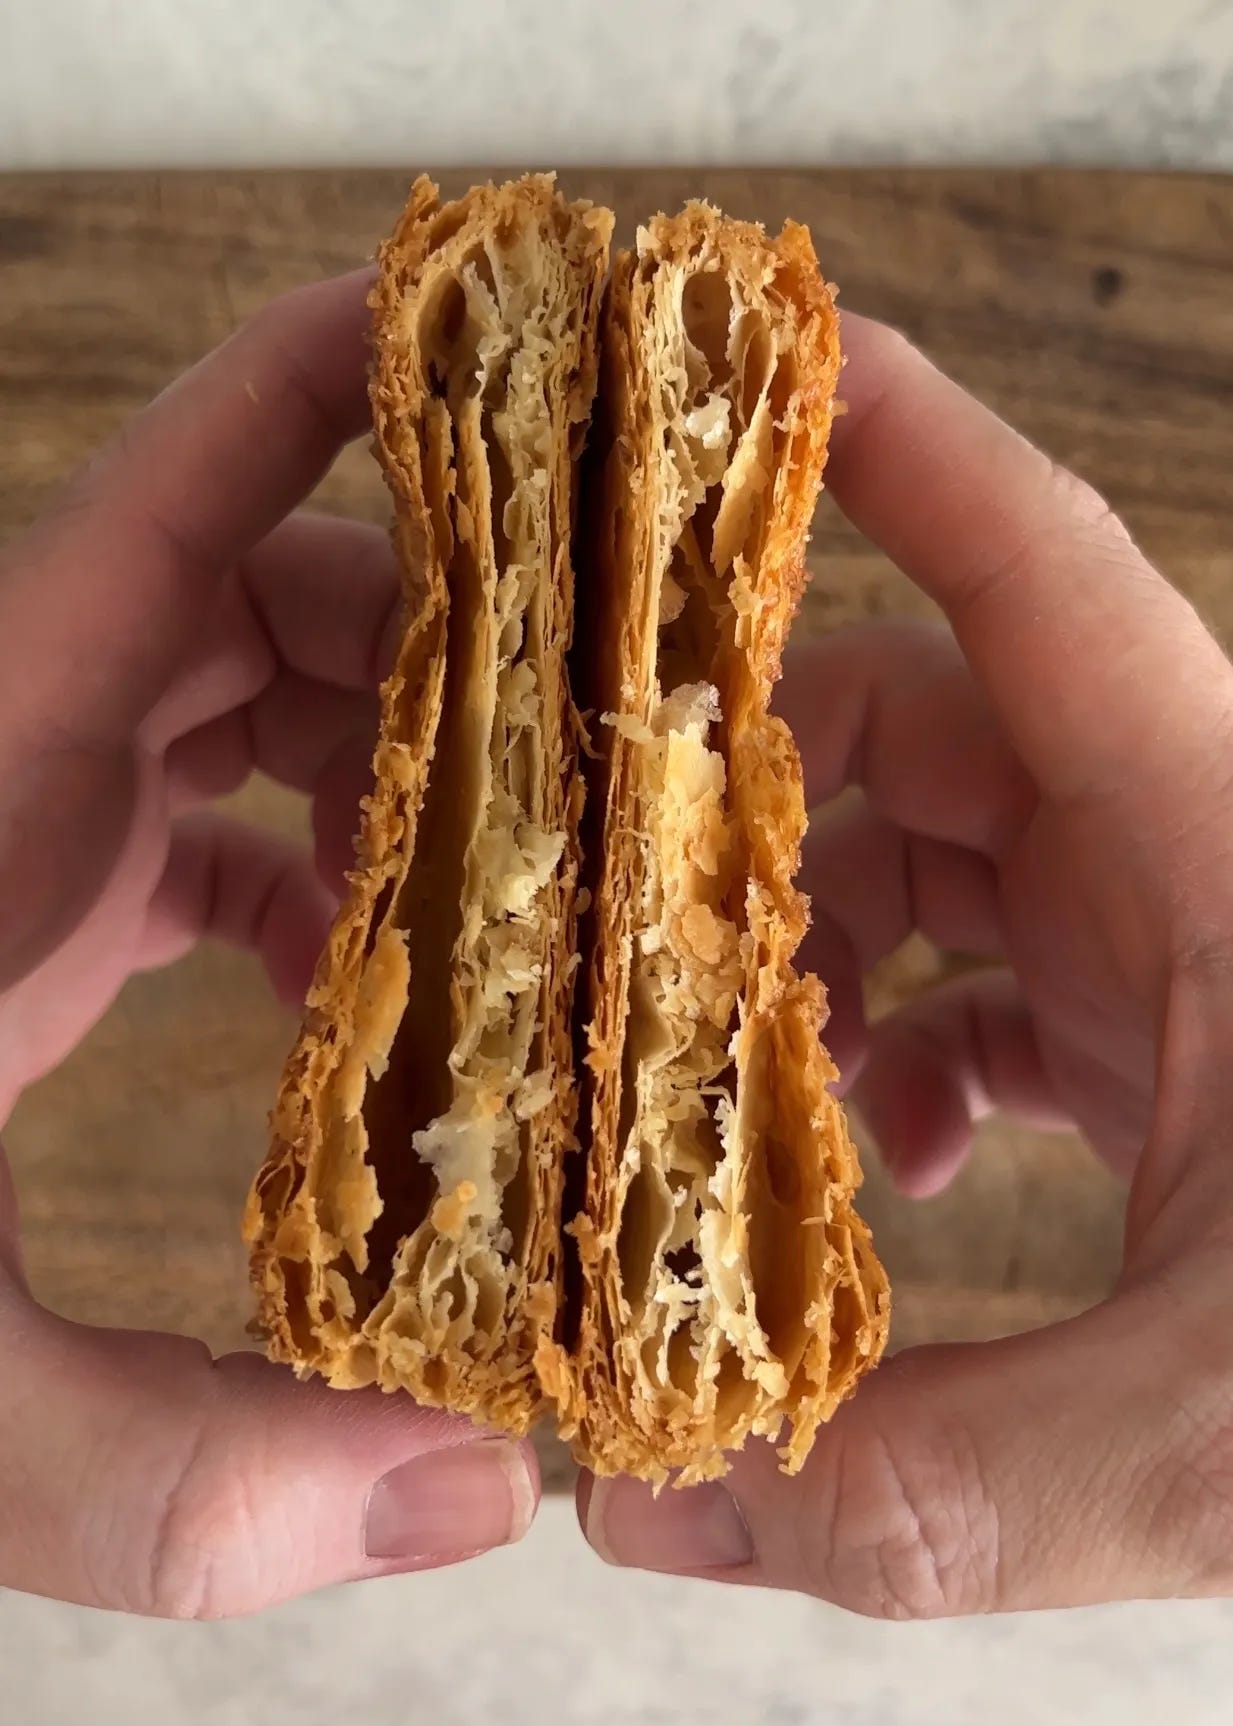
This pie uses my trusty flaky pie dough, a joy to make and an even bigger joy to eat. Made with a high proportion of butter, the pastry is not only incredibly flaky but it is also ridiculously tasty. When it comes to flour, we often default to basic plain flour, a refined white flour that doesn’t really bring much flavour to the party. Sure you can toast it, adding a strong nuttiness but there is also a world of flavour available already, in less refined flours. The recipe below is written using regular white plain flour but it is easily adapted to other flours. If you want to add a punch of flavour replace a third of the plain flour with wholemeal rye flour, this will add a strong backbone of flavour to your pie and it happens to pair brilliantly with the peach, using only a third also ensures the pastry still behaves as you’d expect. If you just want to level up the flavour, without overpowering anything, replace the commercial white flour with something wholemeal or something less refined, even a stoneground white flour will have a better flavour. The pastry is incredibly versatile, the only thing to bare in mind, when changing around the flour, is how much water each particular flour needs to turn it into pastry, which we will talk about that more in the recipe.
The Pain Of Peaches
For the filling I went with a favourite combination, blueberry and peach. Super classic and a perfect pairing; it can, however, be a frustrating one. Finding delicious peaches, that are useable for baking, can feel like an impossibility. Most of what you find in the supermarket, at least here in the UK, is inedibly hard and more often than not pretty flat, when it comes to flavour. Thankfully what you find at a greengrocer is normally miles ahead but, you do then open yourself up to a potential problem. Peach pits. There are two broad categories of peaches, Freestone and Clingstone. The names are pretty self-explanatory but basically, freestone peaches have a pit that can be removed with ease, clingstone not so much. Most supermarket peaches are said to be freestone but farmers markets and greengrocers sell both. The problem? You cant look at a peach and know which is which. If you do happen to hit the peach pie lottery and end up with both delicious and easily sliced peaches I cant think of anything better, than this pie, to make with them.
Ultimate Flaky Pastry
500g plain flour
1 tsp fine sea salt
2 tbsp caster sugar
420g unsalted butter, diced and chilled
3 tbsp vodka (or other strong alcohol)
10 tbsp ice cold water
The first step is to consider the environment you are working in. If you are making this at the height of summer and your kitchen is warm you can take the added precaution of, not just chilling your butter and water but, chilling all of the ingredients and even the bowl you are going to use. Remember the cold is your friend when making pastry.
Add the flour, salt and sugar to a large bowl and use your hands to mix everything together. If you are making the pastry for something savoury and are considering removing the sugar I would urge you to only reduce the sugar not remove it entirely. The sugar helps with the browning of the pastry and the pastry is not really sweet so I feel it is worth keeping.
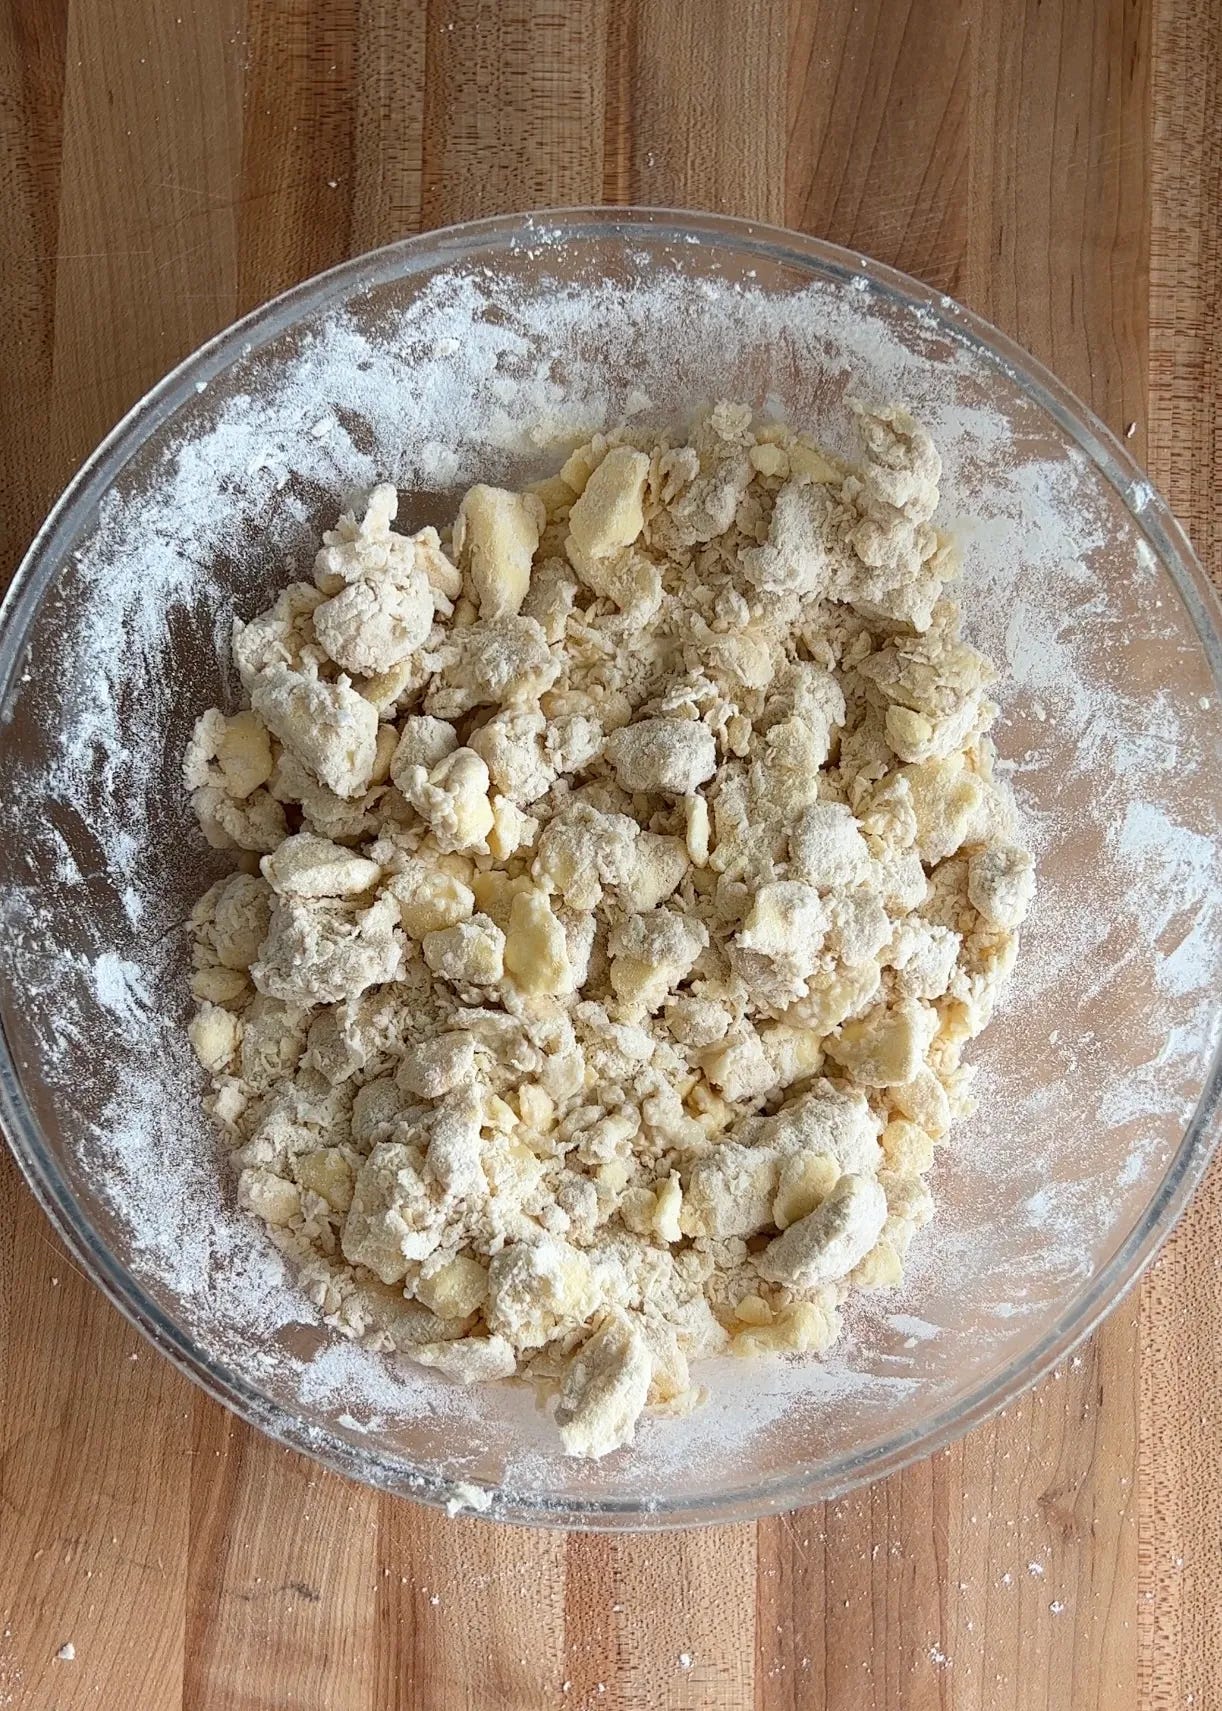
Add the butter and toss it in the flour so it is all coated in flour, this prevents the pieces of butter from sticking to each other. Using your fingertips, press each piece of butter into a flat flake. This is the starting point for turning the butter into layers within the pastry. Once all of the butter has been pressed flat, very briefly rub the butter into the flour, just to combine the butter with the flour a little further. You are not looking to create a breadcrumb like texture or anything even close, you want to end up with a bowl of flour and lots of large flat pieces of butter. At this point you've been handling the butter a lot, so pop the bowl in the freezer for 10 minutes.
At this point we will add in our liquid ingredients so lets briefly talk about alcohol. This tip is not mine, it has been around for many years (I believe since at least the 50’s but it was popularised in Cooks Illustrated in the early 2000’s), but it is worth explaining if you are wondering why on earth there is vodka in the pastry recipe. Gluten is developed when flour and water are present together. In this recipe too much gluten development can make for a pastry that is hard to roll out, can shrink when baked and be tough to eat. To reduce the amount of gluten developed, we could reduce the amount of water used but this would also prevent the dough from holding together, instead we can replace a portion of the water with high proof alcohol, something at least 40% abv. Using vodka is the common alcohol of choice, because it is flavourless and doesn’t change the taste of the pastry. I often use bourbon or rum for the opposite reason, to add a hint of flavour the pastry, to give it a little extra something. The reason this works is that 40% abv alcohol is only 60% water and 40% alcohol, therefore limiting the ability of gluten to develop whilst not at all impeding the ability to hydrate the flour. If you want to skip the alcohol you absolutely can replace it with more water but if you’re new to pastry making it is a great tip that can really help elevate your pastry.
To add the liquid, drizzle in a couple tablespoons at a time and then using your hands to toss everything together. You want to add enough liquid so that it starts to form small clumps and looks less like a bowl of dry flour. Once all the liquid from the recipe has been added I like to tip the flour mixture out onto my work surface and spread it out a little, looking to see if there are any remaining pockets of dry flour. If any dry pockets remain I can drizzle over a little extra water. At this point I use a dough scraper to compress the dough into a rectangle. If the dough is holding together you have another good sign you have achieved the right level of hydration. The rectangle of dough may look a little craggy but that is okay, so long as it doesn’t feel like dry flour, or wet and sticky you are on the right track. Wrap the pastry in clingfilm and, before you transfer it to the fridge, roll it briefly to compress the dough together. Because the dough is wrapped in clingfilm you can’t extend its length or width but a brief rolling helps the dough to hold together as a single piece of dough. Refrigerate the dough for 15 minutes.
Note: I mentioned in the intro about using different flours; if you use different flours, and just generally, you should note that the liquid amounts given are just a guide. Flour has many variants and the amount of water needed to hydrate the flour will differ dependant of things like the type of flour, the protein content, how fresh the flour is etc. Use the recipe as a guide but use my descriptions and your touch as your ultimate guide for how much water is needed, you want to use just enough water to bind everything together so go slow and add any additional water bit by bit.
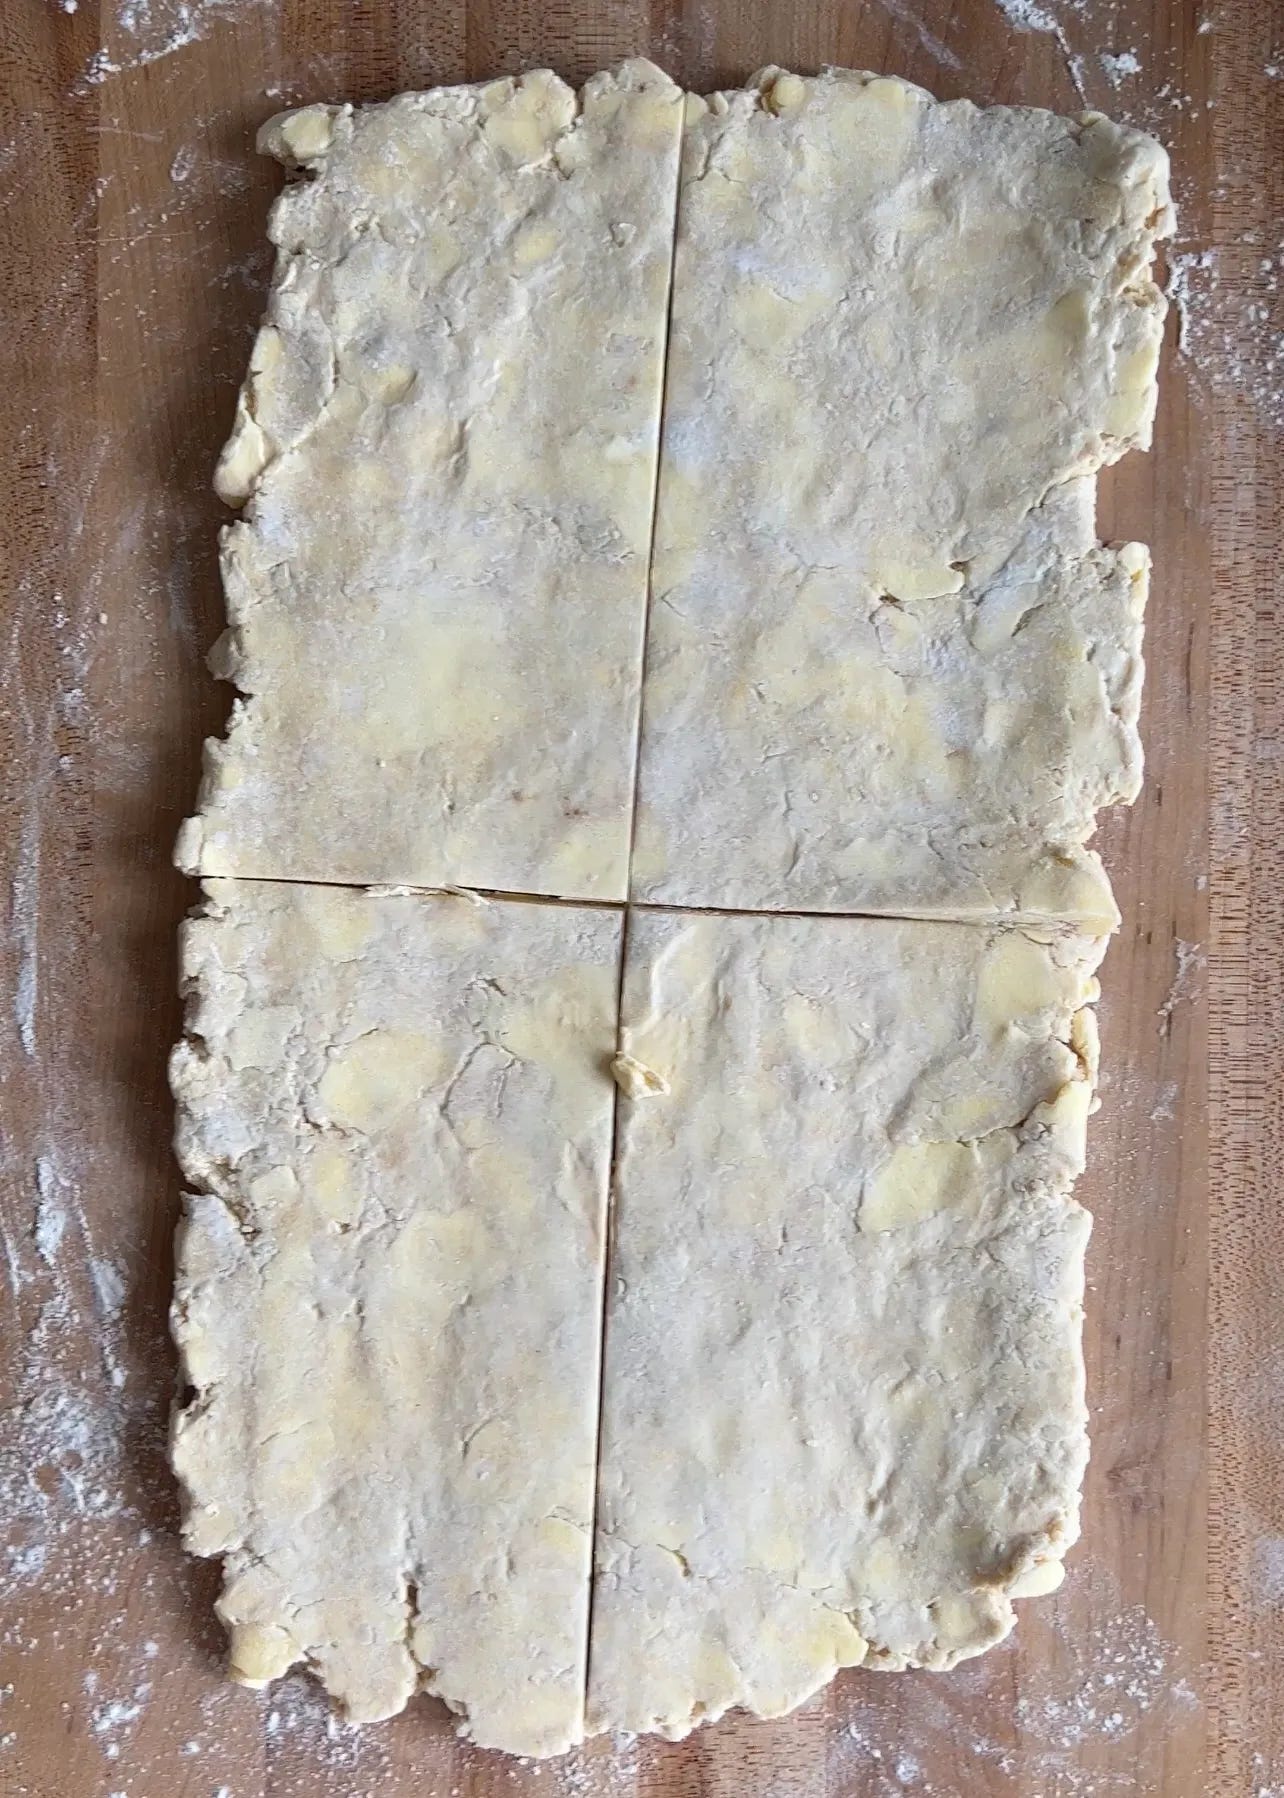
This next stage is a type of lamination, a lazy lamination but one that still helps to create a very flaky pastry. On a floured work surface roll out the pastry into a large rectangle. The exact size is not important but you want something that is roughly 6mm-8mm thick. Cut the rectangle of dough into four equal sized pieces and stack them atop each other. Wrap the dough in clingfilm and roll as before, to compress the four pieces together a little. Refrigerate the dough for 15 minutes before repeating this process two more times, refrigerating after every roll out. As you go through this process you’ll see the butter be worked further into the dough, the pieces will become less distinct; this is the process of the butter being worked into thin layers, so that when the pastry bakes it will puff up and become flaky. Successfully getting these layers is why we need to keep the dough cold, if the butter warms up too much it starts to blend with the dough and thee flour absorbs the moisture from the butter preventing it from creating flaky layers. Once the laminating is finished wrap up the pastry and refrigerate it until needed. At this stage you can also freeze it for a couple months.
Keep reading with a 7-day free trial
Subscribe to The Boy Who Bakes to keep reading this post and get 7 days of free access to the full post archives.